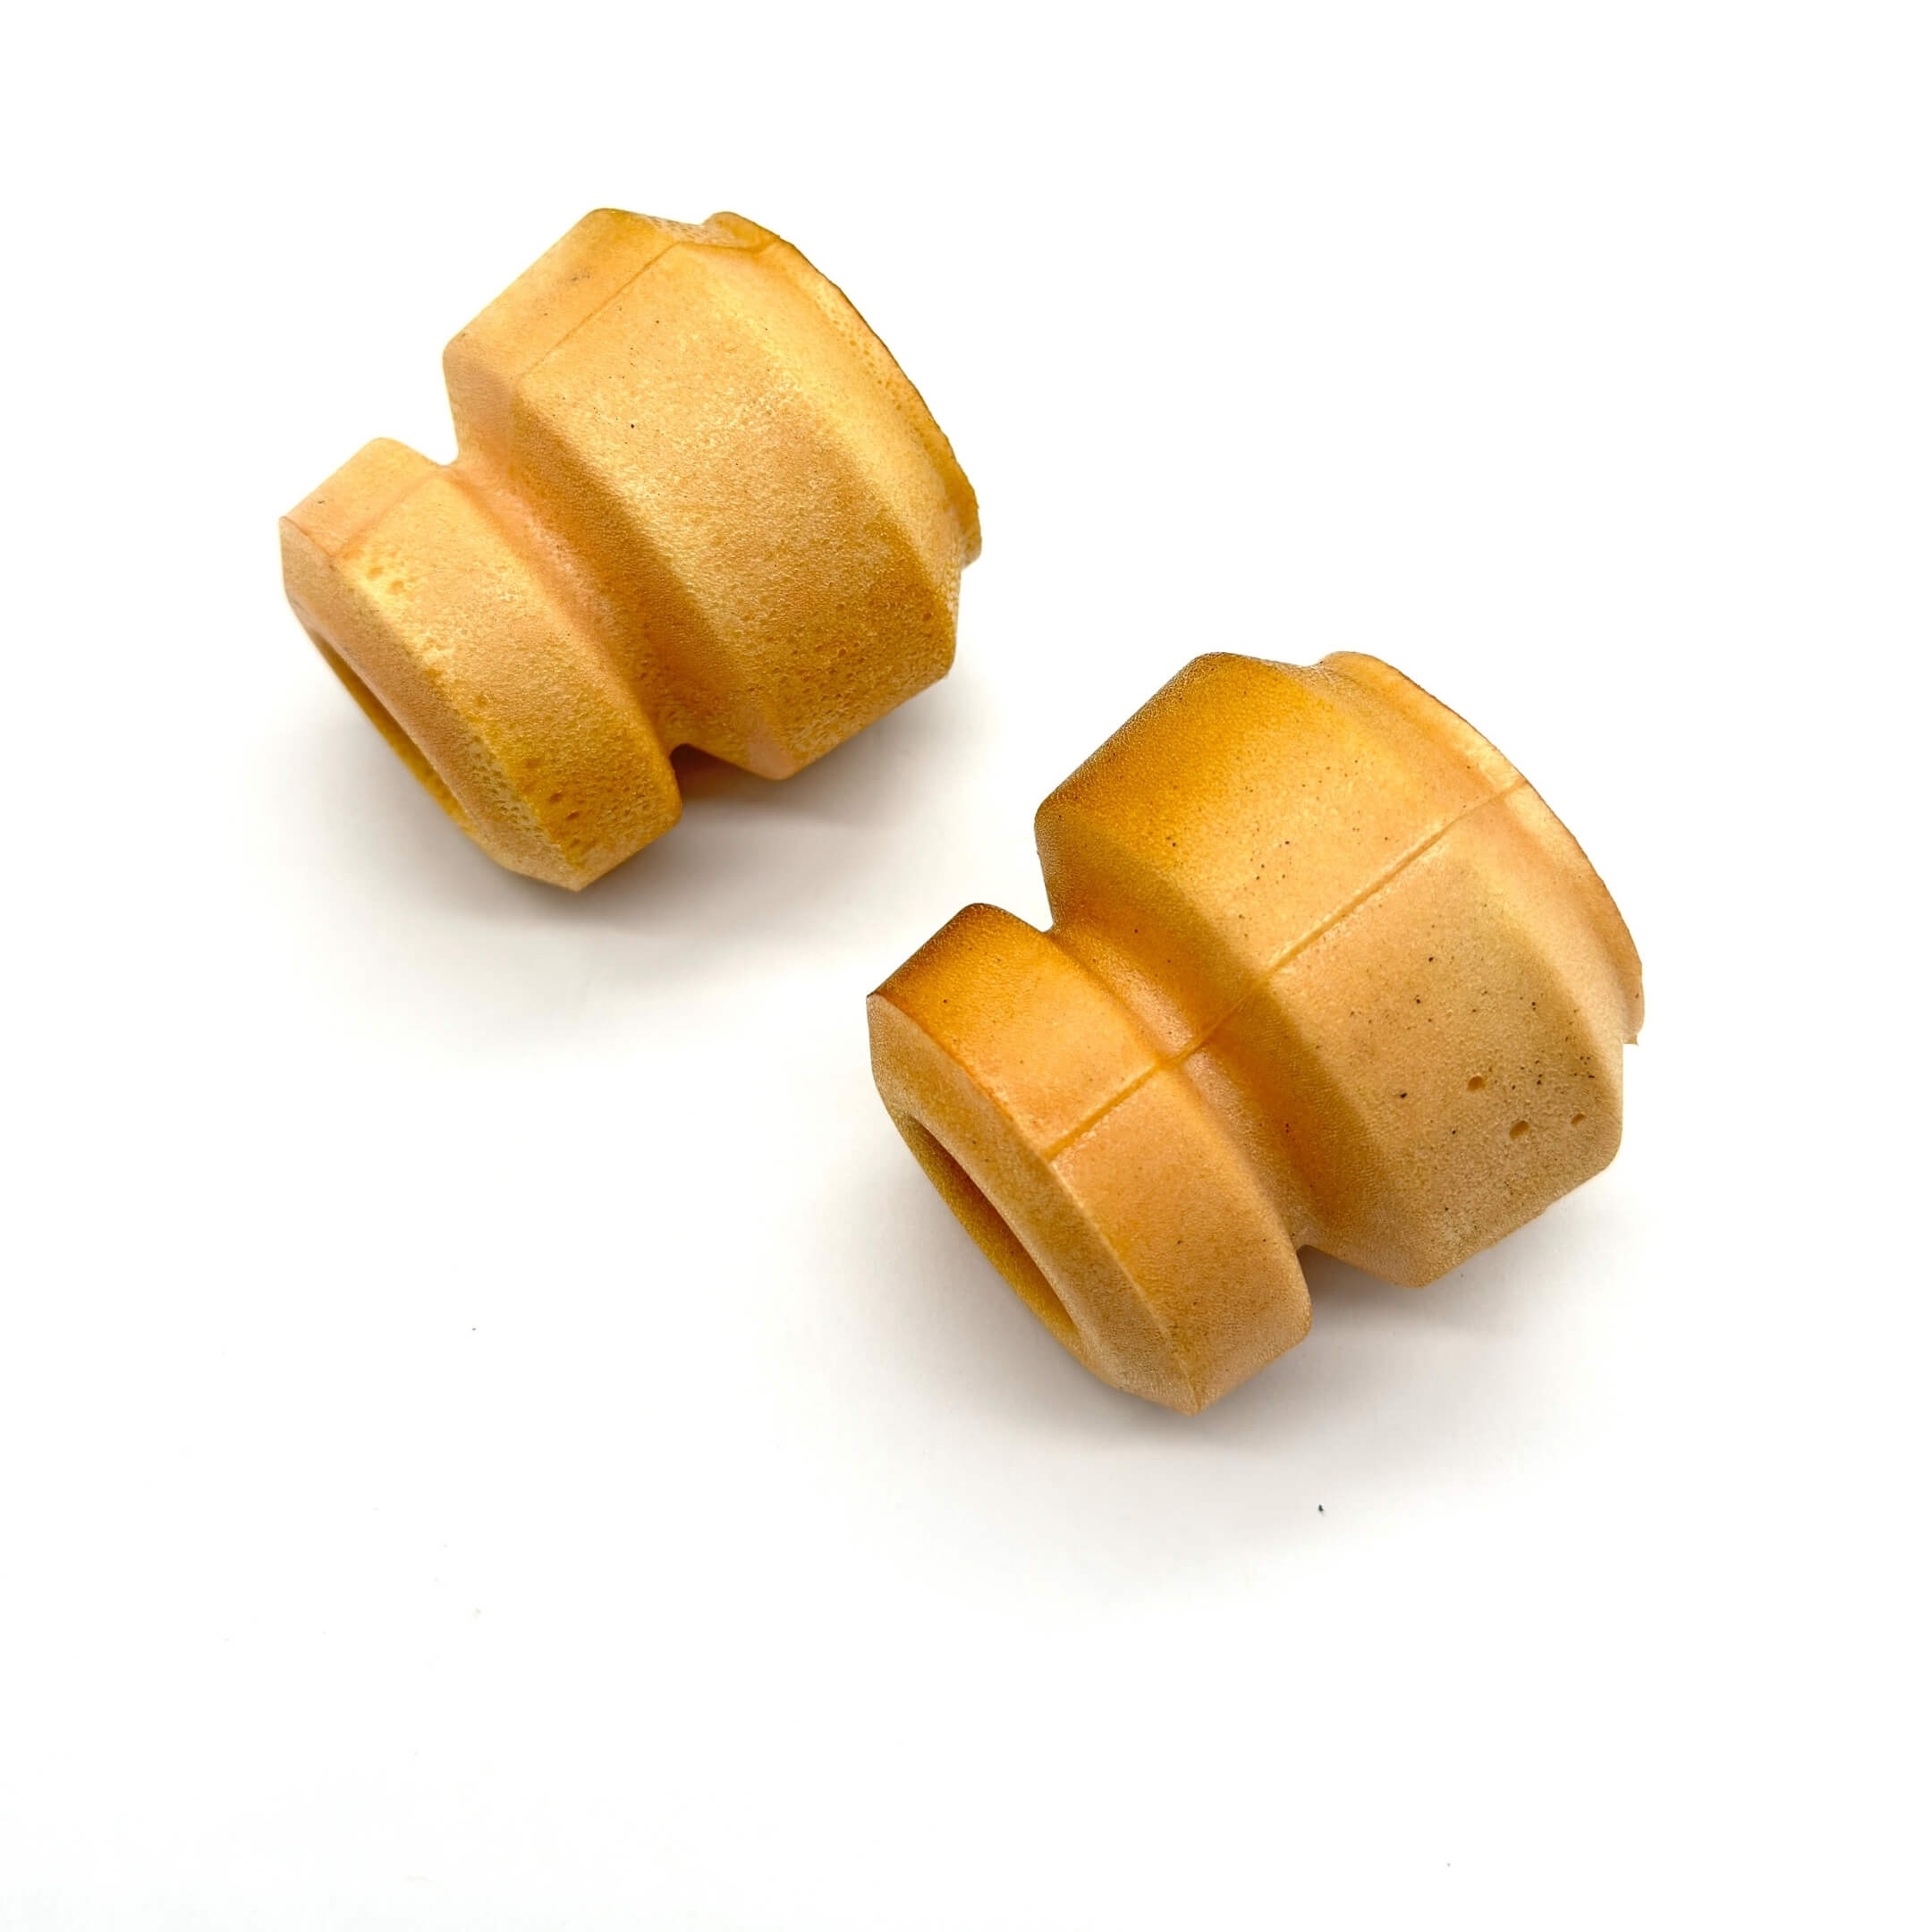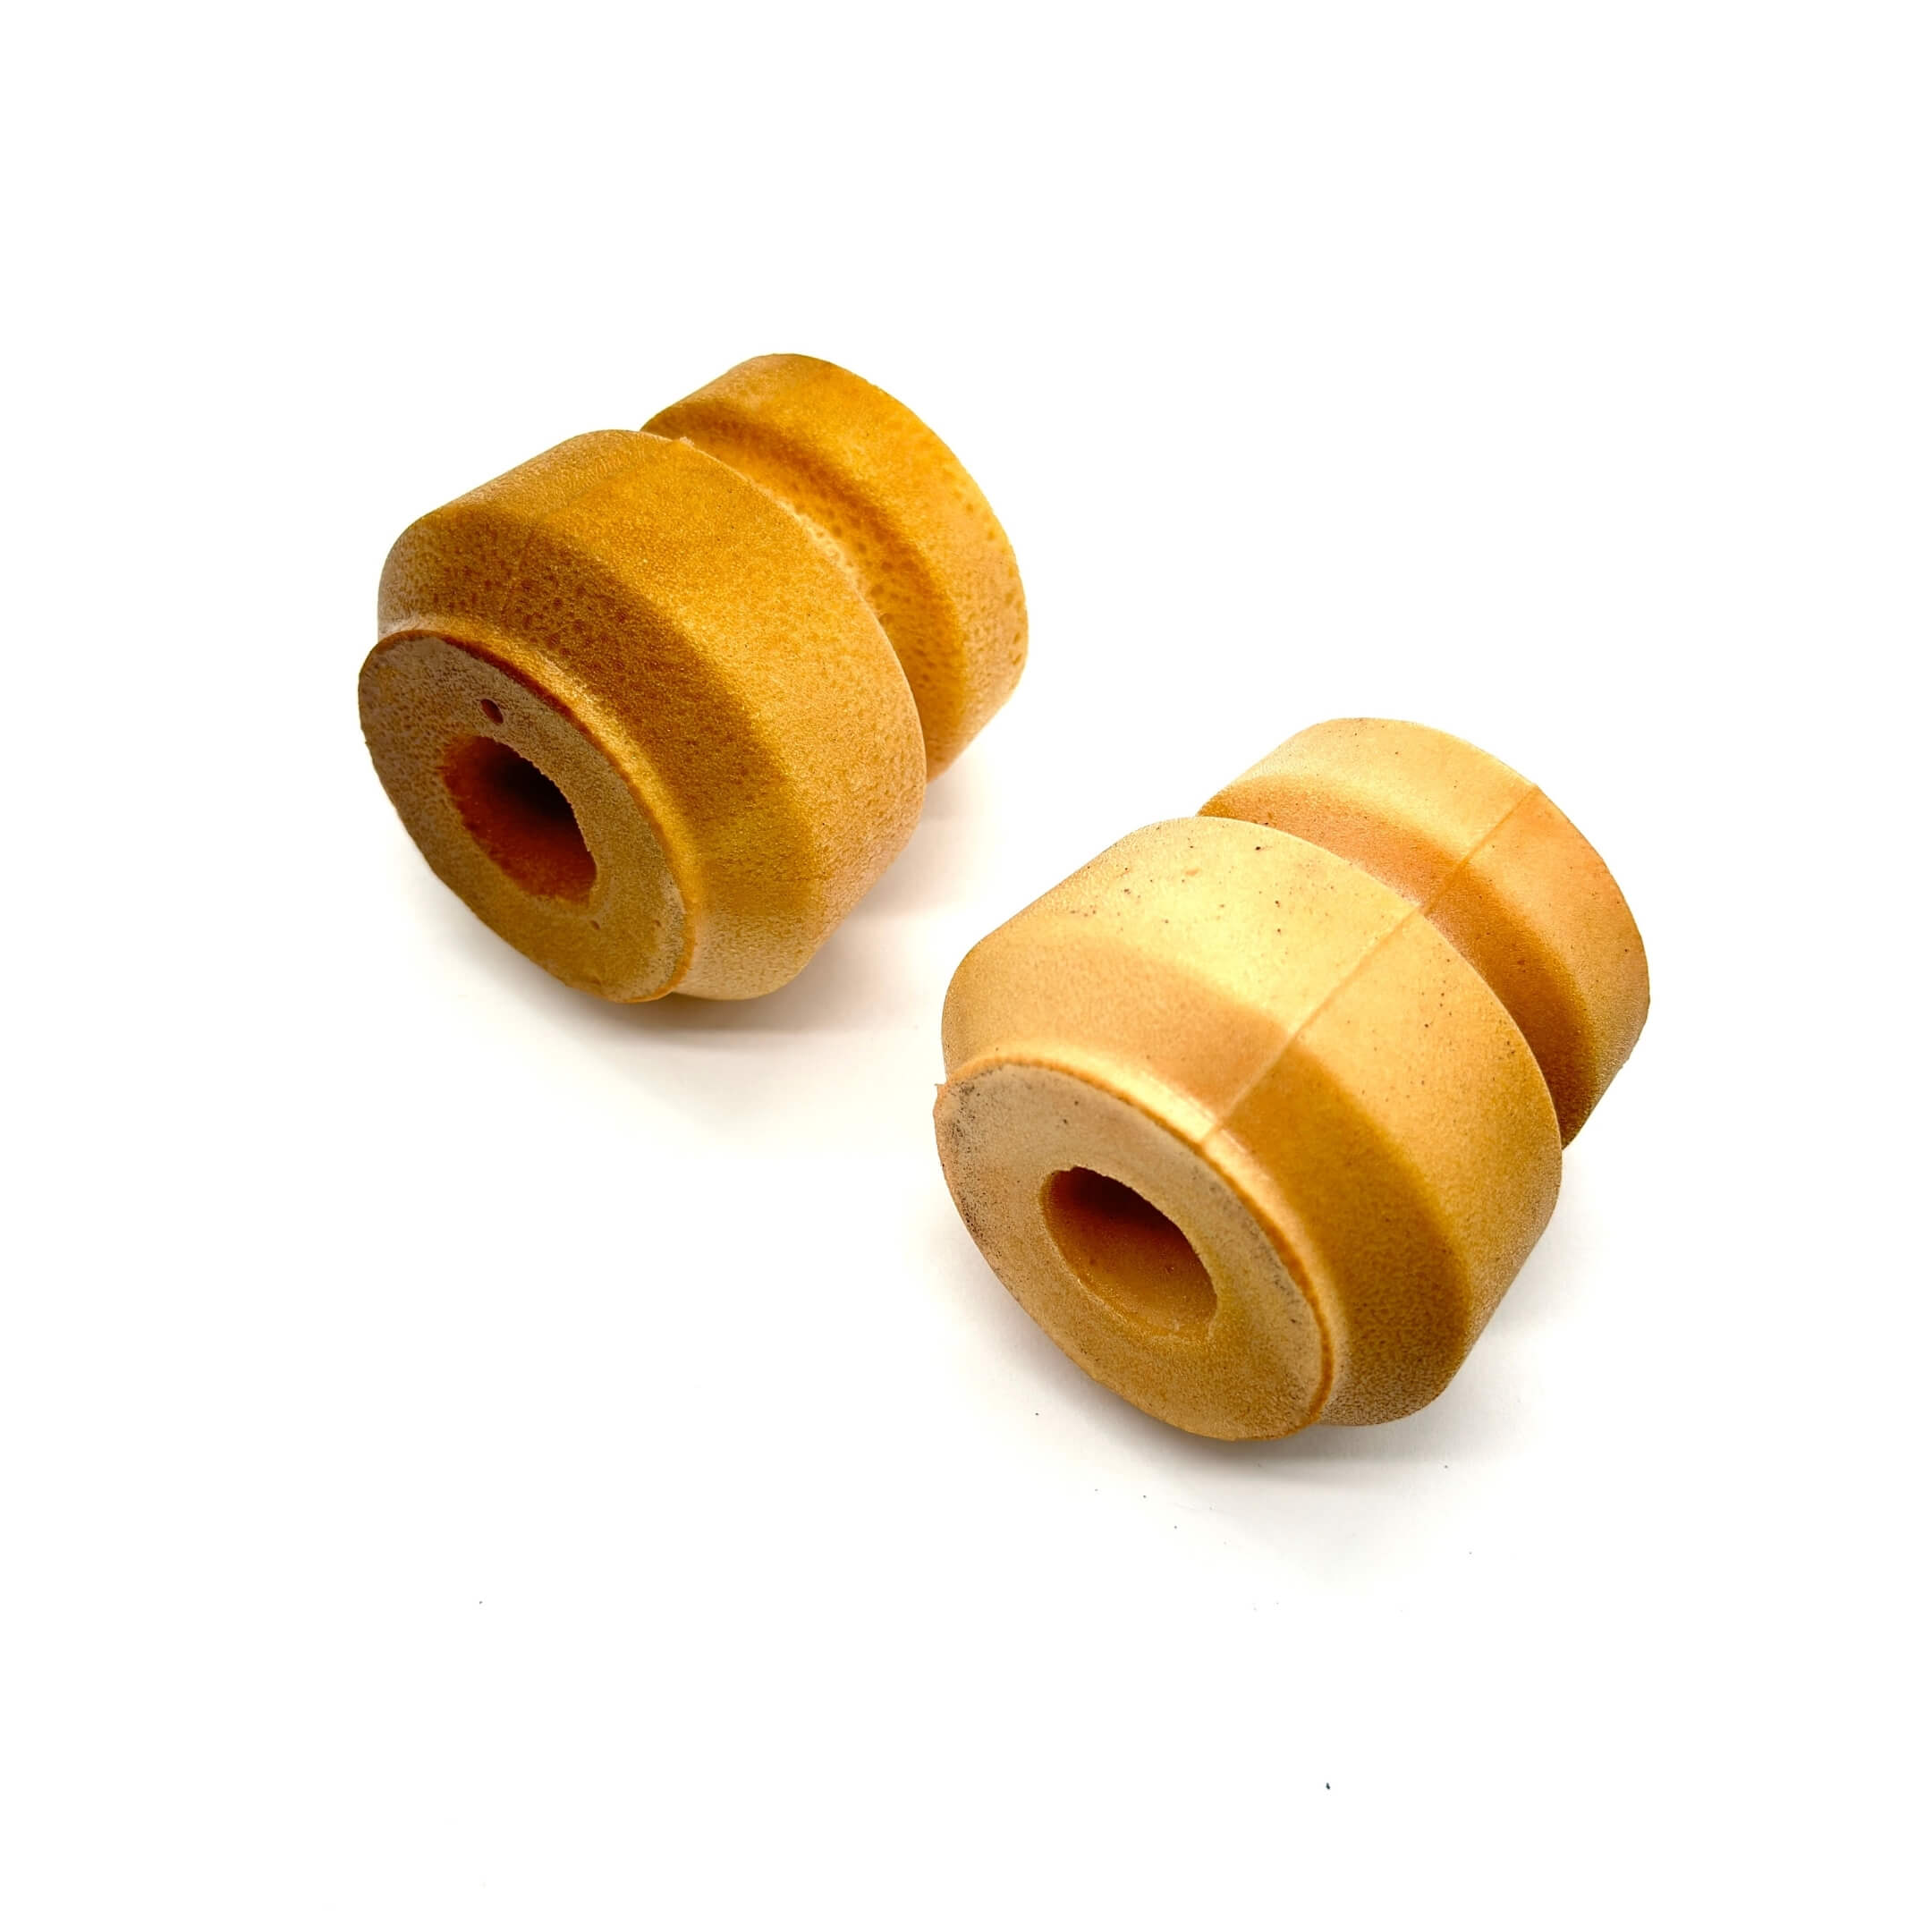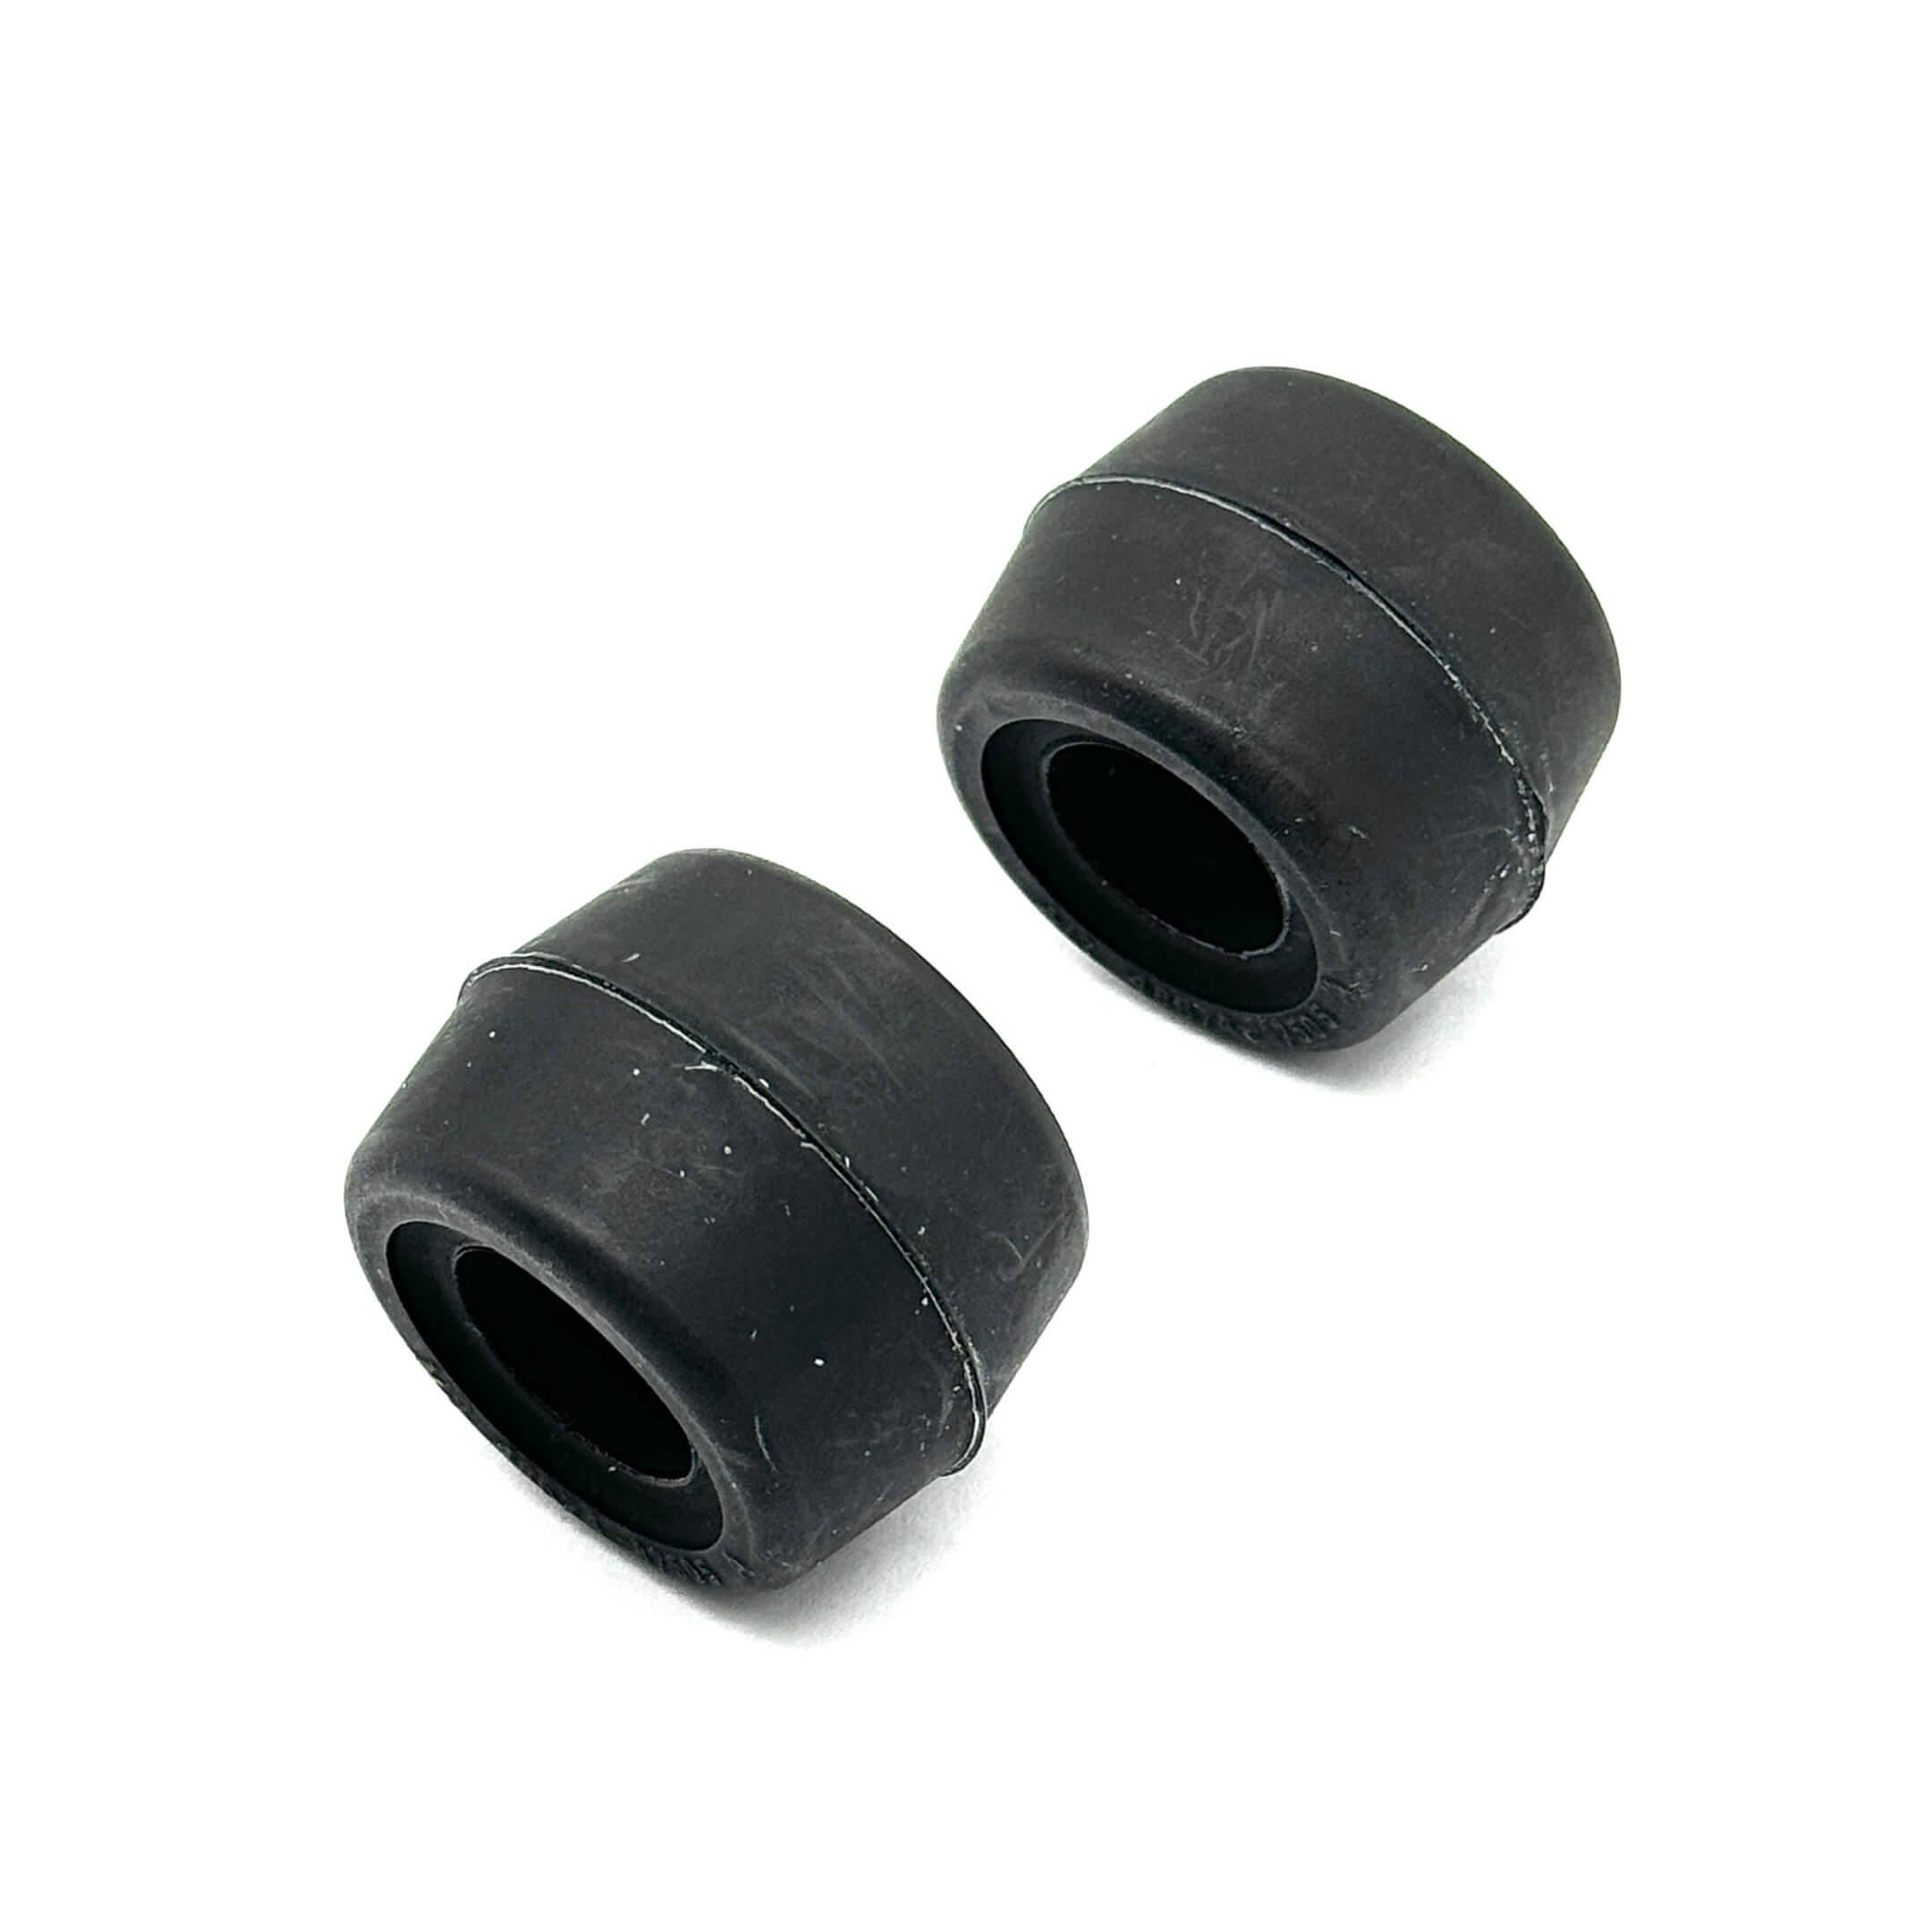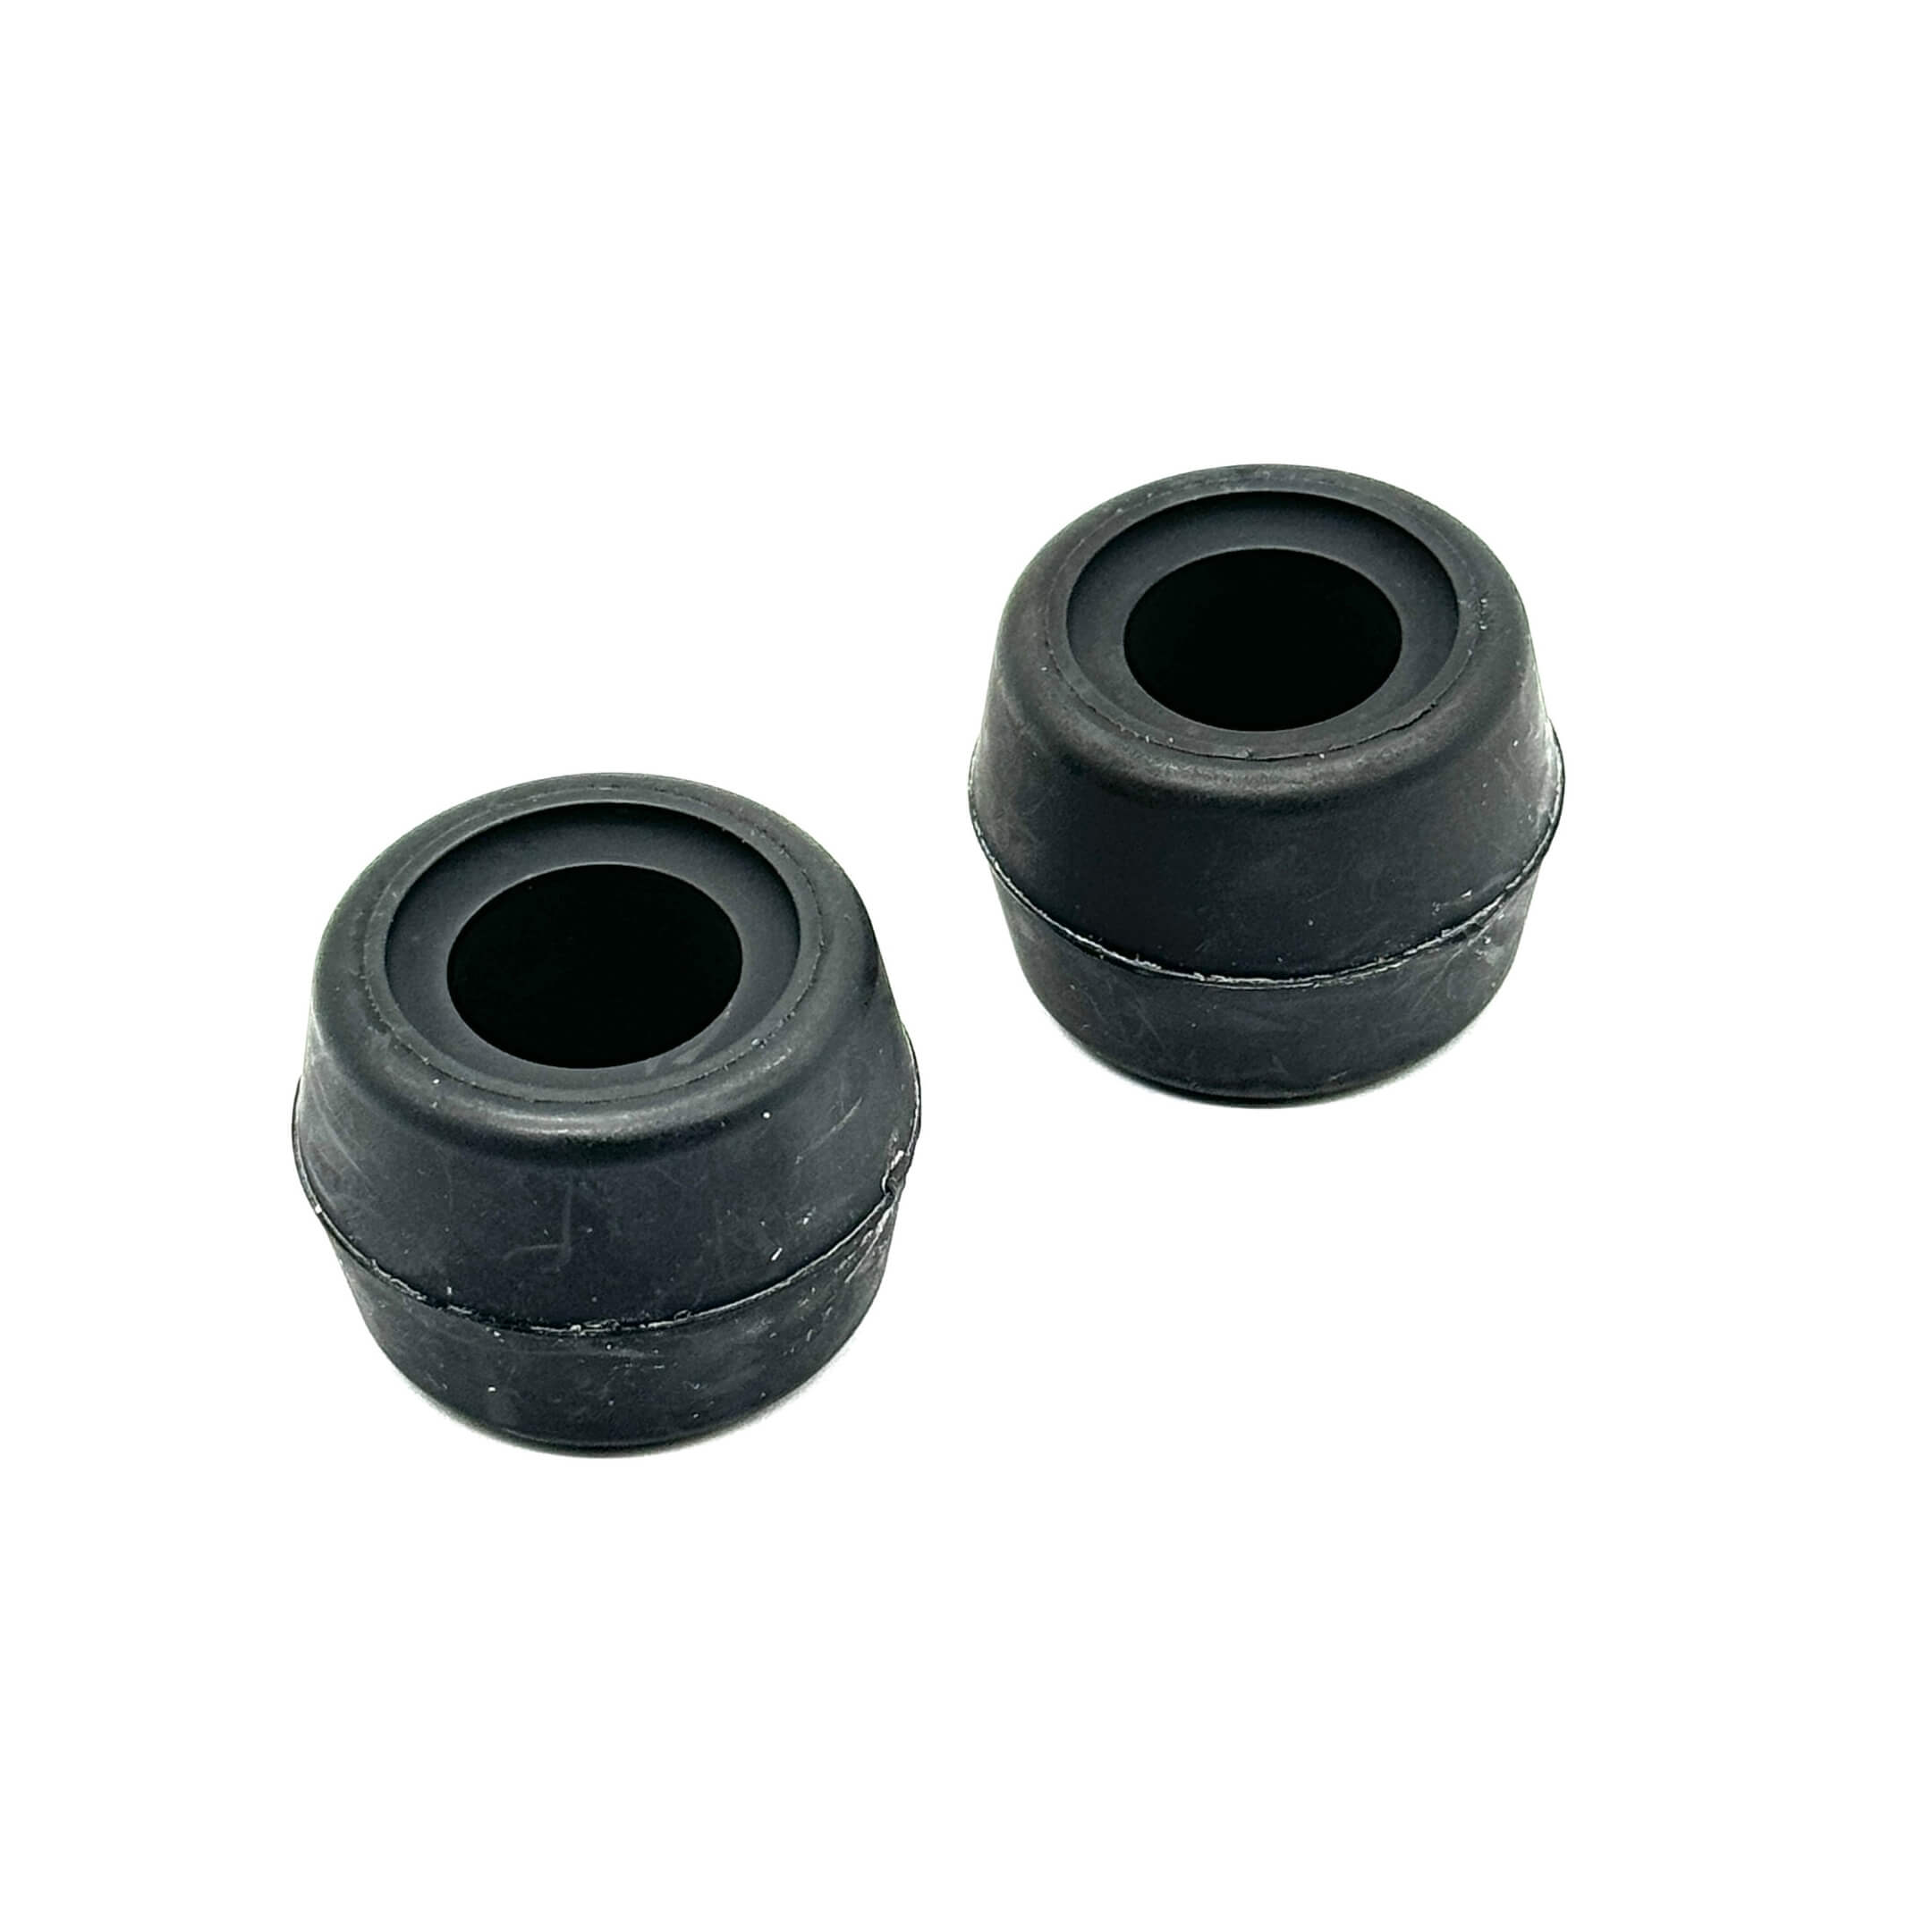
Daihatsu Hijet Suspension Parts - S100, S110 Models - 1994-1998
Front strut and lower arm system plus both documented rear suspensions. The same build window covers two rear layouts and two front lower arm procedures, so identify the truck and its ABS before you order.
Suspension parts for the Daihatsu Hijet S100 and S110, 1994 to 1998, covering the front strut and lower arm system and both documented rear suspensions. Model year is not enough to order from on these trucks.
Check the rear layout and ABS before ordering; both change which parts apply.
The same build window covers two different rear suspension layouts and two different front lower arm procedures, so identify the truck before you order.
Find Your Truck
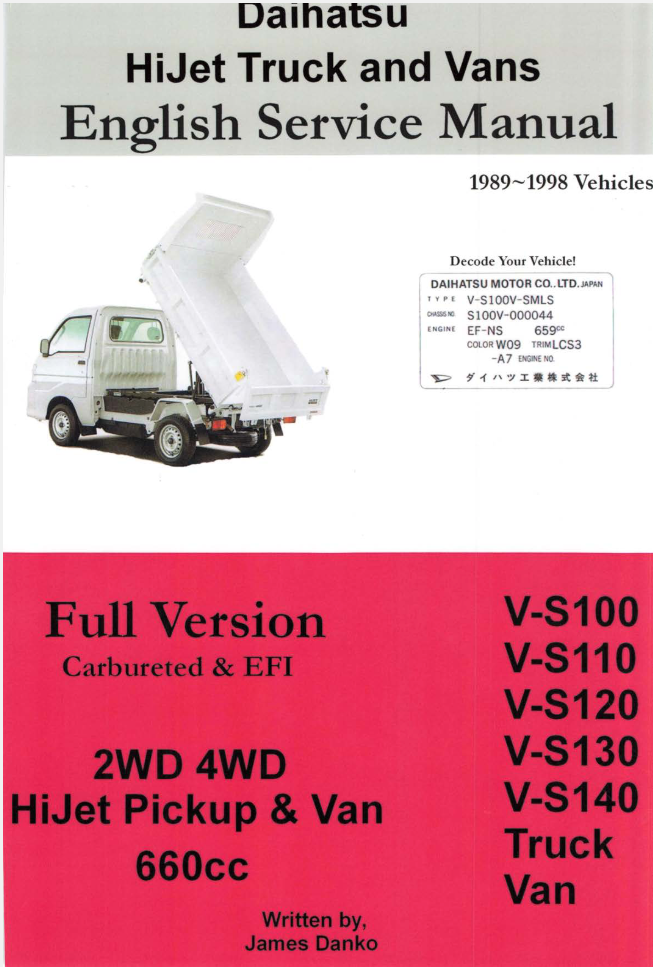
Start with the chassis number. On a Hijet, it looks like S110P-123456. You can find it on the identification plate, registration, or import paperwork. The photos below show where to look. Four factors determine fitment. Only one is obvious from the outside.


Drivetrain. S100 is 2WD, S110 is 4WD. On 4WD trucks the drive shaft passes through the steering knuckle, which changes how the front lower arm comes off and what has to come apart with it.
ABS. The factory writes the front lower arm job twice, once for standard trucks and once for ABS trucks. The standard version calls for one special tool. The ABS version calls for six. A sensor and a wire behind the front wheel means you have the longer job.
Rear suspension layout. Some of these trucks are leaf sprung at the back. Others use a three link rear with coil springs and suspension arms. Look under the back of the truck.
Body style. Pickups and vans use different caster settings. The factory also identifies the leaf-spring pad stack as van-only in two separate procedures. Vans use spring pads that pickups do not.
Choose Your Parts
| Category | Parts included | Replace when |
|---|---|---|
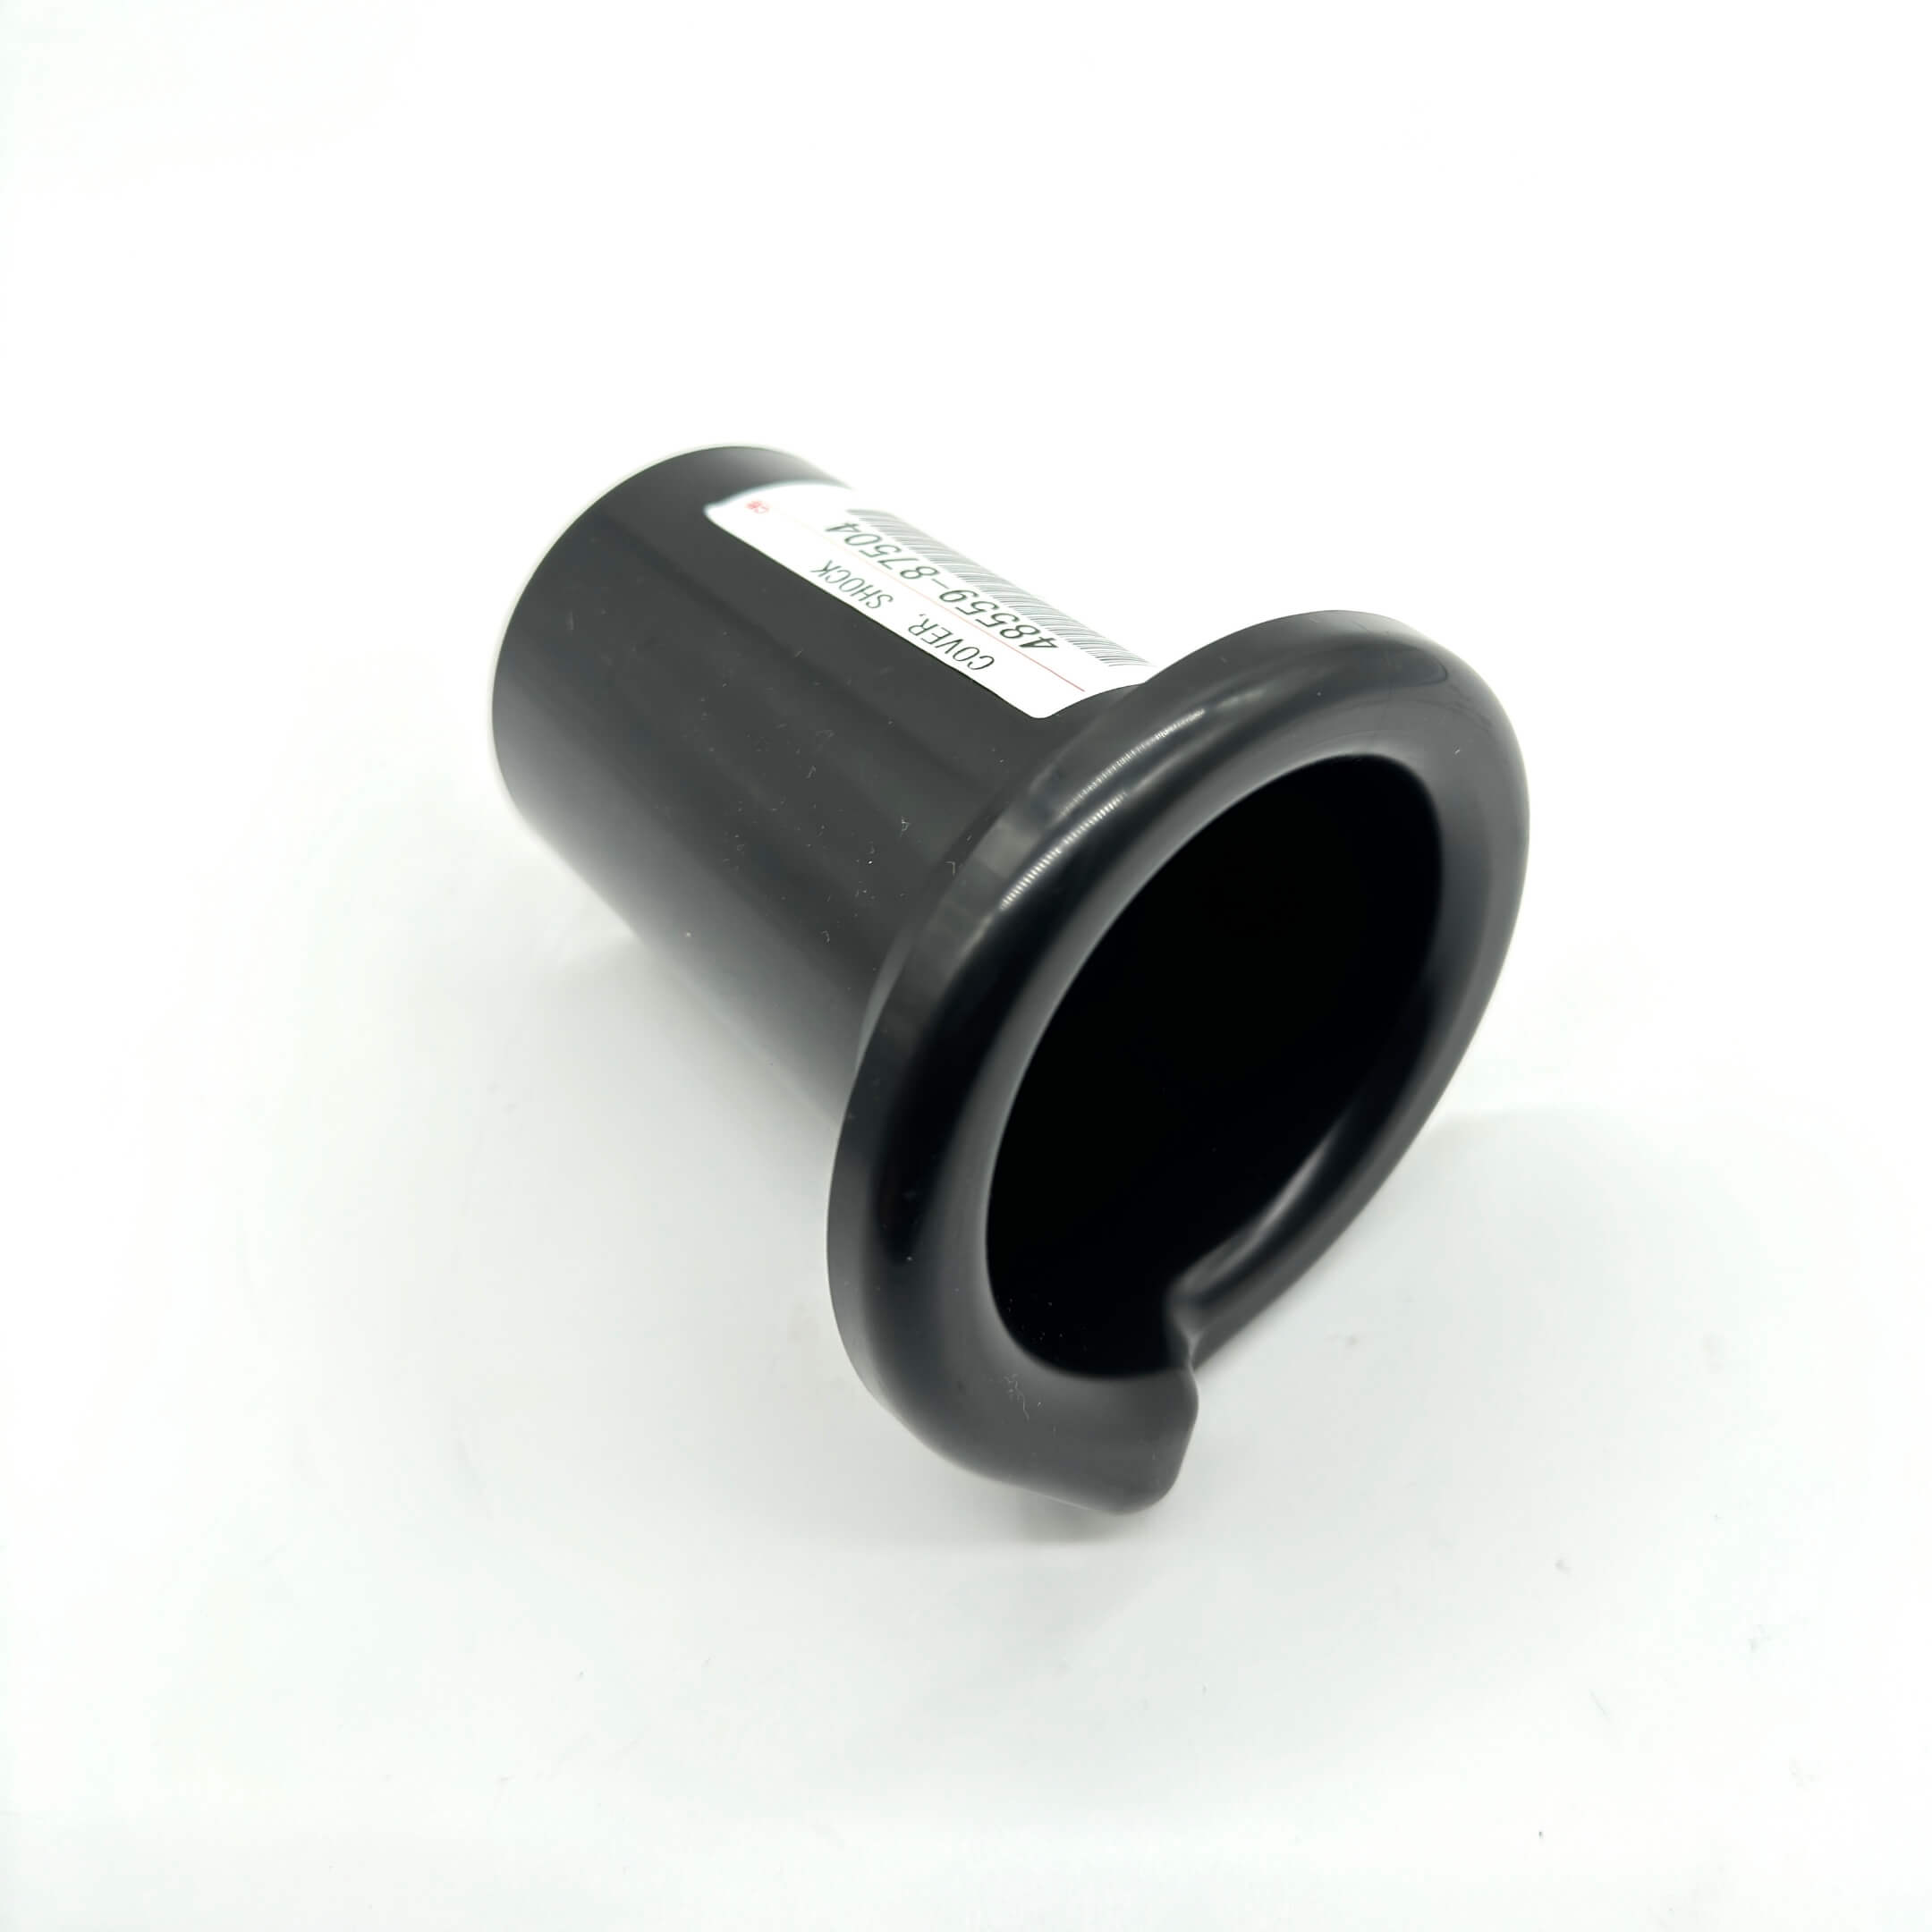
| Front Struts & Springs | Front shock absorbers left and right, front coil springs, upper suspension supports, spring seats, bumpers, dust covers. | The shock will not move through its stroke with even resistance, it makes noise, or oil is showing on the body. |
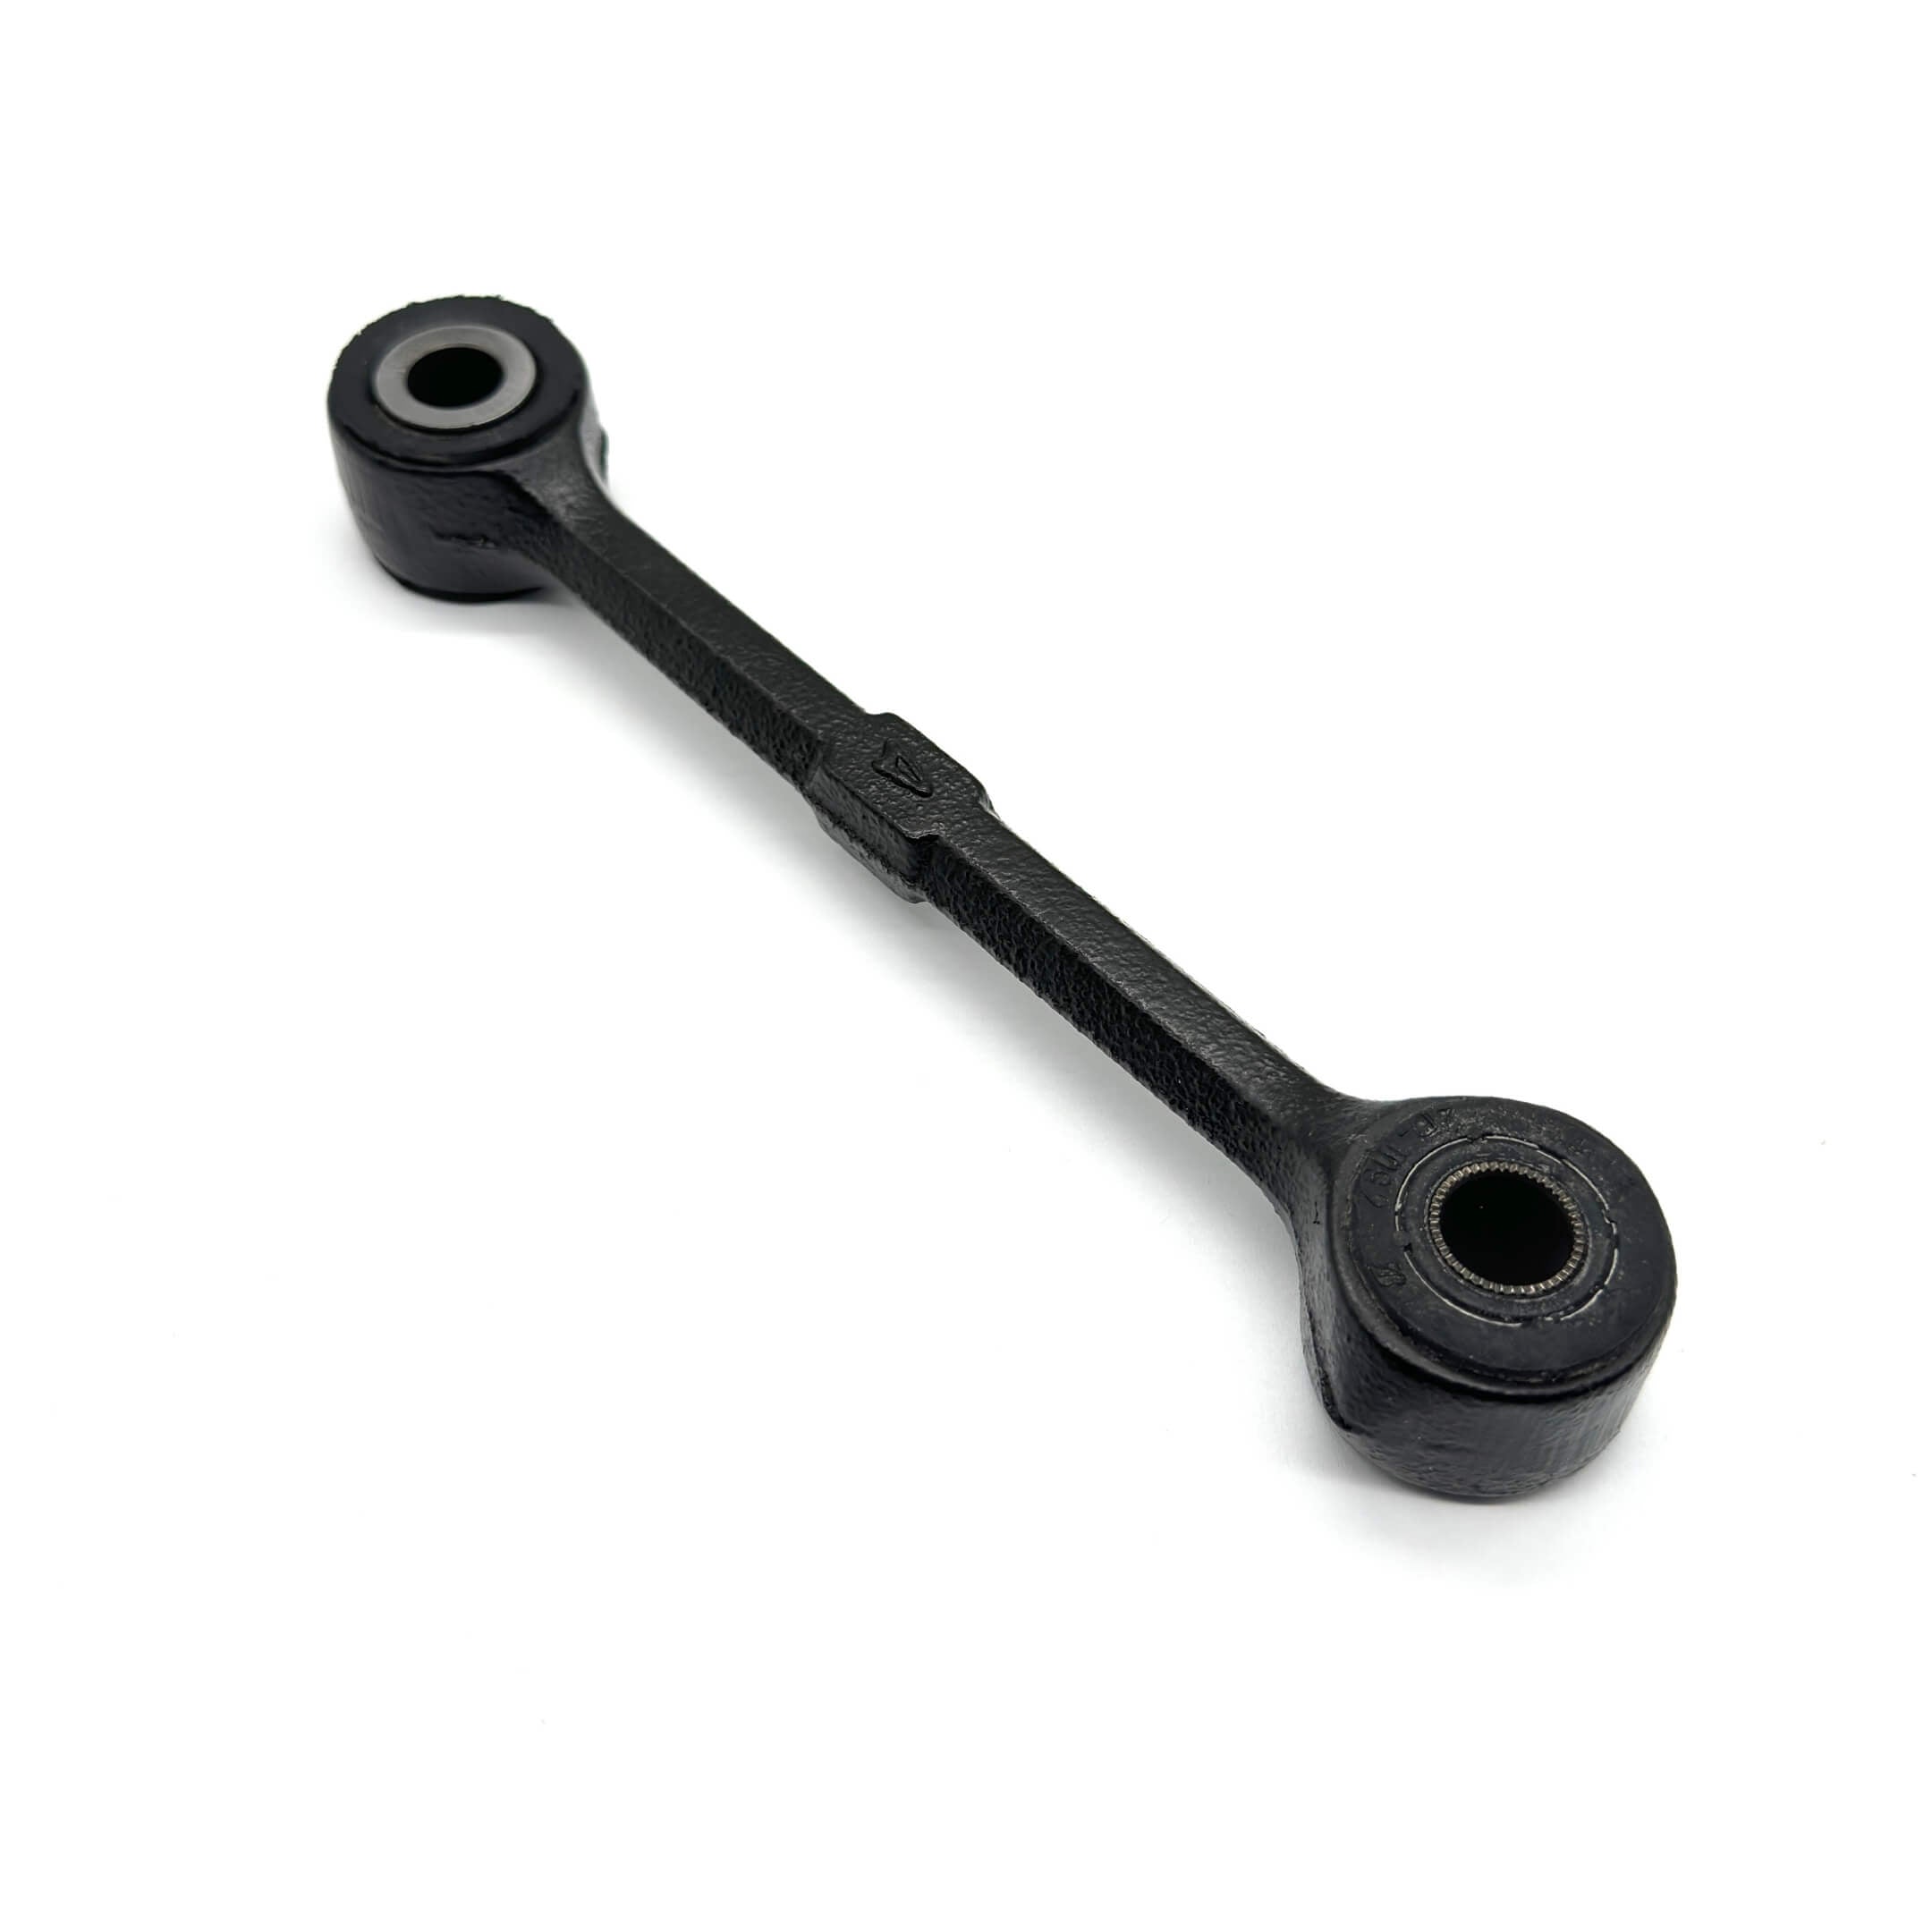
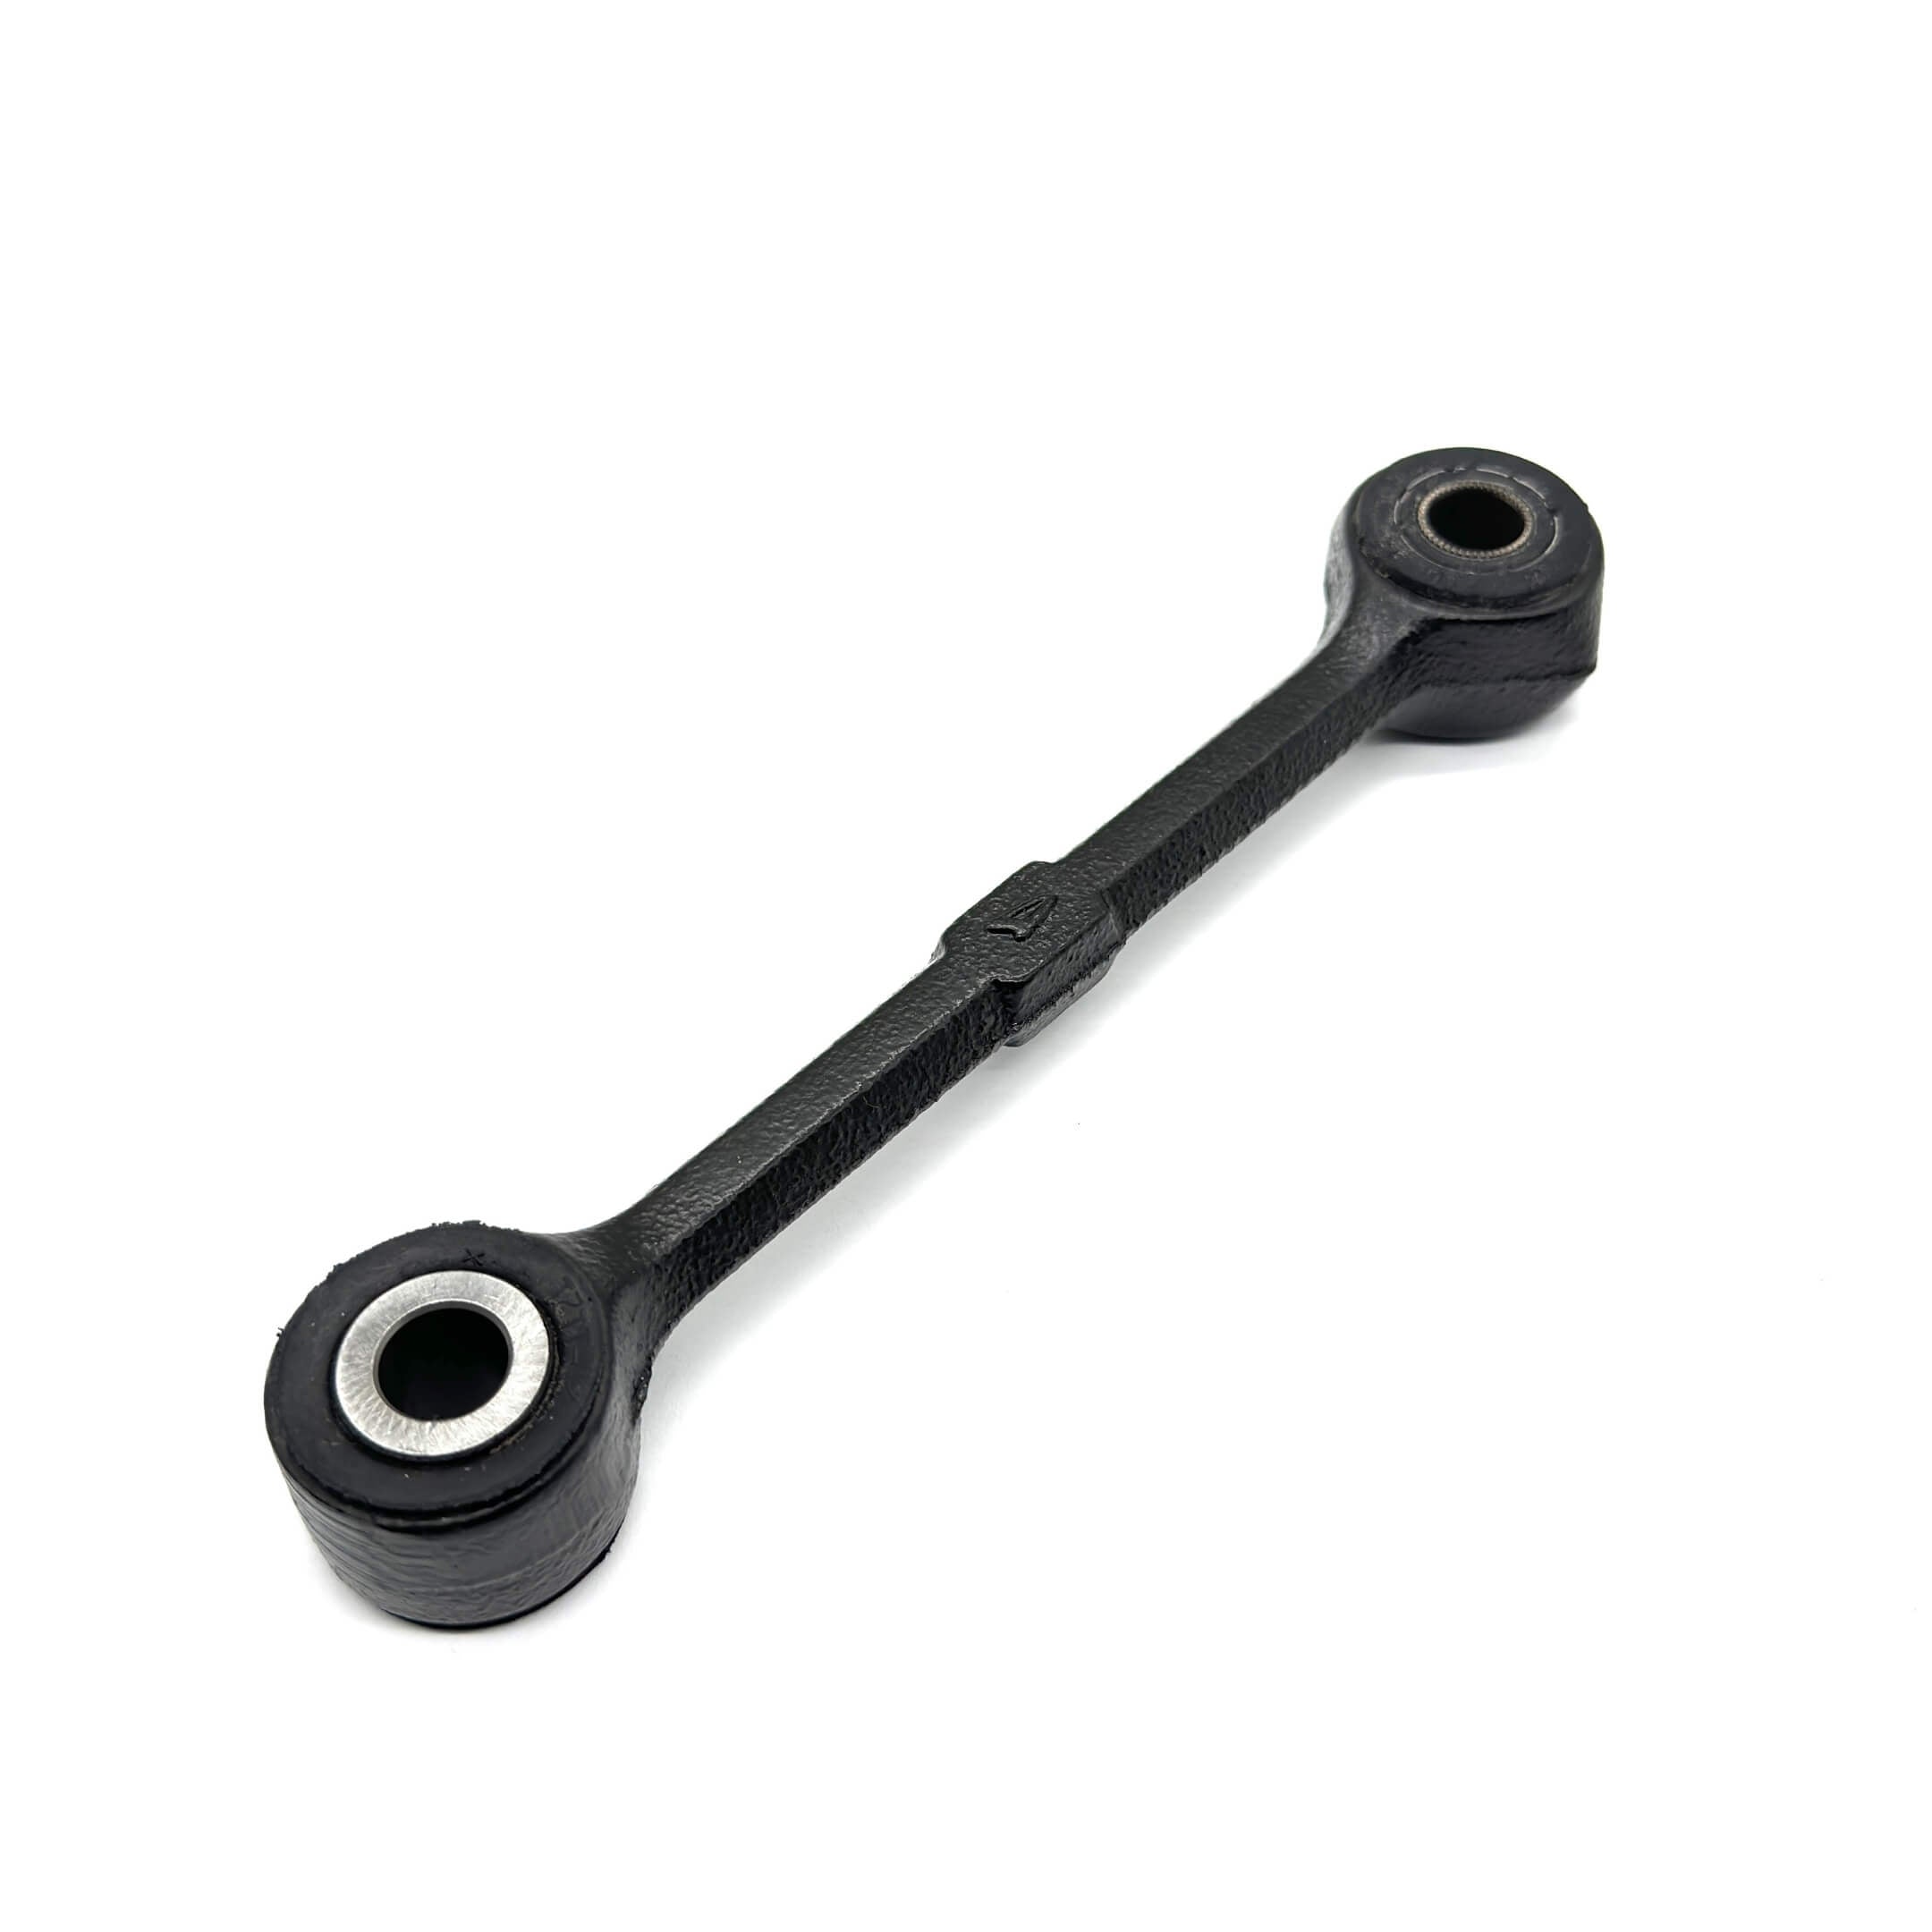
| Control Arms & Strut Bars | Lower control arms left and right, strut bars, strut bar cushions, ball joint clips. | A torn ball joint boot, a rear bushing that has gone hard or taken a set, a cushion that stays crushed, or a bent arm. |
| Rear Leaf Hardware | Leaf springs, shackles, shackle bushings, upper and lower spring pads, pad retainers, U bolts, spring bumpers. | Cracked leaves, a spring sitting out of place, deformed spring bands, or U bolts that have loosened or stretched. |
| Rear Coil & Arms | Rear coil springs, rear suspension arms, upper and lower spring seats, rear spring bumpers, lateral control rods. | Play in an arm joint, a cracked or sagging spring, or a rod that is bent. |
| Rear Shocks & Bushings | Rear shock absorbers, shock absorber bushing kits, cushions, washers. | Oil leaking from the body, uneven resistance through the stroke, or play at either mounting point. |
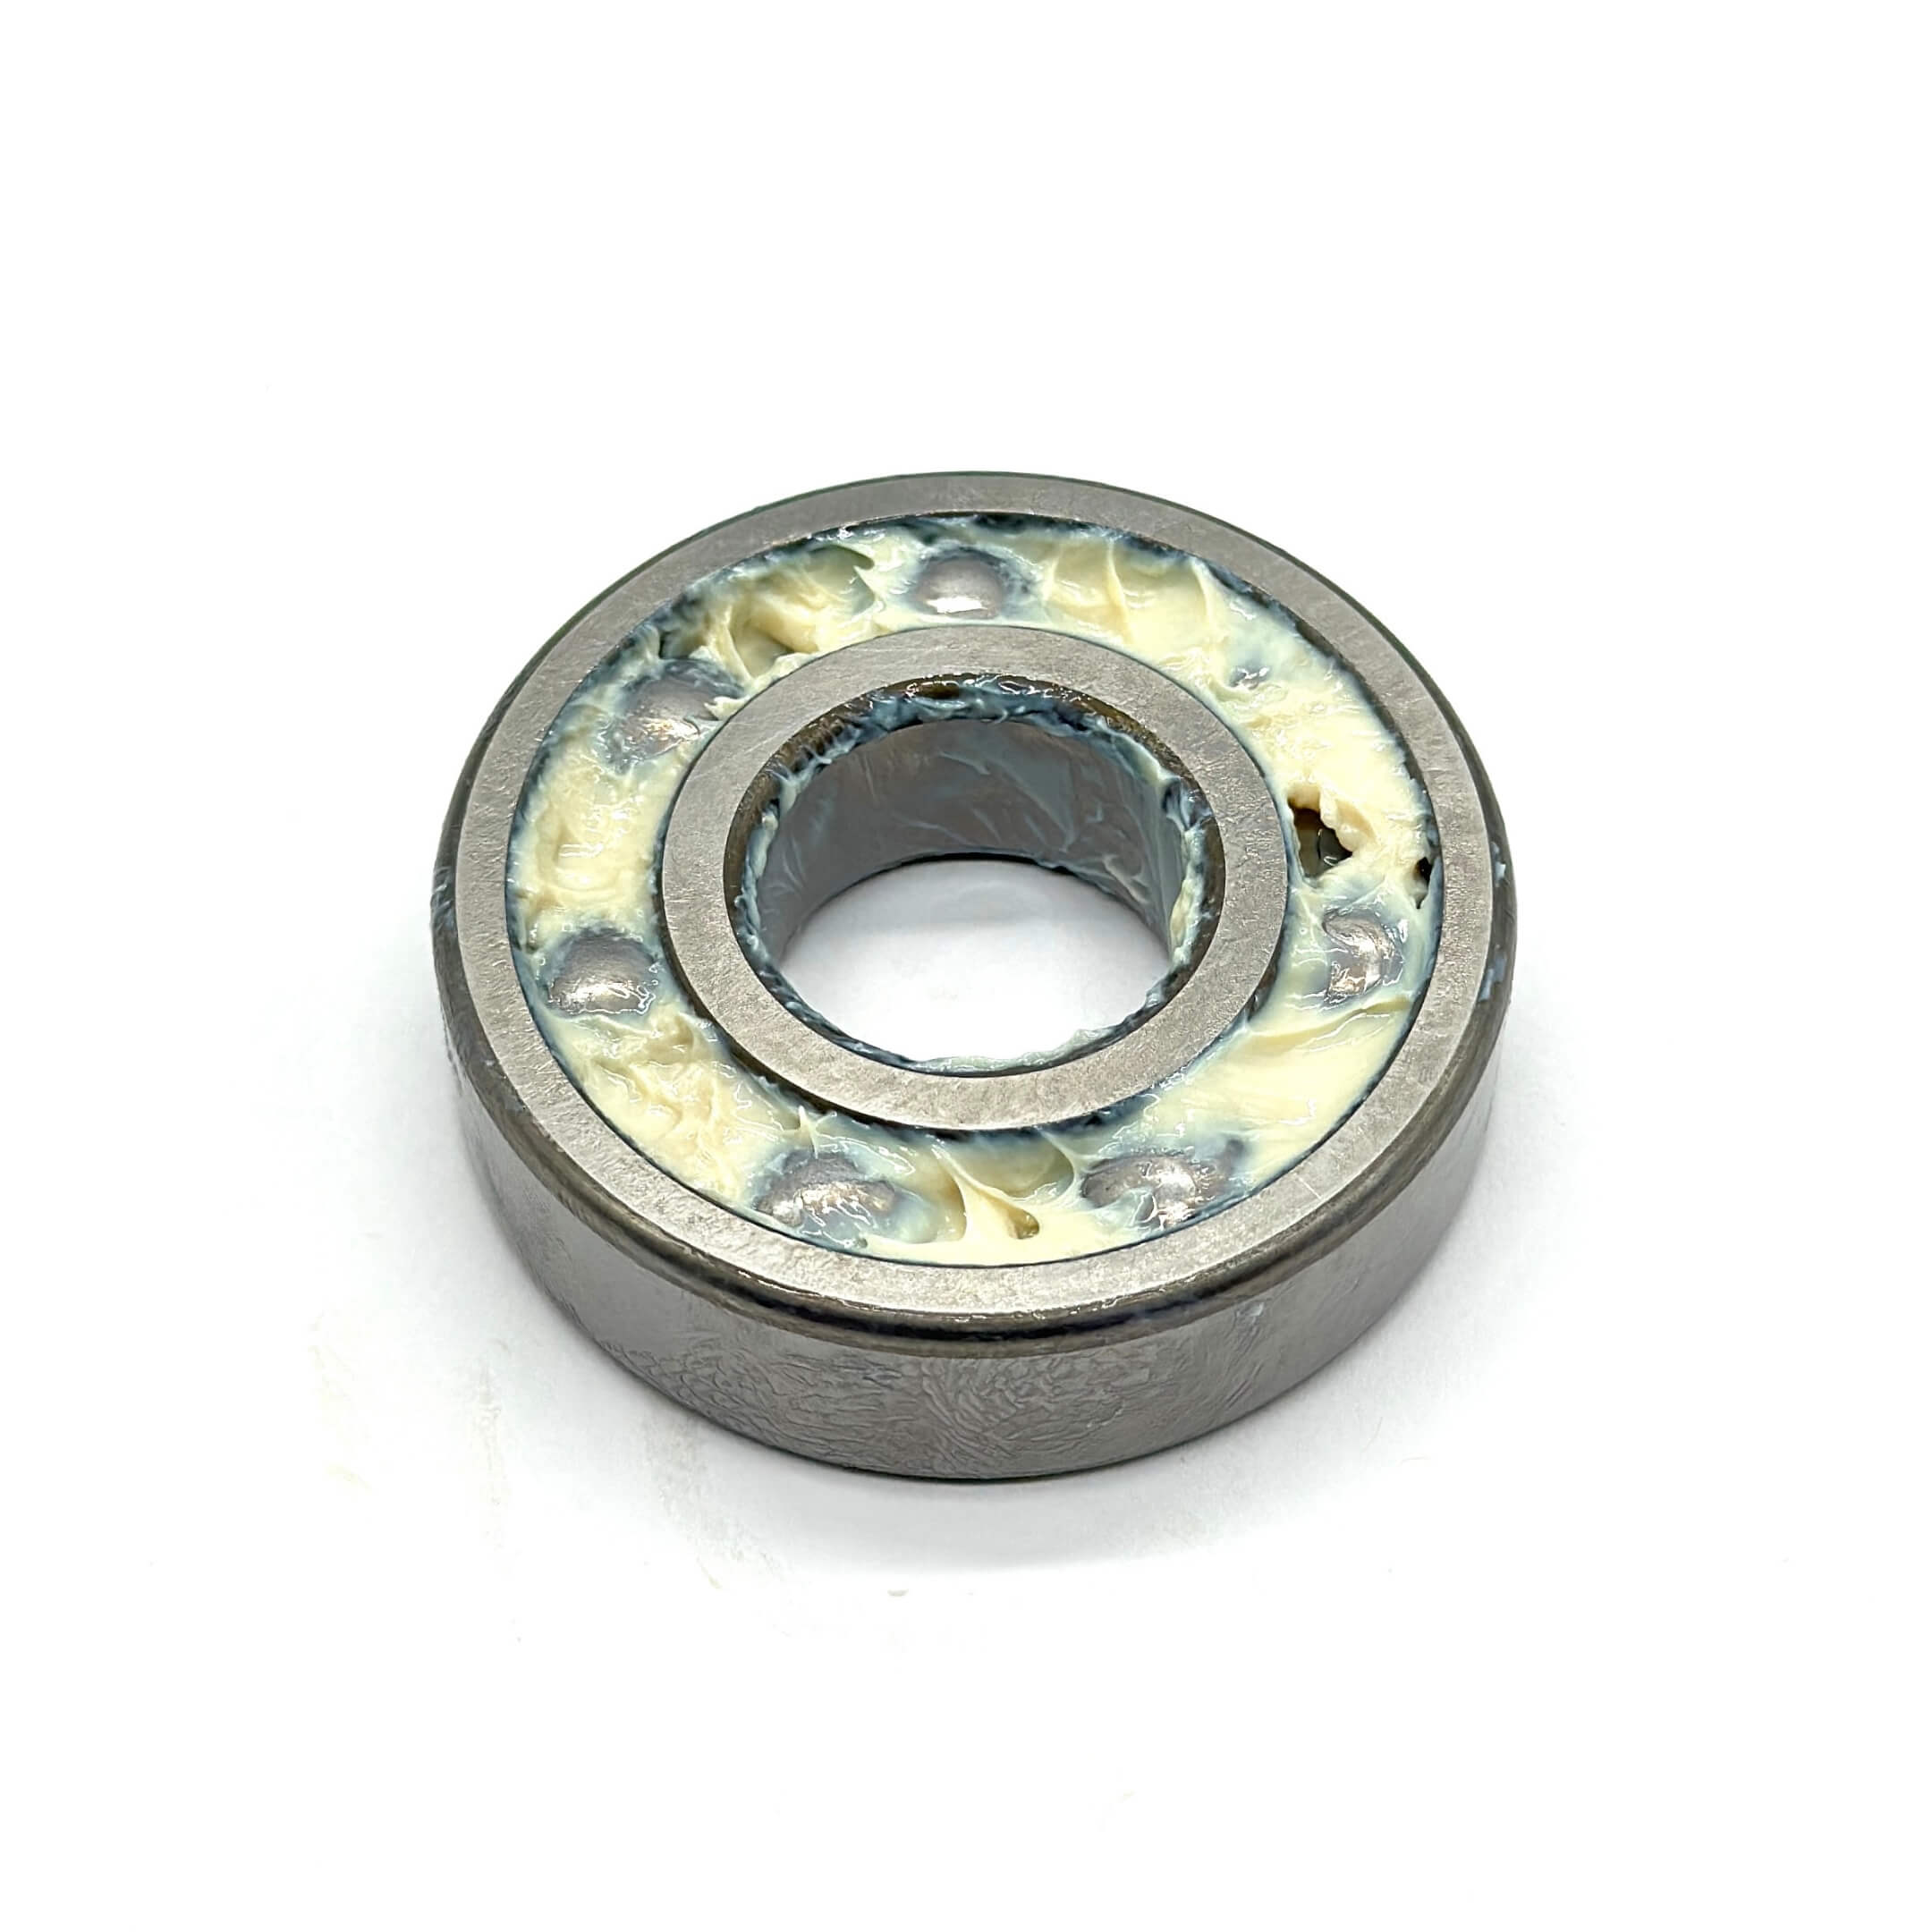
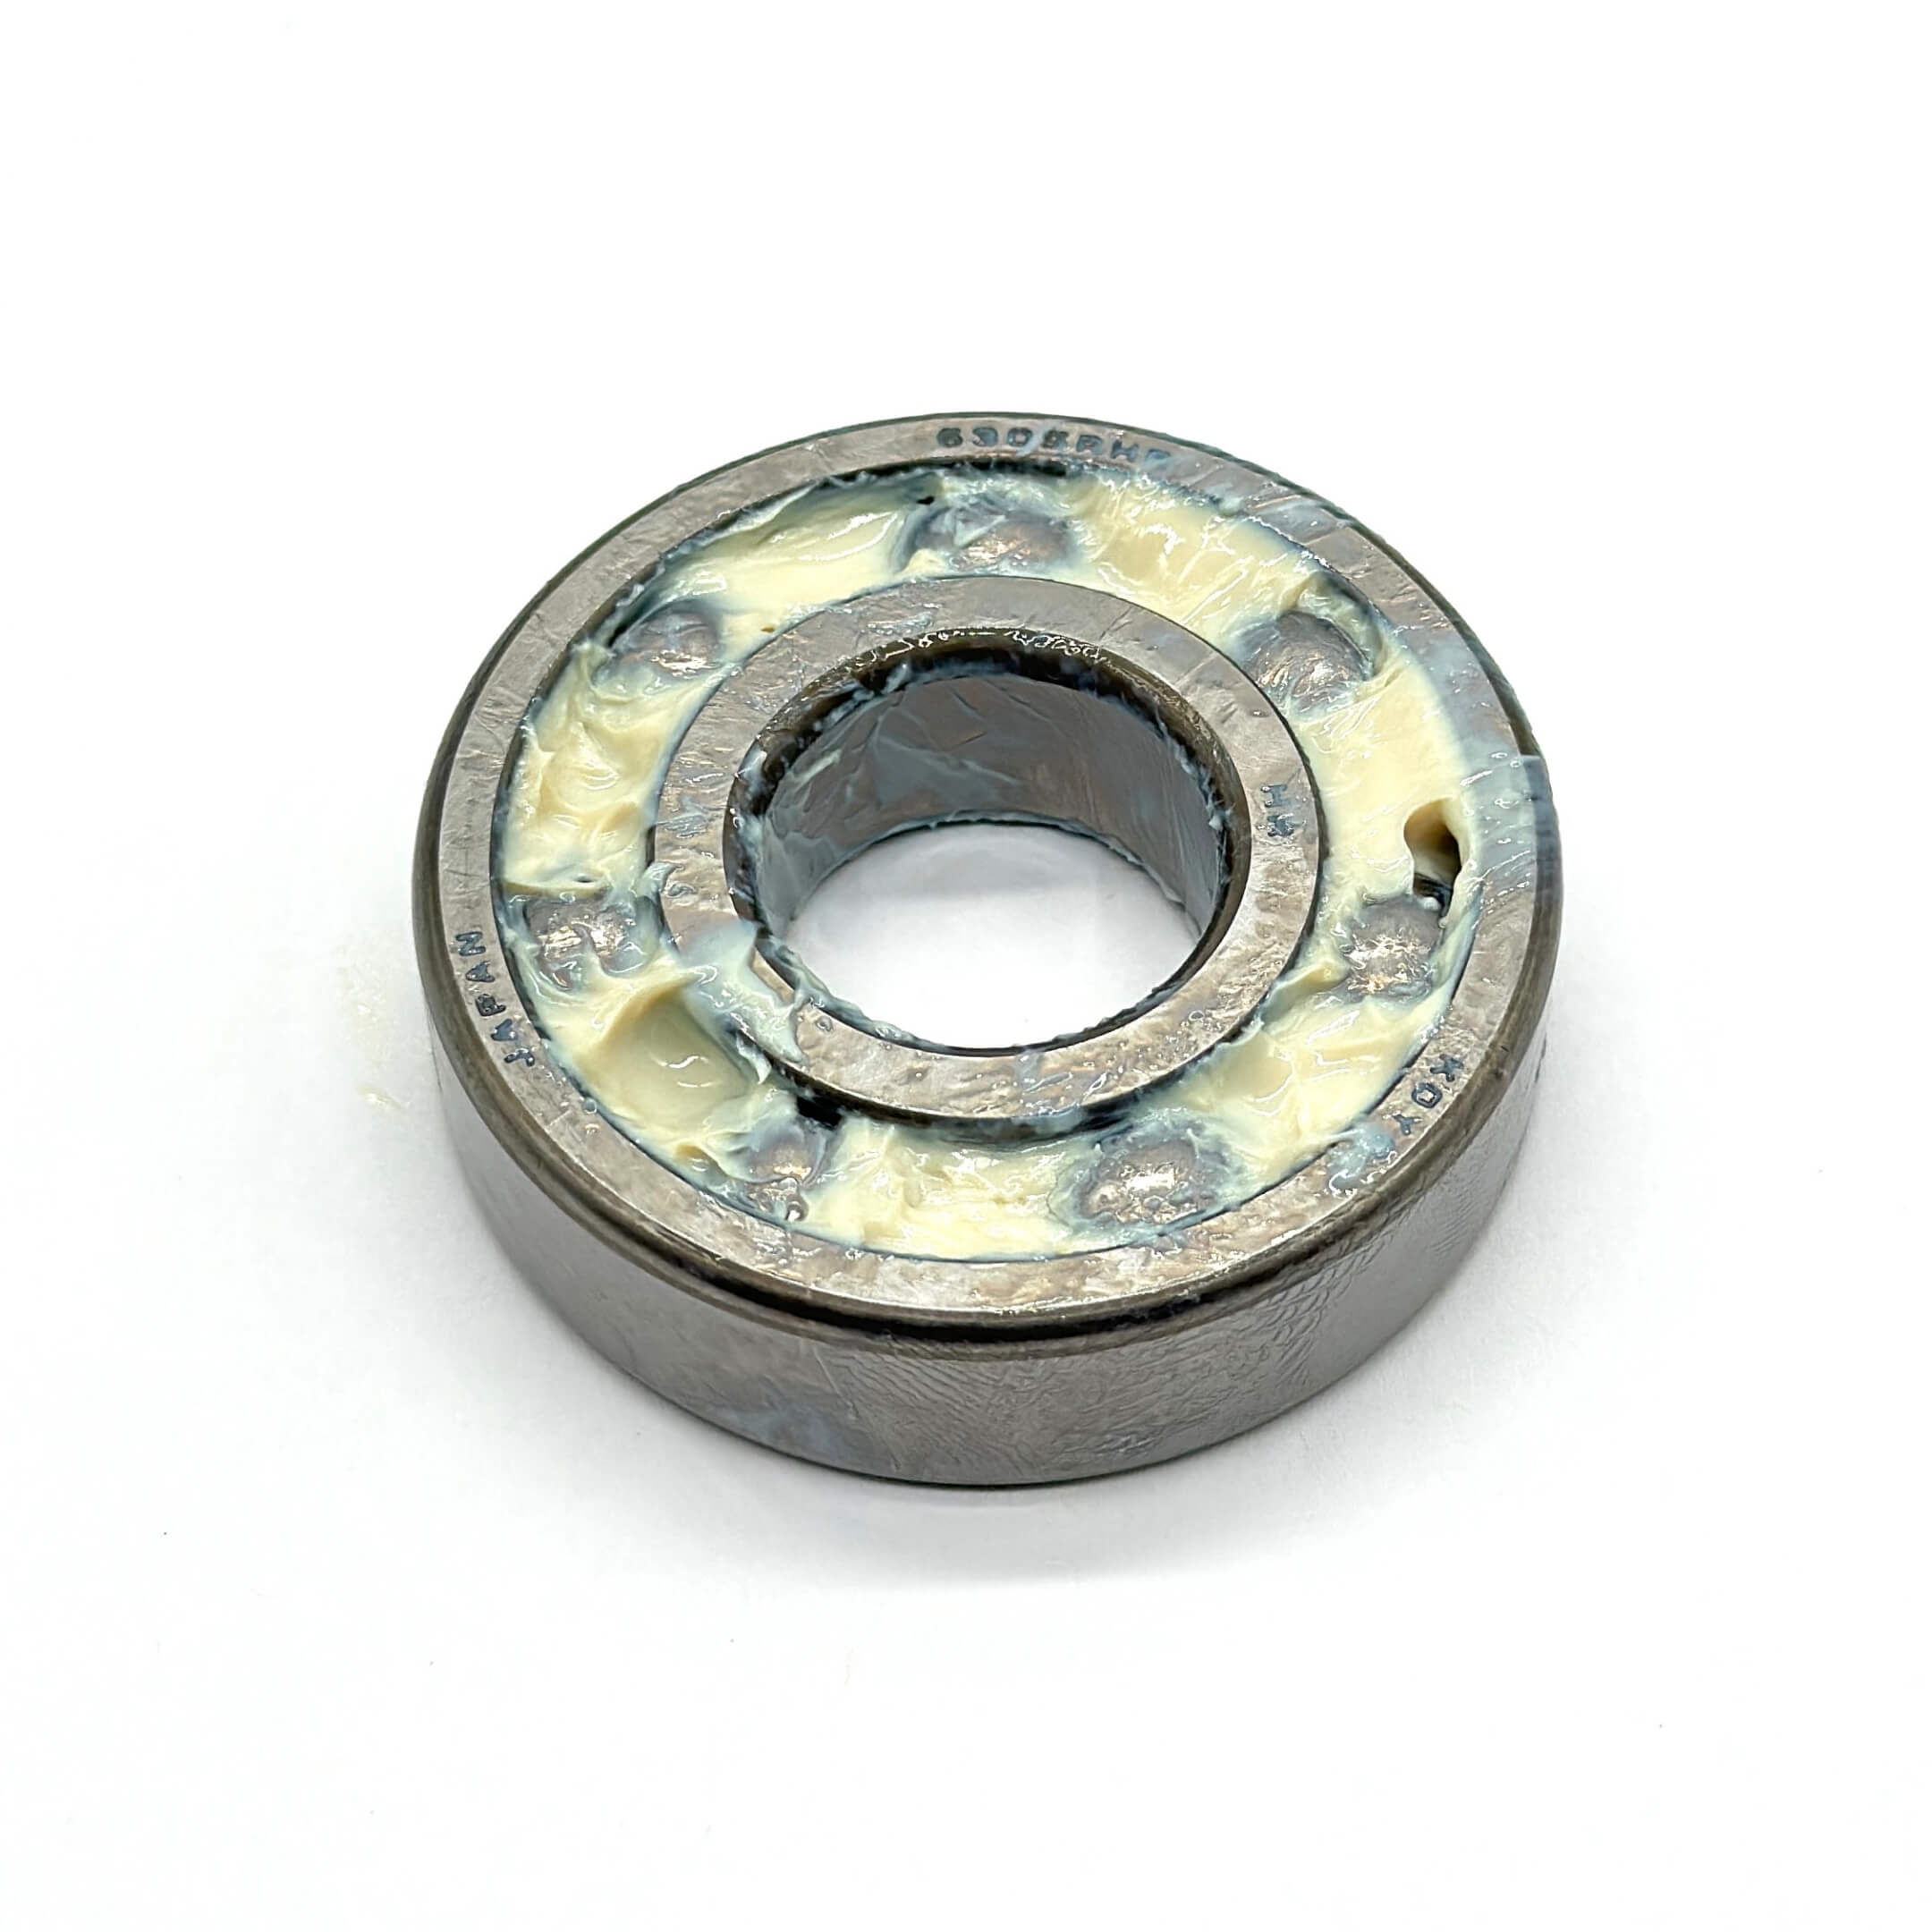
| Wheel Bearings | Front and rear wheel bearings. | Axial play over 0.5 mm at the front, or outside 0.10 to 0.80 mm at the rear. |
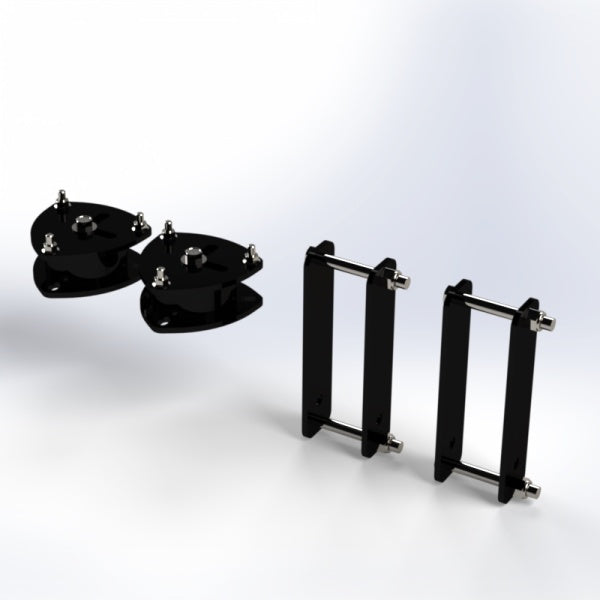
| Lift | Hijet lift kits. | You want tire clearance for field or trail work. |
Inspection & Service
The factory schedules inspections, not automatic suspension-part replacement at these intervals. Trucks in commercial use are inspected more often than trucks in private use.
| Inspection Item | Private Use | Commercial Use | Application or Note |
|---|---|---|---|
| Chassis spring: damage | 24 months | 3 and 12 months | Look for breakage and cracks. |
| Chassis spring: unequal left and right deflection | Not scheduled | 12 months | Checked with the truck unloaded on level ground. |
| Mounting points: looseness and damage | 24 months | Not scheduled | Covers the bracket as well. |
| Mounting points excluding the bracket: looseness and damage | Not scheduled | 3 and 12 months | The commercial schedule splits the bracket into its own row. |
| Connecting points: play | 24 months | 12 months | Covers the strut and leaf-spring mountings. |
| Leaf displacement | Not scheduled | 12 months | Coil-spring suspension does not require this inspection. Spring bands and U-bolts are checked with it. |
| Bracket mounting: looseness and damage | Not scheduled | 12 months | Listed separately from the other mounting points. |
| Suspension arm: play at the connections, plus arm damage | 24 months | 12 months | Leaf suspension without a stabilizer does not require this inspection. |
| Shock absorber: oil leakage and damage | 24 months | 3 and 12 months | Inspect the cylinder body for leakage. |
| Shock absorber: mounting play | 24 months | 3 and 12 months | Shake the mounting by hand, then check the fasteners. |
Wheel and tire items a suspension diagnosis uses
| Inspection Item | Private Use | Commercial Use | Factory Criterion |
|---|---|---|---|
| Tire pressure | Before driving, 6, 12, and 24 months | Before driving, 1, 3, and 12 months | Set from the pressure label on the vehicle. |
| Tire cracks and damage | Before driving, 6, 12, and 24 months | Before driving, 1, 3, and 12 months | Inspect the whole tire. |
| Tread depth and abnormal wear | Before driving, 6, 12, and 24 months | Before driving, 1, 3, and 12 months | Remaining tread to 1.6 mm. |
| Metal, stones, or other objects in the tread | Before driving, 6, 12, and 24 months | Before driving, 1, 3, and 12 months | Remove and check for air loss. |
| Wheel nut and wheel bolt looseness | 12 and 24 months | 1, 3, and 12 months | Wheel nut torque 9 to 12 kg-m. |
| Front wheel bearing play | 24 months | 3 and 12 months | Axial play at the axle center, 0.5 mm or less. |
| Rear wheel bearing play | 24 months | 12 months | Axial play at the axle center, 0.1 to 0.8 mm. |
An inspection interval is not a replacement interval. Every item above is a look, a shake, or a measurement. The factory replaces a suspension part when the inspection fails, not when the truck reaches a given month.
Front Suspension
Every S100 and S110 uses a front strut assembly. The shock absorber, coil spring, upper mount, spring seat, bump stop, and dust cover come out together. Three nuts secure the top. One bolt and nut connect it to the steering knuckle below.
Inspect the complete assembly before ordering. These parts have covered the same mileage, and strut service already requires disassembly. Replacing worn mounts, bump stops, or dust covers now prevents repeating the job later.


Two assembly details are easy to miss. The spring's paint mark faces downward. The upper and lower ends must sit fully in their seat grooves.
ABS changes the entire lower arm job
The factory gives separate procedures for standard and ABS trucks. A wired sensor behind the front wheel confirms ABS. That version requires the longer repair.
| Procedure step | Standard truck | ABS truck |
|---|---|---|
| Steering knuckle | Stays on the truck | Removed with the lower arm |
| Hub and brake | Stay installed | Caliper, hub, disc, sensor removed |
| Shaft or spindle | Left undisturbed | 4WD shaft removed; 2WD spindle pressed out |
| Brake dust cover | Left in place | Replaced, then press-fitted |
The lower arm and strut bar
Below the strut, the lower control arm connects to the steering knuckle through a ball joint. A body-side bushing anchors the rear, while the strut bar locates the arm from the front.
The factory requires a new ball-joint clip after removal. Inspect the arm for damage, the boot for cracks, plus the rear bushing for deformation or permanent compression. Check the strut bar for bending. Inspect its cushions for permanent set.


Neither of these looks dramatic when you pull it off. A crushed strut bar cushion or a collapsed arm bushing lets the wheel move under braking, and what you feel from the seat is vague steering rather than a clunk.
Rear Suspension
This is the part that catches people out. The factory documents two rear ends and they share almost nothing.
| Where it sits | Leaf sprung | Three link with coils |
|---|---|---|
| The spring | A leaf spring at each side | A coil spring at each side |
| What clamps it to the axle | U bolts through spring pads | Nothing, the arms carry the axle |
| Front mounting | A fixed spring eye | A suspension arm bushing into the body |
| Rear mounting | A swinging shackle | A suspension arm bushing into the axle |
| Side to side location | The springs themselves | A lateral control rod |
| Rear shock upper nut | 450 ± 100 kgf-cm | 480 ± 95 kgf-cm |


Identify your rear suspension in seconds
Look beneath the rear axle. A lateral control rod running across the truck identifies the three-link coil-spring setup. No rod means you have leaf springs.

Do not order rear suspension parts by chassis code alone. Check beneath the truck to confirm whether it uses leaf springs or a three-link coil rear suspension before selecting parts.
The lateral control rod locates the axle
It centers the rear axle beneath the truck. Installation requires a height setting, not just bolt torque. Final tightening happens at ride height after the suspension settles.
Incorrect installation can leave the axle off-center or preload the bushings. The LSPV sensor spring also mounts here, so this job affects a brake component.
Troubleshooting
None of these prove a specific part has failed. They tell you where to look.
| What you notice | What to inspect first |
|---|---|
| Clunk over bumps | Arm joints, ball joint, strut mounts, shock mounts, loose fasteners |
| Keeps bouncing after a bump | Front or rear shocks; check for leakage, damage, or mounting play |
| Vague or wandering steering | Tire pressure, alignment, lower-arm bushings, strut-bar cushions, ball joint, wheel-bearing play |
| Sits low or leans to one side | Broken or sagging springs; compare both sides with the truck unloaded on level ground |
| Uneven tire wear | Tire pressure, wheel balance, alignment, wheel or bearing looseness |
| Rear squeak, clunk, or metal contact | Leaf spring position, spring bands, U-bolts, shackles, bushings, pads, bumpers |
| Rear axle shifts side to side | Lateral control rod, bushings, mountings on three-link models |
| Oil leaking down a shock body | Shock absorber, mounting play, loose fasteners |
| Wheel rocks at the top and bottom | Repeat with the brake pressed. If play disappears, suspect the bearing. If it remains, inspect the axle carrier or suspension. |
A free test that tells a bad bearing from a bad arm. Jack the front, hold the tire top and bottom, and rock it. If you feel play, have someone hold the brake pedal down and rock it again. If the play goes away, it is the wheel bearing. If the play is still there, inspect the axle carrier or the suspension. The axial limits are 0.5 mm at the front and 0.10 to 0.80 mm at the rear.


What tire wear can tell you
Tire wear can point you toward the cause, but it does not confirm a failed suspension part. For any abnormal pattern, the factory says to check tire pressure, wheel balance, plus alignment.
| What you see | Factory-listed cause | Check first |
|---|---|---|
| Center worn | Tire pressure too high | Confirm pressure against the factory specification |
| Both shoulders worn | Tire pressure too low or the truck has been overloaded | Check pressure plus vehicle load |
| Waves across the tread | Excessive toe-in or camber | Inspect front wheel alignment |
| One shoulder worn | Road crown may contribute. Incorrect front alignment or rear wheel looseness can also cause it | Check alignment, wheel nuts, plus bearing play |
| One area wearing quickly | Frequent hard braking or rapid acceleration | Consider driving conditions before replacing suspension parts |
| Outer shoulder wearing quickly | Incorrect camber or toe-in, combined with fast cornering | Check alignment plus driving conditions |
| Tread level with the wear bars | Tire has reached its wear limit | Replace below the factory minimum of 1.6 mm |
| Cracks or sidewall damage | Tire deterioration or impact damage | Inspect the complete tire before driving |
| Nails, metal, or stones in the tread | Embedded road debris | Check for punctures or air loss before removal |
Installation & Alignment
Most of what follows costs nothing except your attention, and every one of these is a factory inspection point.
| Service job | Inspect while it is apart |
|---|---|
| Front strut | Cycle the shock through its full stroke. Check for uneven resistance, noise, leaks, damage, or mount play. Inspect the upper support, bushing, spring seat, bump stop, dust covers, plus the spring. The paint mark faces down. Both spring ends must sit in their seat grooves. |
| Lower arm or strut bar | Inspect the arm body, ball-joint boot, rear bushing, strut bar, cushions, plus each mounting point. Replace the ball-joint clip after removal. Check front alignment once the repair is complete. |
| Rear shock | Cycle the shock through its full stroke. Check for uneven resistance, noise, leaks, damage, or mounting play. Replace the removed mounting nuts. |
| Rear leaf spring | Inspect the leaf, shackle plates, bushings, pads, retainer, bumper, spring bands, plus U-bolts. Look for cracks, displacement, deformation, pinching, permanent compression, or loose hardware. Tighten the U-bolts evenly. |
| Rear coil spring or suspension arm | Inspect the spring, both seats, bumper, arm body, bushings, joints, plus mounting points. Look for cracks, sag, deformation, damage, or play. The urethane-covered side faces up. The spring end sits in the lower-seat groove. |
| Lateral control rod | Inspect the rod body, both bushings, mounting points, plus the LSPV sensor spring. Preserve the sensor-spring alignment marks. Set the installation height before torque. Final-tighten after the suspension settles. |
| Any suspension work | Inspect the tires for abnormal wear or embedded debris. Check the rims, wheel nuts, bearing play, plus bearing noise. If front-wheel play disappears with the brake pressed, suspect the bearing. If it remains, inspect the axle carrier or suspension. |


Some suspension fasteners are single-use. The factory requires new lower strut hardware, three upper support nuts, plus a shock absorber rod lock nut. It also specifies a new lower-arm nut, ball-joint clip, and rear shock nuts. Confirm the required hardware before installation.
Aligning your Hijet after suspension work
Anything you change at the front lower arm, strut or knuckle moves the alignment. The factory sends you to the alignment check by name at the end of the ABS lower arm procedure. Measure the way it does: unloaded, fuel tank full, spare tire out.
Before measuring alignment
| Check first | Factory requirement | Action |
|---|---|---|
| Suspension and steering | No looseness or excessive play | Repair worn ball joints, linkage, mounts, or wheel bearings first |
| Tires | Correct pressure with no severe wear | Correct any tire issue before measuring |
| Radial tire runout | 1.4 mm maximum | Repair or replace the tire or wheel if excessive |
| Lateral tire runout | 2.0 mm maximum | Repair or replace the tire or wheel if excessive |
Before measuring toe, roll the truck straight forward about 5 meters to settle the suspension.
The factory begins with tire pressure before using any alignment gauge. A passing side-slip result does not confirm the front end is correct. Any abnormal alignment value still requires inspection or correction.
Specifications
Factory alignment specifications
| Alignment check | Factory specification | Adjustable? | Factory guidance |
|---|---|---|---|
| Toe-in | 0 ± 1.0 mm | Yes | Adjust both rack ends equally in opposite directions |
| Camber | 0°15′ ± 45′ | No | Factory-set |
| Caster, pickup | 3°08′ ± 1° | No | Factory-set |
| Caster, van or Atrai | 3°04′ ± 1° | No | Factory-set |
| Kingpin inclination | 13°03′ ± 1° | No | Factory-set |
| Front side slip | 5 mm IN to 5 mm OUT | No direct adjustment | Use as the final alignment check |
Toe is the only adjustable setting. Camber, caster, and kingpin inclination are measured but factory-set. If one is out after an impact, inspect for bent or damaged parts. Caster differs between pickups and vans, so body style matters.
Factory torque figures follow, as printed, in kgf-cm, with the closest ft-lb equivalent alongside. Where a fastener is marked new every time, use a new one.
Front suspension
| Fastener or location | kgf-cm | ft-lb | Important note |
|---|---|---|---|
| Shock absorber rod lock nut | 600 ± 100 | 43.4 ± 7.2 | Use a new lock nut |
| Upper suspension support to body, three nuts | 400 ± 50 | 28.9 ± 3.6 | Use three new nuts |
| Shock absorber to steering knuckle | 950 ± 150 | 68.7 ± 10.8 | Use new hardware. Remove bolt-hole clearance before tightening |
| Lower arm to body | 950 ± 150 | 68.7 ± 10.8 | Standard models require a new nut. ABS models require a new bolt plus nut |
| Strut bar to lower arm | 950 ± 150 | 68.7 ± 10.8 | Follow the non-reuse marks in the component diagram |
| Strut-bar front retaining nut | 850 ± 150 | 61.5 ± 10.8 | Install the cushions plus plate washer before tightening |
| Lower-arm ball-joint castle nut | 475 ± 75 | 34.4 ± 5.4 | Install a new clip |
| Tie-rod end castle nut, ABS procedure | 475 ± 75 | 34.4 ± 5.4 | Install a new clip |
| Tie-rod lock nut after toe adjustment | 450 ± 100 | 32.5 ± 7.2 | Adjust both sides equally. Recheck toe |
Additional fasteners for ABS lower-arm work
| Fastener or location | kgf-cm | ft-lb | Important note |
|---|---|---|---|
| Front hub castle nut | 2,000 ± 200 | 144.7 ± 14.5 | Tighten with the specified SST |
| Front brake-caliper mounting bolts | 1,210 ± 230 | 87.5 ± 16.6 | Required after reinstalling the caliper |
| Front ABS speed sensor | 75 ± 15 | 5.4 ± 1.1 | Reinstall after the hub assembly |
Rear leaf-spring suspension
| Fastener or location | kgf-cm | ft-lb | Important note |
|---|---|---|---|
| Rear shock upper nut | 450 ± 100 | 32.5 ± 7.2 | Use a new nut |
| Rear shock lower nut | 450 ± 100* | 32.5 ± 7.2* | Use a new nut |
| Leaf-spring front eye to body | 1,040 ± 160 | 75.2 ± 11.6 | Use a new bolt plus nut |
| Shackle pins, spring rear eye and body bracket | 400 ± 100 | 28.9 ± 7.2 | One figure covers both shackle pins. Use a new nut |
| U-bolt nuts | 500 ± 50 | 36.2 ± 3.6 | Tighten evenly to prevent bending |
Rear three-link suspension
| Fastener or location | kgf-cm | ft-lb | Important note |
|---|---|---|---|
| Rear shock upper nut | 480 ± 95 | 34.7 ± 6.9 | Use a new nut |
| Rear shock lower bolt to axle | 600 ± 120 | 43.4 ± 8.7 | Use a new bolt |
| Rear suspension arm to axle | 1,100 ± 200 | 79.6 ± 14.5 | Final-tighten after lowering the truck, then settling the suspension |
| Rear suspension arm to body | 900 ± 150 | 65.1 ± 10.8 | Final-tighten after lowering the truck, then settling the suspension |
| Lateral control rod to axle | 900 ± 150 | 65.1 ± 10.8 | Set dimension A to 13 ± 20 mm before tightening |
| Lateral control rod to body | 900 ± 150 | 65.1 ± 10.8 | Final-tighten after lowering the truck, then settling the suspension |
| LSPV sensor spring | 210 ± 40 | 15.2 ± 2.9 | Align the removal marks. Check P-valve operation afterward |
All models
| Fastener or location | kgf-cm | ft-lb | Important note |
|---|---|---|---|
| Road-wheel nuts | 1,050 ± 150 | 75.9 ± 10.8 | Recheck for looseness during routine inspection |
Factory Notes
*The rear shock lower nut is printed two ways for a leaf sprung truck. The written installation procedure specifies 450 ± 100 kgf-cm. The component diagram for the same connection prints 450 ± 150 kgf-cm. We publish both rather than choosing one.
The manual gives conflicting rear tire pressures for S110V vans fitted with 5.00-12 tires. Two places in the manual specify 2.4 kgf/cm². The service standards table at the back of the book specifies 2.6 kgf/cm² for the same applications. This conflict does not affect the 145R12 tire size. Check the tire-pressure label on the vehicle before setting pressure.
The factory never assigns a rear suspension layout to a chassis code. The factory documents both layouts but never assigns either to a chassis code. We checked the rear shock, leaf spring, coil spring, suspension arm, lateral rod, service-standard, and front-matter sections. None identifies the application.
Where can I buy Daihatsu Hijet suspension parts in the United States?
Daihatsu Hijet suspension parts are available from Oiwa Garage for S100 and S110 models. Availability varies by part, so check the individual product page. Not sure you selected the right part? Add your ENGINE code plus your CHASSIS NO. at checkout, or send a photo of the identification plate, and we’ll verify fitment before shipping.
Our 100% Fitment Guarantee
Add your VIN or chassis number at checkout and we verify the fitment of every part in your order before anything ships. We check your full chassis code, drivetrain (2WD or 4WD), ABS, and rear suspension layout (leaf spring or three-link coil). If anything does not match your truck, we contact you before dispatch. If something arrives wrong, we exchange it or refund you in full. No hassle, no runaround.
Contact Our Fitment Specialistsor text us directly at 562-661-8862
Fitment verified by the Kei Truck specialists at Oiwa Garage · Collection description updated August 2026.