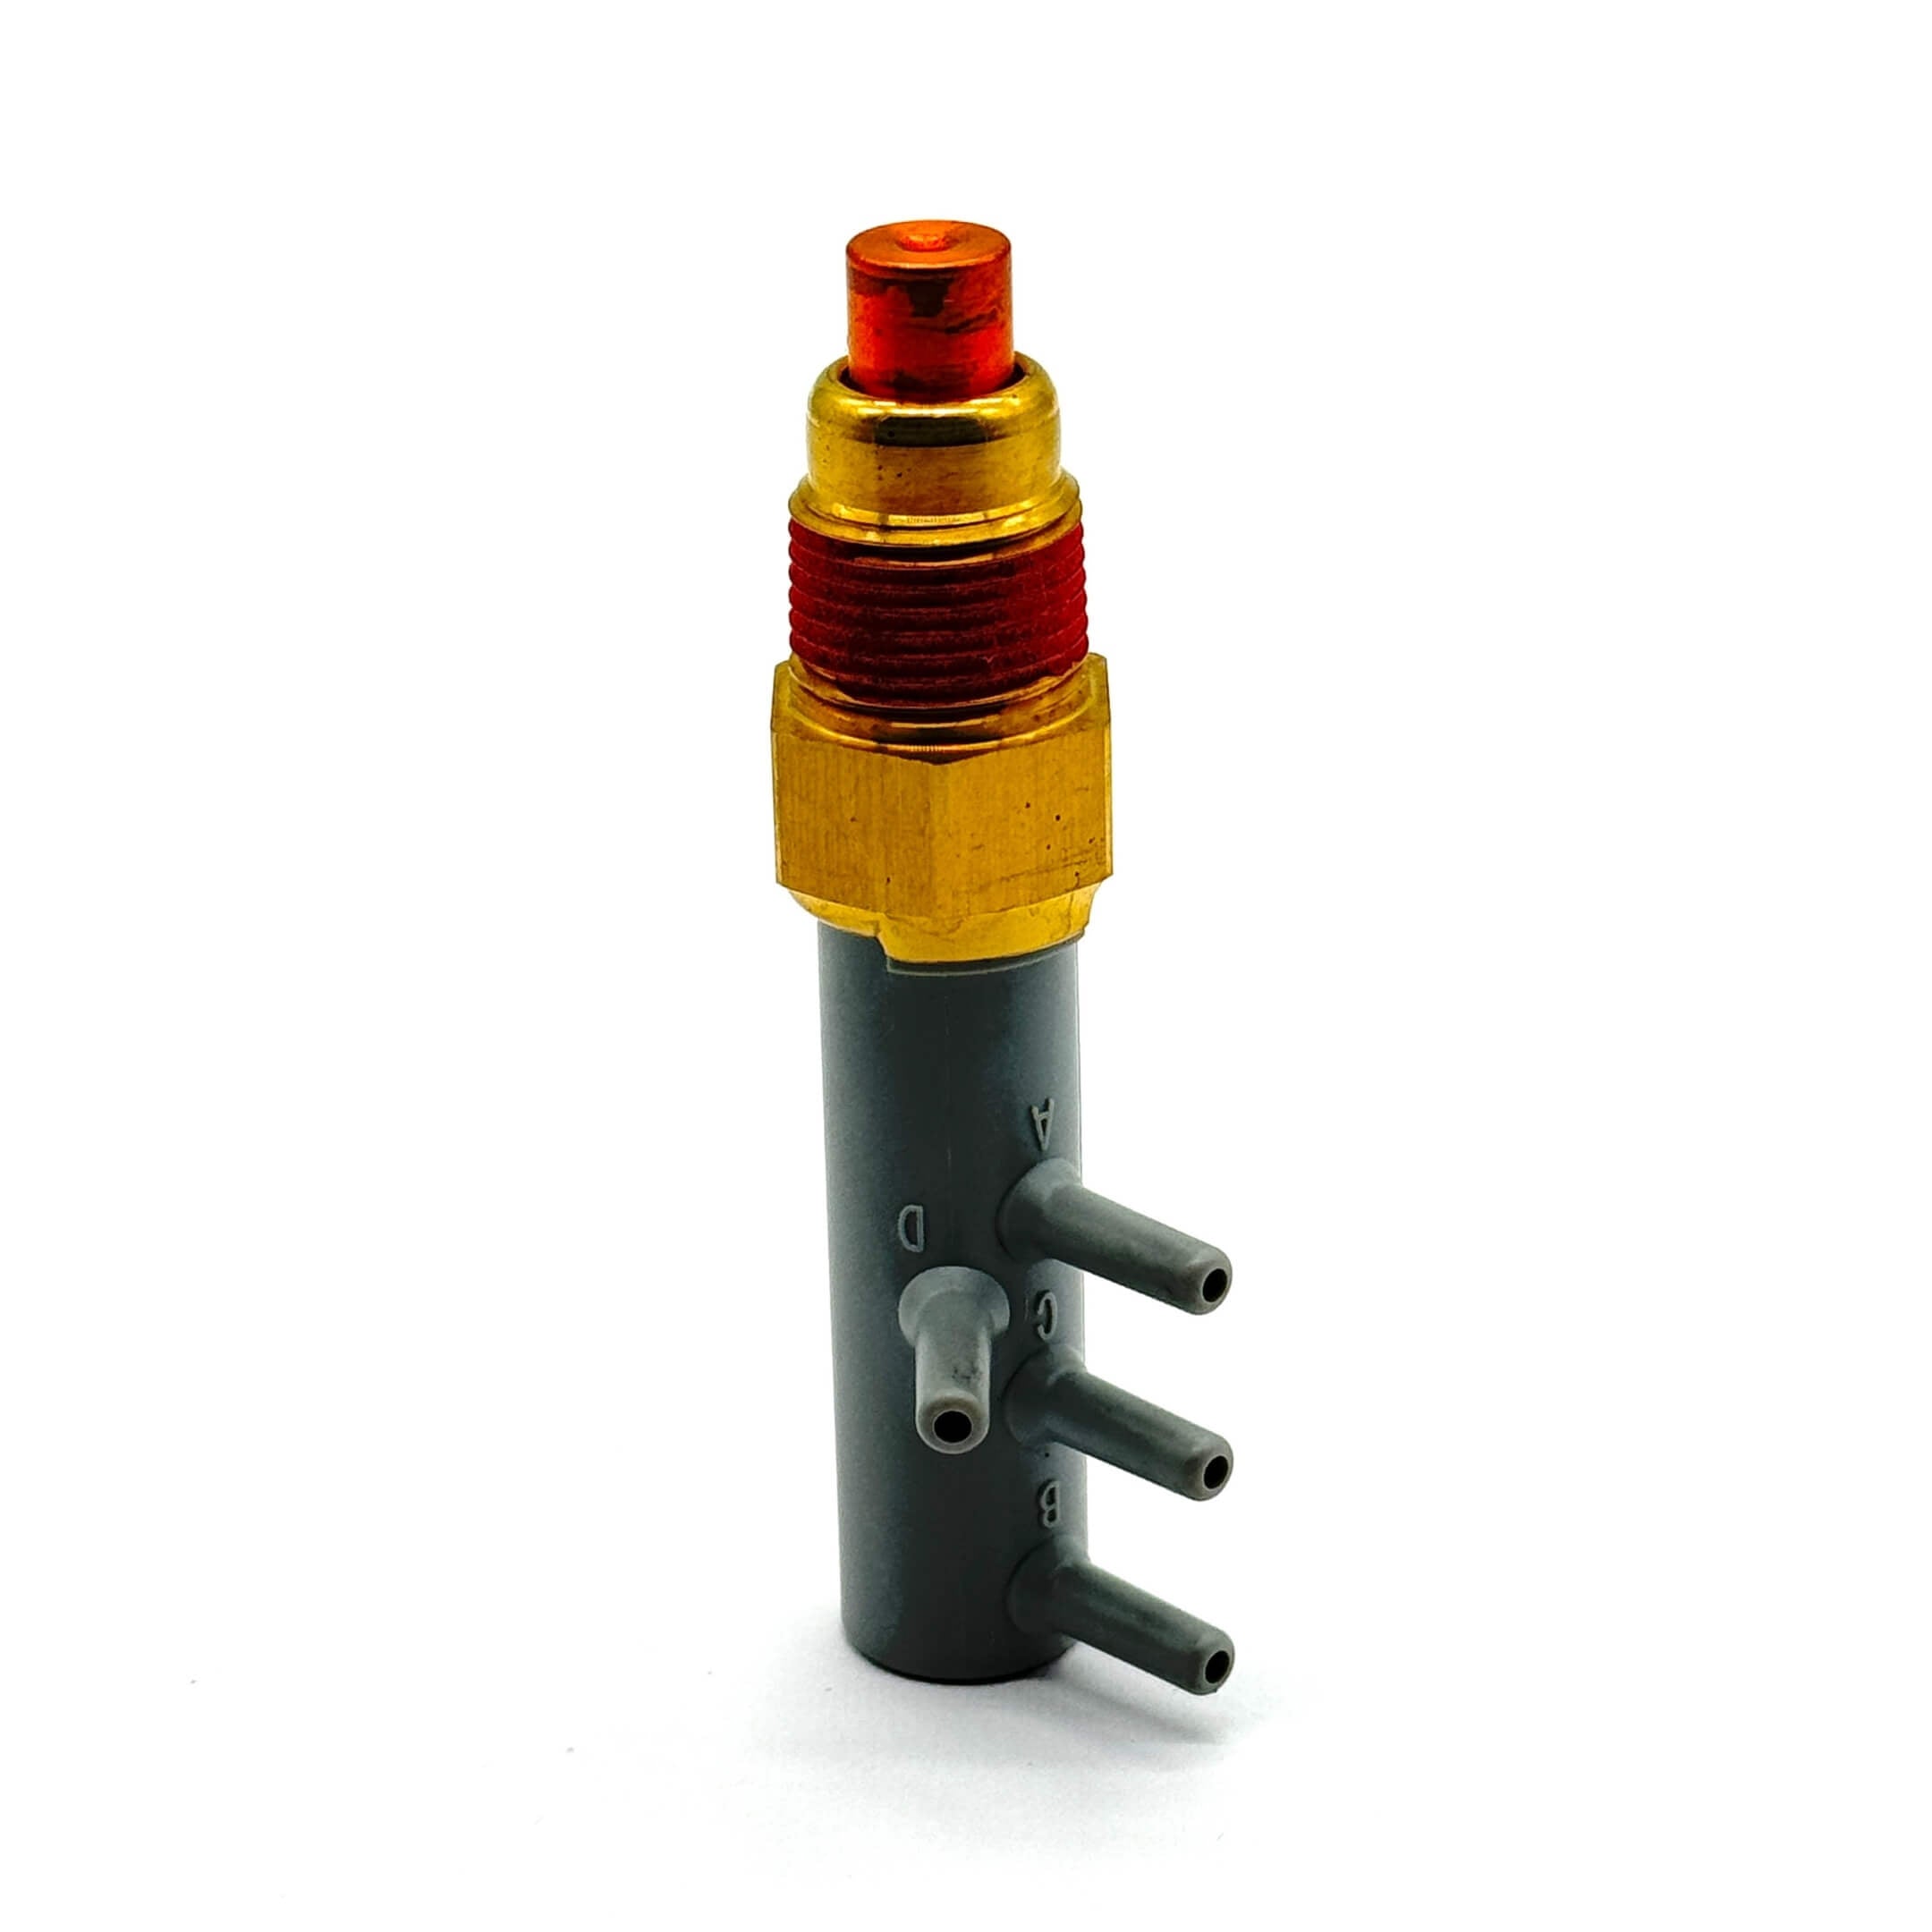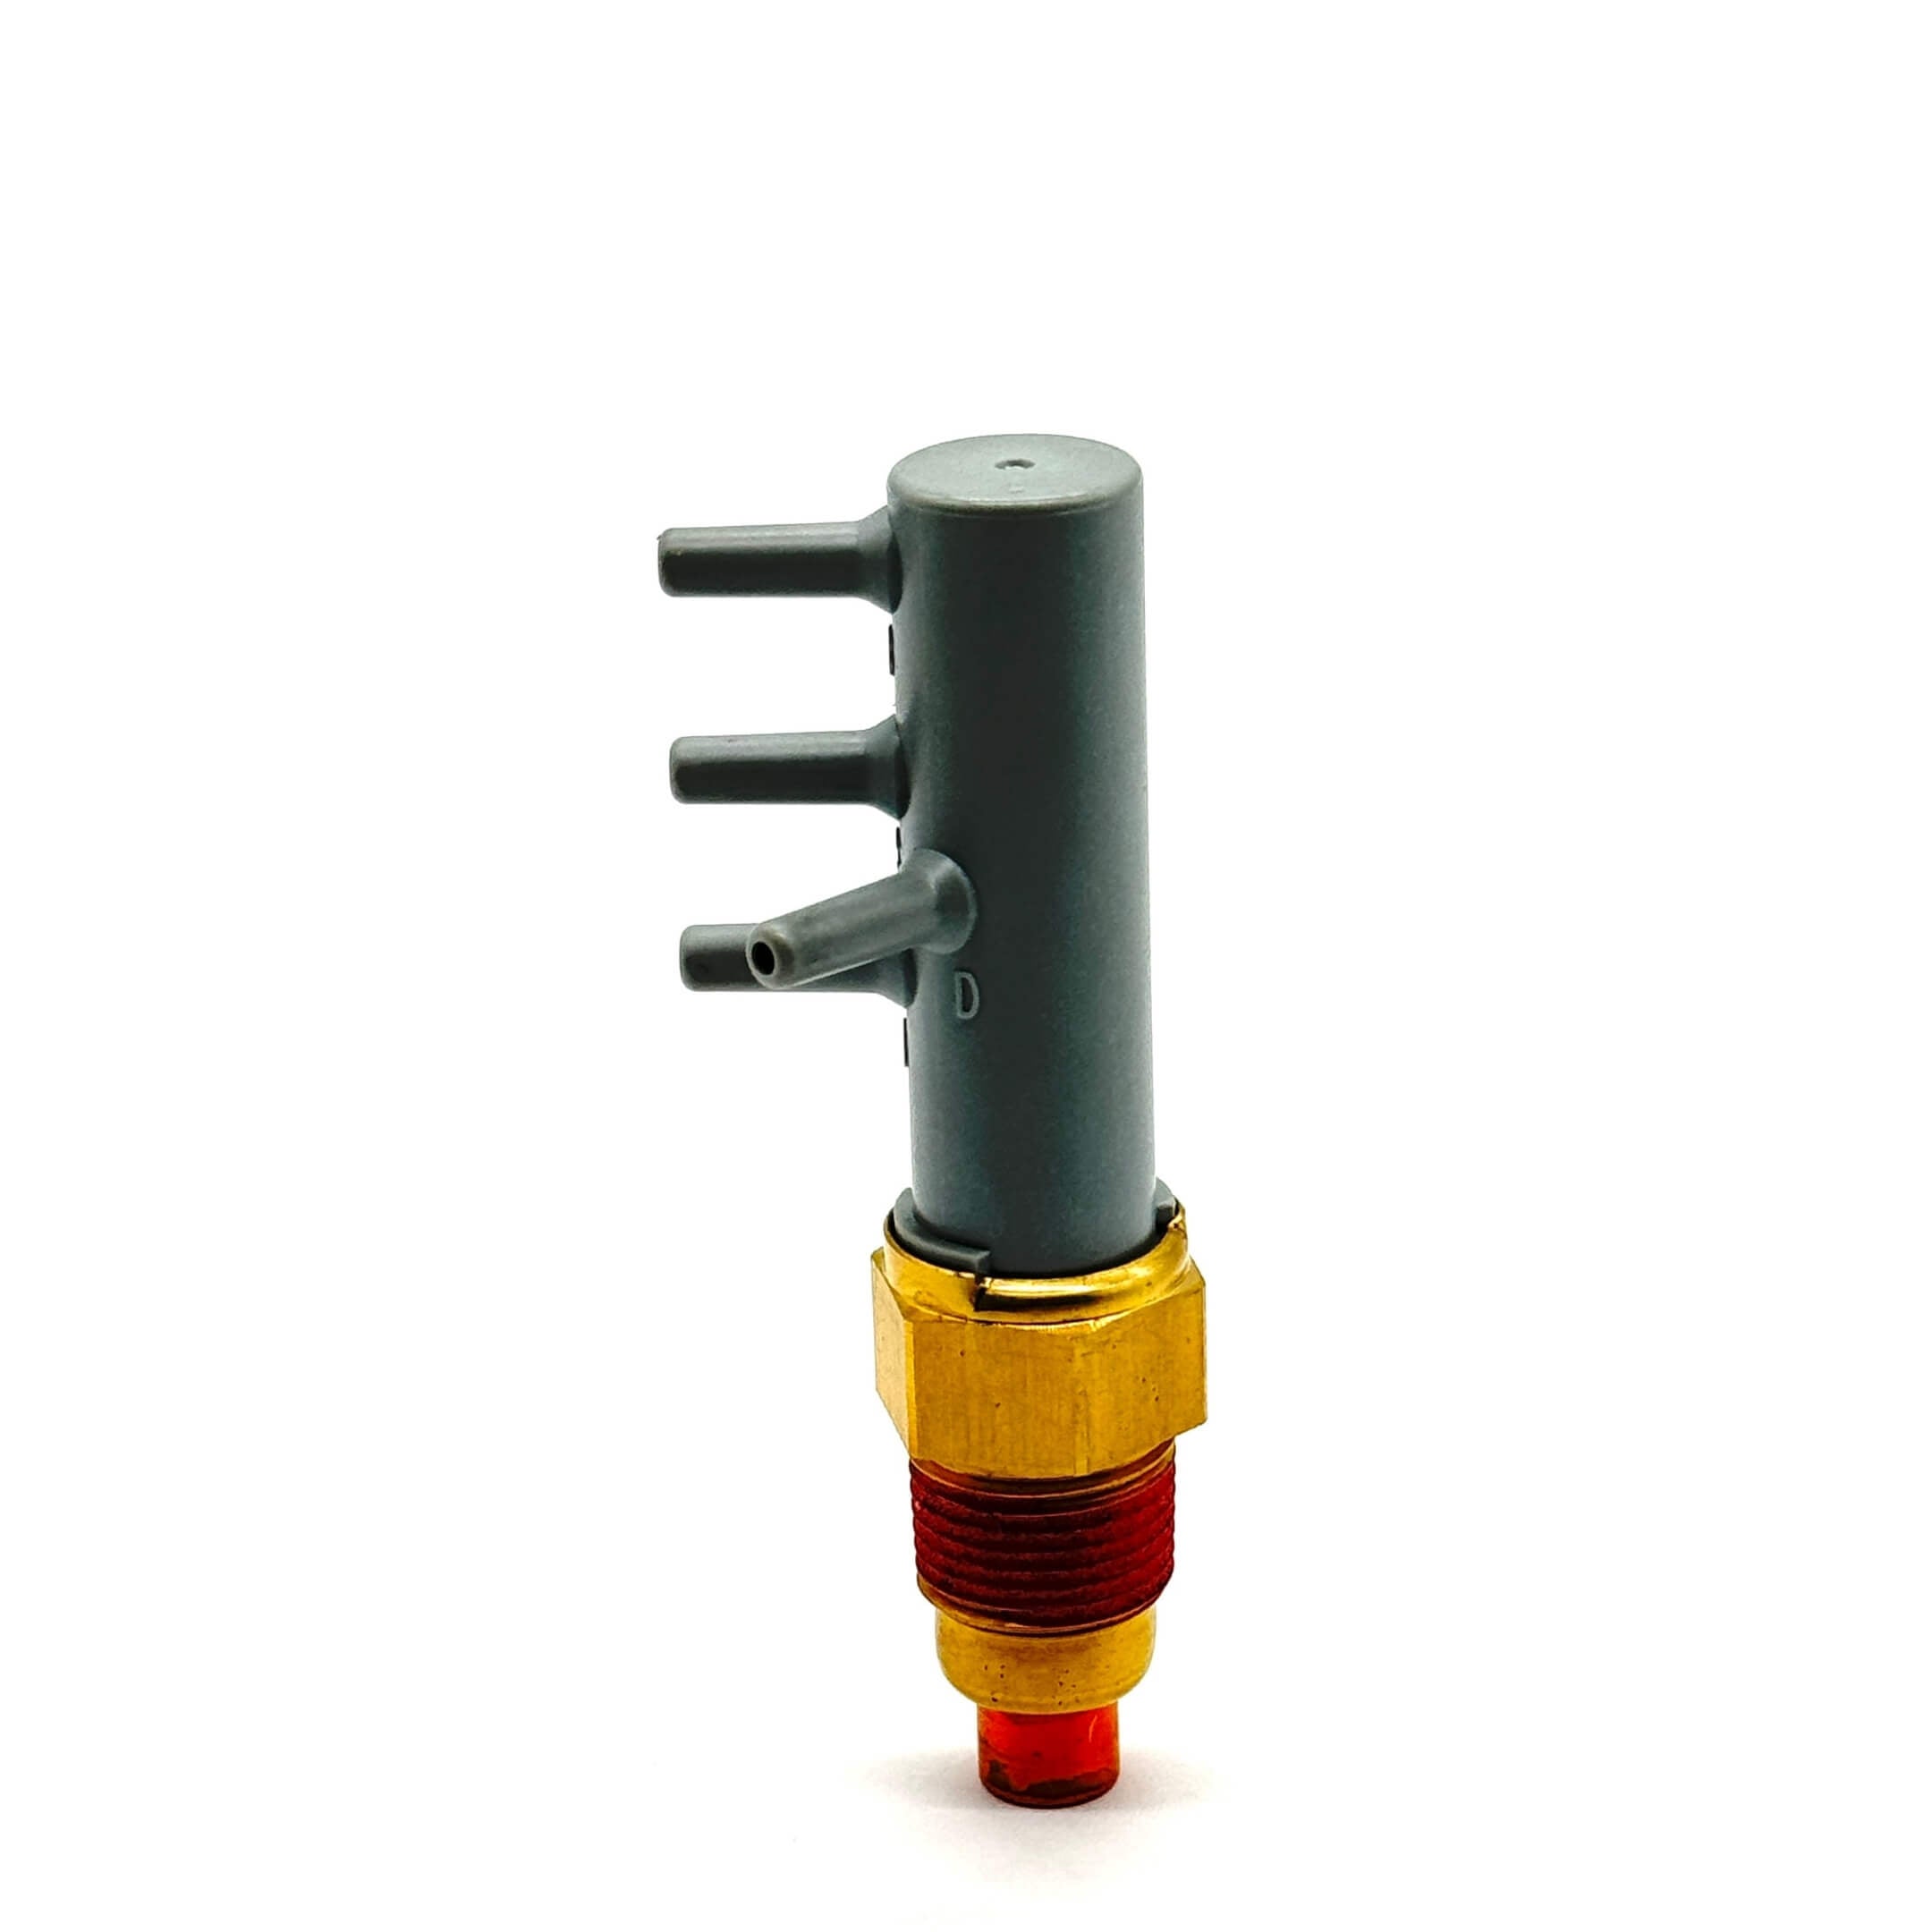
Rebuild and gasket kits, floats, choke parts, solenoids, jets, and complete carburetors. EF-NS engine only, so read the ENGINE line on your plate; a few figures differ between truck and van.
Daihatsu Hijet Carburetor Parts - S100, S110 Models - 1994-1998
Carburetor parts for the Daihatsu Hijet S100 and S110, 1994 to 1998. Rebuild and gasket kits, floats and needle valves, choke parts, solenoids and positioners, jets, heat insulators and complete carburetors. These fit the carbureted EF-NS engine only, so read the ENGINE line on your identification plate before you order. The chassis code on its own does not settle it, and a few figures on this page differ between the truck and the van body.
Fits the carbureted EF-NS only; read the ENGINE line on your plate before ordering.
Find Your Truck
The carburetor parts here fit the carbureted EF-NS trucks alone, so the ENGINE line on your plate must read EF-NS. An injected or DOHC truck does not use them. Confirm that code first, because it is the one part of the fuel system where the engine series decides everything.


Read the CHASSIS NO. to establish that you have an S100 or an S110, then read the ENGINE line to establish EF-NS. Tell us whether it is a truck or a van as well, because two of the published carburetor figures differ between the two bodies.
Choose Your Parts
What each group covers, and the symptom that usually sends someone looking for it. Use it to narrow down the type of part you need, then confirm the fault with the checks further down before you order.
| Category | Parts included | Replace when |
|---|---|---|
| Rebuild and Gasket Kits | Gaskets, seals and the small wear parts that come out together on a strip down. | Fuel weeping at the body joint, a flooding bowl, or any time the carburetor comes off for another reason. |
| Floats and Needle Valves | Floats, needle valves and needle seats. | Flooding, a fuel smell after shutdown, or a bowl level that will not hold where it should sit. |
| Choke Parts | Auto choke units, choke breakers and the linkage around them. | The truck will not start cold, or it runs rich and drinks fuel once warm because the choke never opens. |
| Solenoids and Positioners | Idle cut solenoids and throttle positioners. | The engine runs on after the key is off, or idle will not settle where it should when the throttle closes. |
| Jets and Adjusting Screws | Main jets, slow jets and the idle adjusting screw. | A hunting idle, a flat spot off the line, or a rebuild where the old jets are worn oval. |
| Complete Carburetors | The whole carburetor, ready to bolt on. | The body is cracked, the throttle shaft is worn in its bore, or a rebuild has already been tried and did not hold. |
| Heat Insulators | The insulator between the carburetor and the intake manifold, with its seals. | Either rubber face is scored or lifting, or the engine idles high from an air leak at the base. |
Carburetor Specifications
Everything in this section applies to the carbureted EF-NS engine and to nothing else. Two rows differ between the truck and the van. The rest are shared, and the van column says so.
| The specification | Truck | Van |
|---|---|---|
| Bore | 34 mm | Same |
| Fixed venturi, equivalent diameter | 15.97 mm | Same |
| Venturi at full piston travel, equivalent diameter | 30.73 mm | 30.27 mm |
| Suction piston stroke | 21.8 mm | Same |
| Main jet | 2.96 mm | Same |
| Slow jet | 0.48 mm | Same |
| Main nozzle | 6.0 by 4.0 mm | Same |
| Needle seat | 1.6 mm | Same |
| Float level, measured from the underside of the body | 5 mm, plus 0.5 or minus 1.0 | Same |
| Float lip clearance | 1.45 mm | Same |
| Idle adjusting screw, turns back from fully closed | About 3 and one eighth | About 3 and one half |
This is a variable venturi carburetor. A suction piston moves inside it and opens the venturi as the engine pulls harder. That is why two venturi figures are listed instead of one.
Oiwa guidance. A suction piston that sticks tends to show up as dull throttle response rather than as a misfire. That is our field observation, not a factory diagnostic step.
Test Before You Buy
Every check here happens with the carburetor still bolted to the truck. Use them to narrow the fault before you order anything.
| What you check | How you check it | Passes when |
|---|---|---|
| Choke valve, cold | Take the air hose off and look down the carburetor before you start a cold engine | The valve is fully closed |
| Choke valve, warm | Look again once the engine is warm and the fan motor has run one time | The valve is fully open |
| Fast idle cam | Look at the cam during that same warm check | The cam has come off the roller |
| Choke breaker, stage one | Pull both hoses off, block the first with a finger and start the engine, then put that hose back on | Vacuum pulls on your finger, then the rod pulls the linkage |
| Choke breaker, stage two | Put the second hose back on once the coolant is warm | The rod pulls the linkage farther than it did on stage one |
| Choke breaker, switching | Check that second hose against coolant temperature | No vacuum at 2 °C or colder, vacuum at 18 °C or hotter |


The choke breaker works in two stages. The first hose opens the choke slightly as soon as the engine starts. Once the coolant warms, the second hose receives vacuum and opens it fully. If the truck stumbles or stalls when cold, stage one is opening too far. If it runs rich and uses excessive fuel when warm, stage two is not working.
The carburetor does not control the second hose. A temperature valve in the water jacket opens the vacuum passage at 18 °C and closes it at 2 °C or below.
Oiwa guidance. If stage one works and stage two does not, bench-test the choke breaker before you replace anything. If it holds vacuum and moves through both stages, look upstream at the temperature valve rather than at the choke breaker or the carburetor.
Bench Tests
These are the factory component checks, run with the part off the truck. All you need is a hand vacuum pump and a multimeter. They tell you whether the part you are about to replace is actually the failed one.
| The part | How you test it | Passes when |
|---|---|---|
| Choke breaker, first stage | Hand vacuum pump on the first port, pull 500 mmHg | The gauge holds and the rod pulls in |
| Choke breaker, second stage | Hold that vacuum, then pull 500 mmHg on the second port as well | The linkage pulls in farther than it did on the first stage |
| Vacuum jet | Block one end with a finger, raise the vacuum to 400 mmHg | The gauge holds steady |
| Vacuum jet, bleed rate | Take your finger off that end | The vacuum falls away slowly, not all at once |
| Throttle positioner | Hand vacuum pump on the actuator, pull 400 mmHg | The shaft pulls in |
| Throttle positioner, return | Release the vacuum | The shaft returns straight away |
| Outer vent valve, resistance | Meter between the valve terminal and body ground | 67 to 73 Ω |
| Outer vent valve, cold and off | Key off, engine cold, blow through from the canister side | Nothing passes at 29 °C or below, air passes at 45 °C or above |
| Outer vent valve, key on | Engine cold, key on, blow through from the canister side | Nothing passes |


Never suck on the outer vent valve hose. It connects to the charcoal canister and may contain fuel vapors. Blow through it only, as specified in the factory manual.
Check the linkage before you blame the carburetor
Work the throttle lever by hand and watch every joint on the way. Nothing should be loose in its mounting and nothing should have play where two arms meet. Then press the accelerator pedal and watch the same linkage move under it.
Oiwa guidance. Rough or notchy travel points at the linkage. A new carburetor does not fix a binding linkage.
Installation
What to get right as the carburetor goes back on.
| What you are fitting | What to get right |
|---|---|
| The carburetor | Tightened to 195 ± 39 kg·cm. The lock nut takes a hex bar wrench, not a socket, so have one on the bench before you start. |
| The heat insulator | The pin side faces the carburetor. Look at the rubber seal on both faces first and replace the insulator if either face is scored or lifting. |
| The accelerator cable | Set it so the pedal has 1 to 4 mm of free play once everything is back together. |
| The intake manifold | Cover the open port with a rag the moment the carburetor lifts off. Anything dropped in there goes straight into a cylinder. |

Removal
Drain the coolant first. The carburetor is water heated, so a job that skips that step empties the cooling system onto the floor three steps later.
- Drain the coolant.
- Disconnect the battery negative terminal.
- Remove the seat riser center member. The job starts inside the cab.
- Disconnect the fuel hose and the vacuum hose, then take off the vacuum pipe.
- Remove the air cleaner hose.
- Unplug the connector.
- Disconnect the accelerator cable at the carburetor end.
- Disconnect the fuel vapor feed hose at the outer vent valve.
- Disconnect all three water bypass hoses at the carburetor.
- Remove the bolts and the lock nut, then lift off the carburetor and the heat insulator.
- Cover the hole in the intake manifold.
Adjustments
Make all carburetor adjustments with the engine warm, after the cooling fan has cycled once. Set the idle speed first, as an incorrect idle will affect every adjustment that follows.
| What you set | How it is done | Lands at |
|---|---|---|
| Idle speed | Throttle adjusting screw, engine warm, lights and air conditioning off | 950 ± 50 rpm |
| Idle mixture, CO | Mixture adjusting screw with a CO and HC tester fitted | 1.5 percent, plus 1.0 or minus 0.5 |
| Idle mixture, HC | Read on that same tester, then rev to about 2,000 rpm and read it again | 900 ppm or less |
| Throttle positioner | Vacuum hose off and plugged, then set the speed on the adjusting screw | 1,800 ± 100 rpm |
| Throttle positioner, return | Hose back on, then time how long the engine takes to fall back to idle | About 5 seconds |
| Air conditioning idle-up | Engine at idle, air conditioning switched on in normal mode | 1,300 ± 100 rpm |
- Idle speed.
- Idle mixture, CO and HC. If idle has drifted, go back and reset it.
- Air conditioning idle-up, on automatic trucks only.
- Throttle positioner, last.
Only the carbureted engine has adjustable idle and mixture. The EF-ES and EF-TS control both electronically.
Oiwa guidance. A hunting idle or a rich mixture may need only these adjustments and a gas analyzer, not a new carburetor. If the positioner will not hold a consistent speed, hold 2,500 rpm for 15 seconds and then release the throttle. If the speed settles differently each time, or drops straight to idle with the hose connected, we would replace the positioner rather than keep adjusting it.
Factory Notes
The carburetor fastener has two printed factory ranges. The component drawing gives 195 ± 39 kg·cm, which is 156 to 234. The master torque table gives 156 to 236. The two disagree by 2 kg·cm at the top of the range. Both are reproduced here as printed and we have not chosen between them.
Where the identification plate is mounted is not stated here. Our sources disagree on its location, so rather than print one of them we have left it out. The plate itself carries the CHASSIS NO. and the ENGINE line wherever it sits. Send us a photo if you cannot find it.
The figures on this page cover the carbureted EF-NS engine. The source material used for this collection sets out carburetor values for EF-NS and for no other engine code. Nothing here should be read across to the injected EF-ES, the turbocharged EF-TS, or the DOHC engines. Send us your ENGINE code and we will confirm the part.
Where can I buy Daihatsu Hijet carburetor parts in the United States?
Daihatsu Hijet carburetor parts are available from Oiwa Garage for the carbureted EF-NS S100 and S110. Availability varies by part, so check the individual product page. Not sure you selected the right part? Send us your ENGINE code plus your CHASSIS NO., and tell us whether it is a truck or a van, and we will confirm fitment before you order.
Our 100% Fitment Guarantee
Buying imported parts you cannot see in person is a gamble, so we take that off your plate. Text us your ENGINE code plus your CHASSIS NO. before you order, or send a photo of the identification plate, and tell us whether it is a truck or a van. We will confirm every part fits your truck before it ships. If something arrives wrong, we exchange it or refund you in full. No hassle, no runaround.
Contact Our Fitment Specialistsor text us directly at 562-661-8862
Fitment verified by the Kei Truck specialists at Oiwa Garage · Collection description updated August 2026.