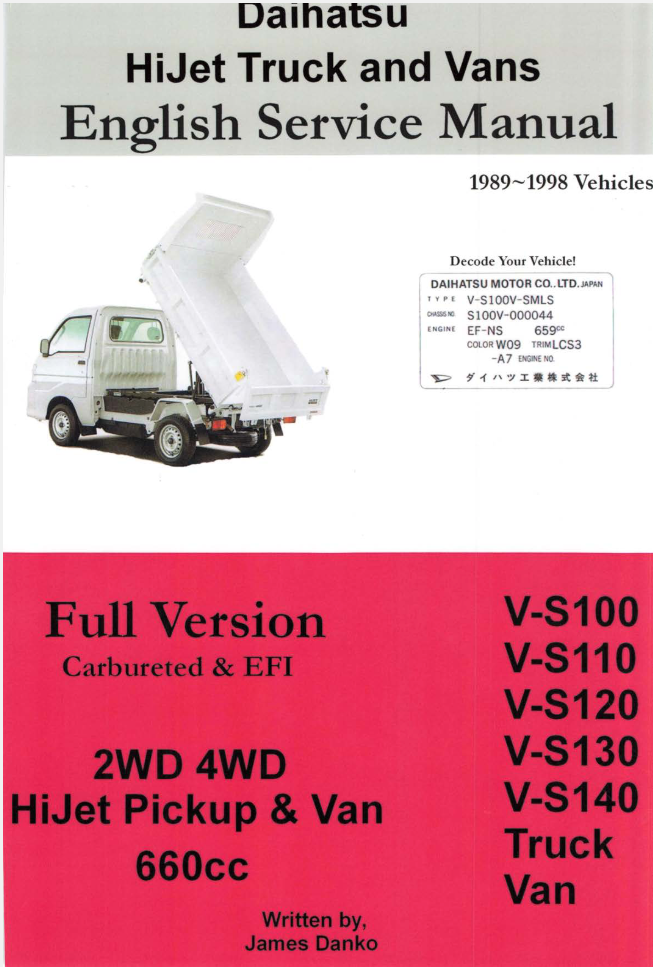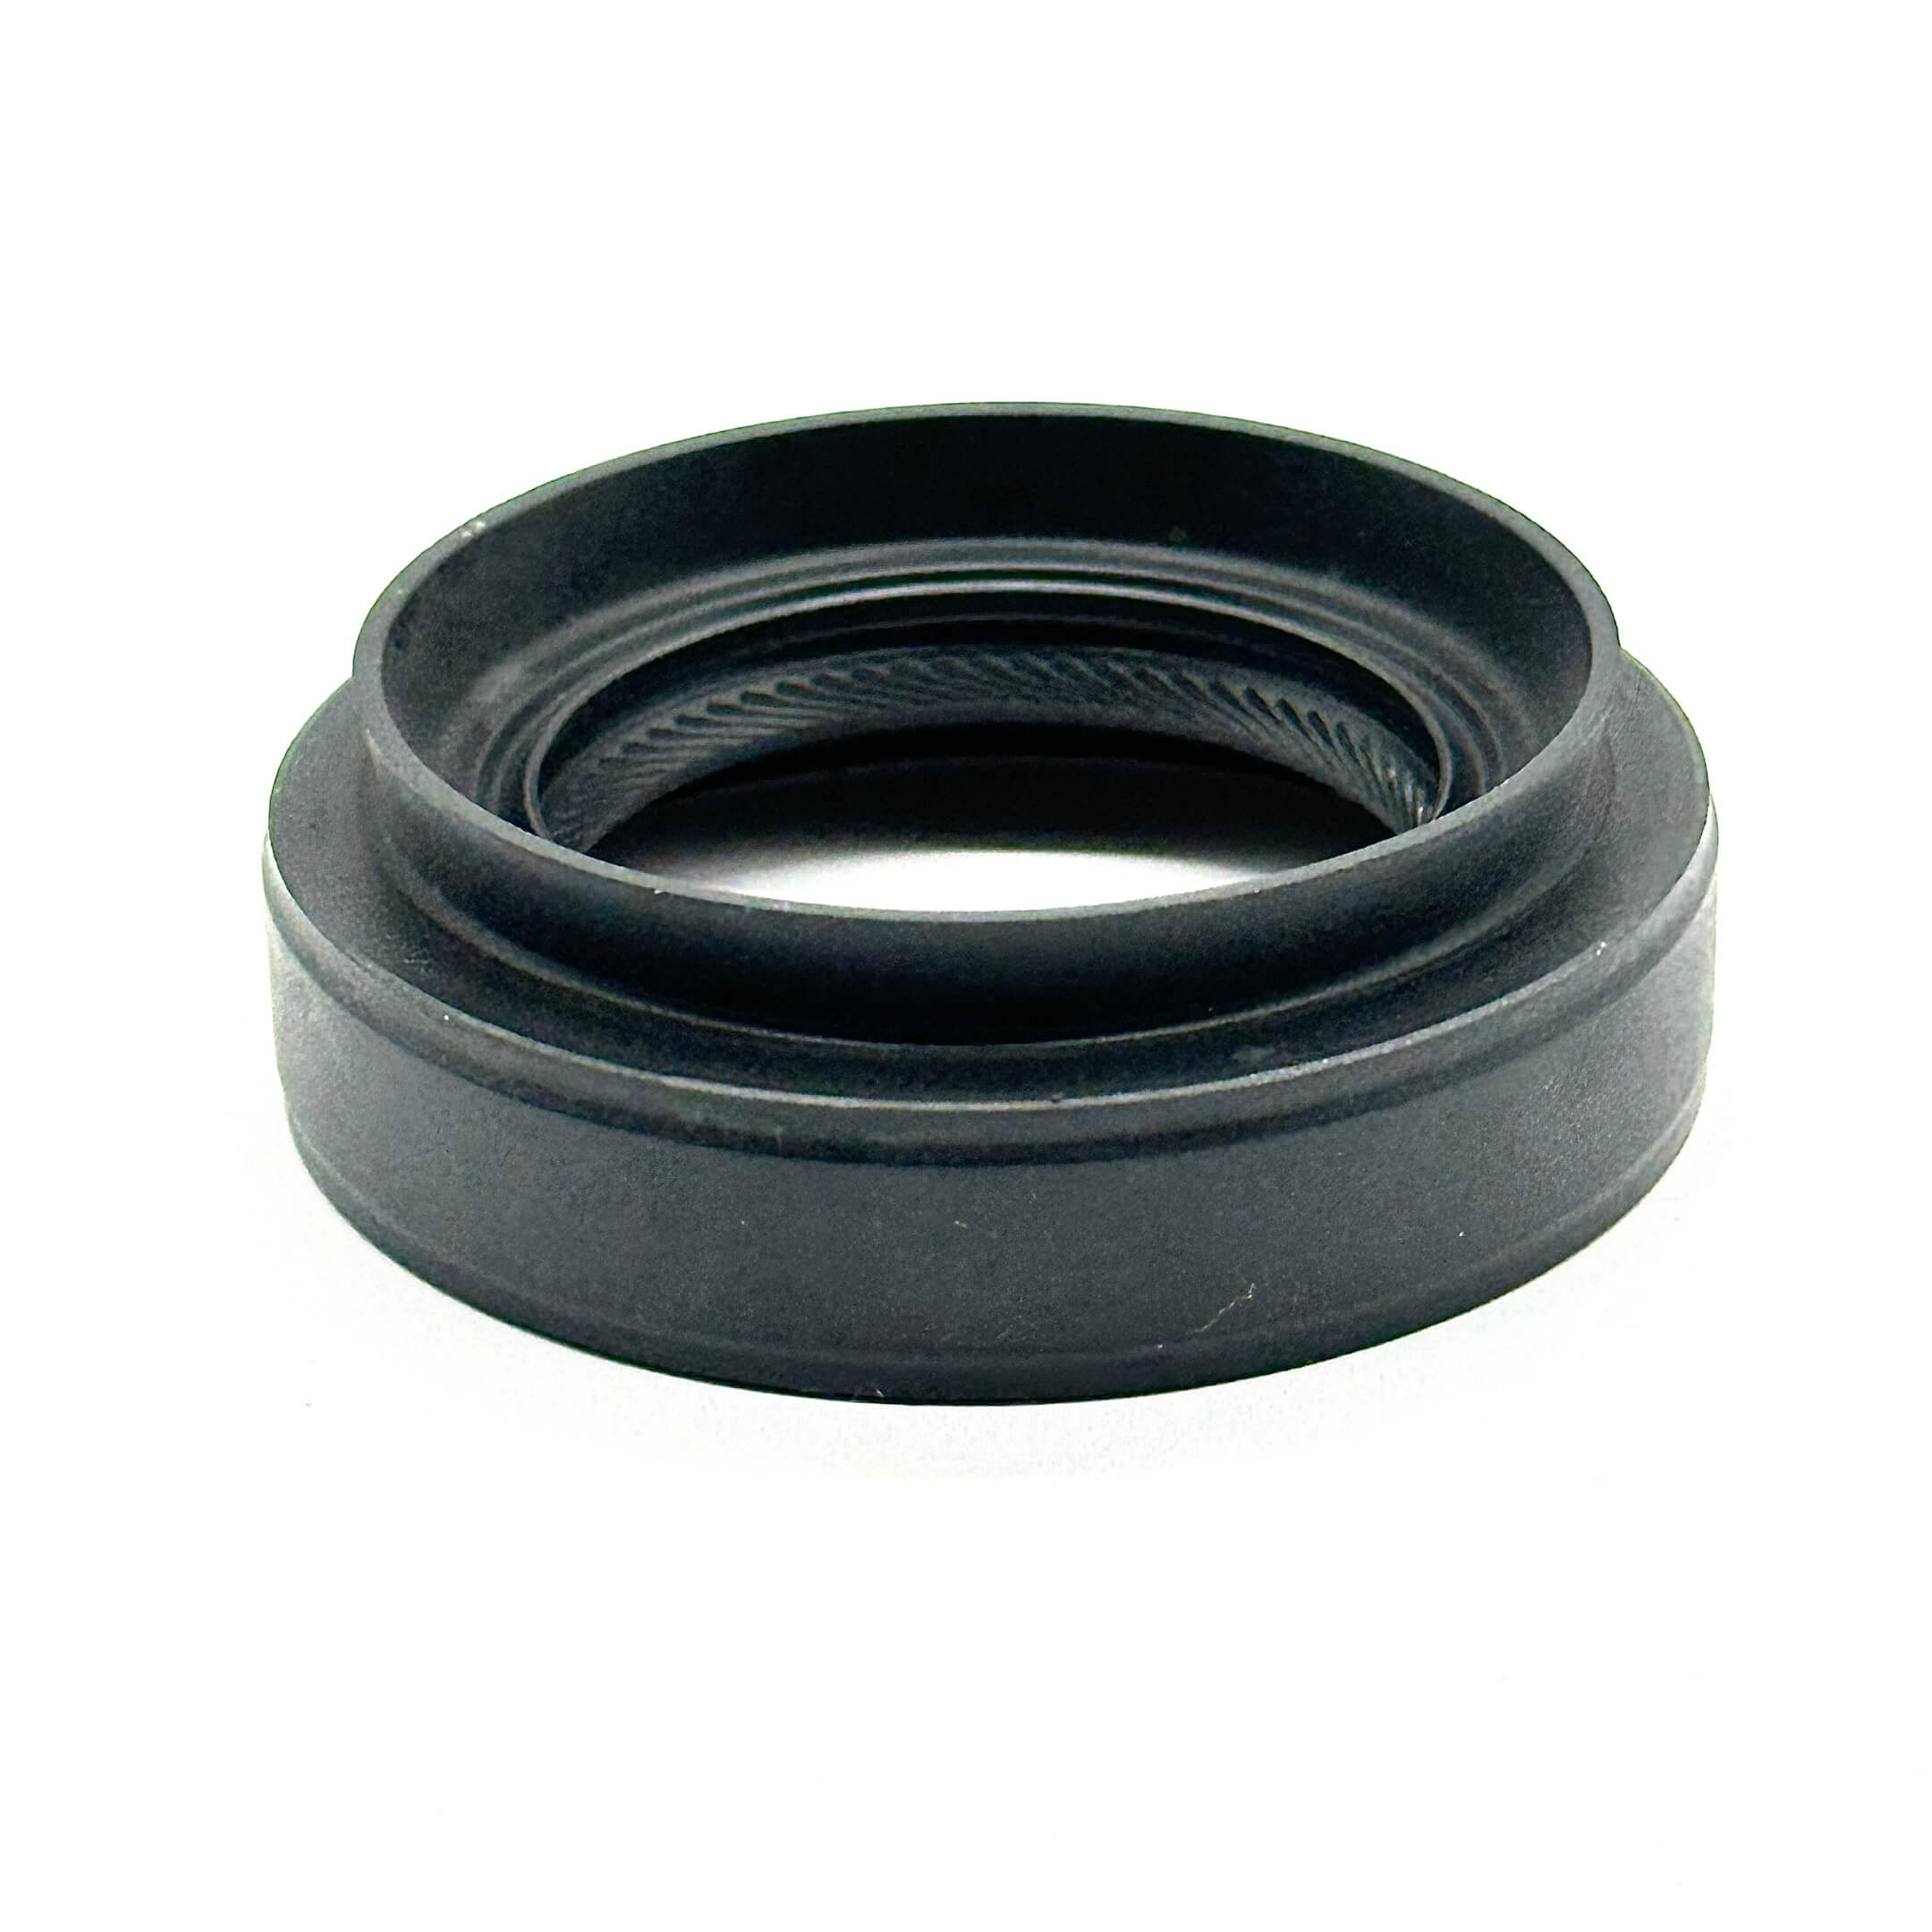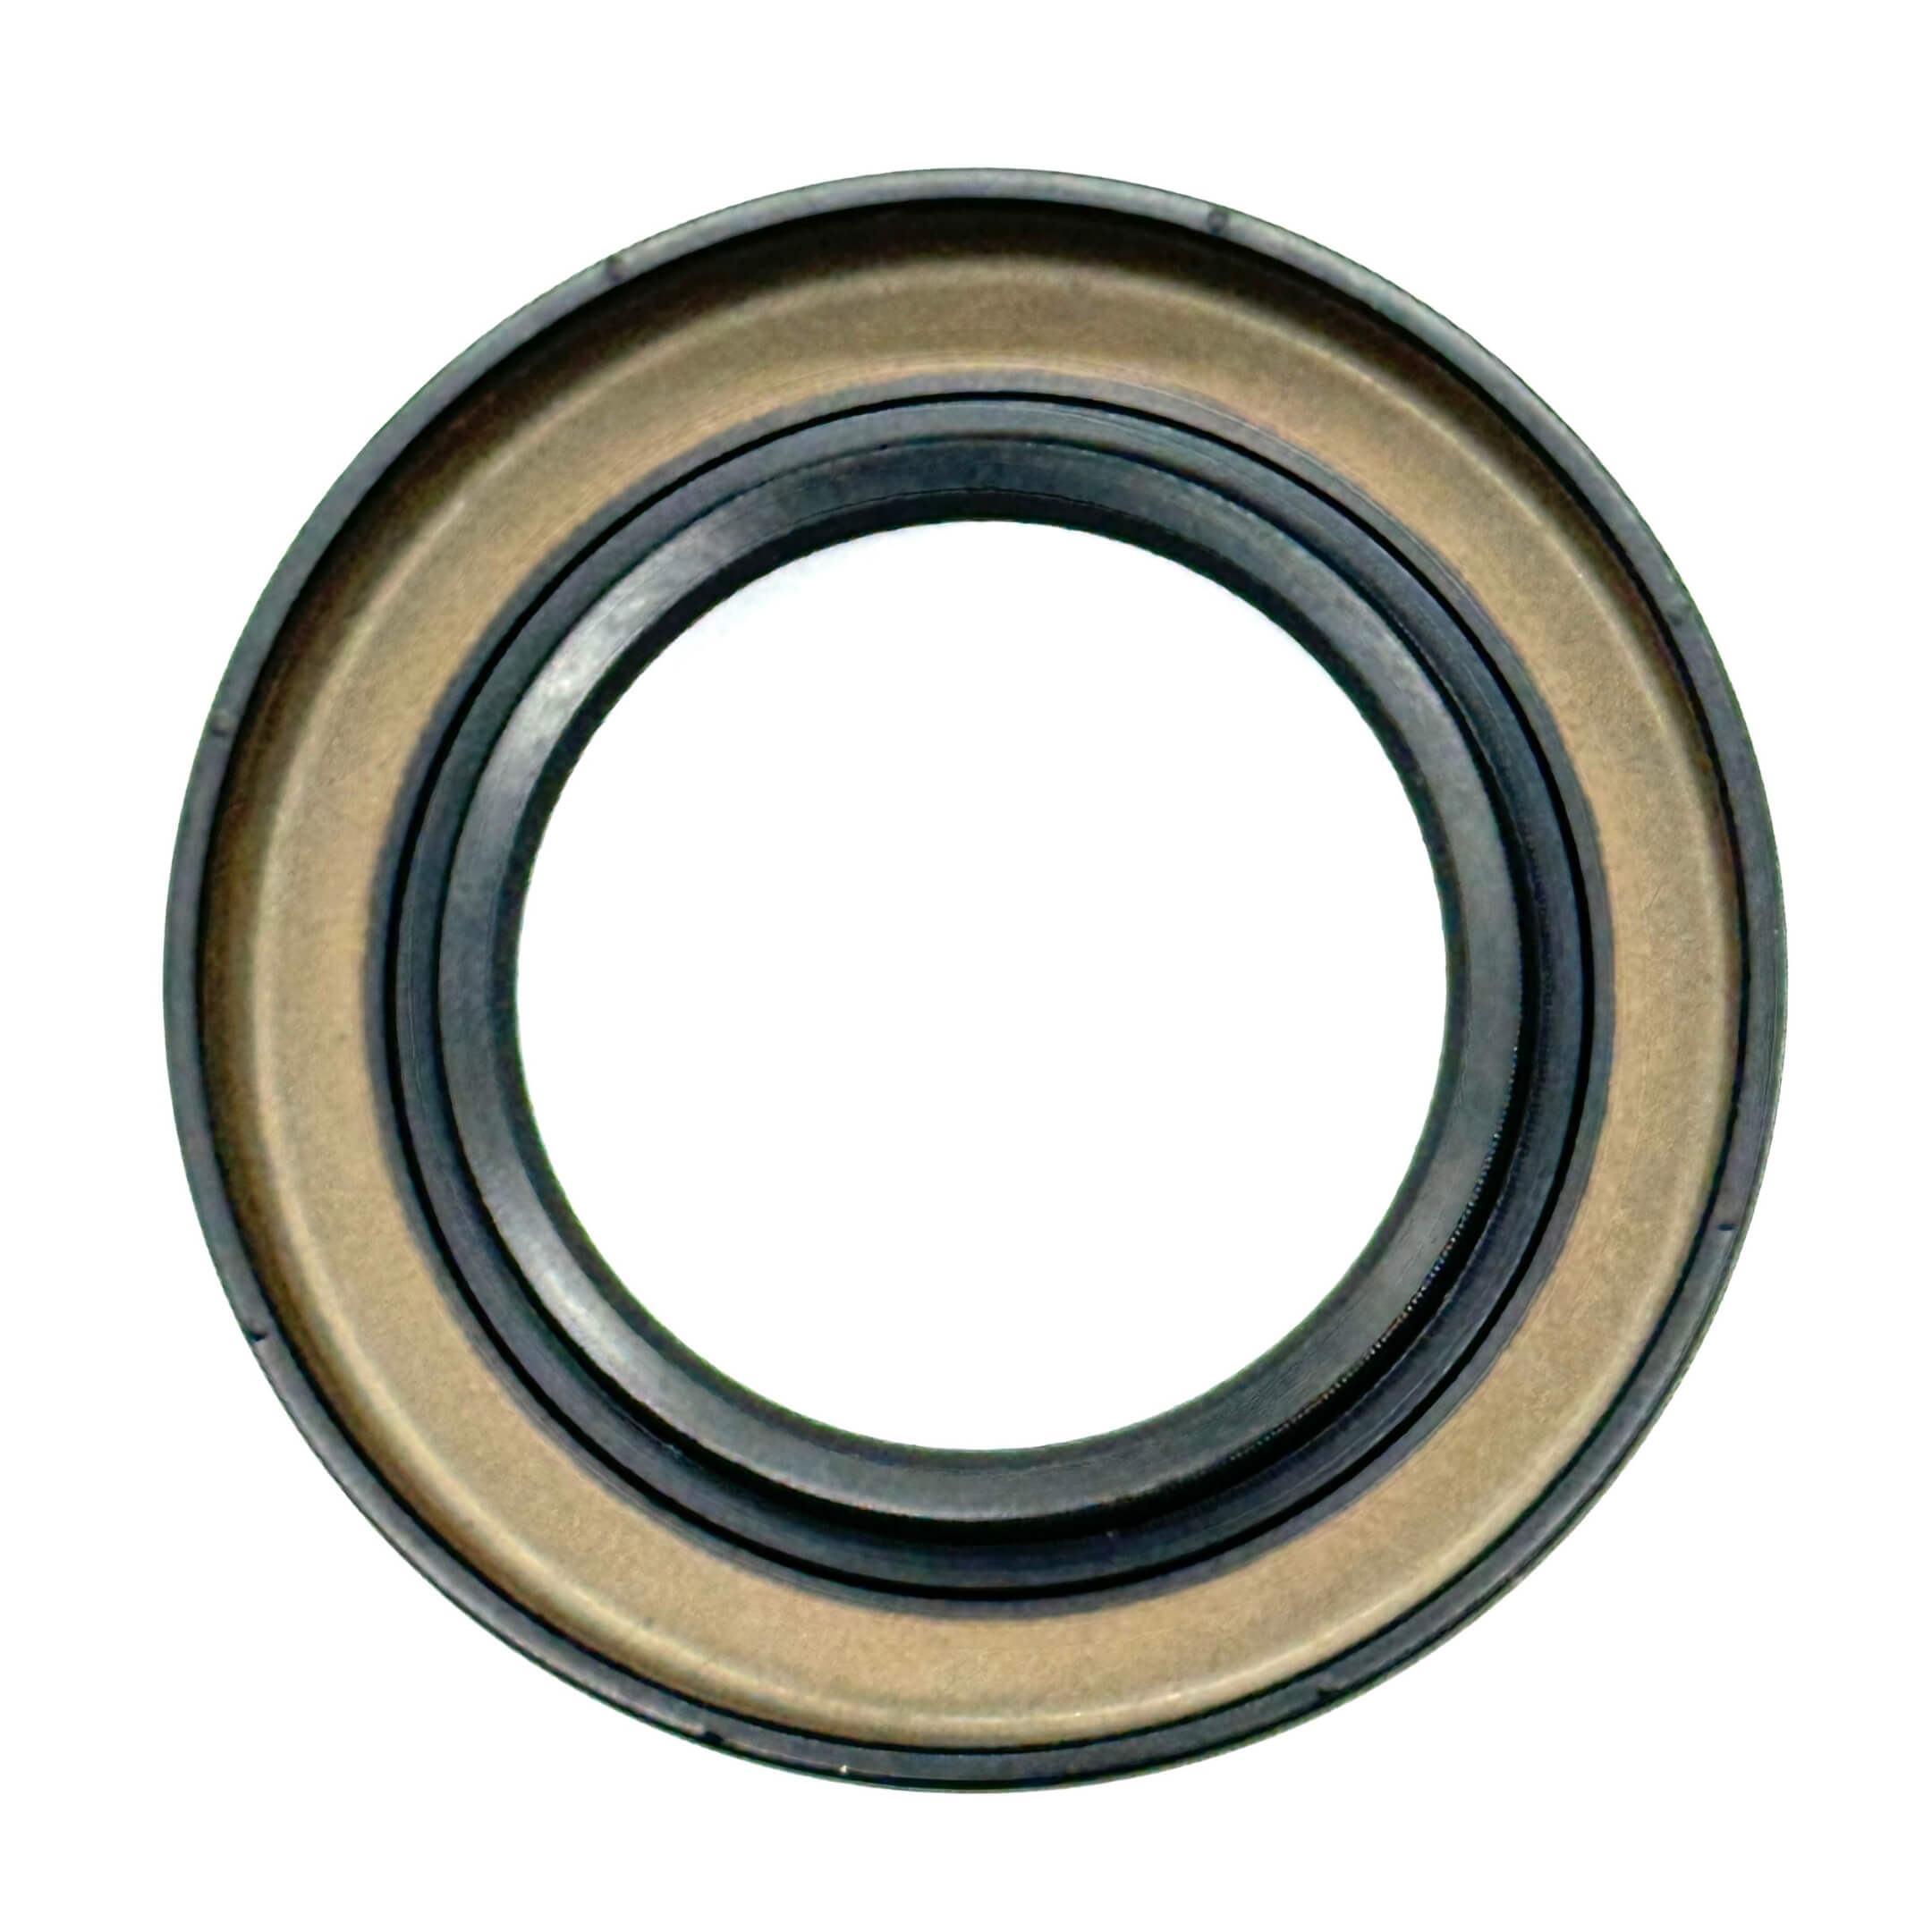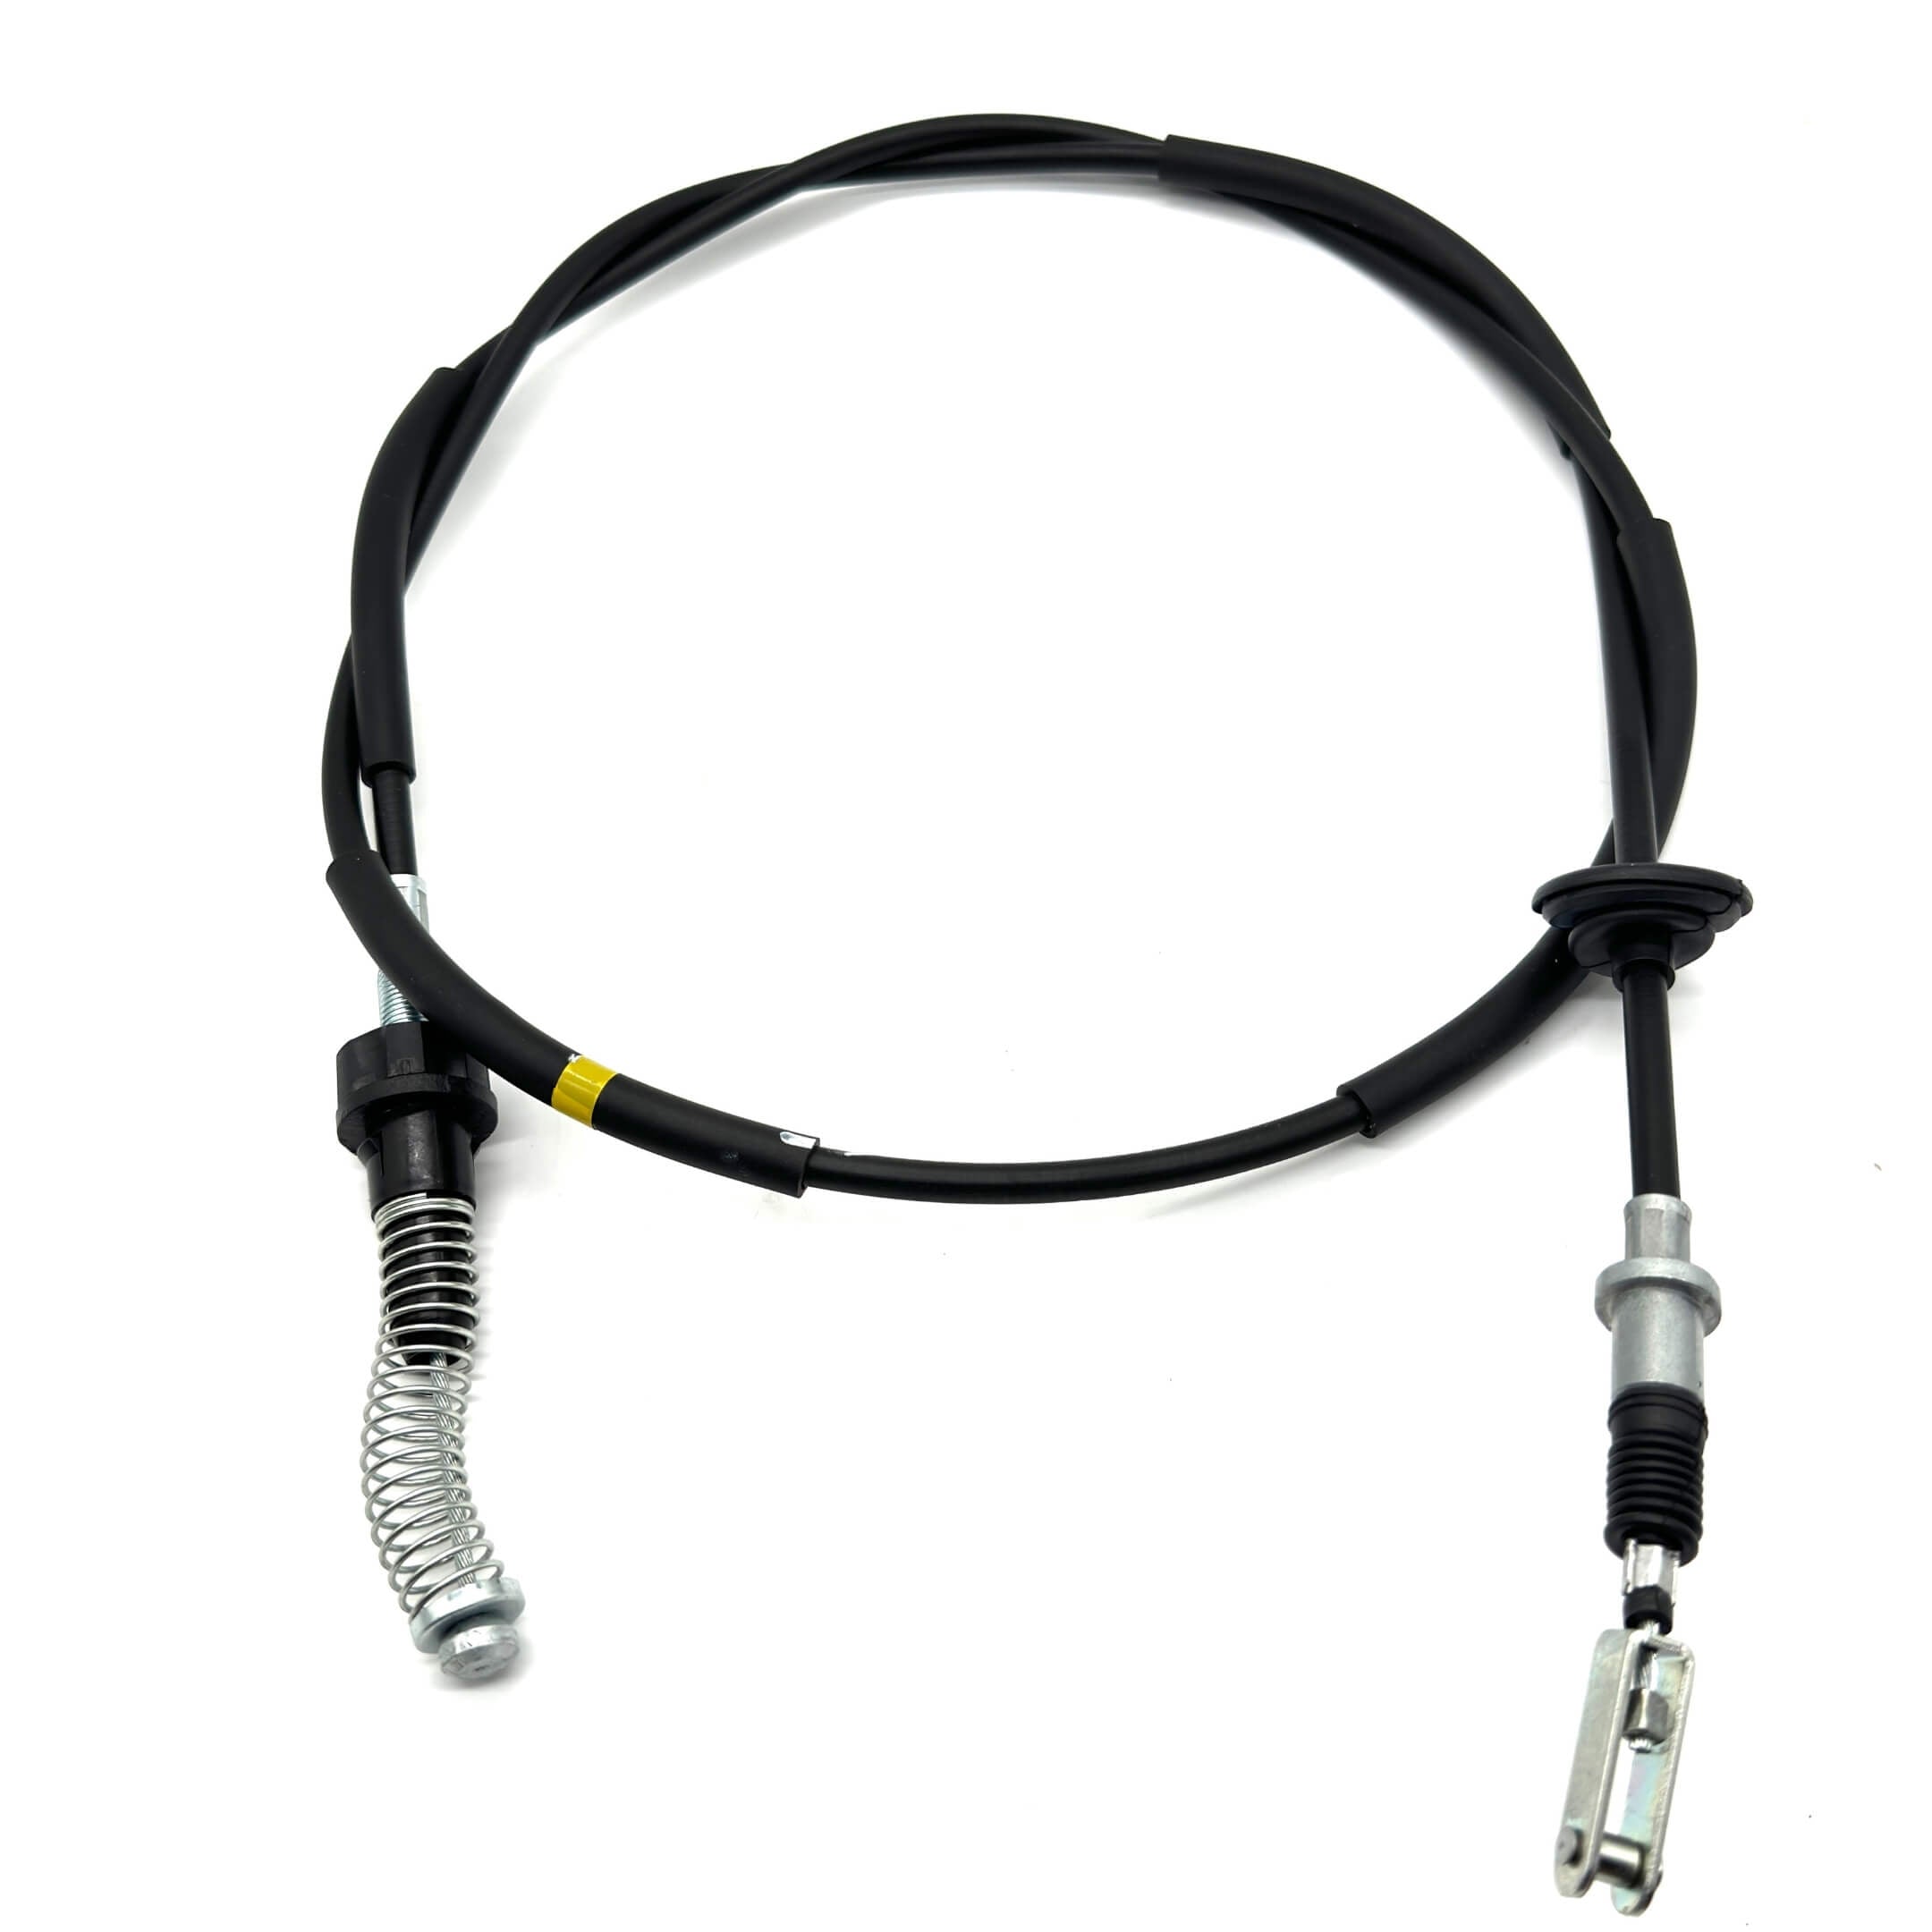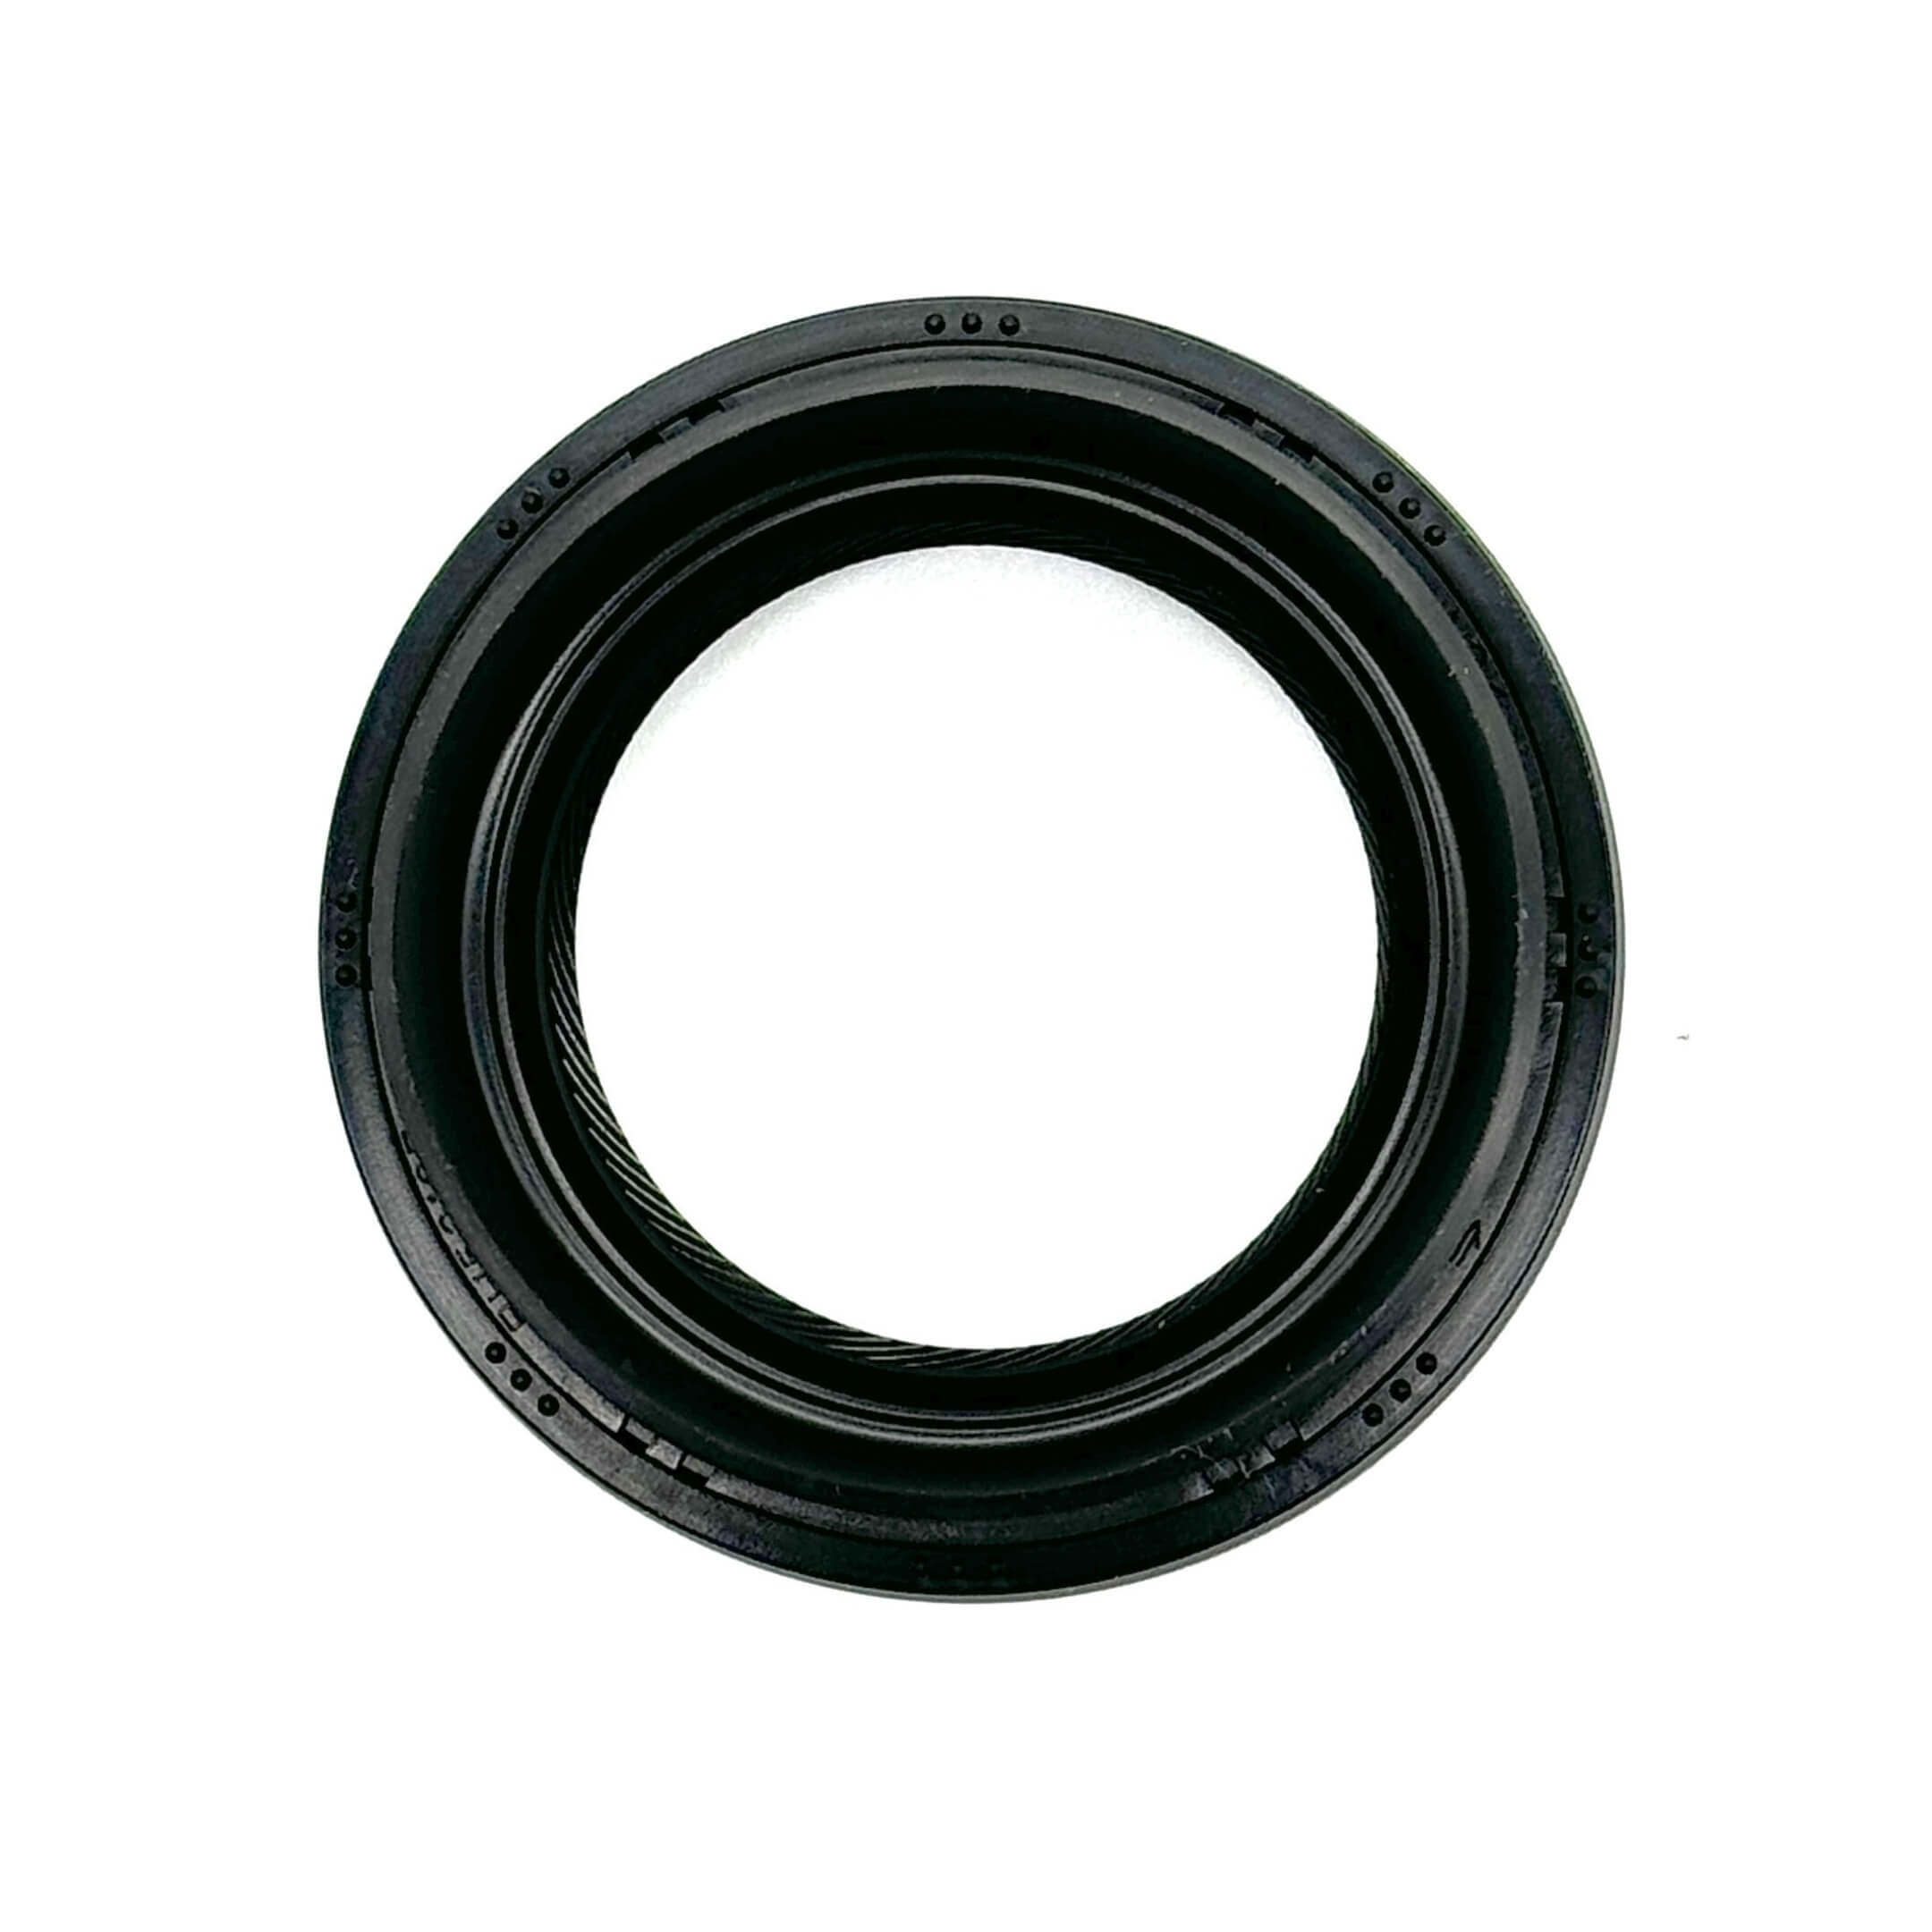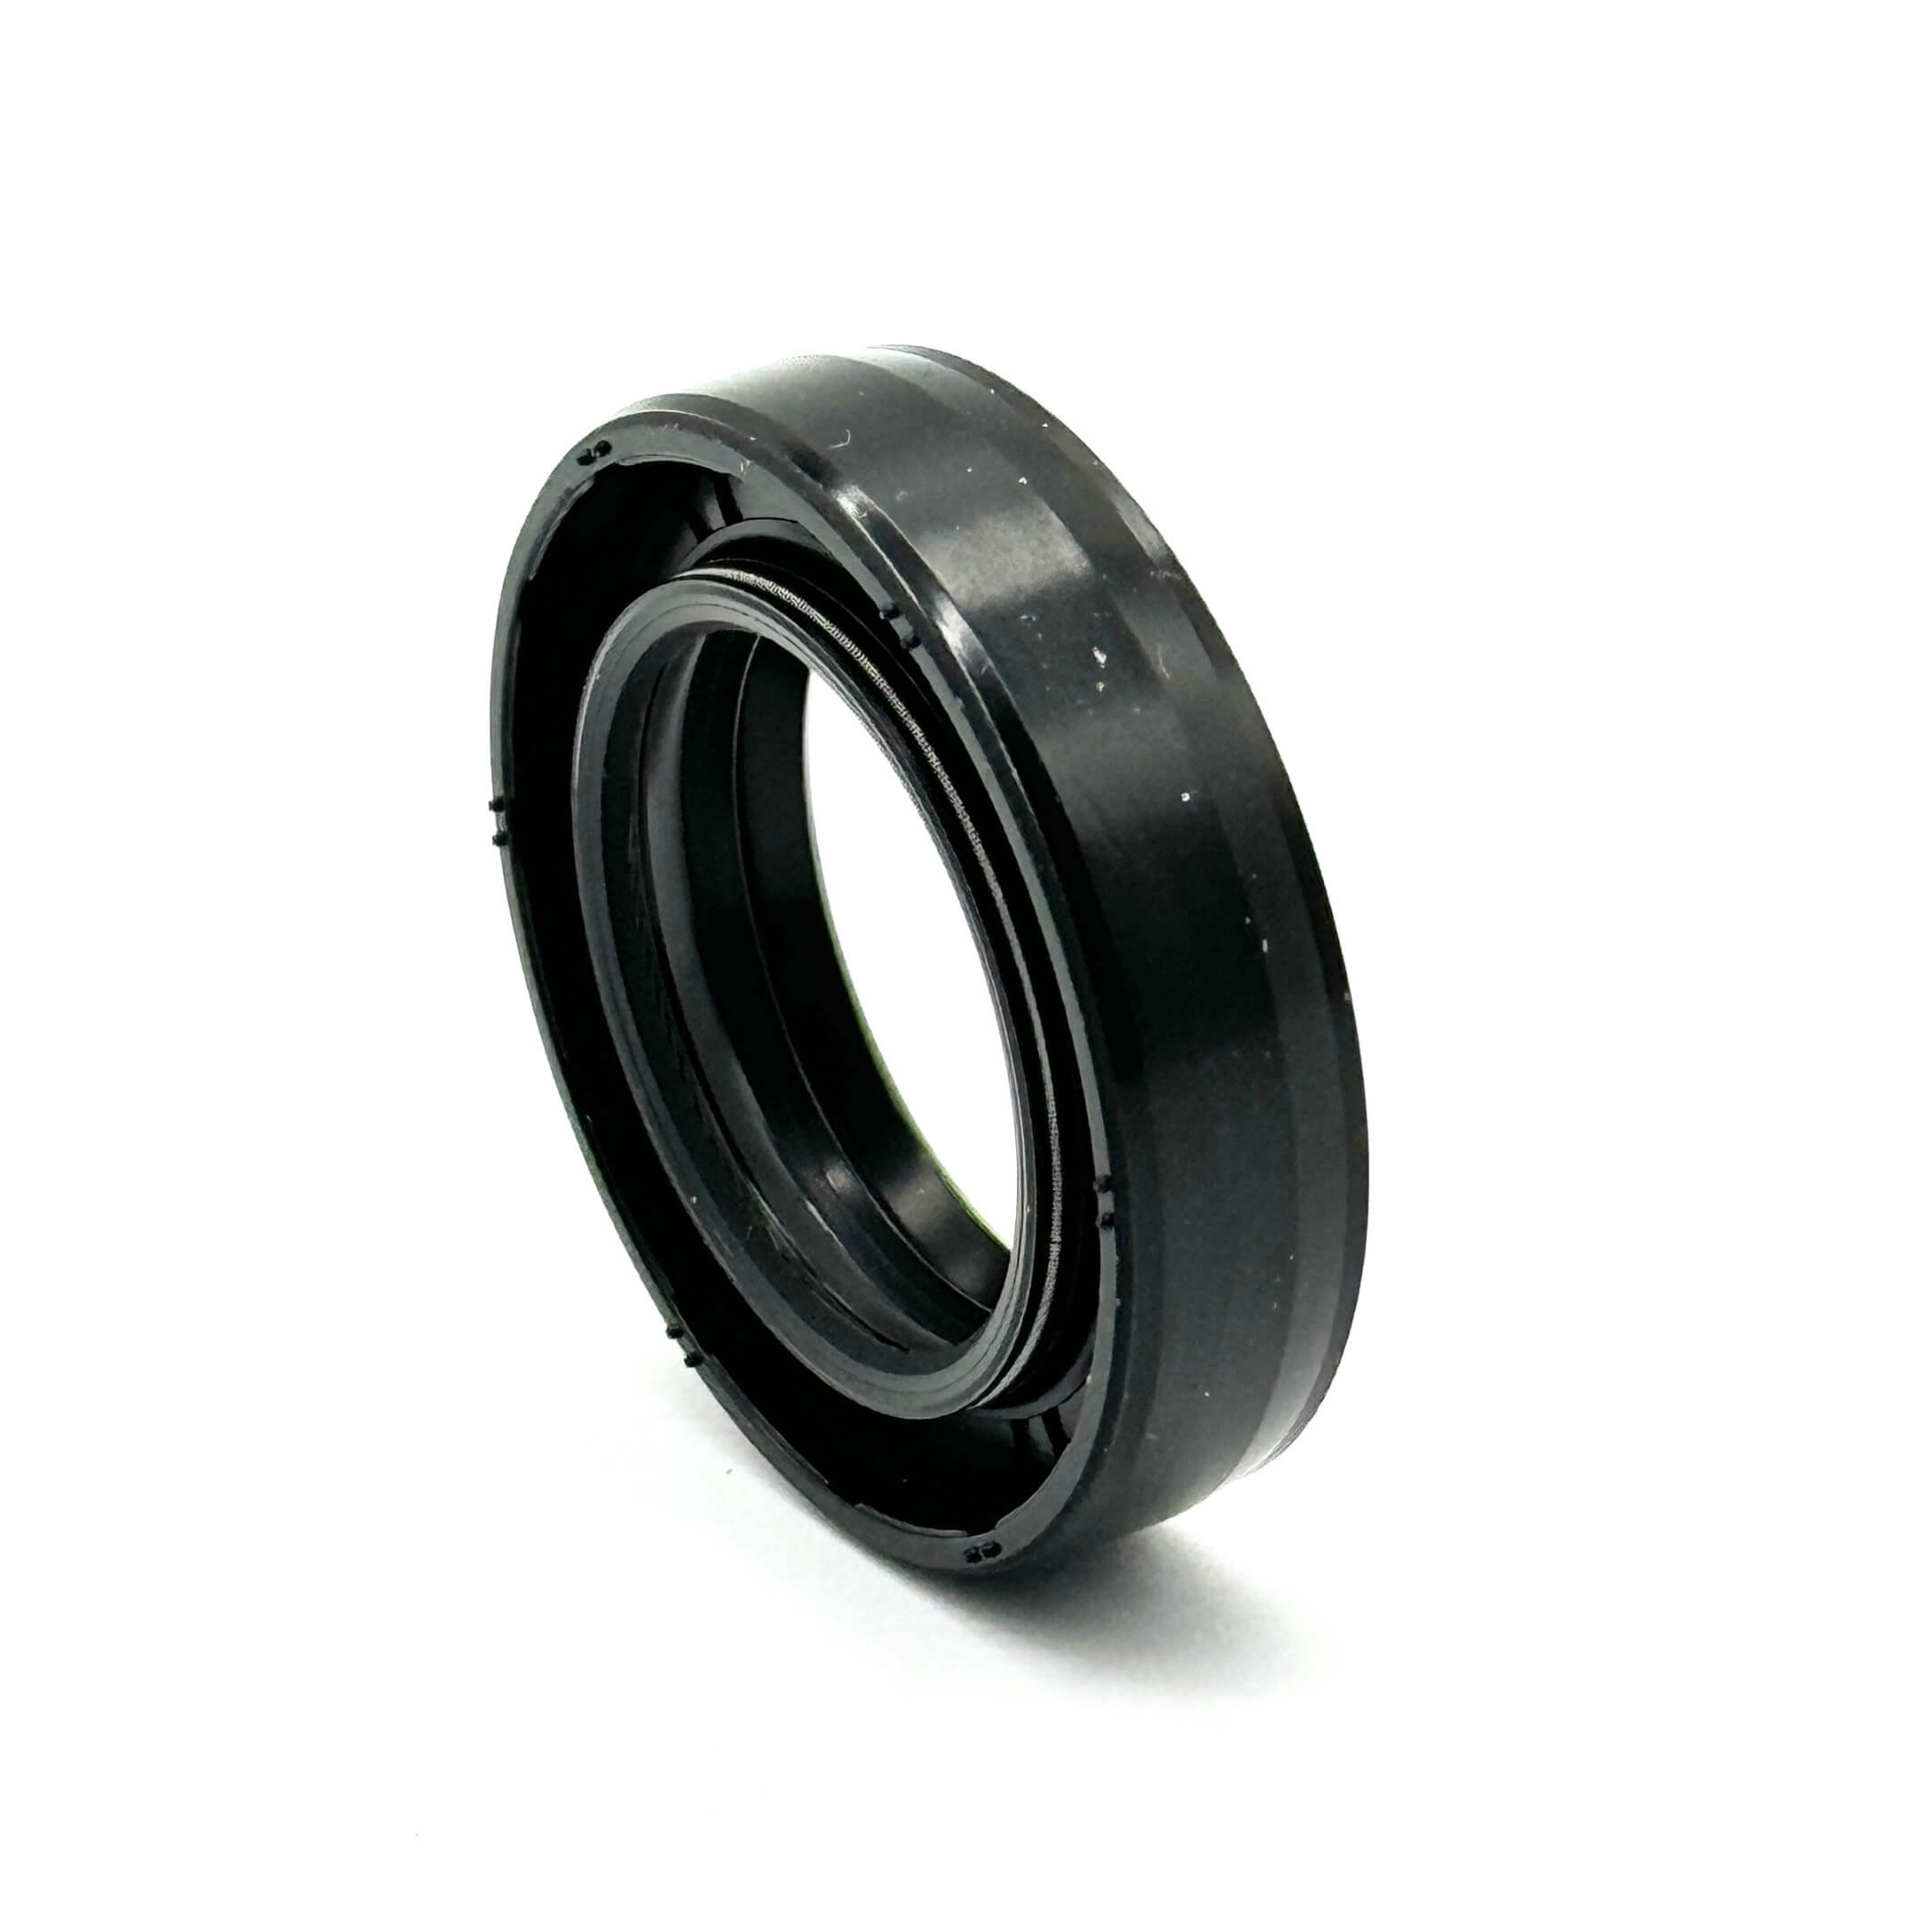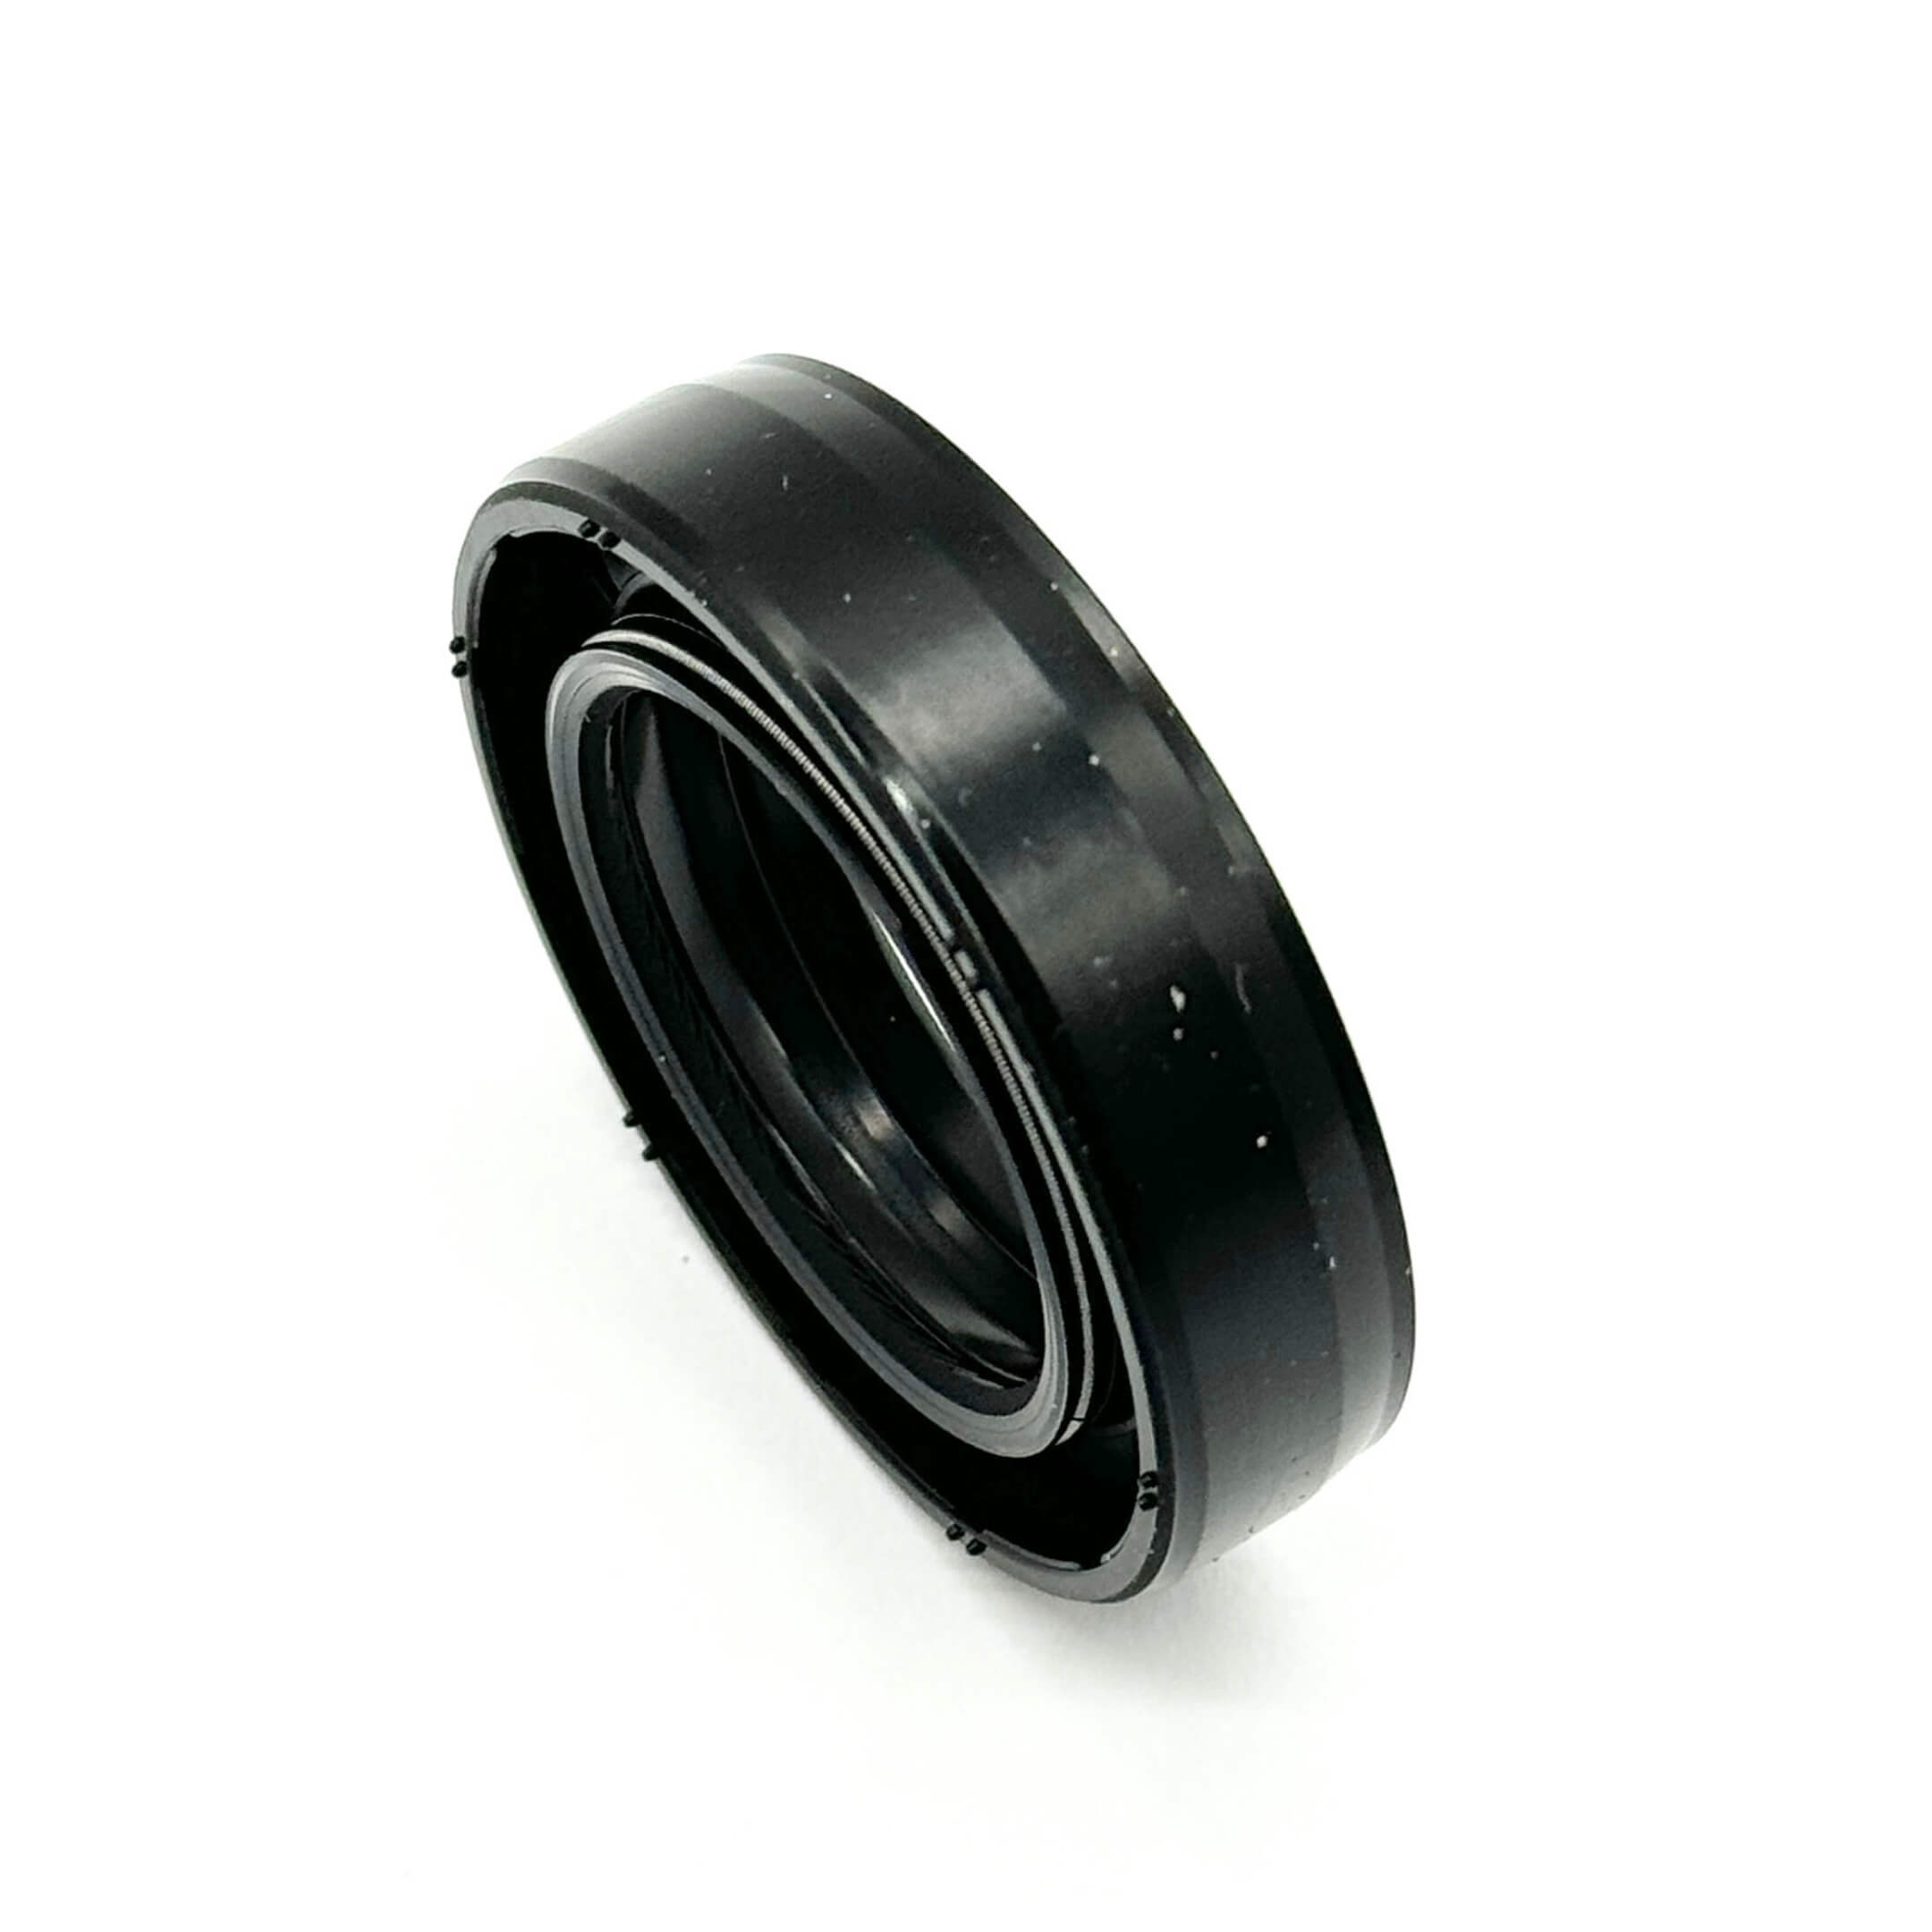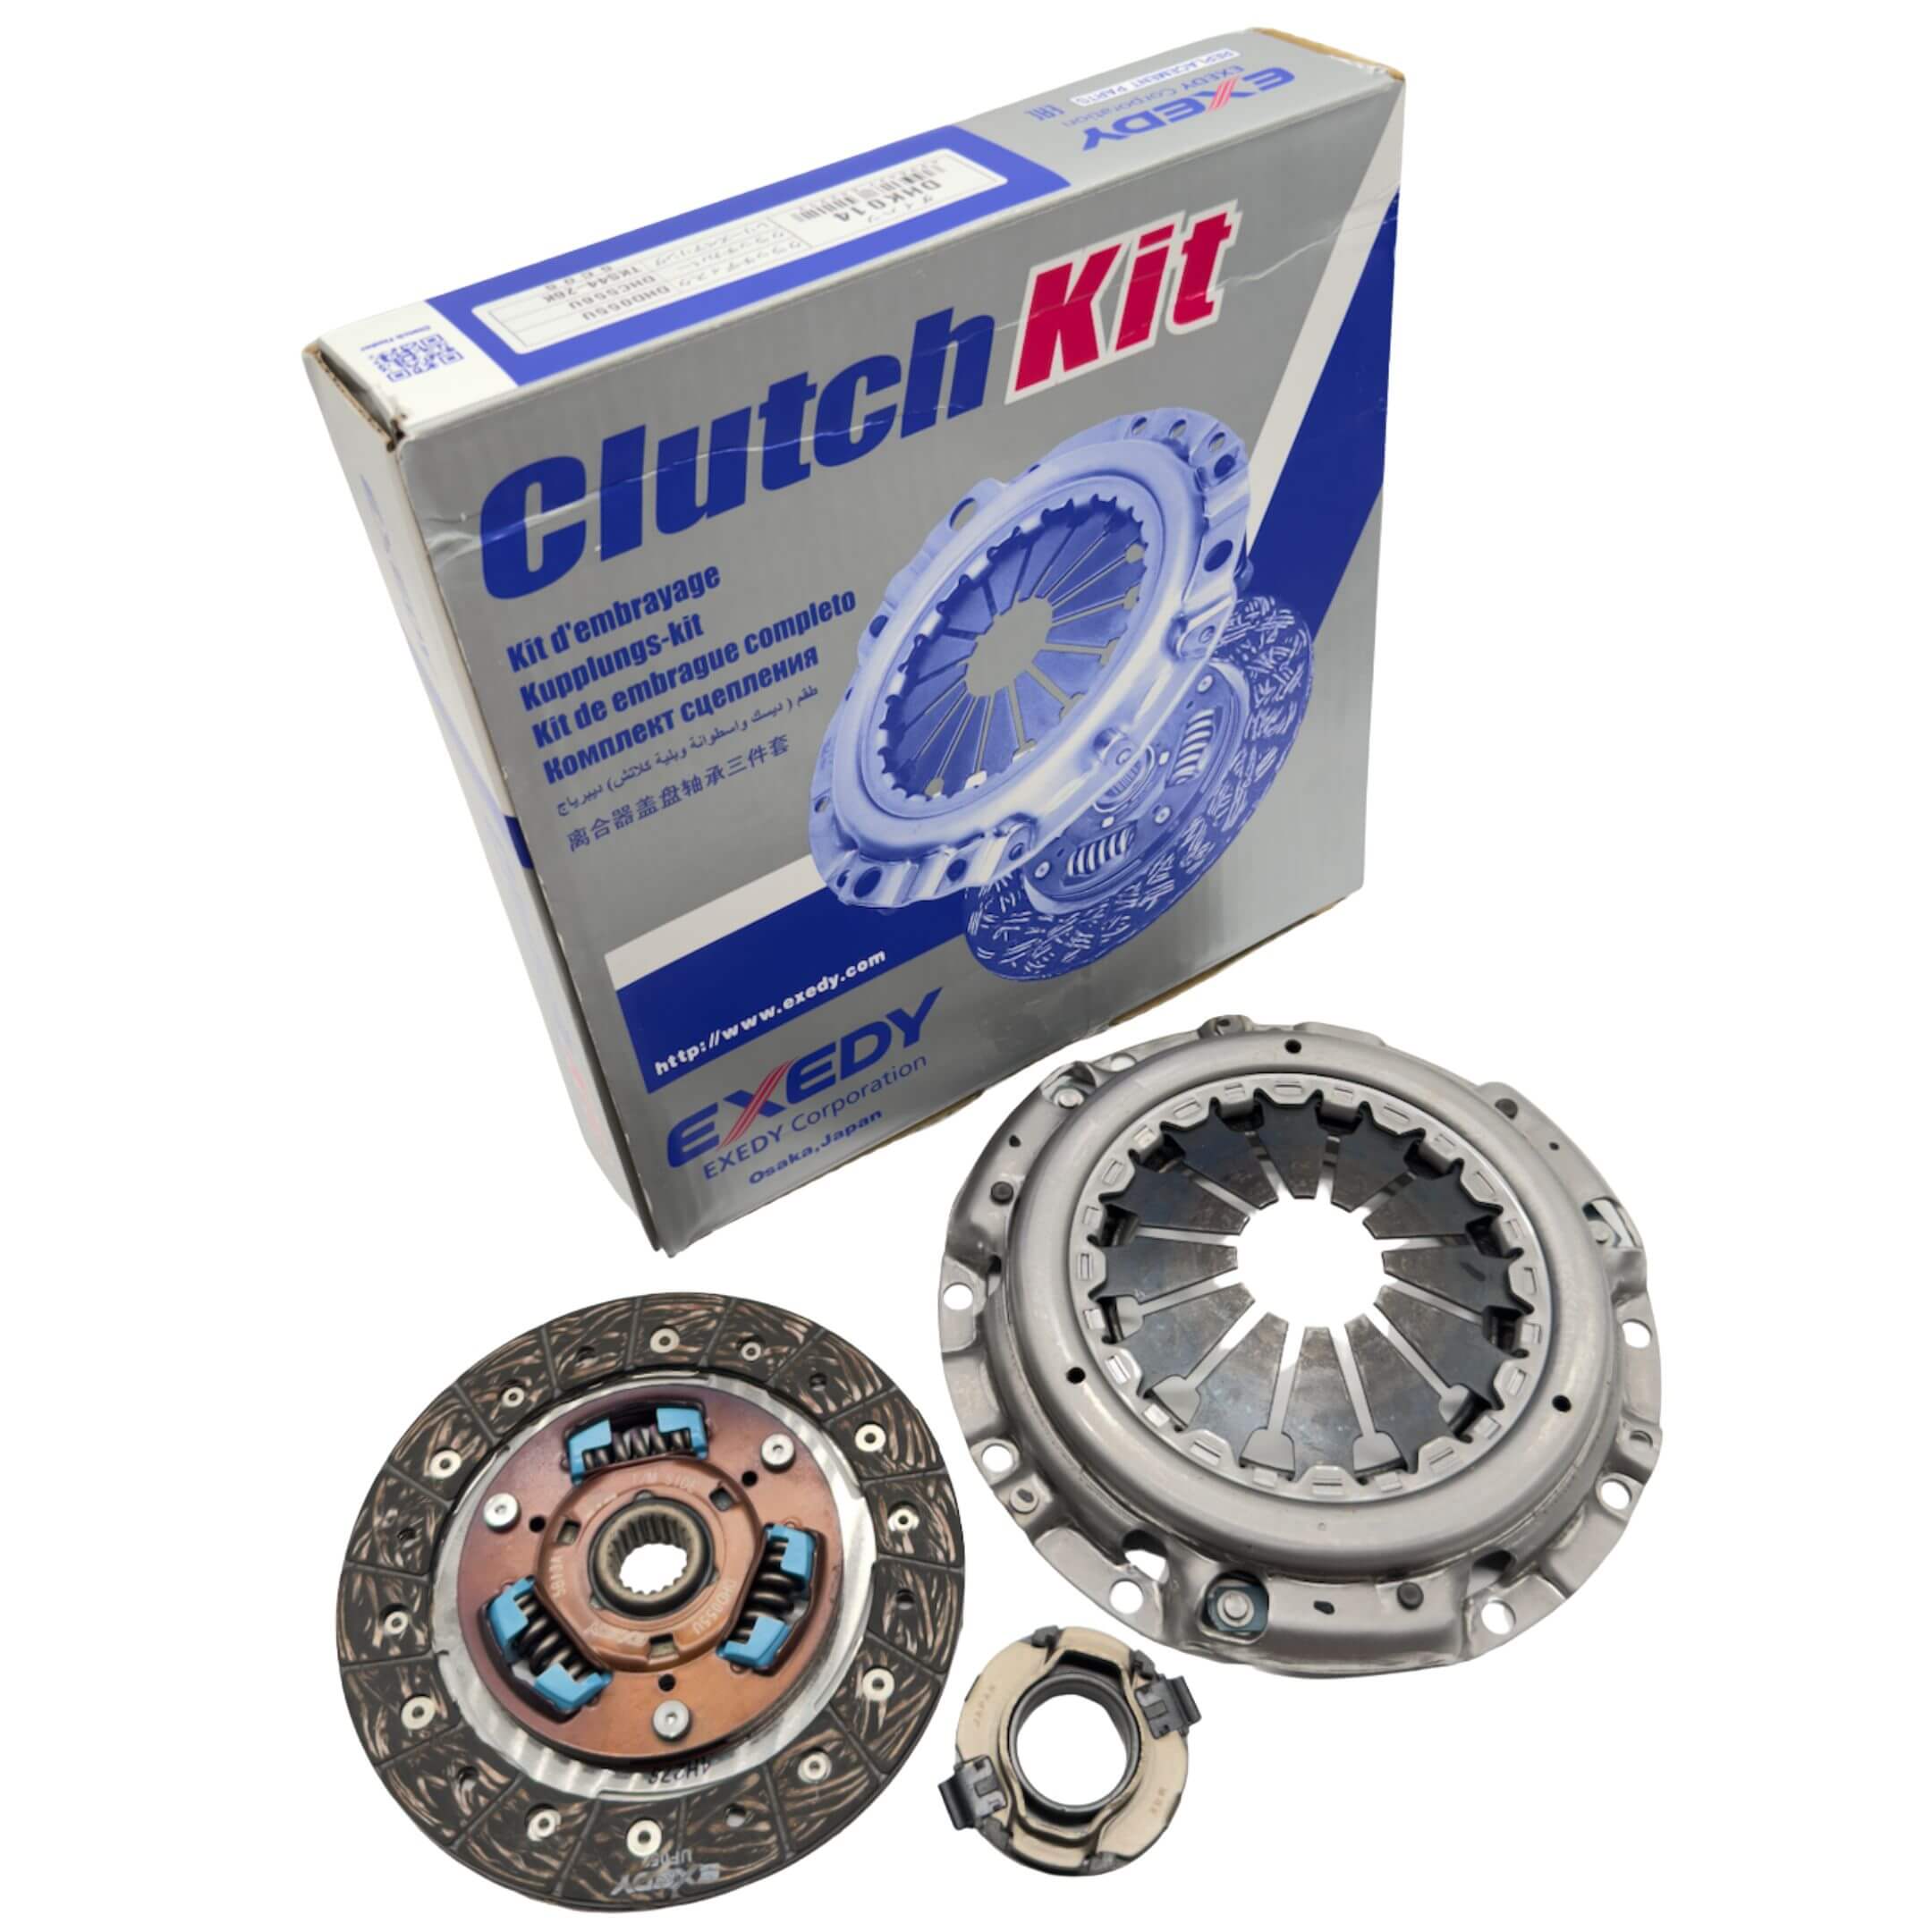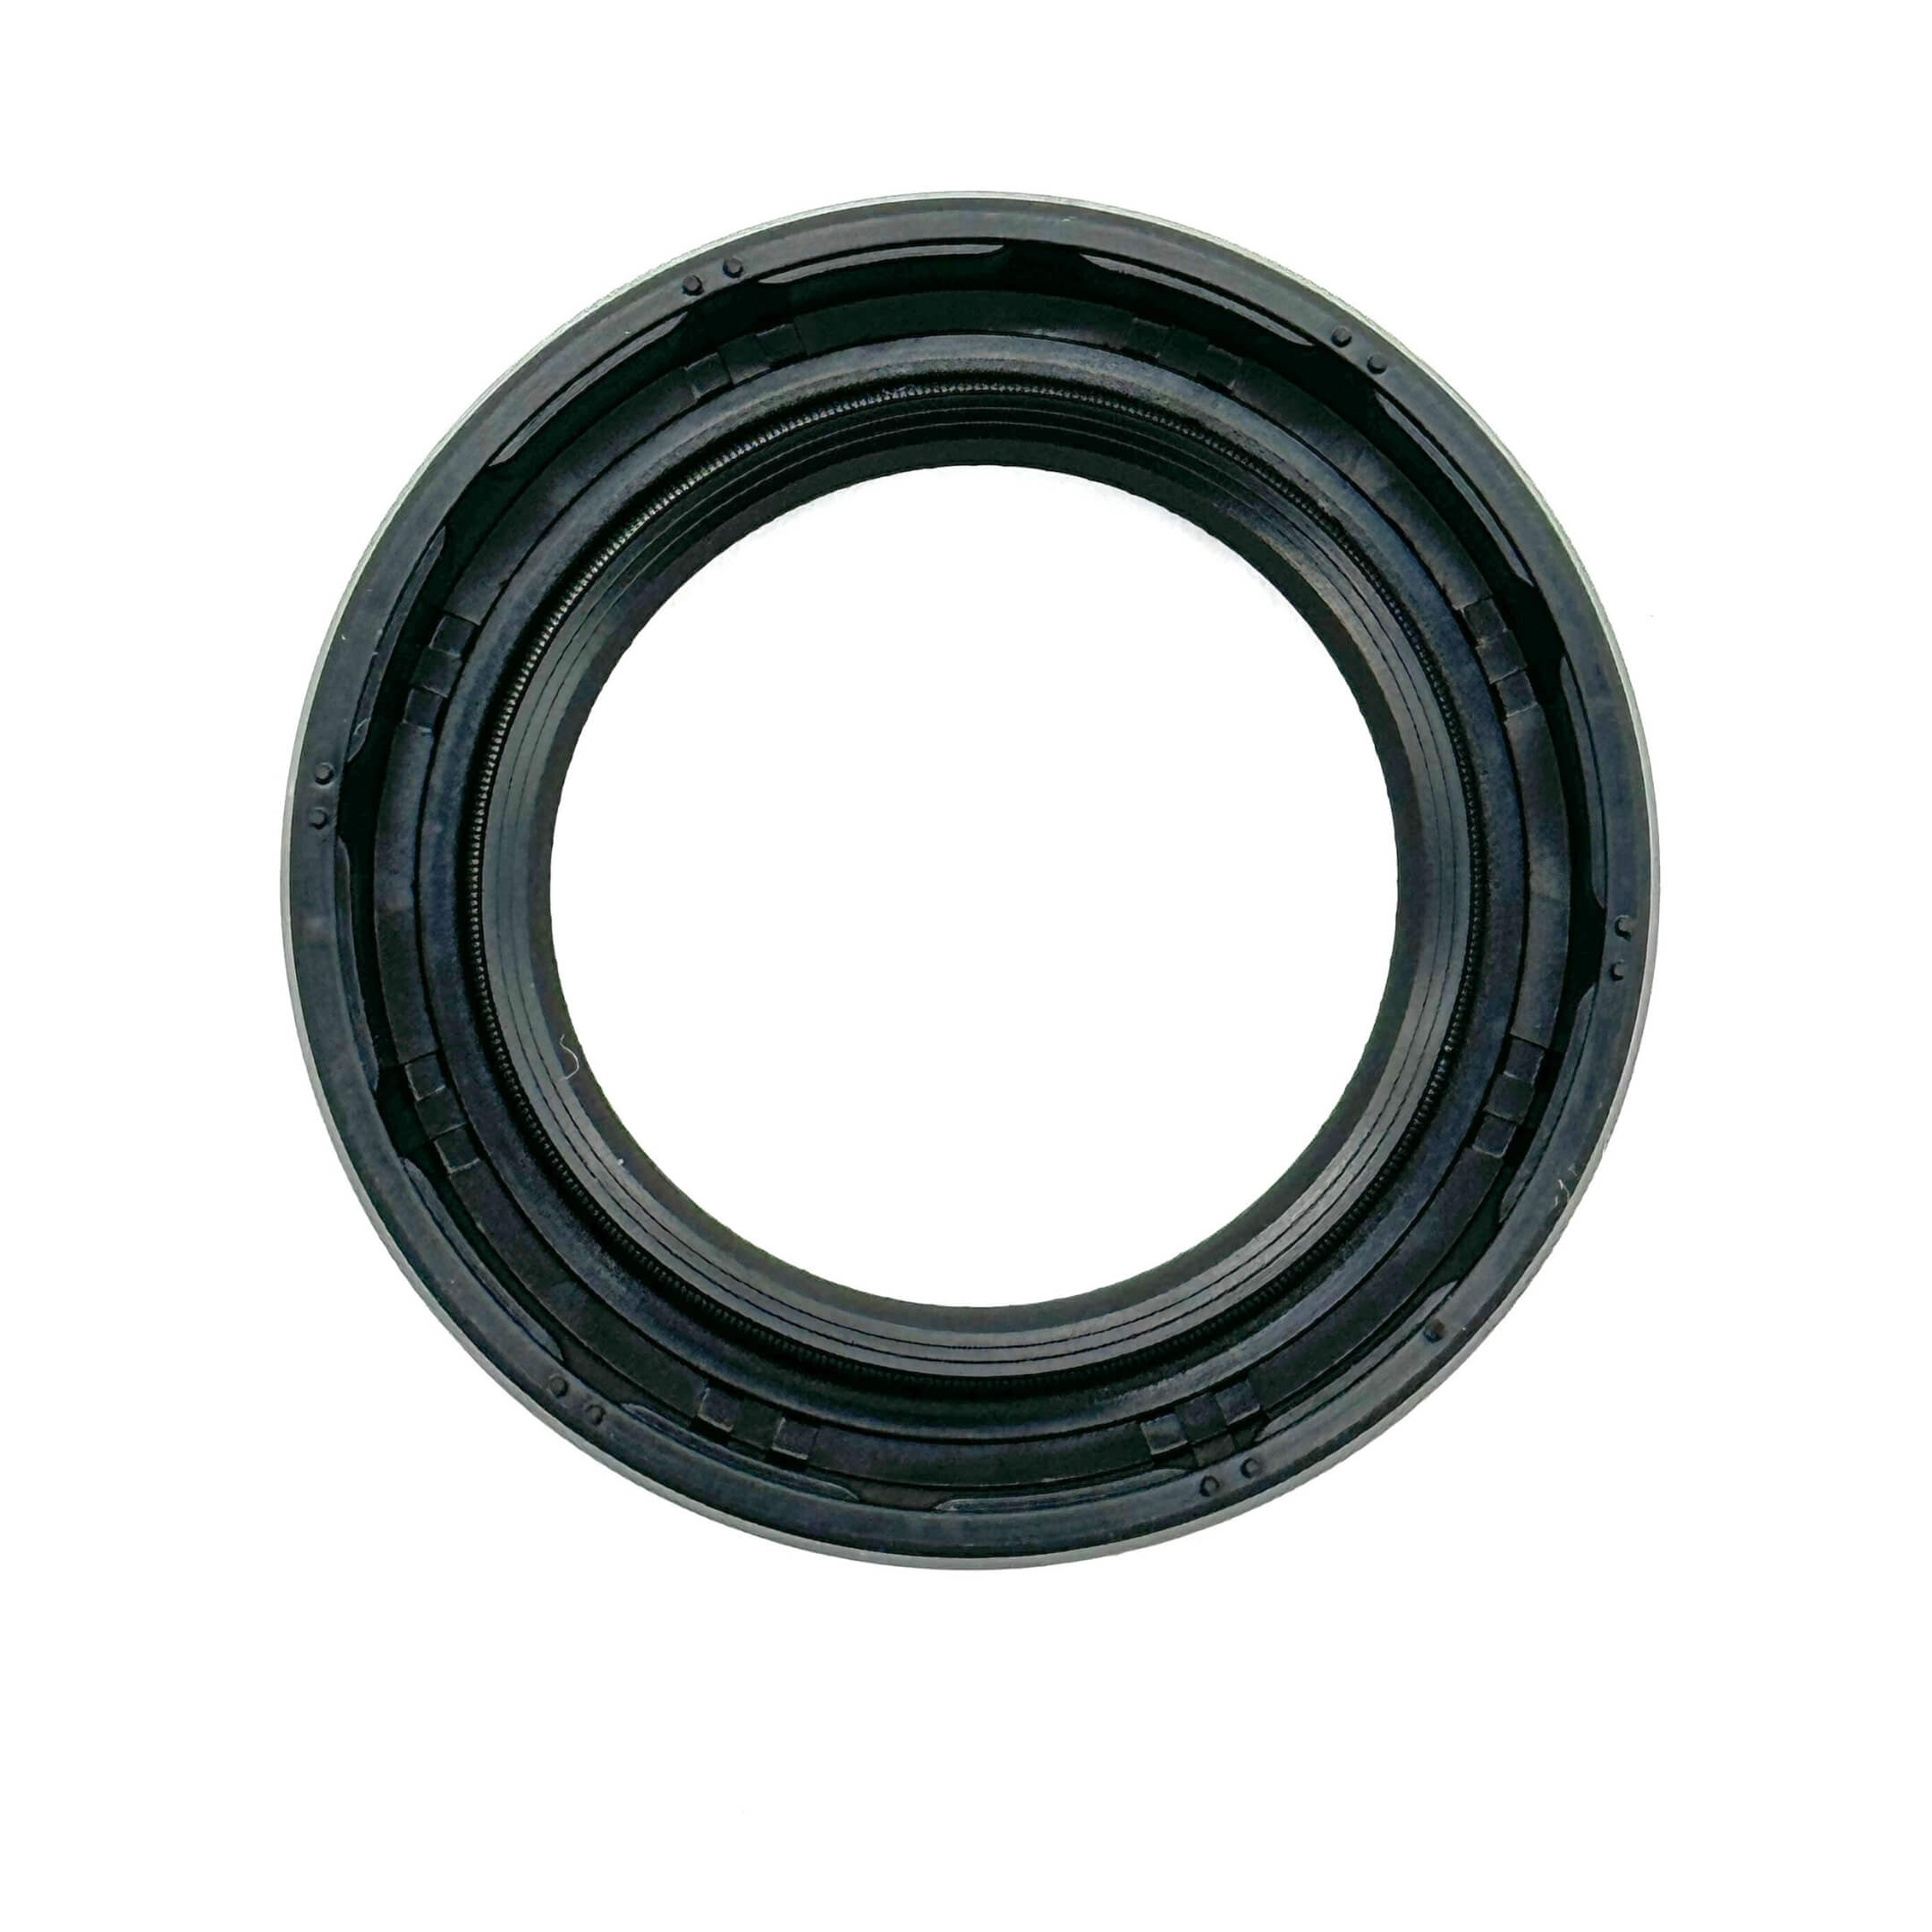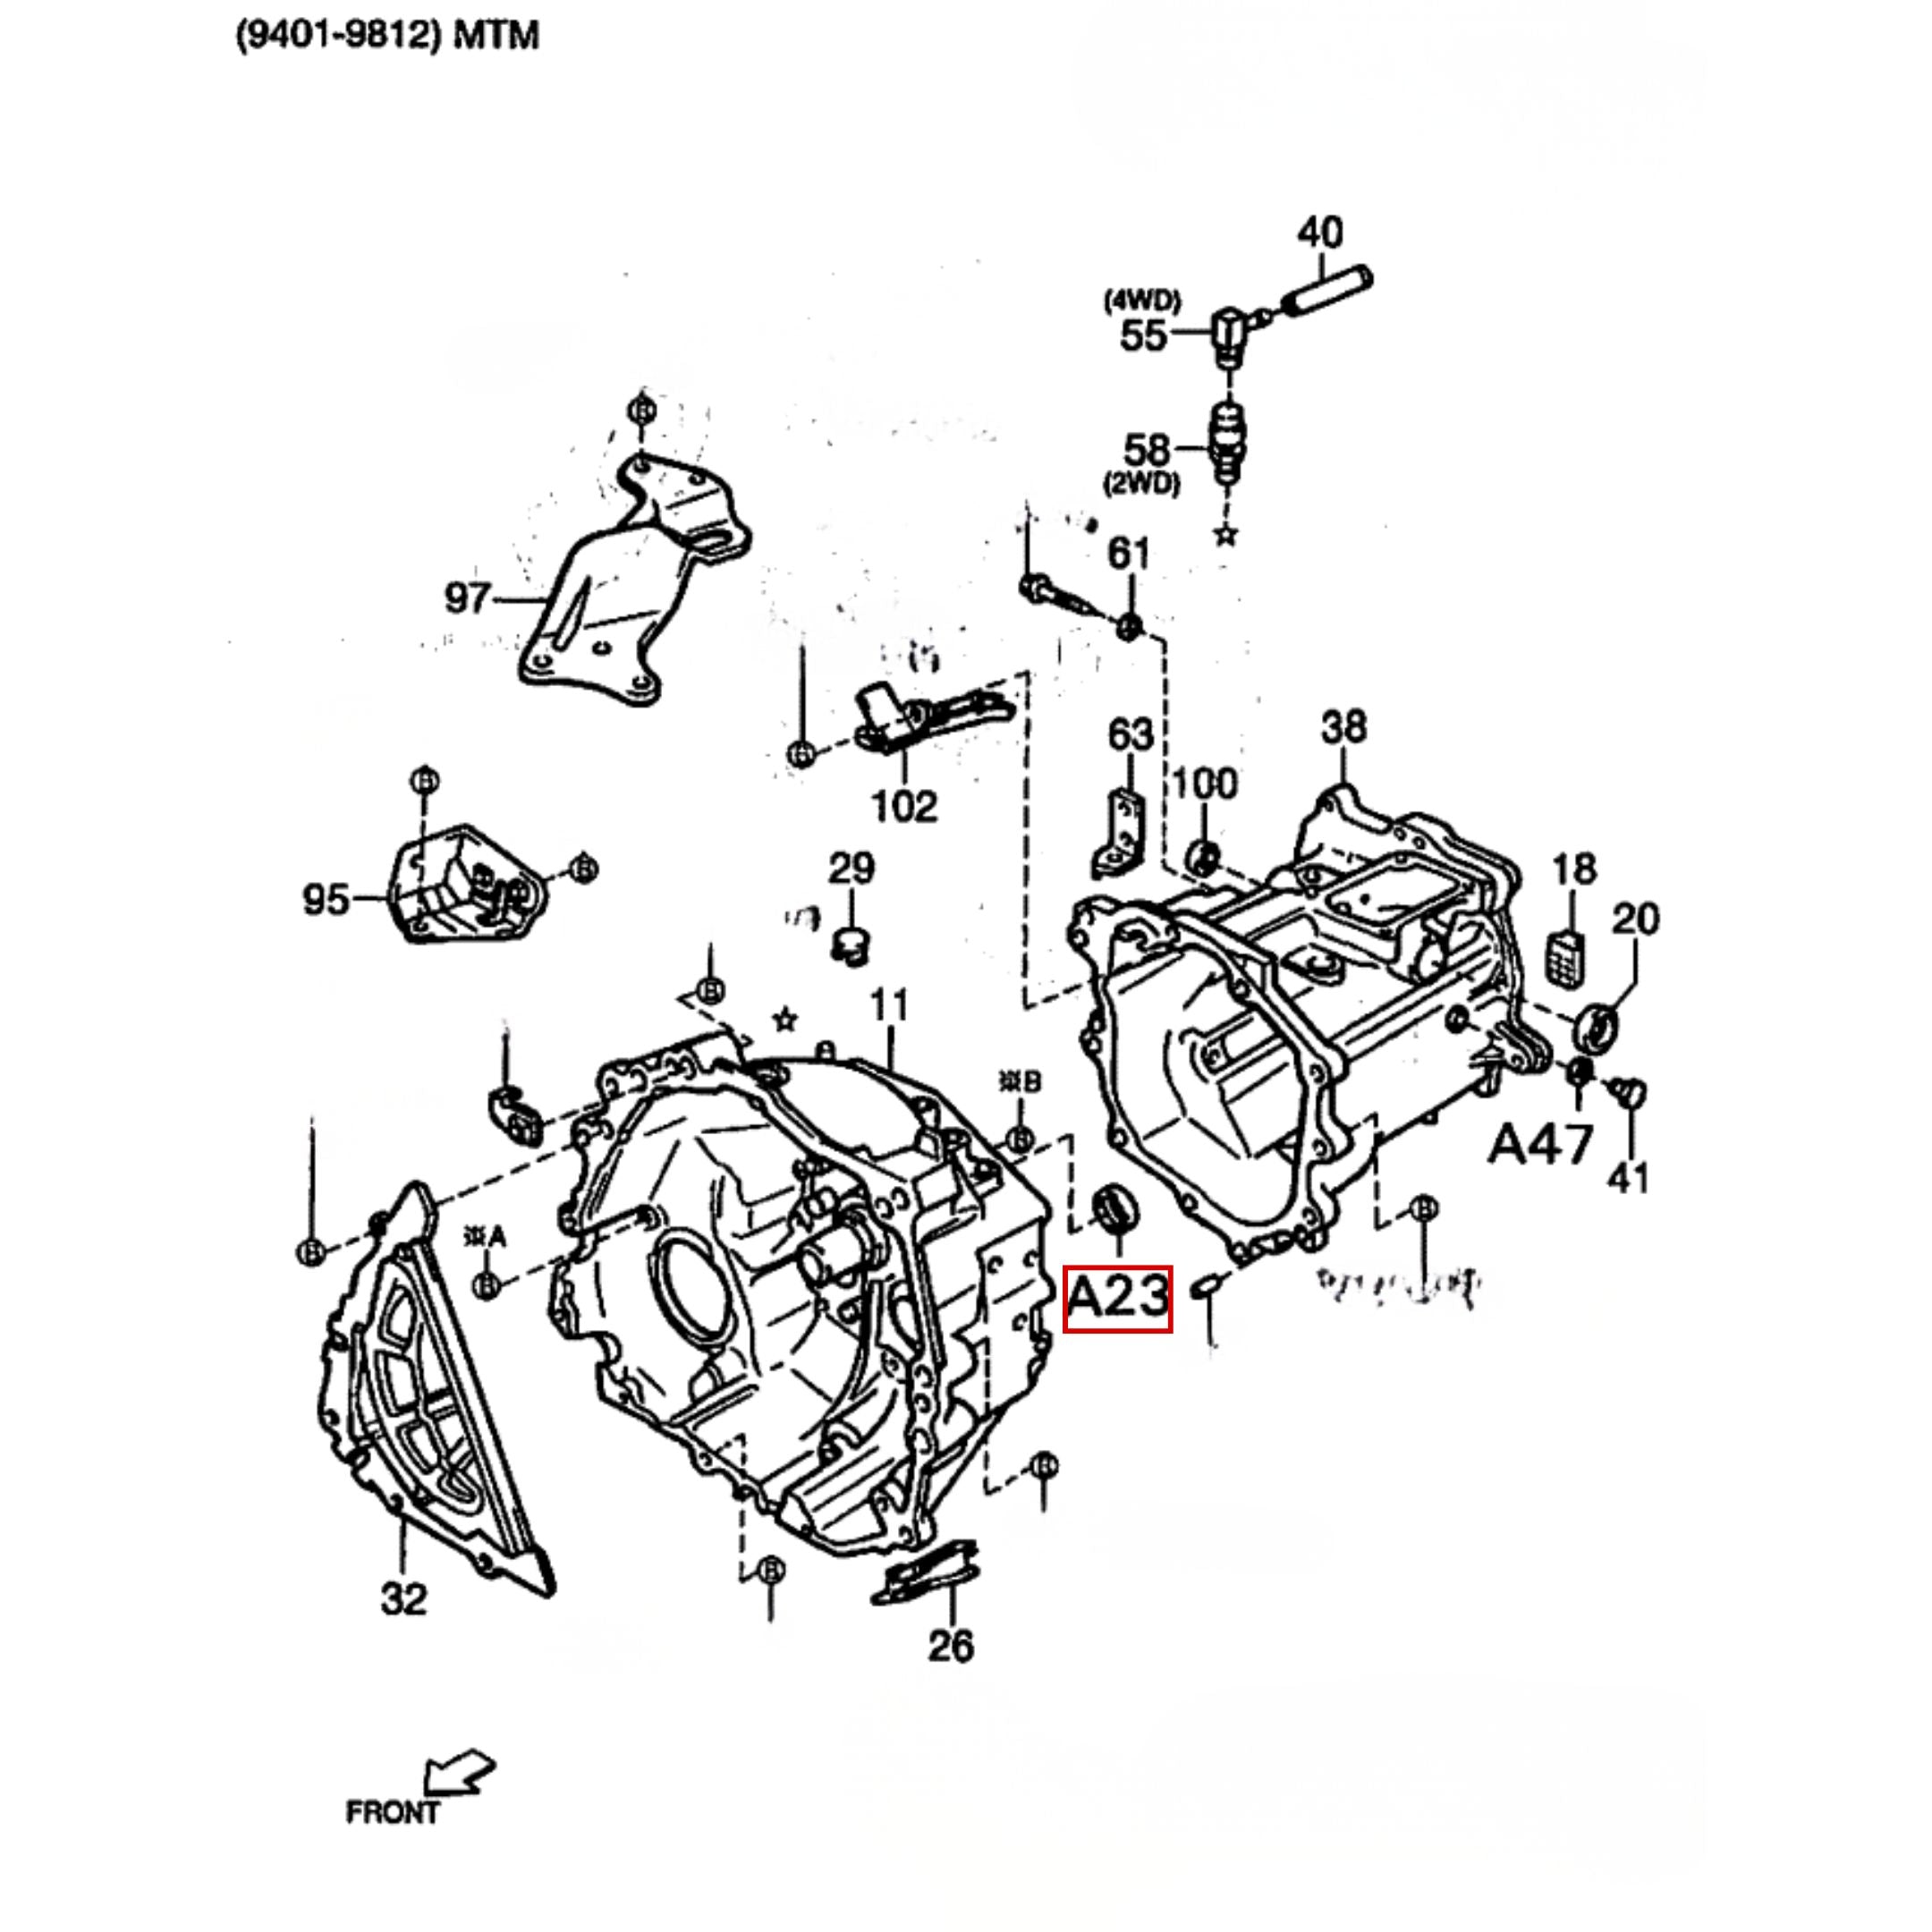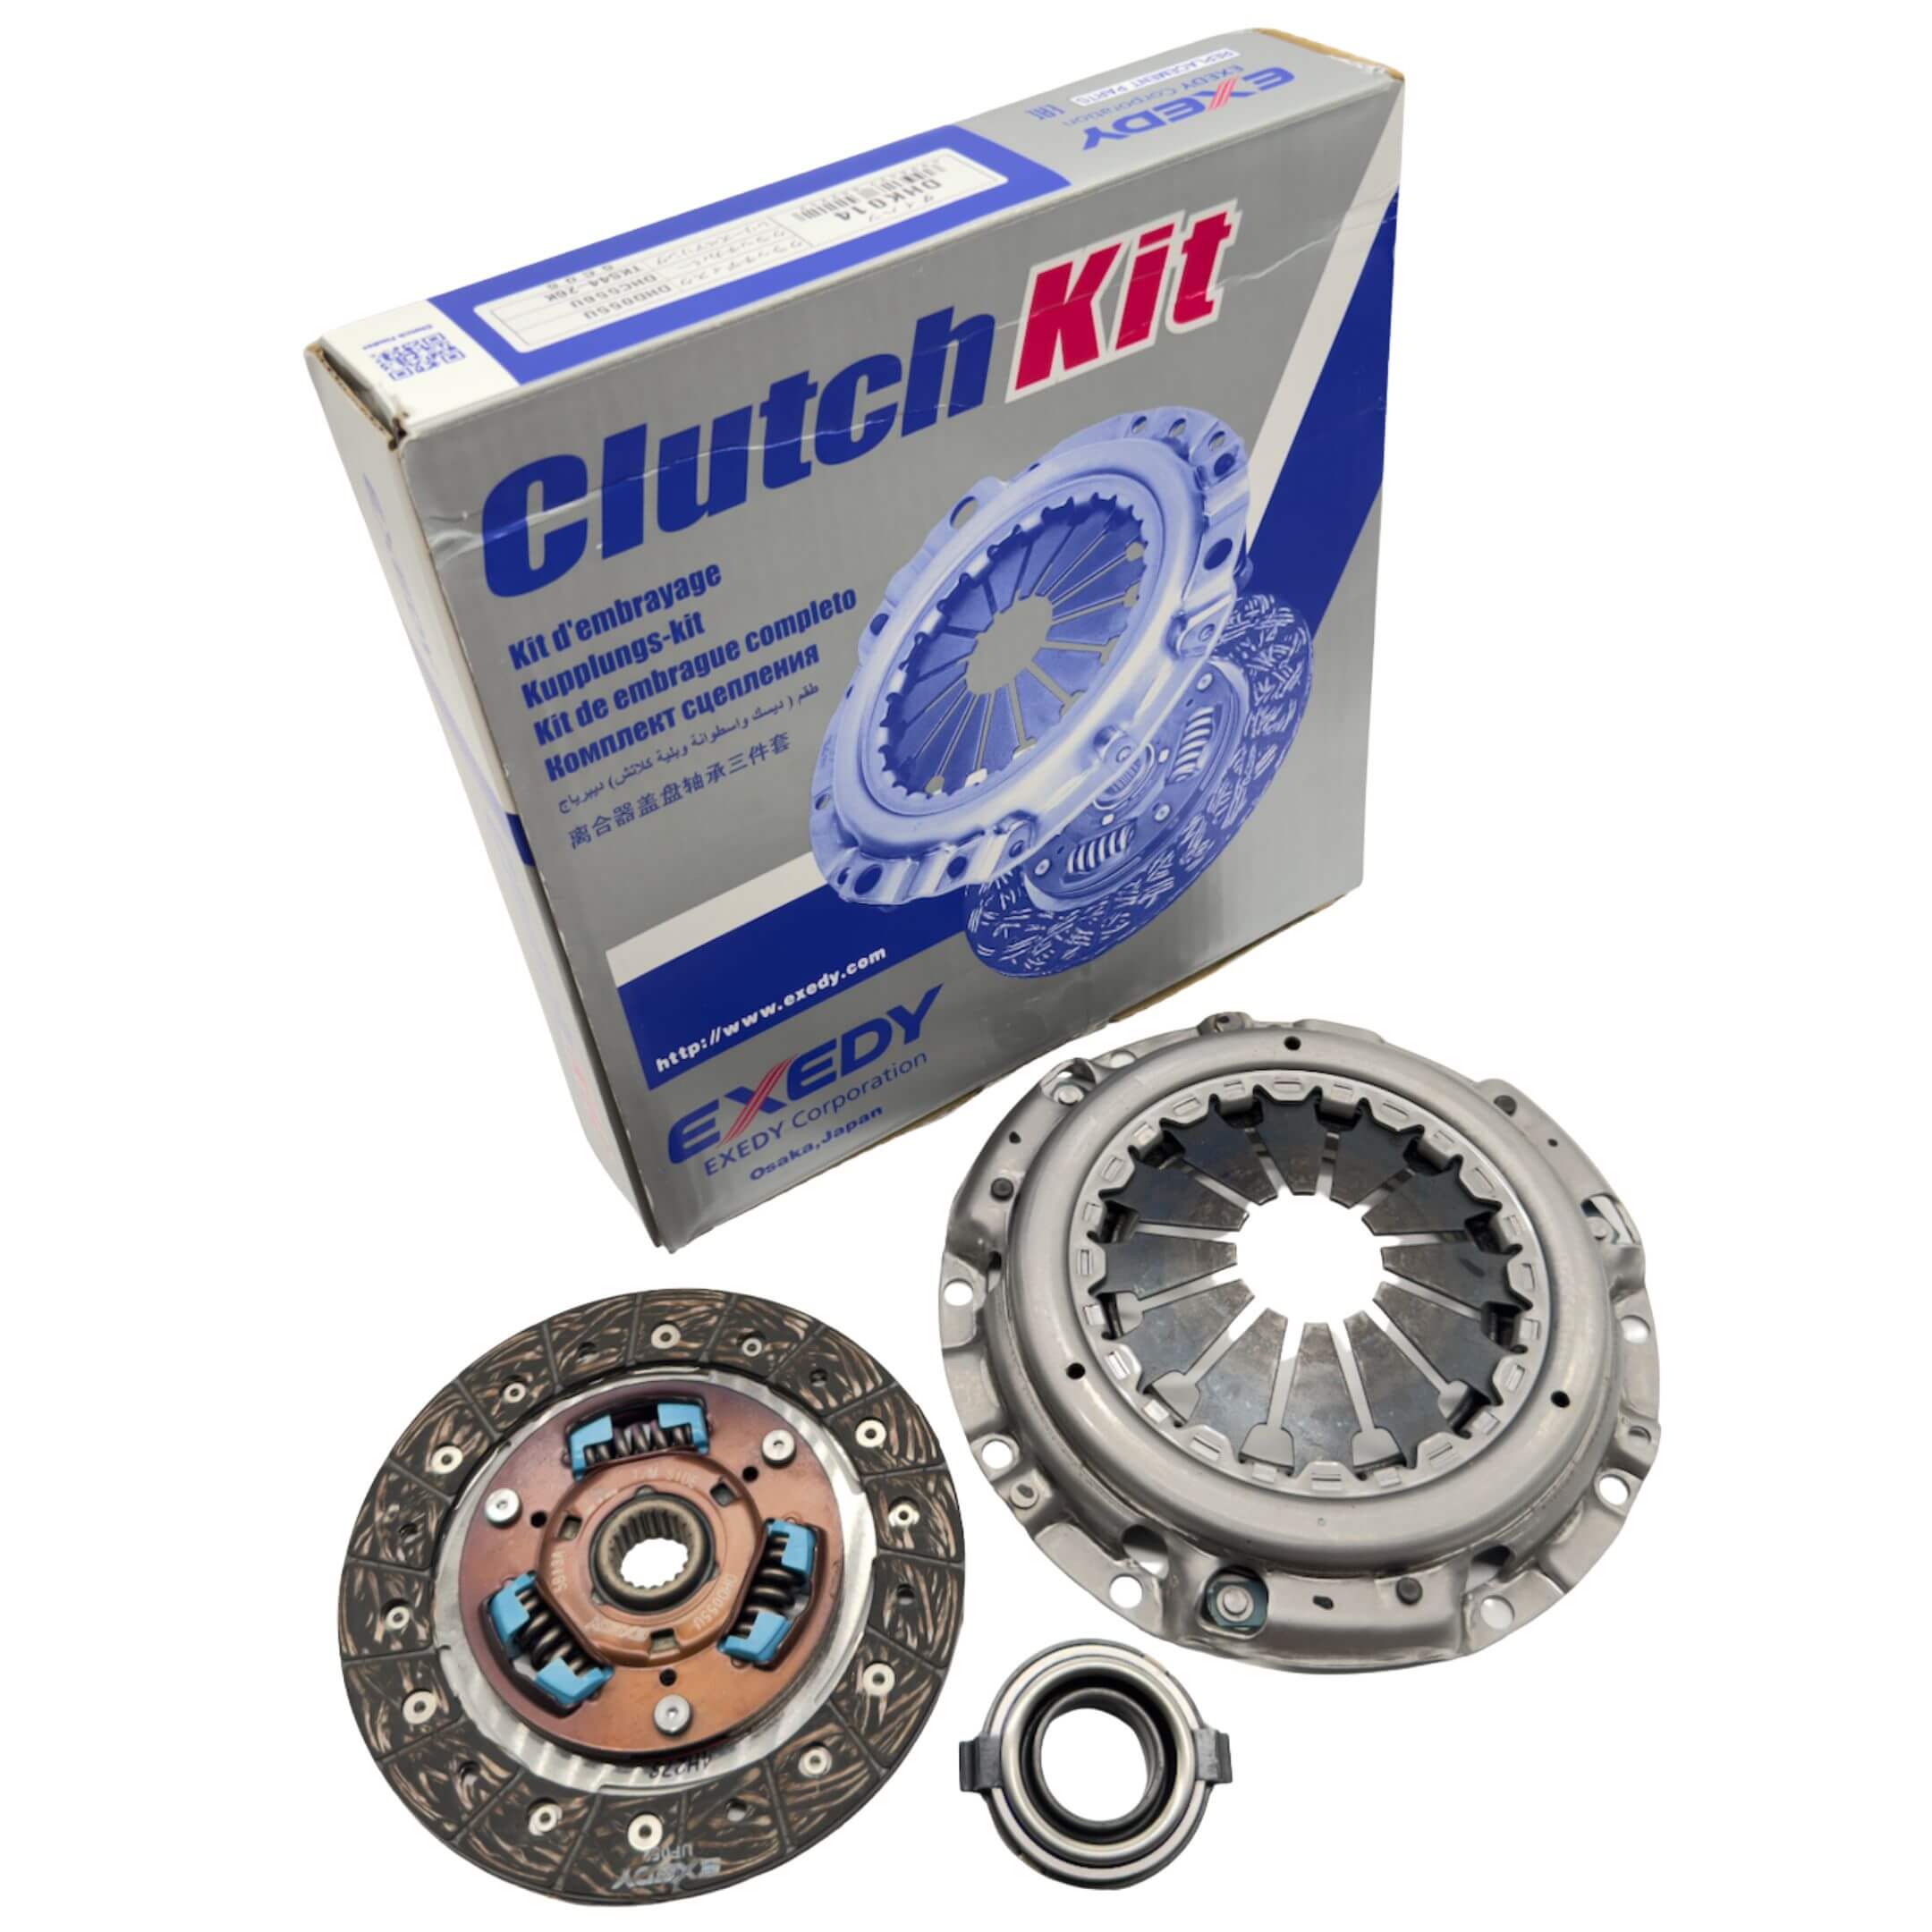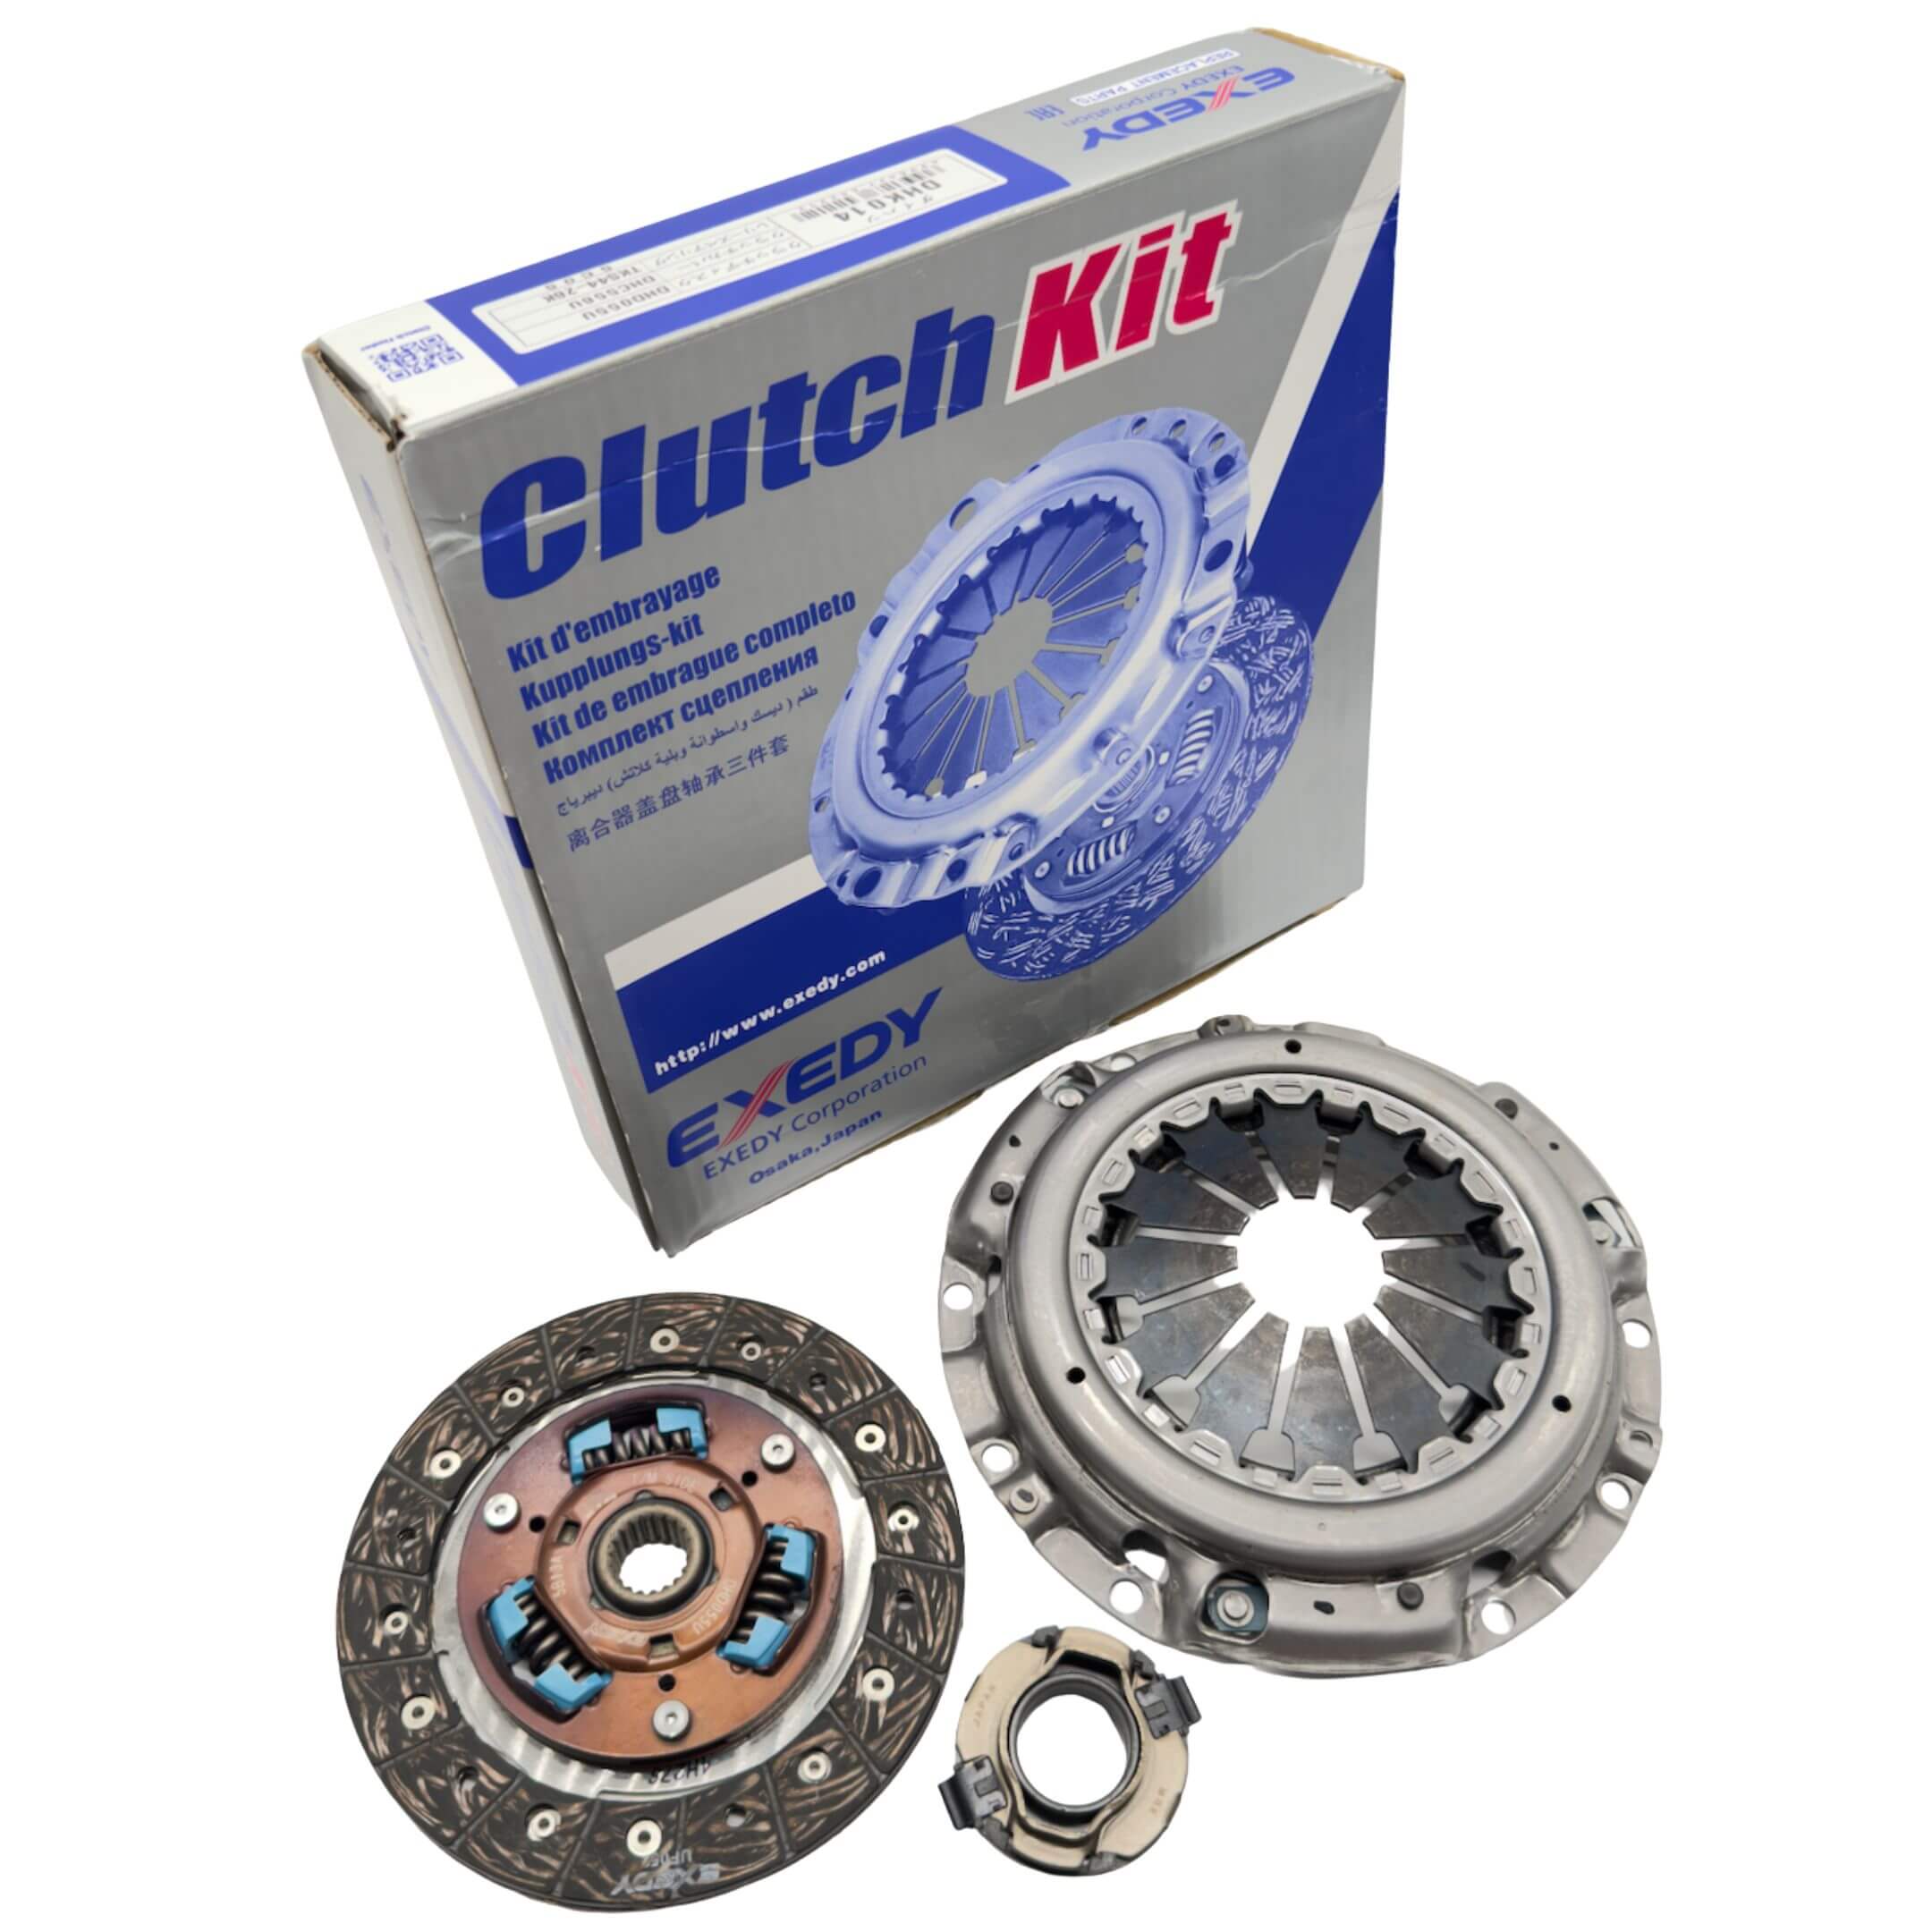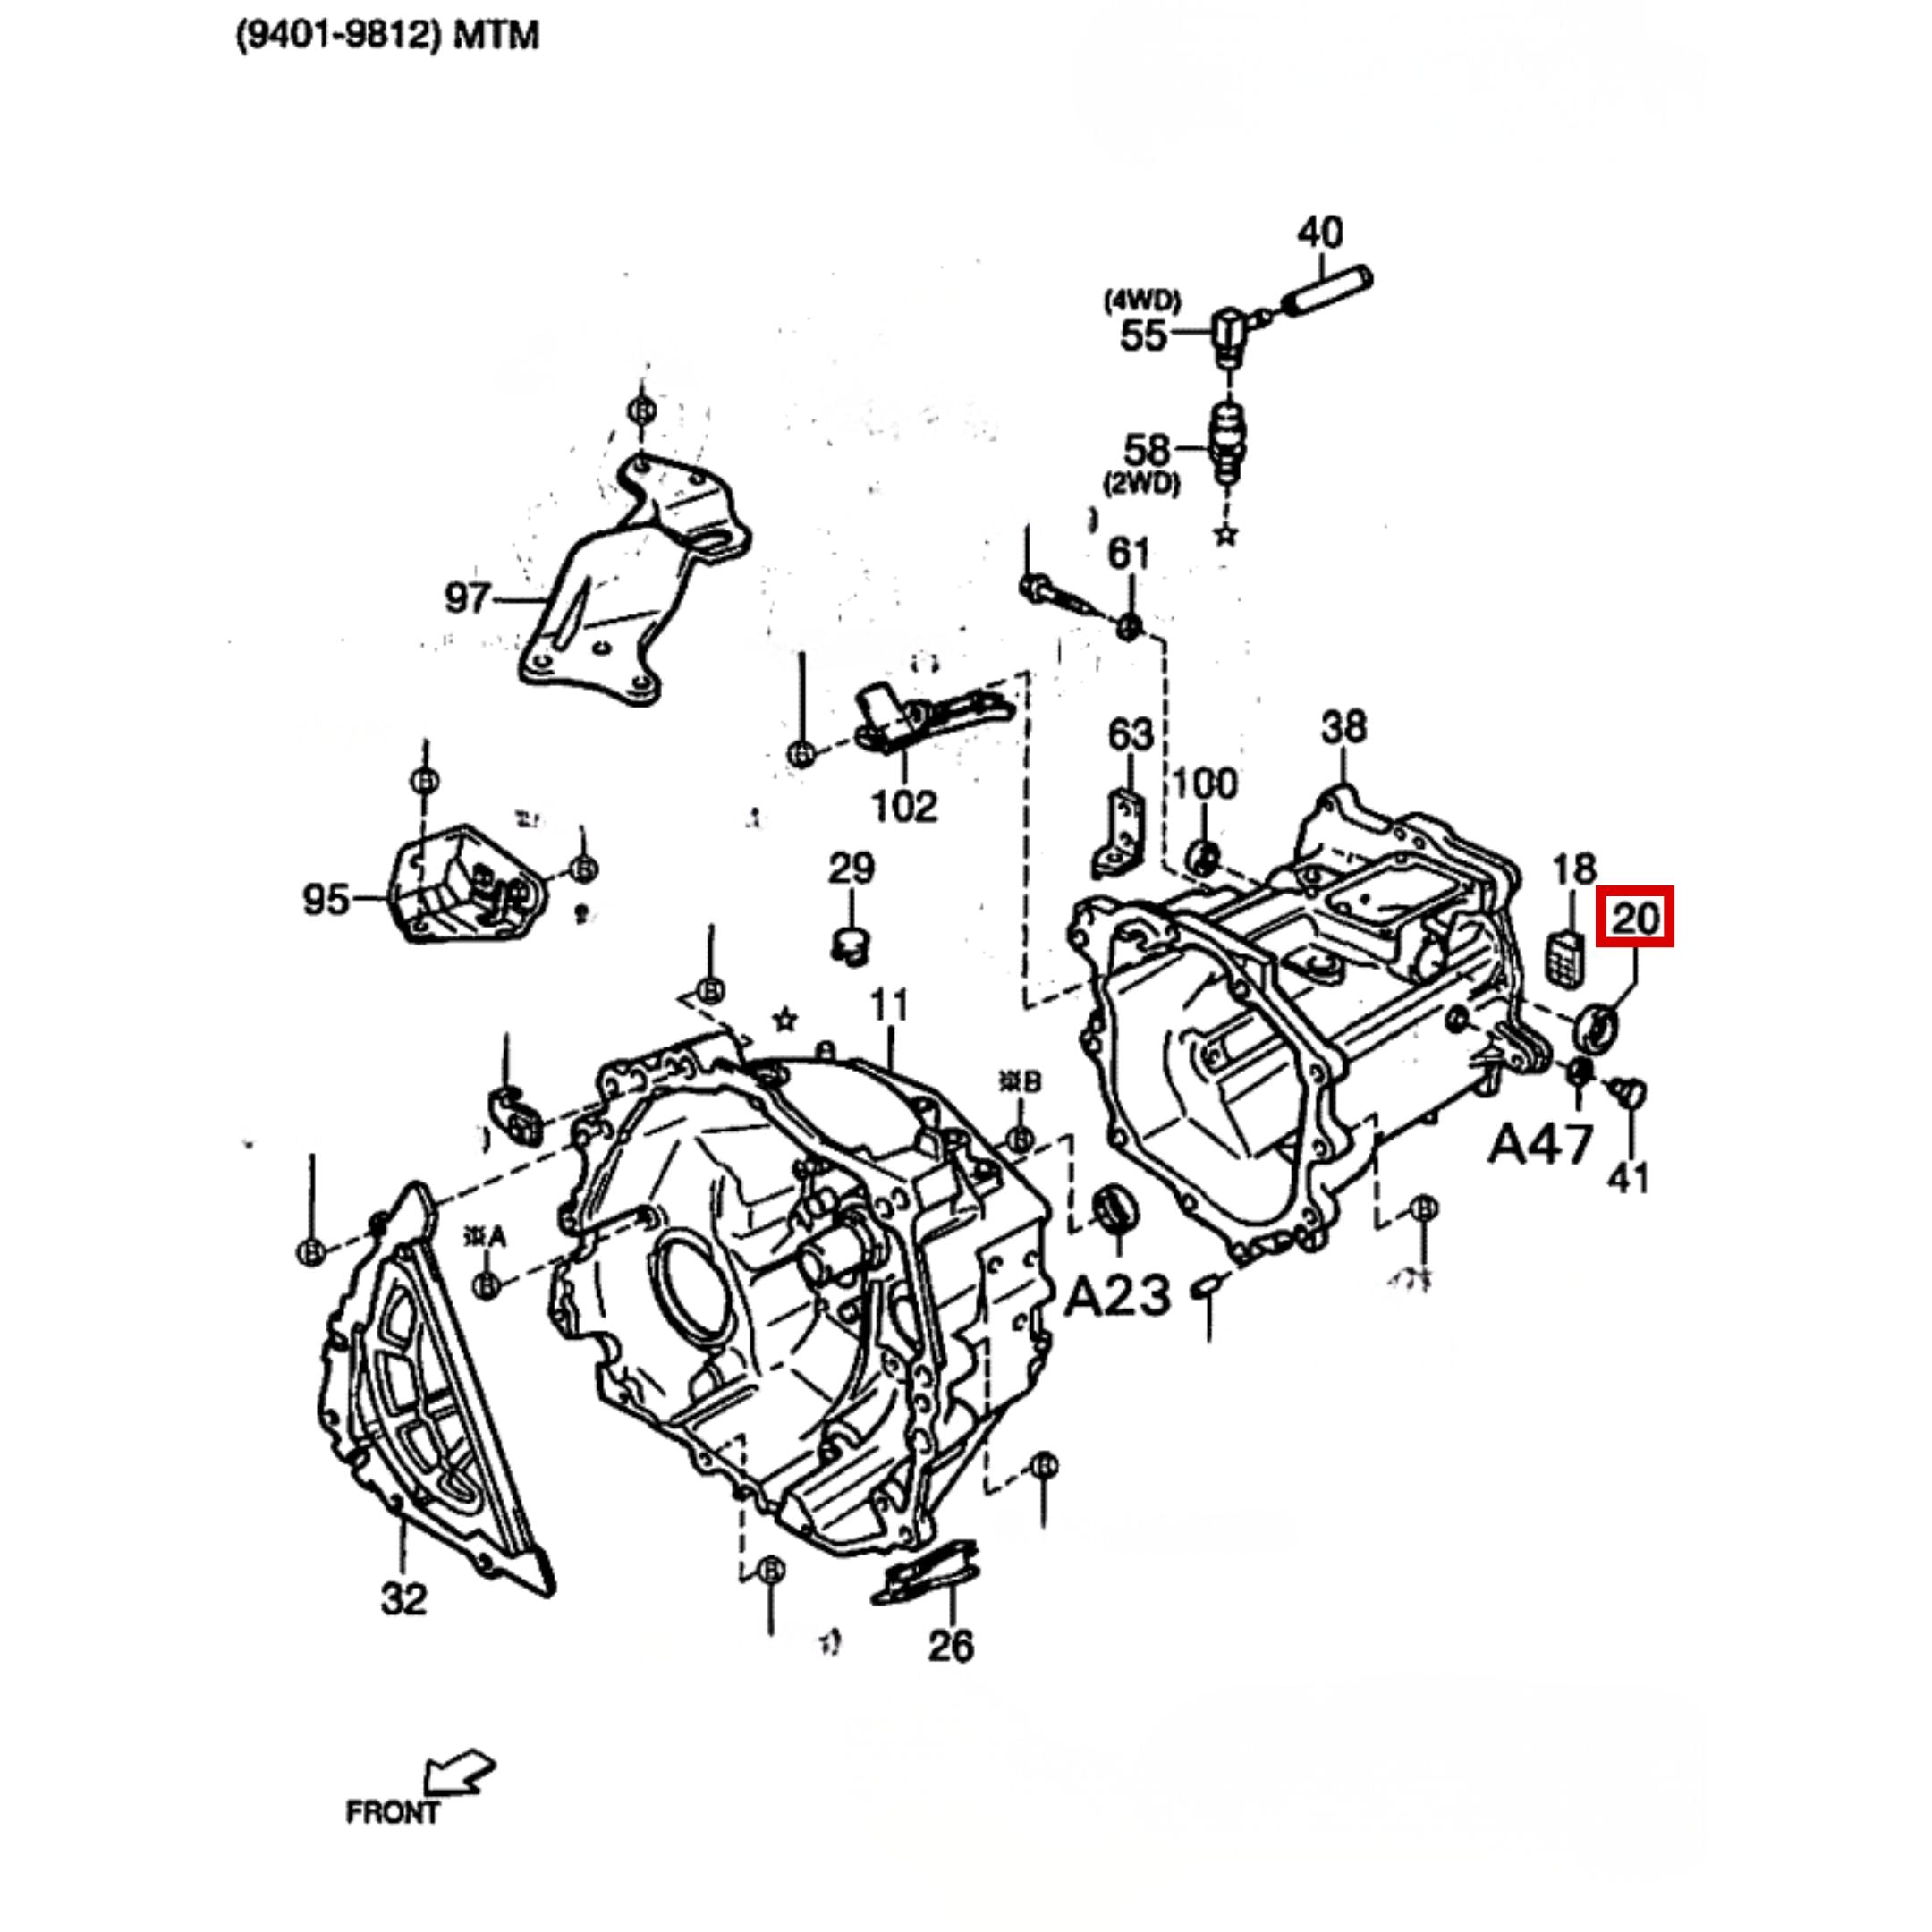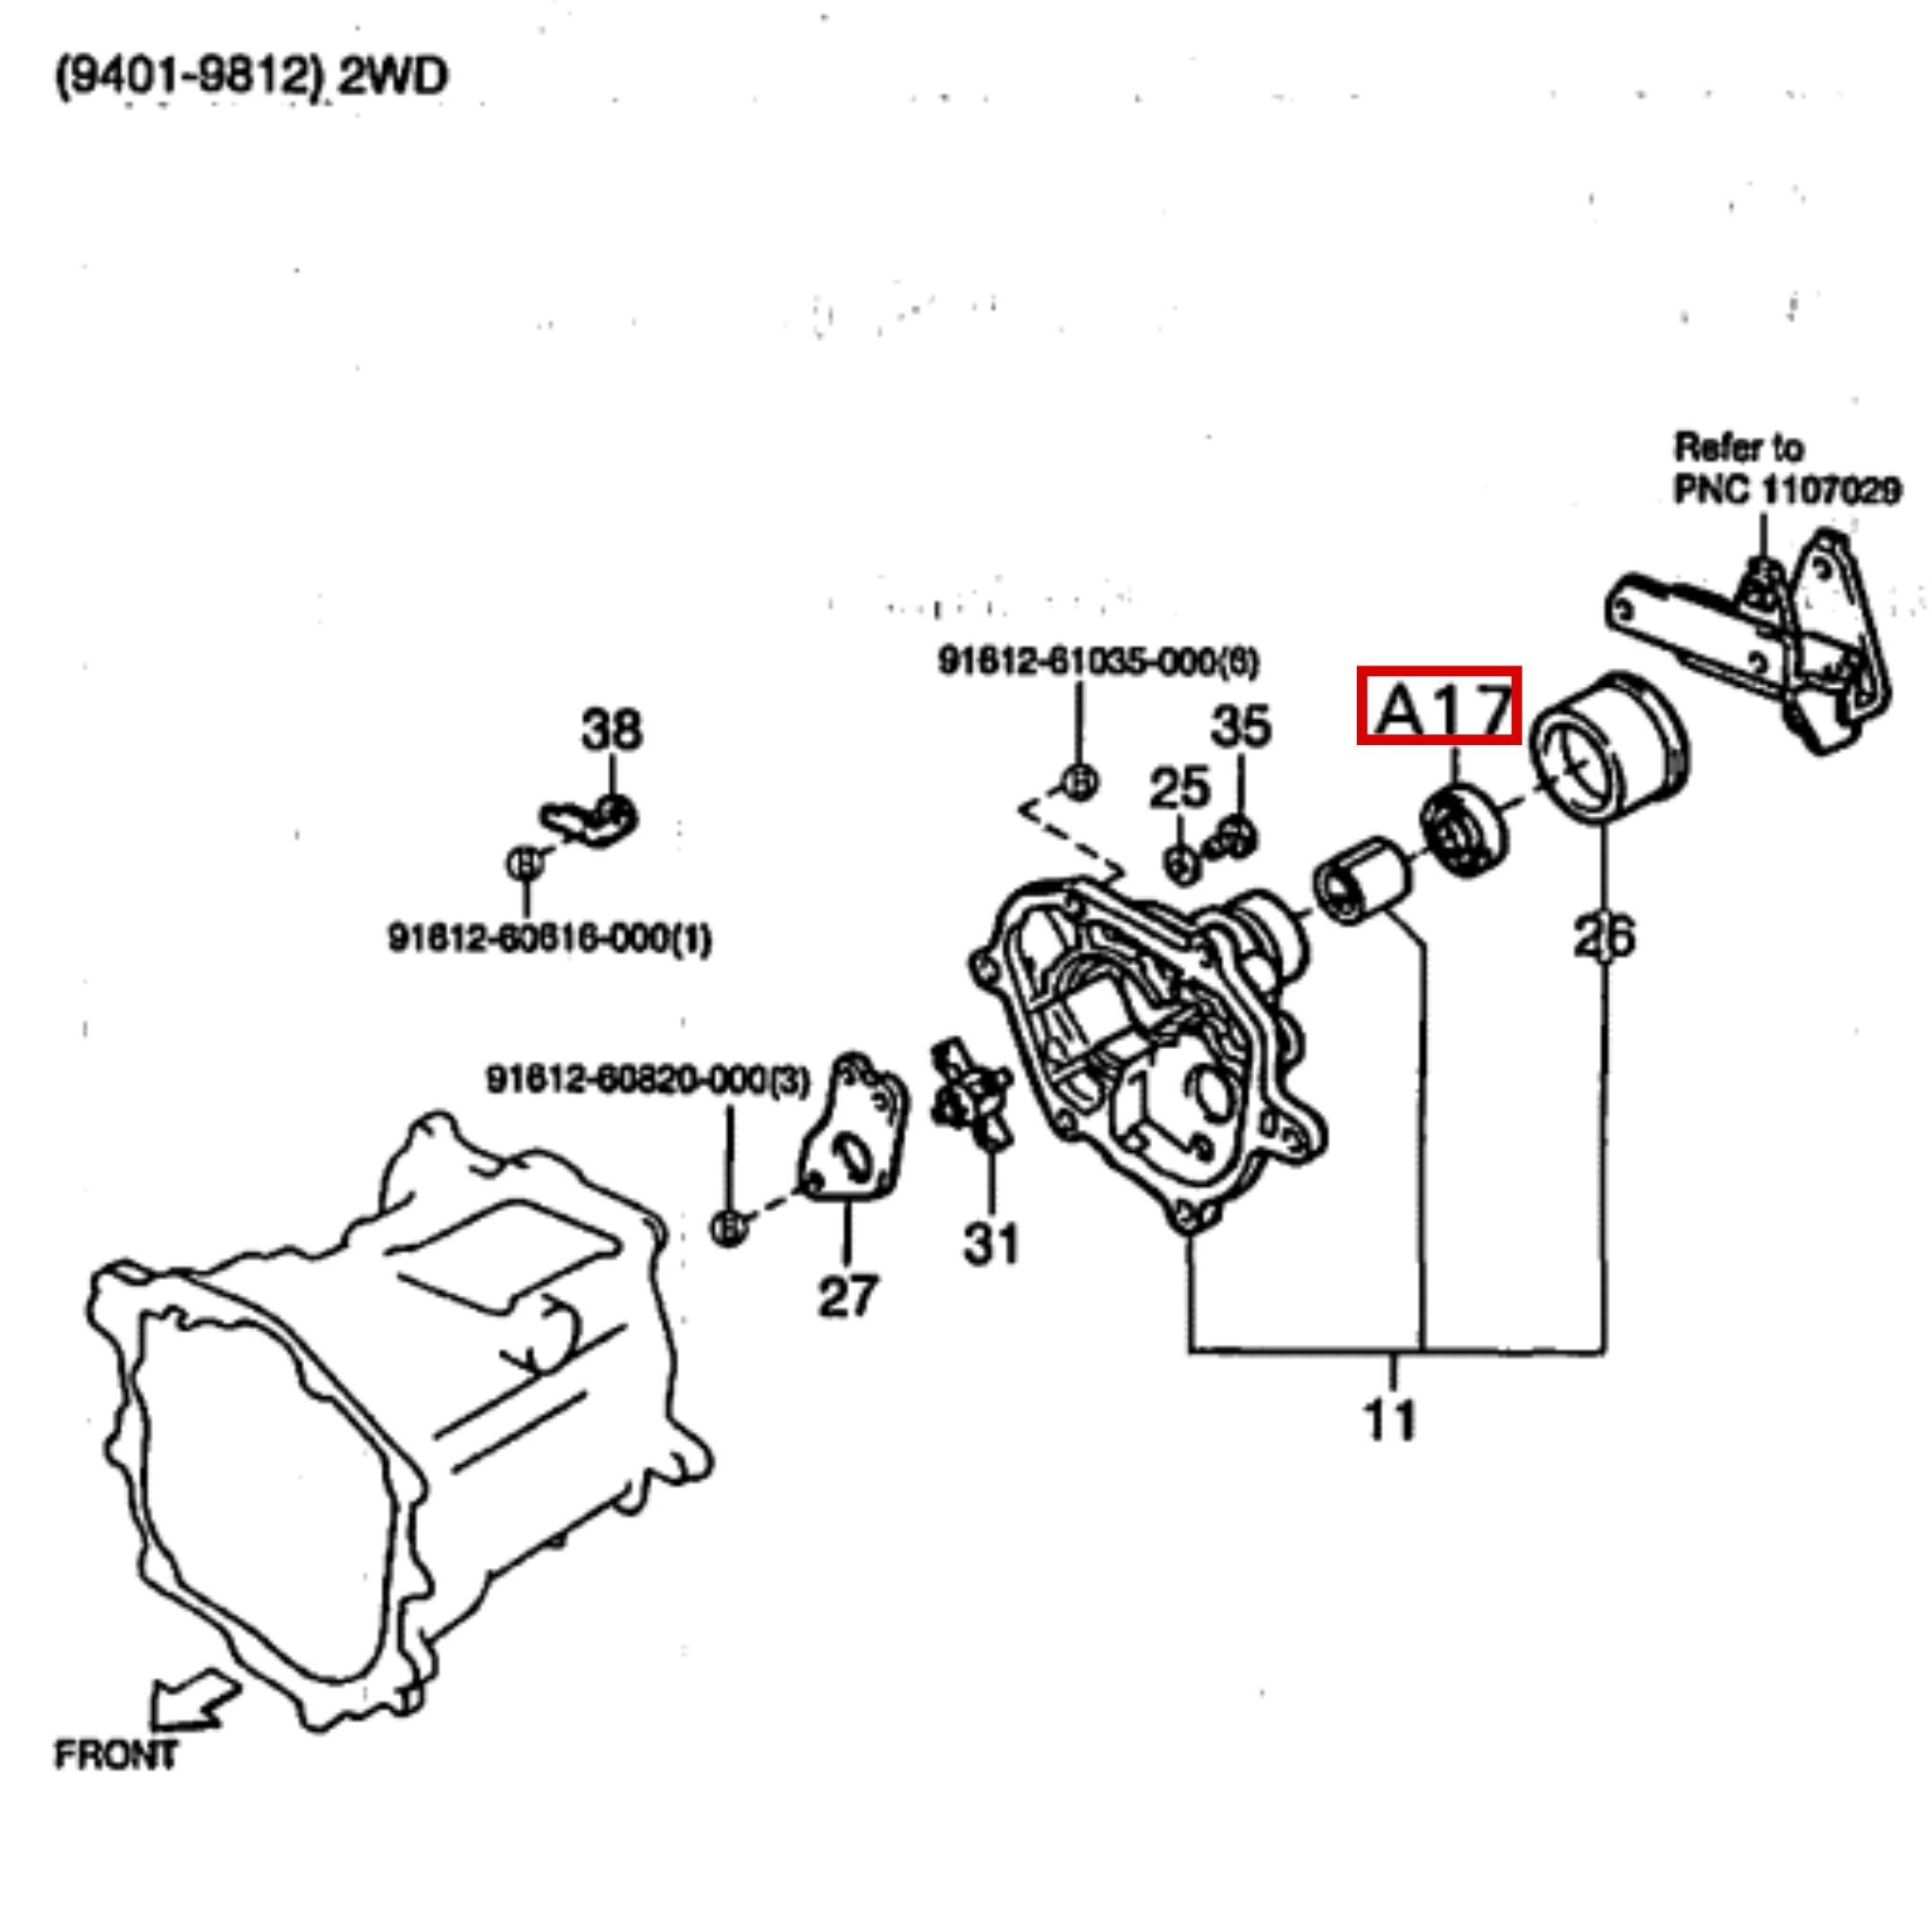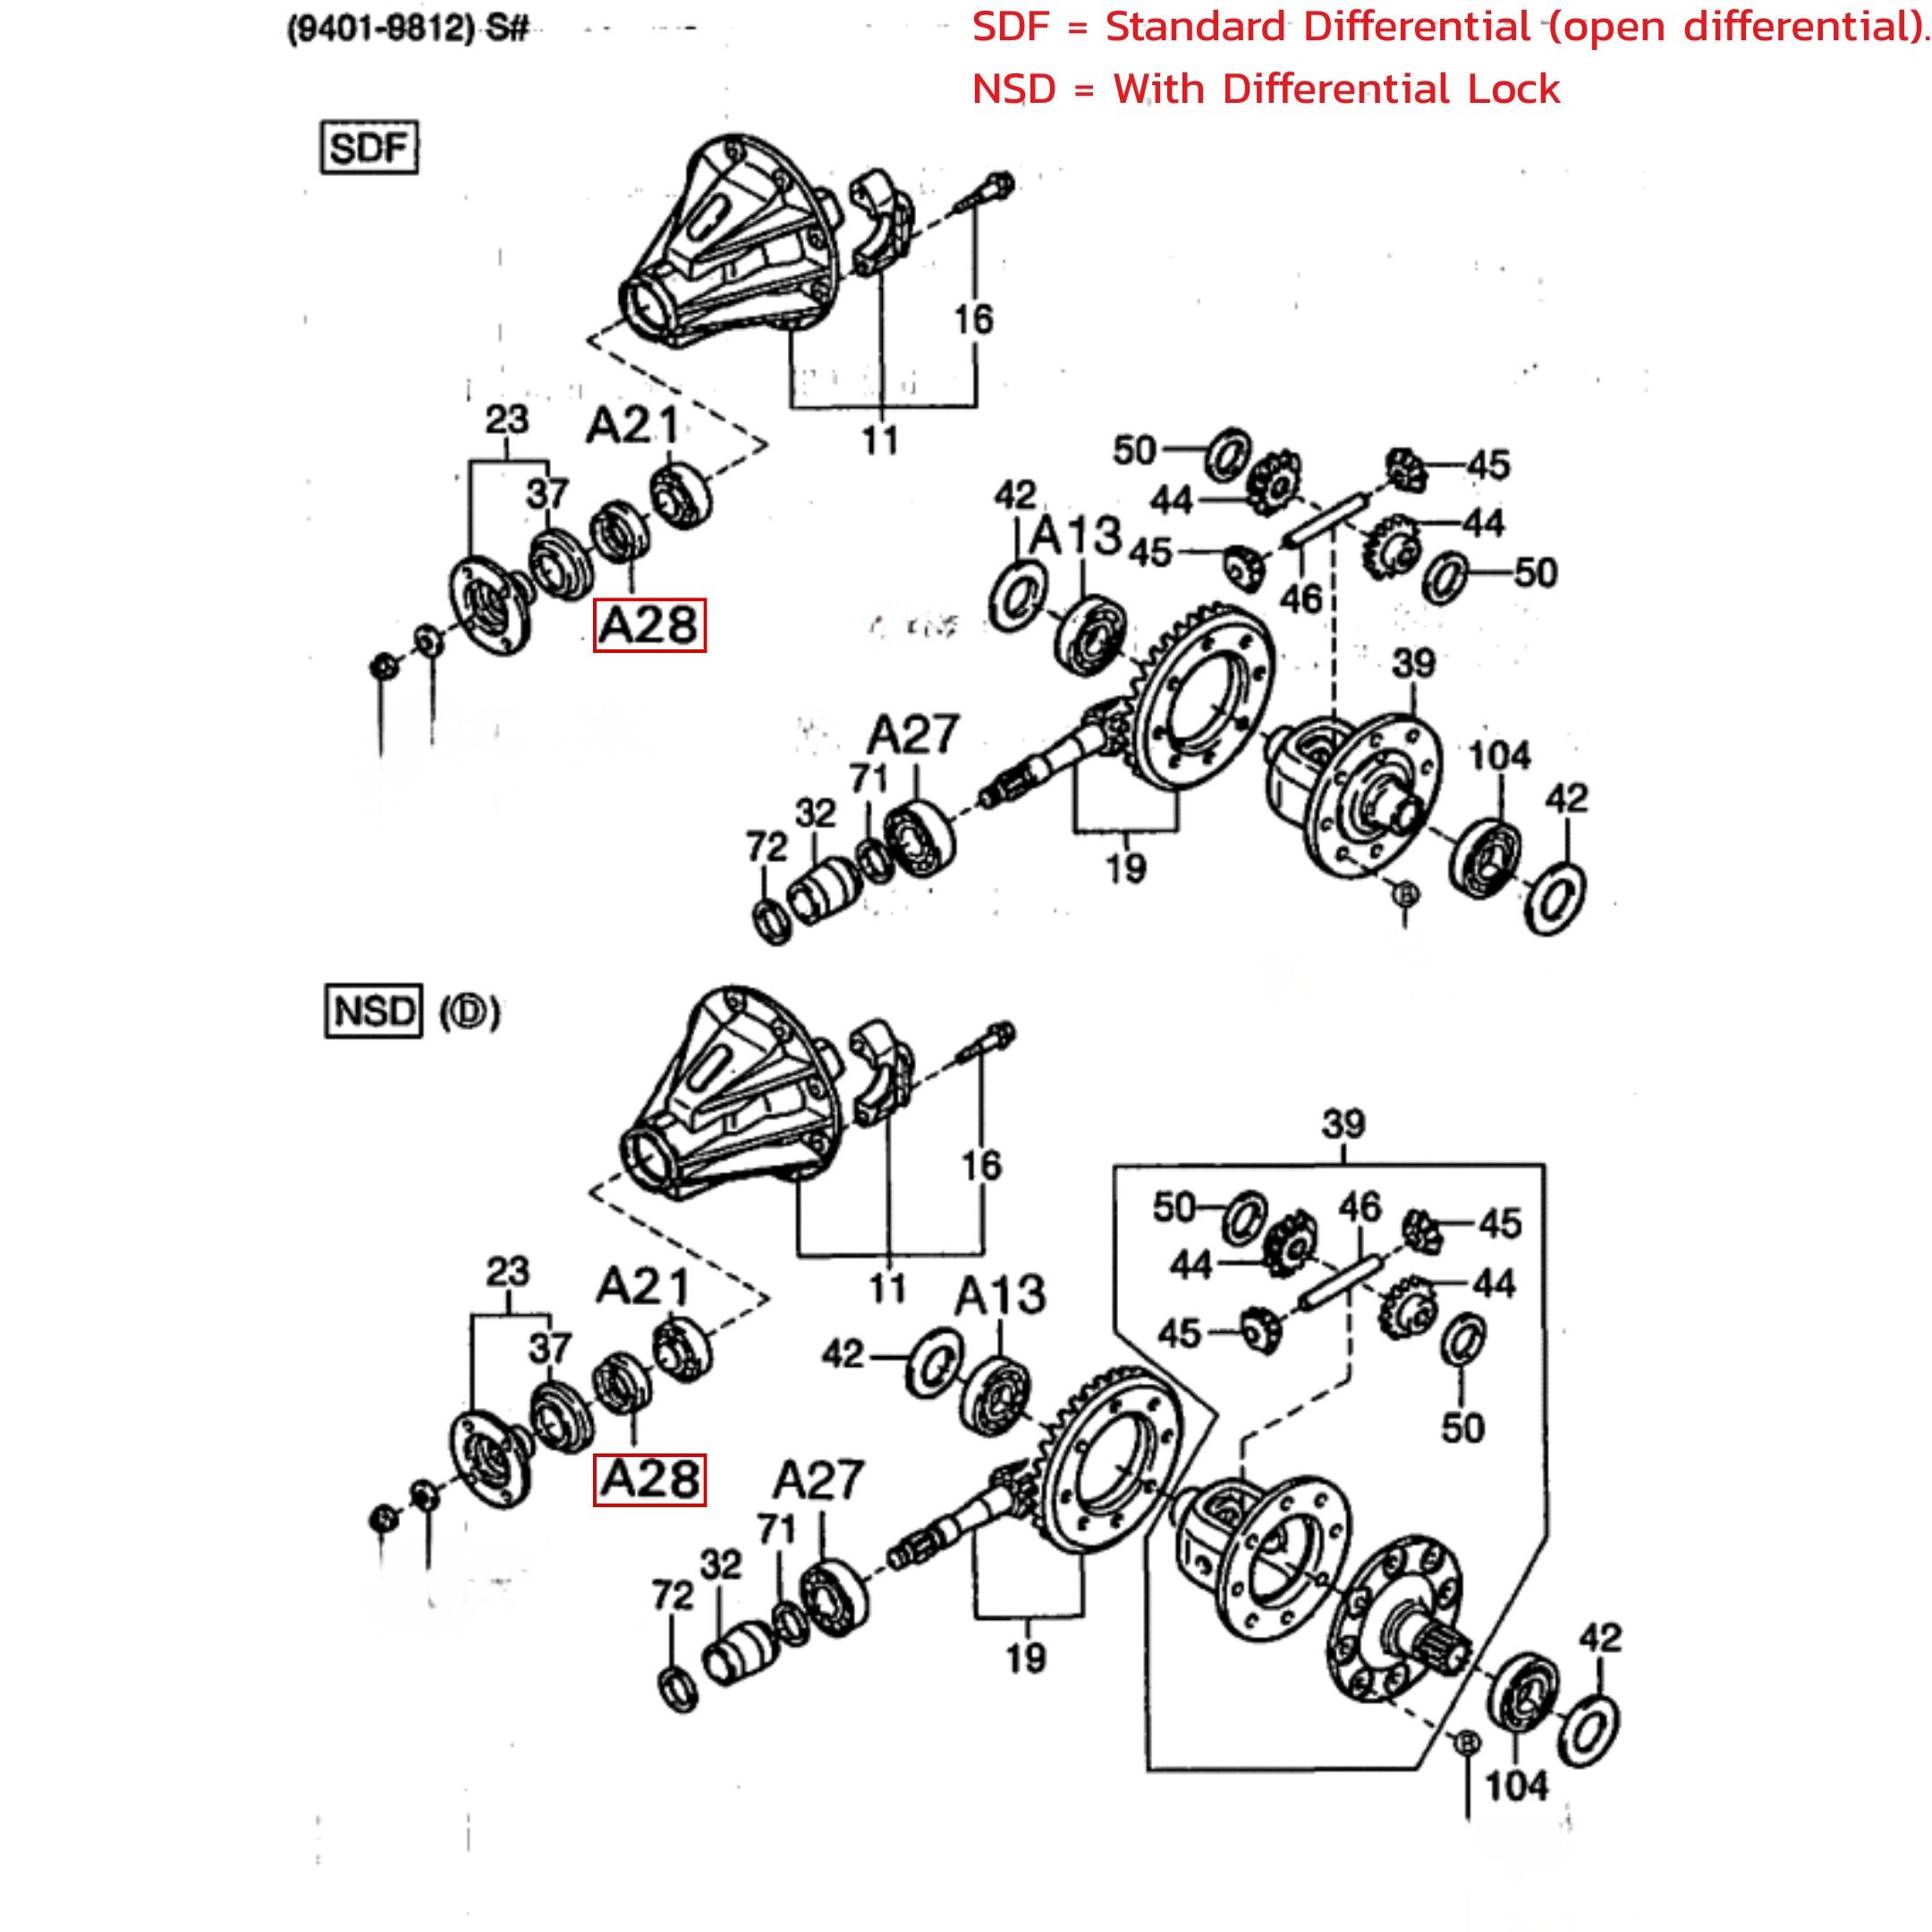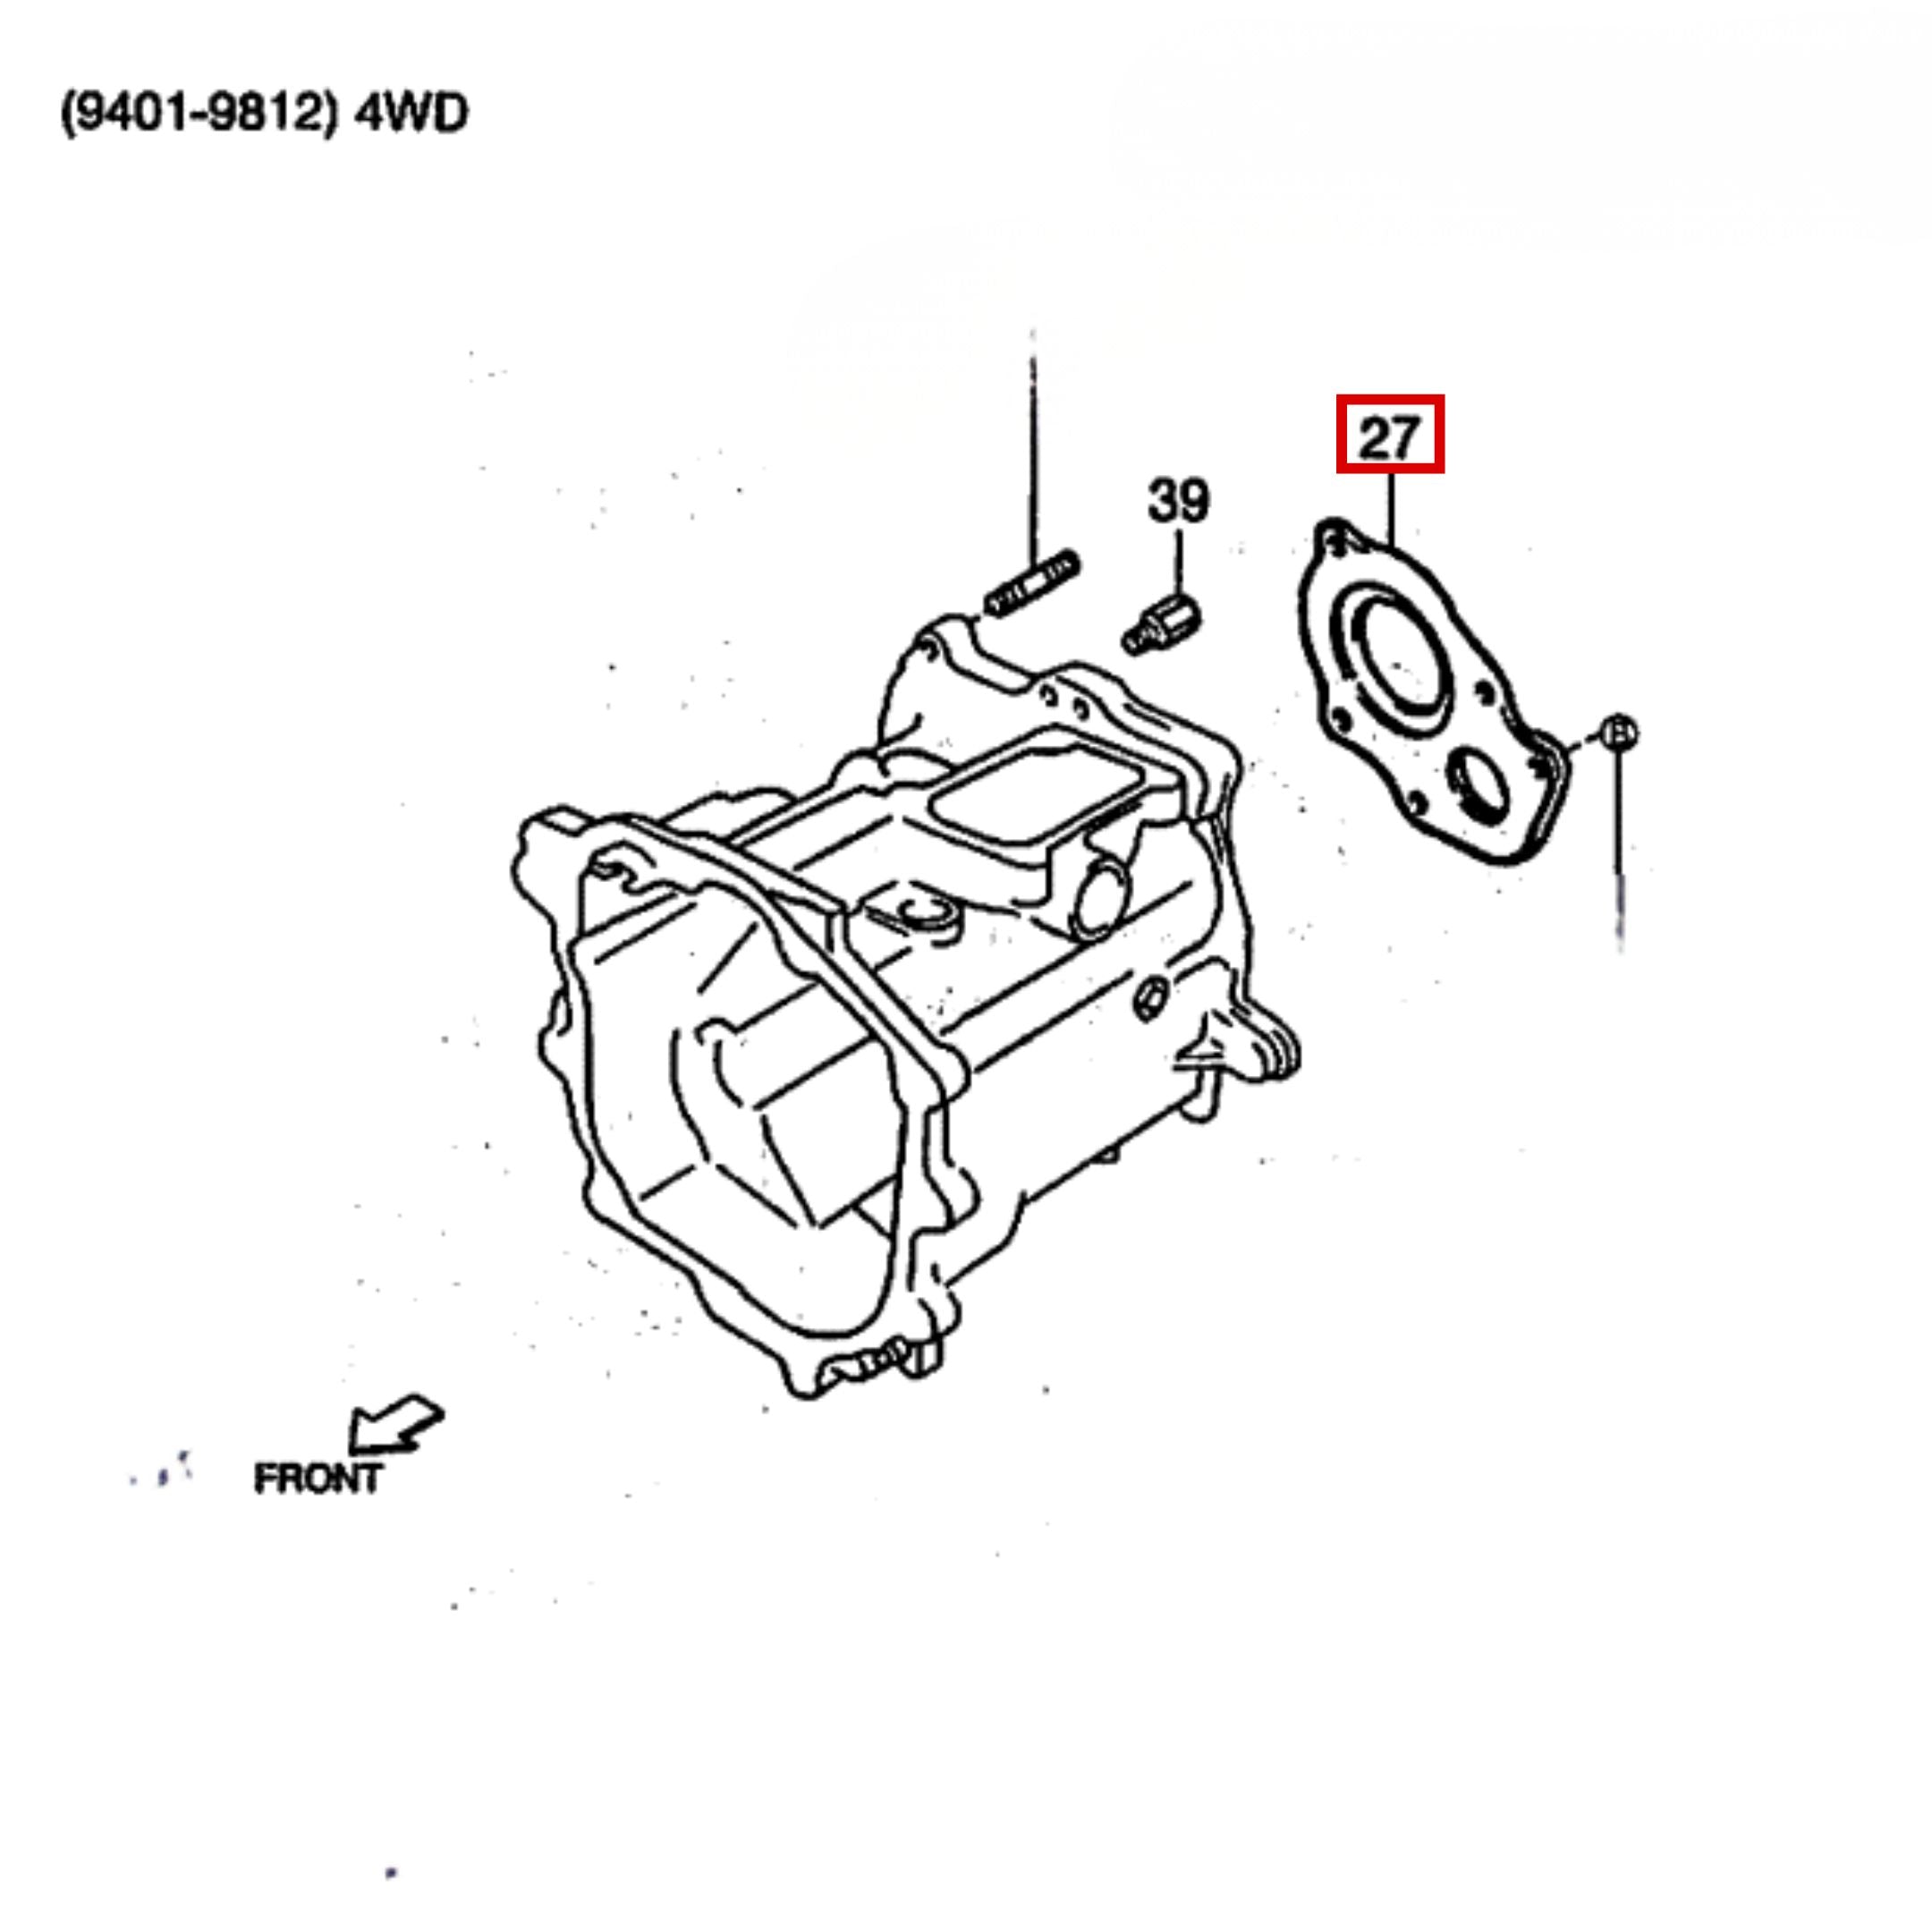
Daihatsu Hijet Transmission Parts - S100, S110 Models - 1994-1998
Transmission, clutch, transfer case and driveline parts. Fitment can depend on the full CHASSIS NO., manual or automatic, 2WD or 4WD, the identification mark, and the production date.
Transmission, clutch, transfer case and related driveline parts for the Daihatsu Hijet S100 and S110, 1994 to 1998. Fitment can depend on the full CHASSIS NO., manual or automatic, 2WD or 4WD, the identification mark, and the production date. Start with Find your truck below.
Confirm manual or automatic and 2WD or 4WD, then check the full CHASSIS NO. below.
Fitment can depend on the full CHASSIS NO., manual or automatic transmission, 2WD or 4WD, the transmission identification mark, the production date, and the engine and transfer configuration where those apply.
Find Your Truck
Transmission parts split by more than the model year, so start with the truck rather than the part. Locate the vehicle identification plate, then read the complete CHASSIS NO. On a Hijet it runs in the form S110P-123456, and the same number appears on your registration and your import paperwork.


Confirm whether the truck has a manual or an automatic transmission before ordering. Transmission type affects the gearbox, the seals, the controls, the fluid specification and the 4WD transfer configuration.
| What to confirm | Why it changes the part |
|---|---|
| Full CHASSIS NO. | S100 is 2WD and S110 is 4WD. The full number, not the prefix alone, is what we check fitment against. |
| Manual or automatic | The two share almost nothing. Gearbox internals, output seals, controls and fluid all differ. |
| Transmission identification mark | The factory table lists ten marks and separates the gearbox variants by them. Needed for internal gearbox and transfer parts. |
| Production date | Some parts changed during the 1994 to 1998 run. Where that applies it is catalog fitment rather than a service manual specification. |
| Engine and turbo | Naturally aspirated and turbocharged trucks take different gearbox variants. |
| Transfer configuration | Part-time 4WD with or without high and low range, Multi-Select 4WD, and PTO generator trucks are separated in the factory table. |
Manual transmission identification mark
A label on the left side of the transmission case carries a short identification mark. This is not the chassis number and it is not on the vehicle plate. The factory table below lists ten marks and separates them by drive system, engine, transfer type and body rather than by chassis code. Send yours with your order, or a clear photo of the label, and we will match it.

| Configuration | Equipment | ID mark |
|---|---|---|
| 2WD, naturally aspirated | Pickup and van | 213 |
| 2WD, naturally aspirated | Atrai | 214 |
| 2WD, turbocharged | Atrai | 220 |
| 4WD, naturally aspirated, part-time, no high and low range | No additional split shown | P19 |
| 4WD, naturally aspirated, part-time, high and low range | Standard | P10 |
| 4WD, naturally aspirated, part-time, high and low range | PTO generator, pickup | P11 |
| 4WD, naturally aspirated, part-time, high and low range | PTO generator, van and Atrai | P12 |
| 4WD, turbocharged, part-time, high and low range | Standard | P20 |
| 4WD, turbocharged, part-time, high and low range | PTO generator | P28 |
| 4WD, turbocharged, Multi-Select 4WD | No additional split shown | A20 |
P11 and P12 are both PTO generator trucks, separated only by body, so an ordinary 4WD van is not a P12. Where the equipment column reads no additional split shown, the factory table draws no equipment division on that row.
Automatic transmission identification
Automatic trucks carry their own model label on the transmission case. Send that with your order when you are buying automatic service parts.

Choose Your Parts
What this collection carries, and what decides which version fits.
| Category | What you get | Fitment |
|---|---|---|
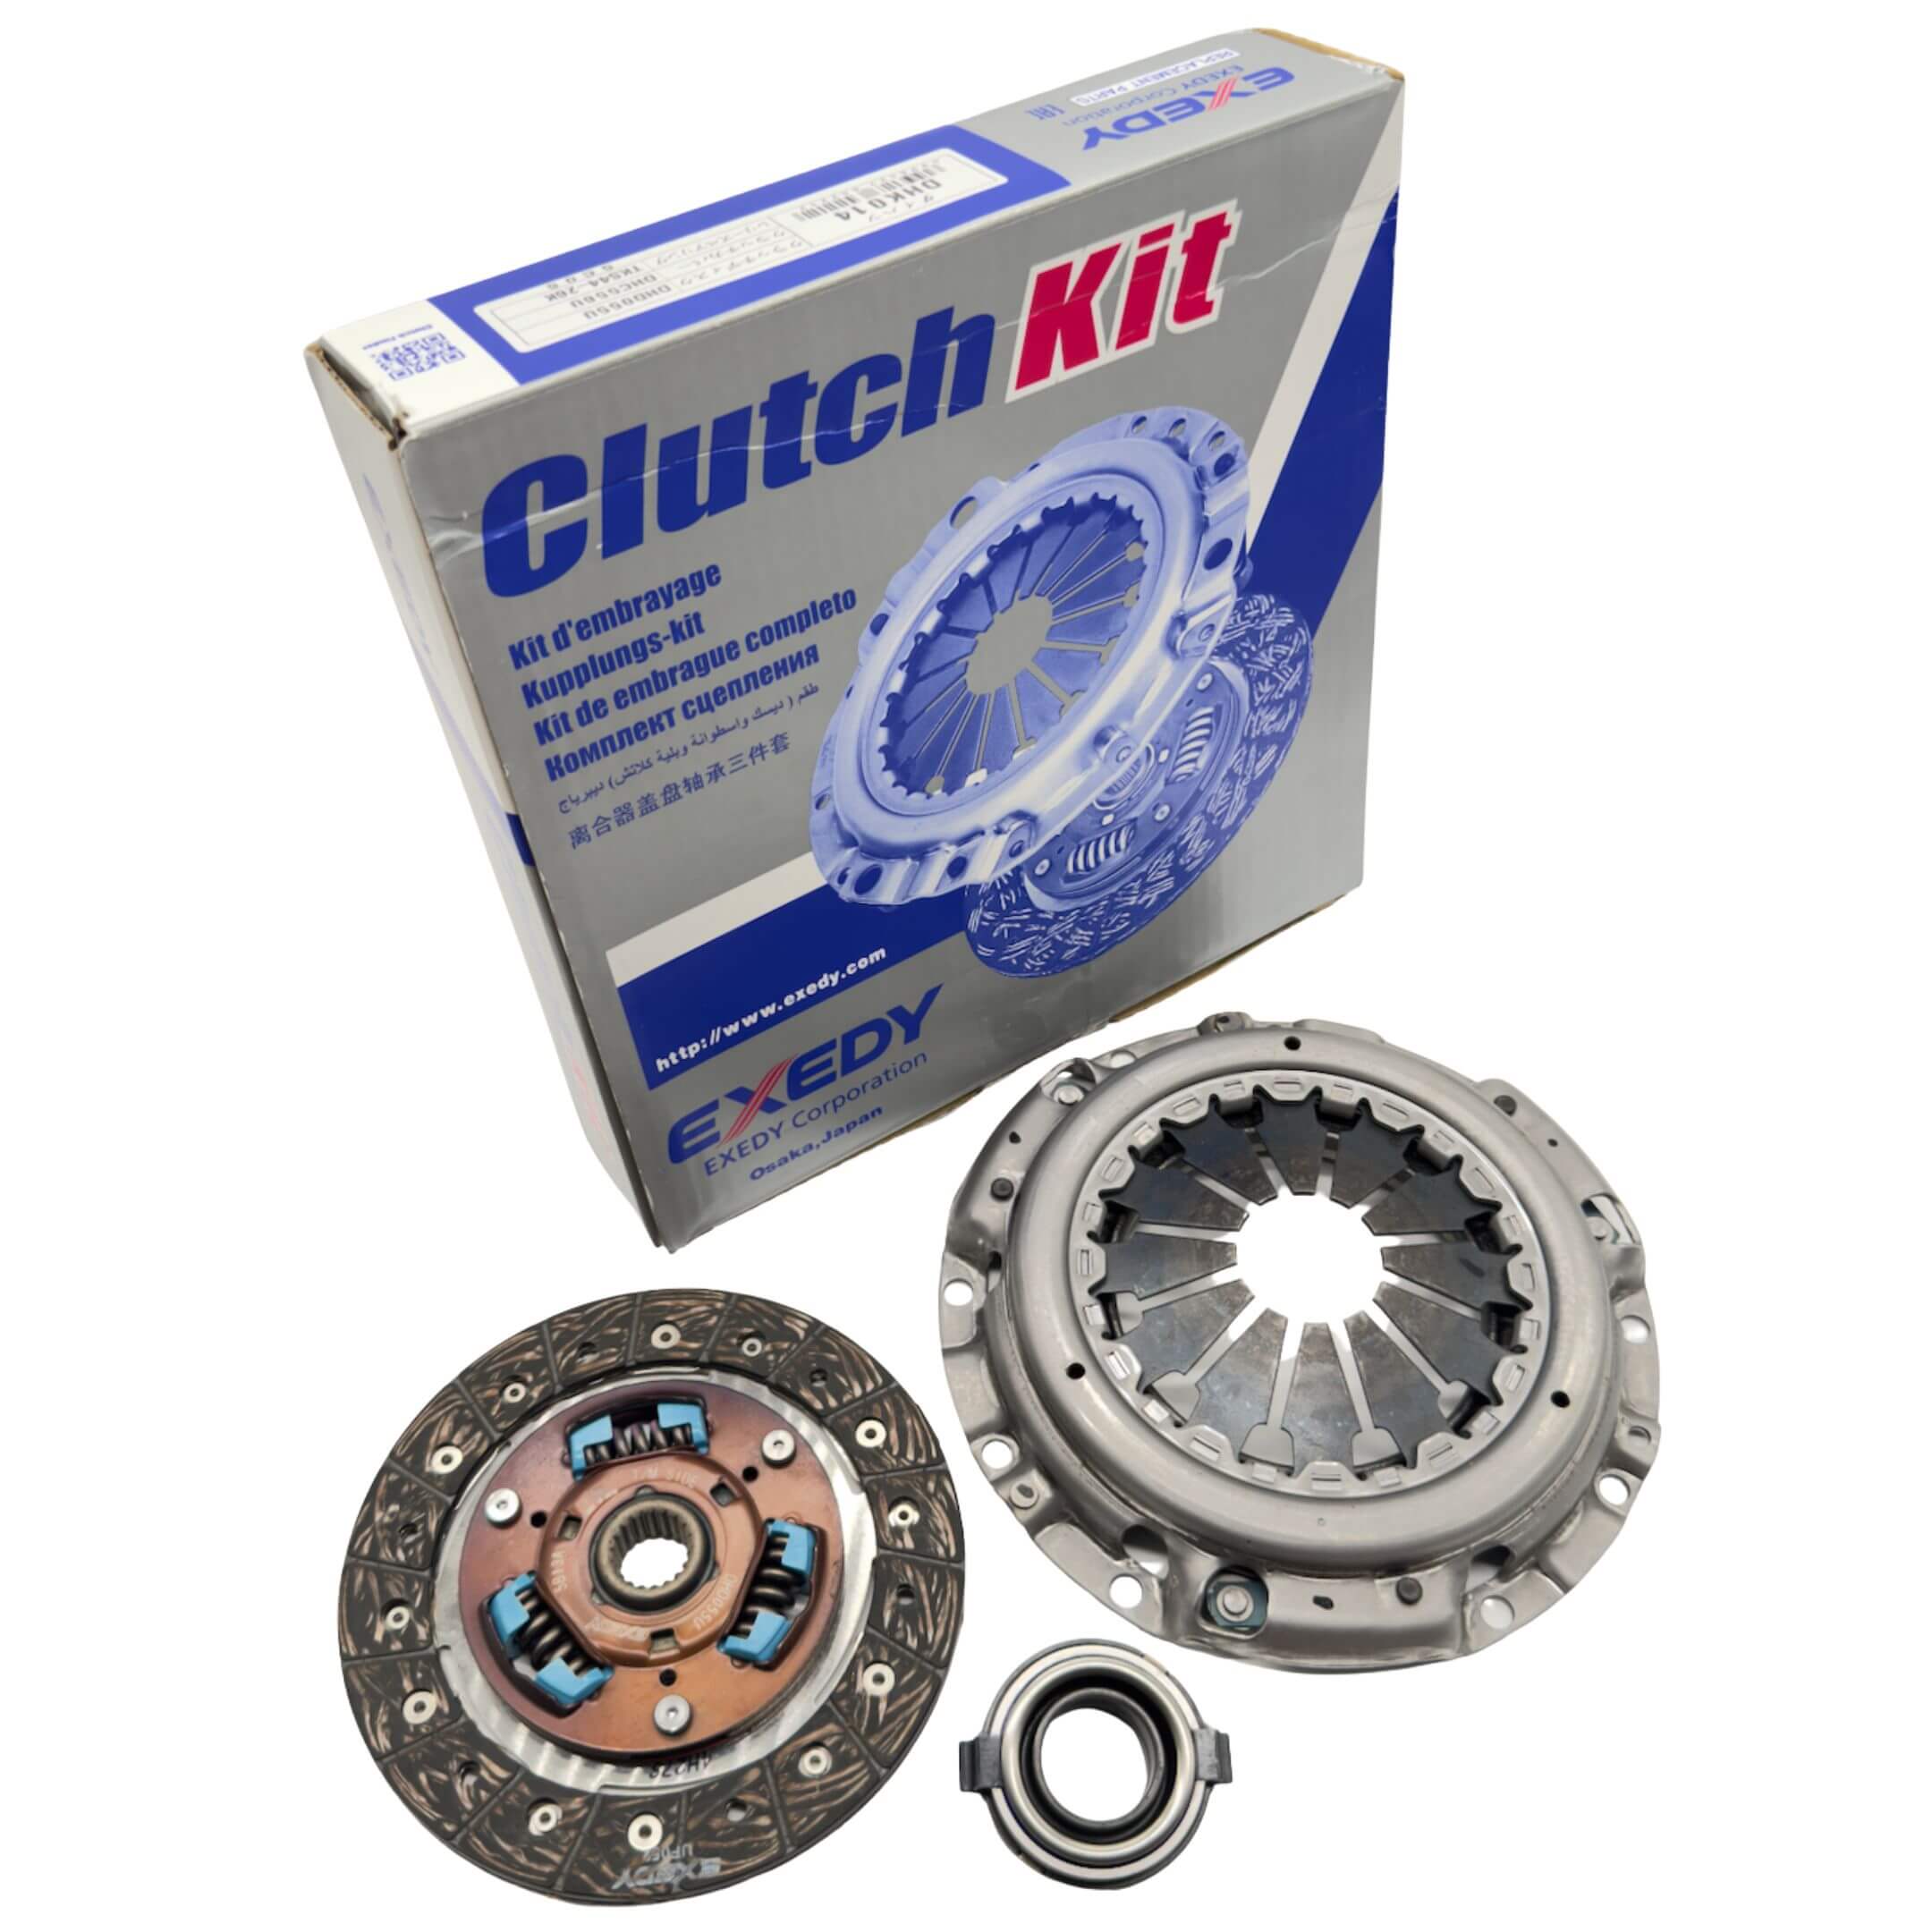
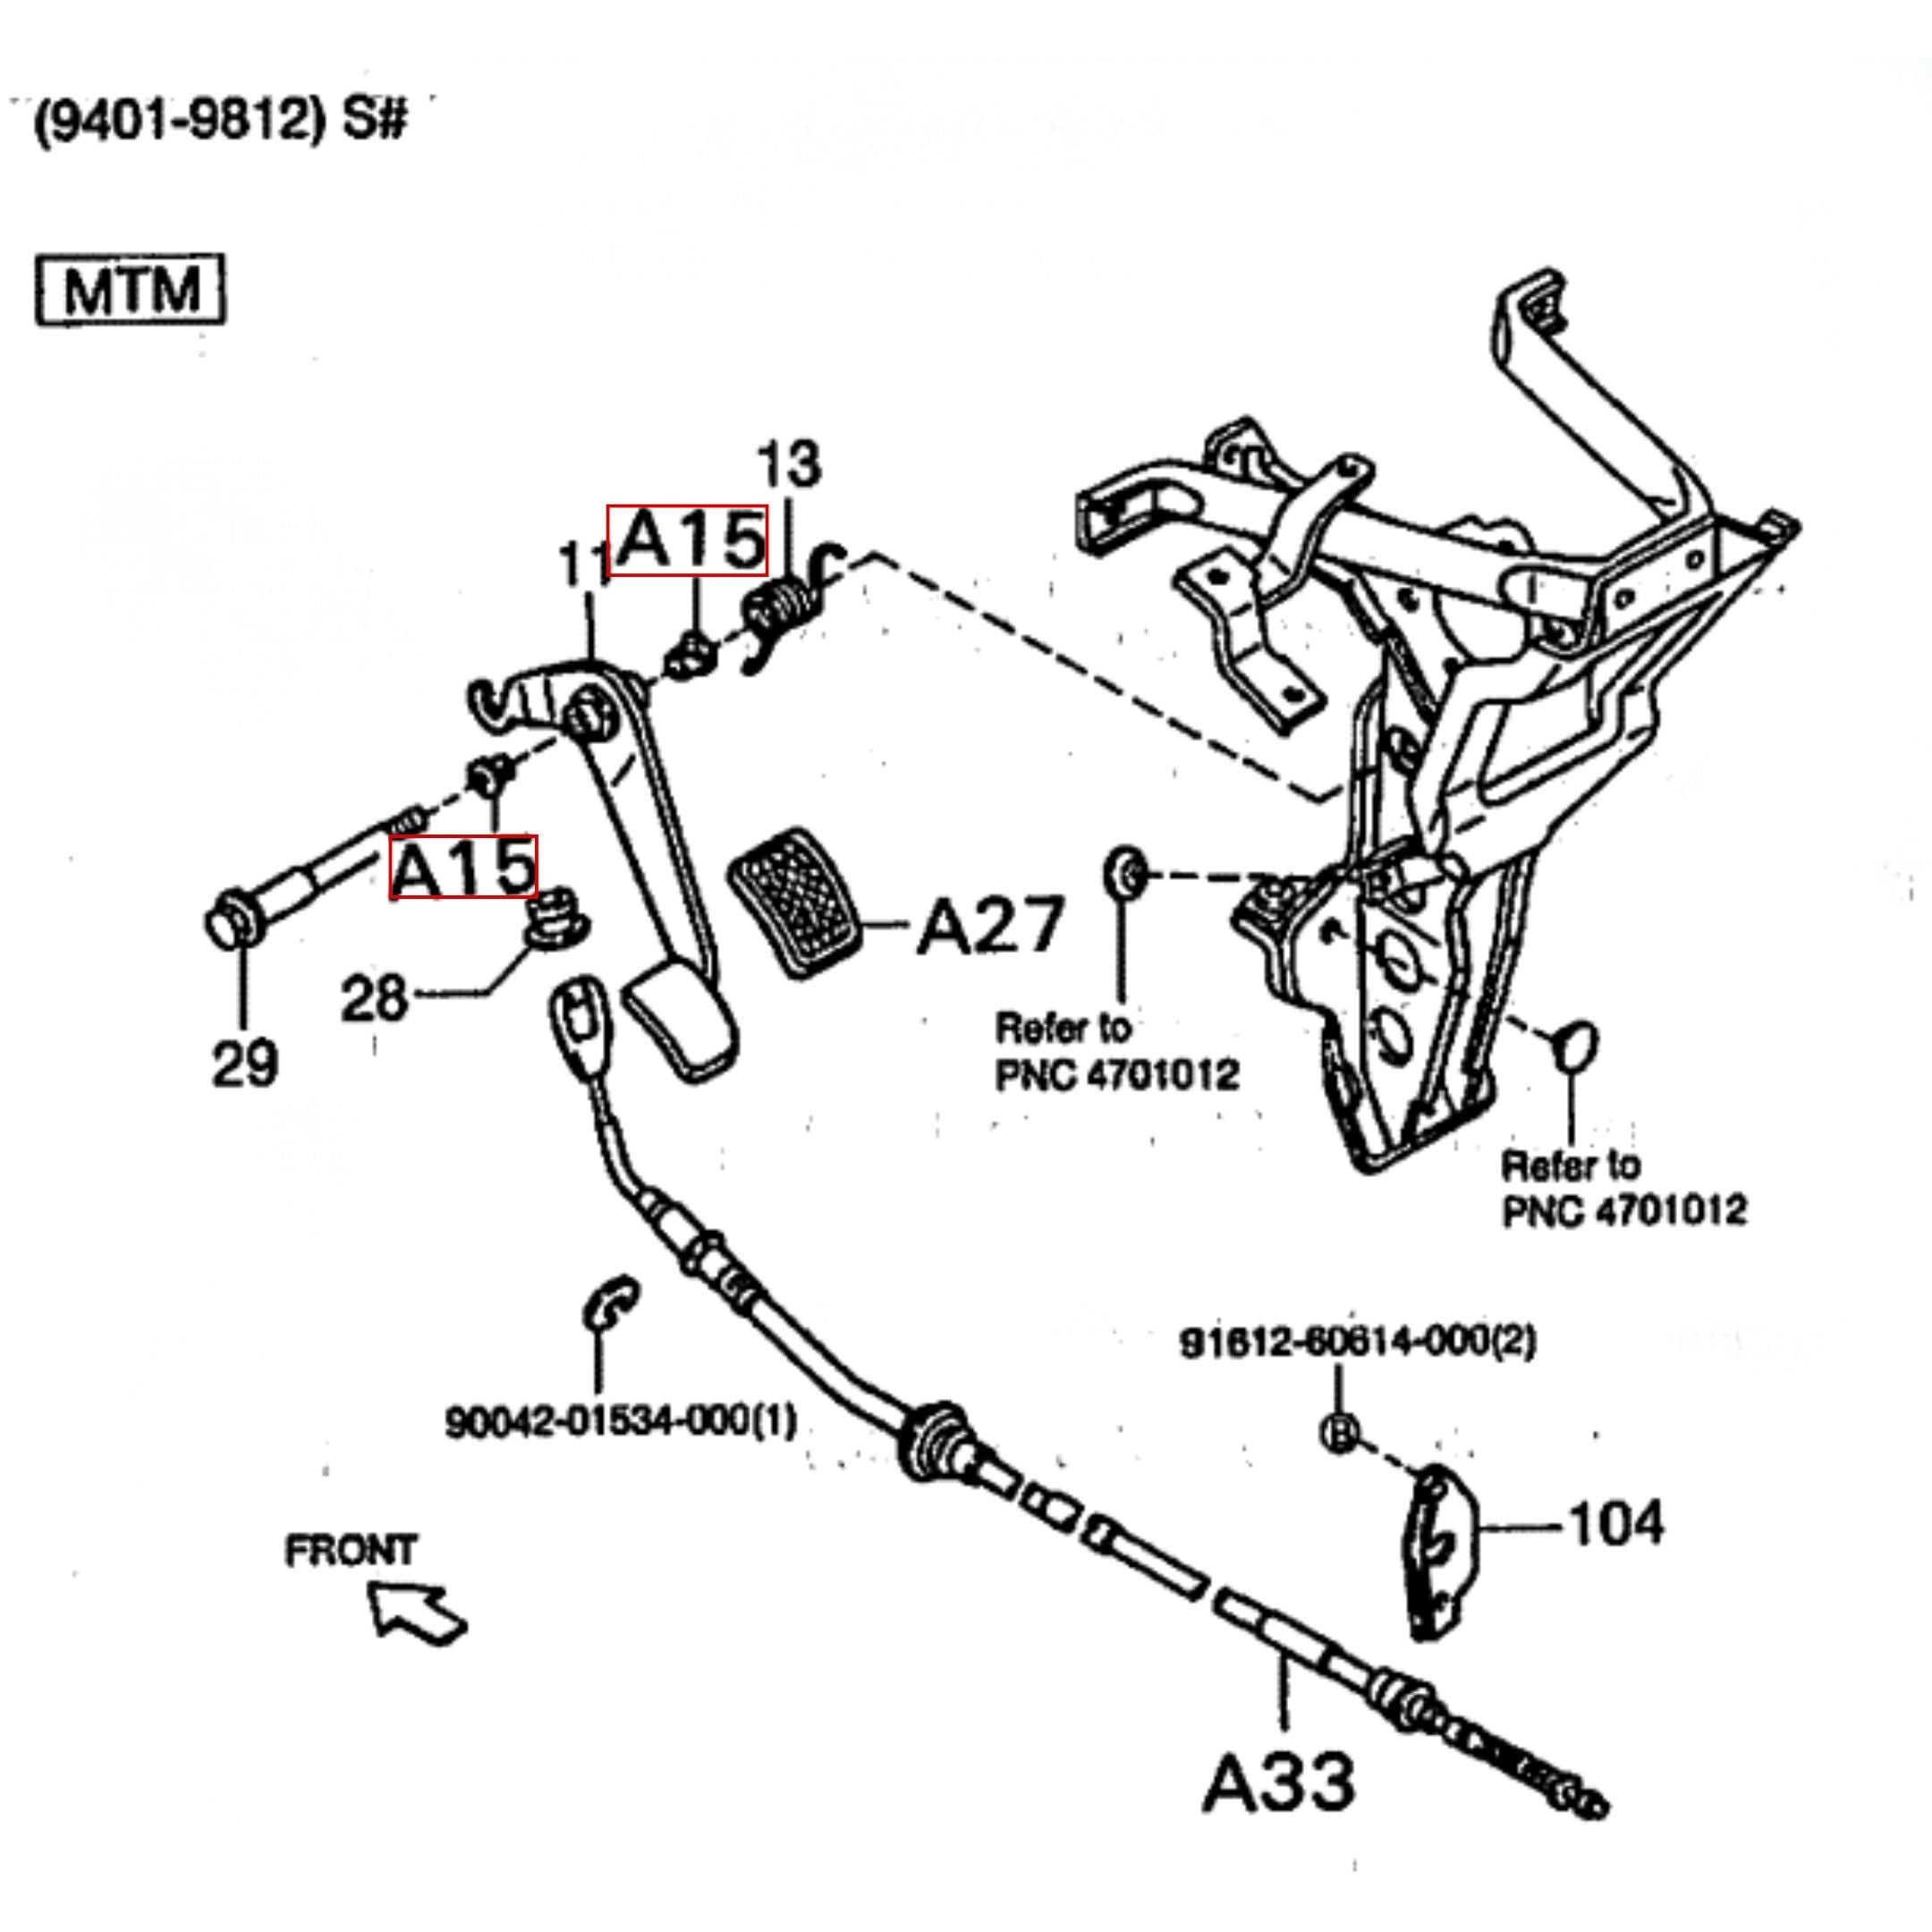
| Clutch | Clutch cable, clutch kits, pedal pad, pedal bushings, the clutch alignment tool, the clutch housing access cover. | Manual trucks. Clutch kits are matched to a production date inside 1994 to 1998, from catalog fitment data. |
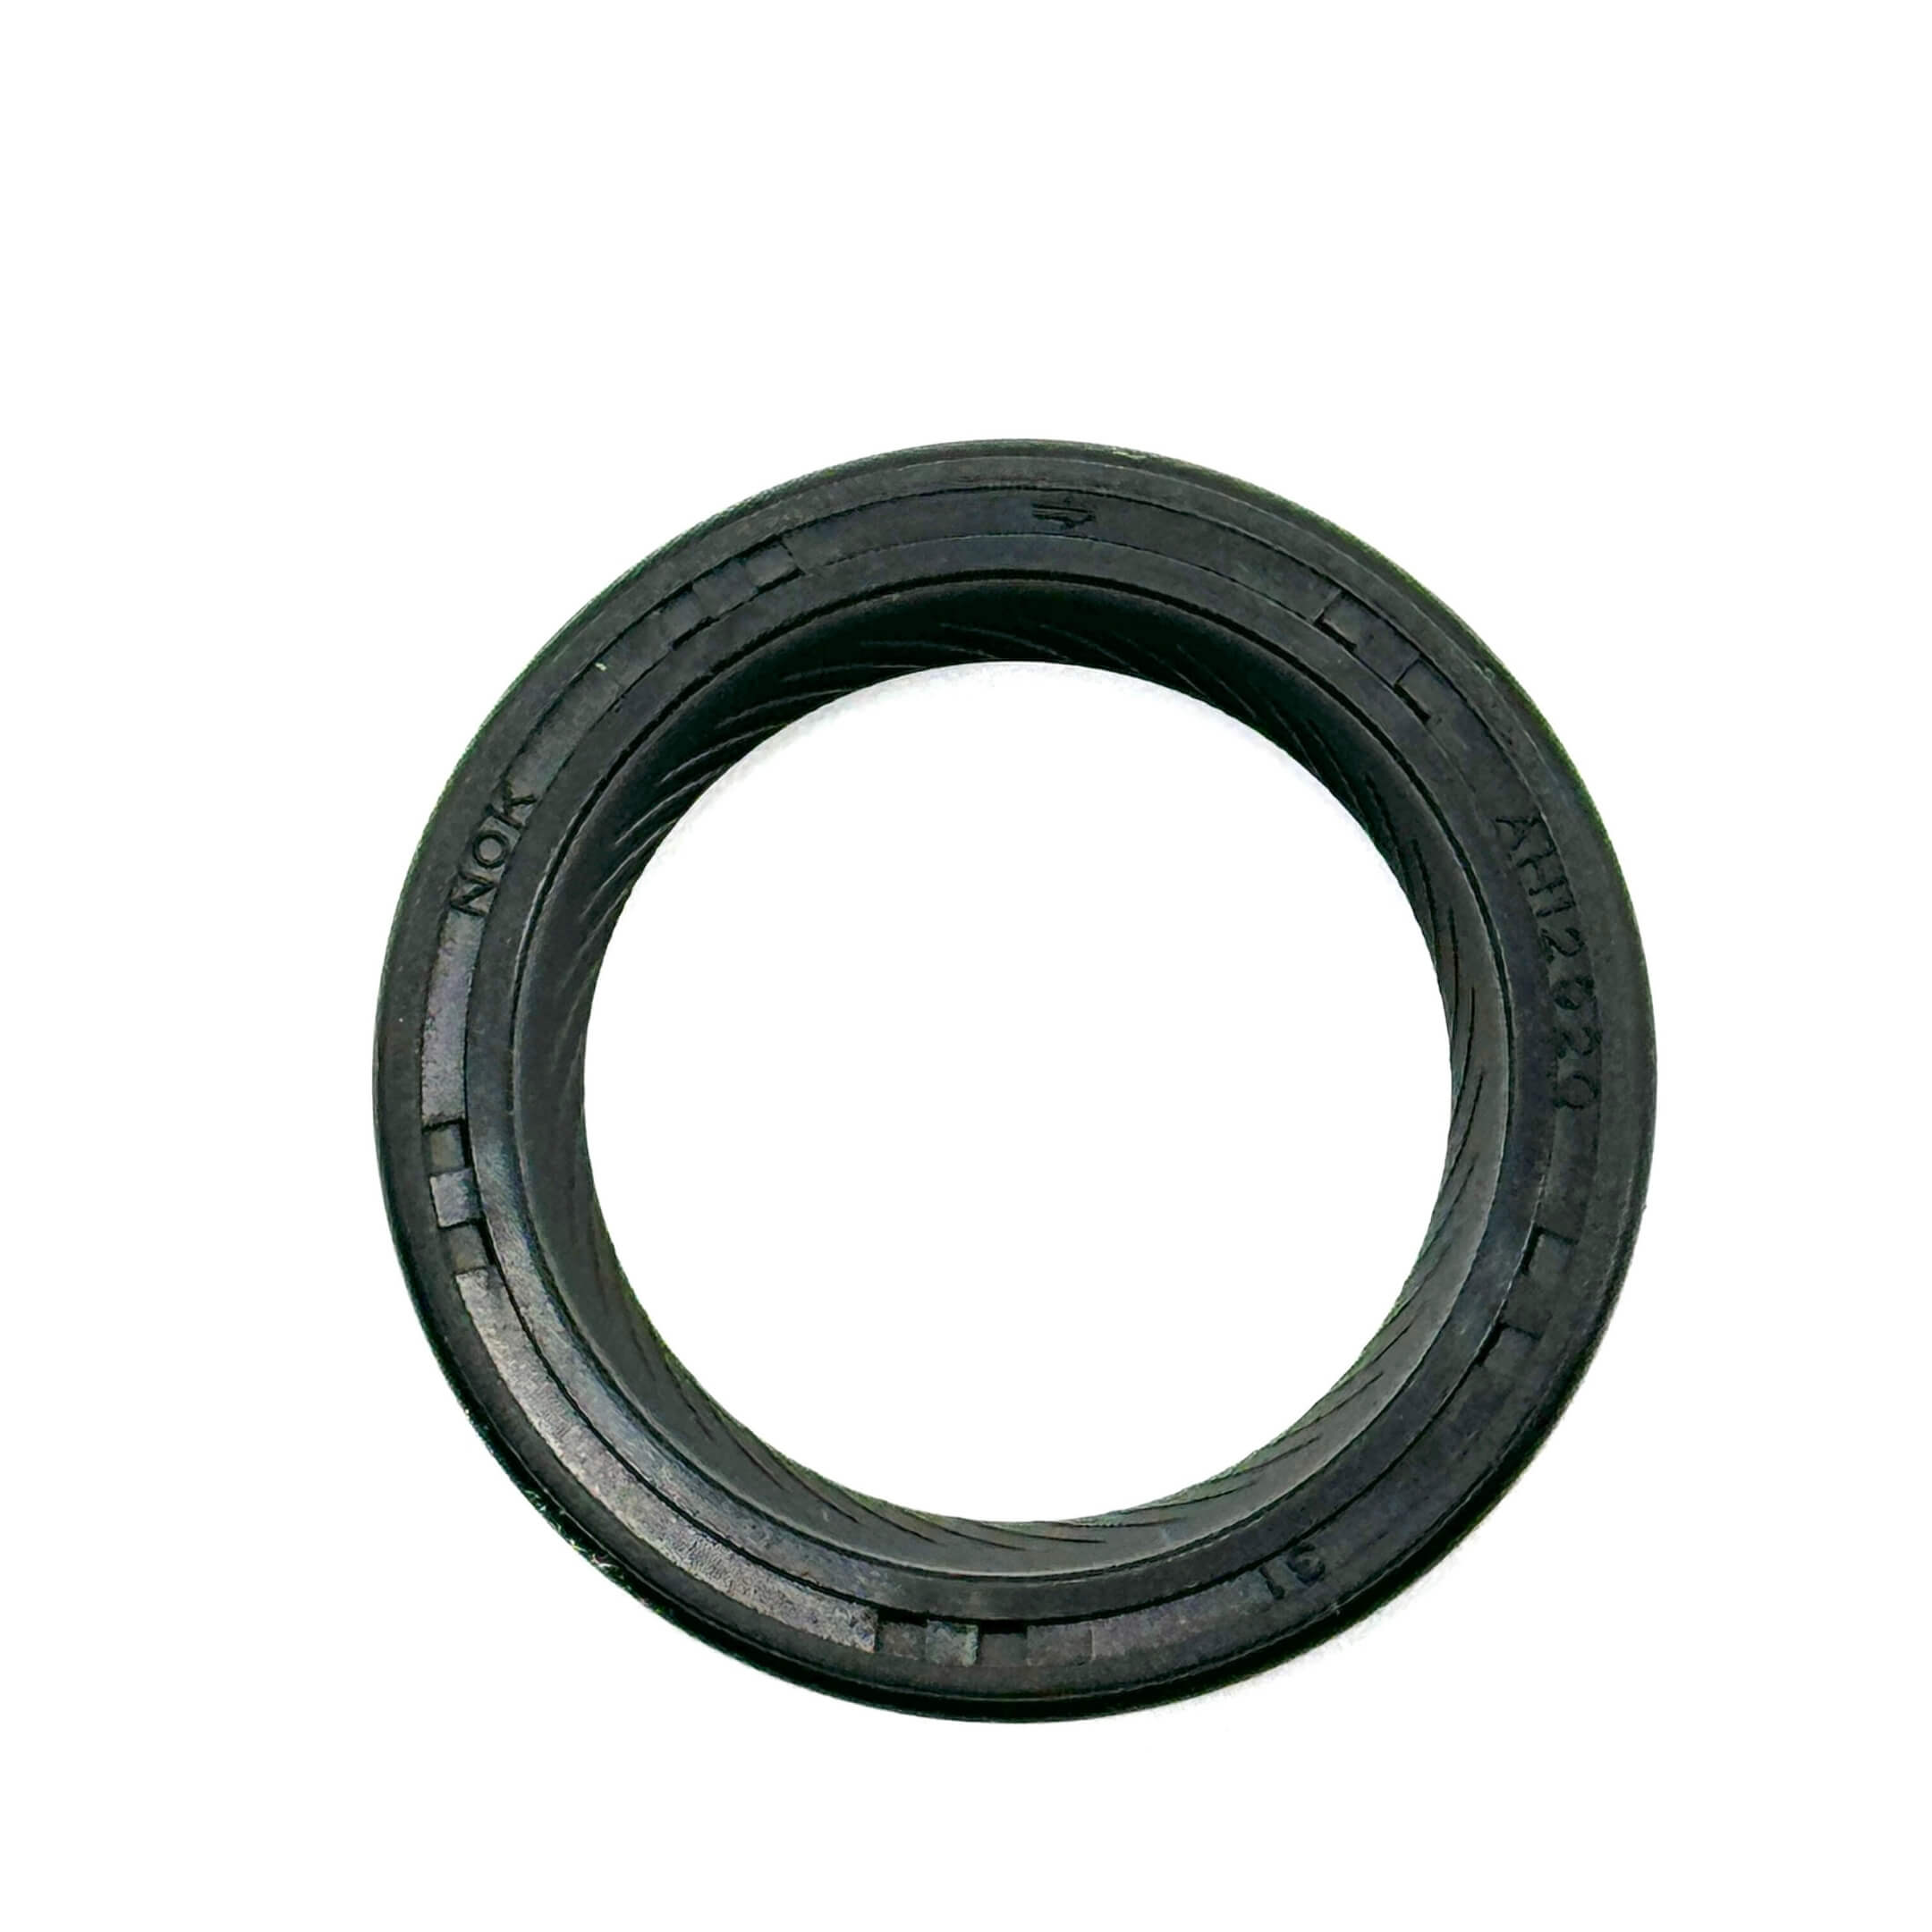
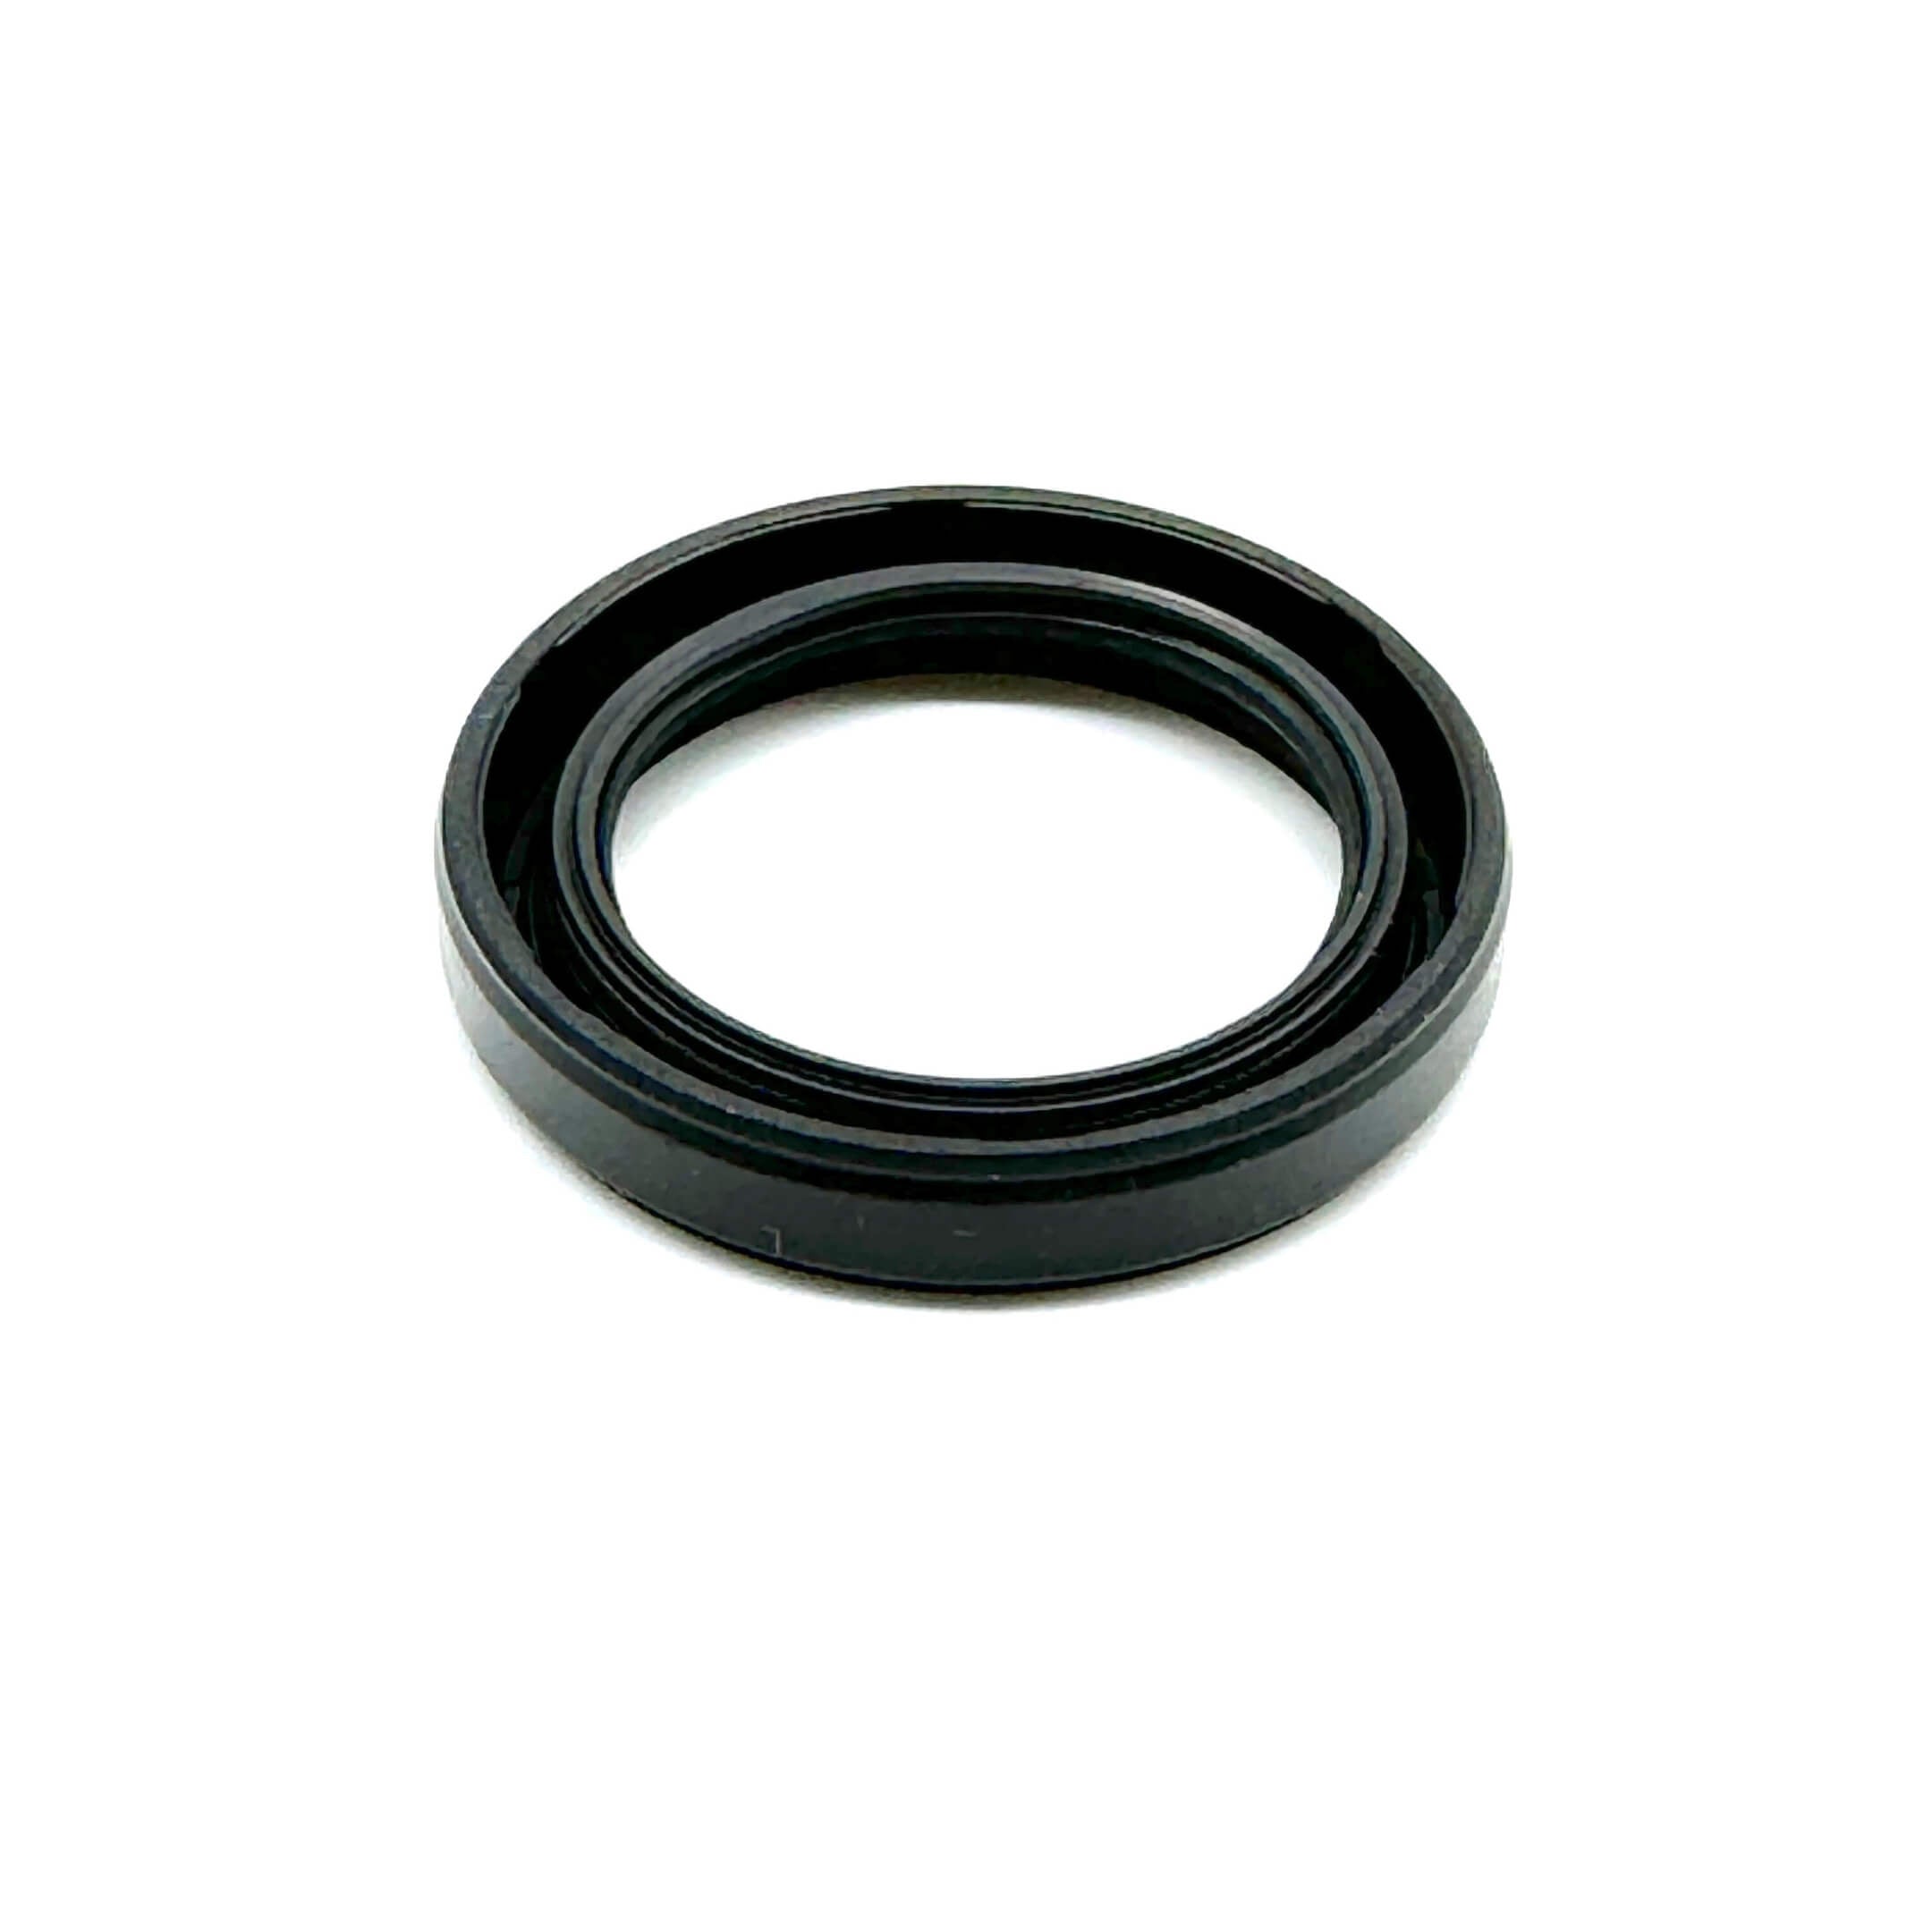
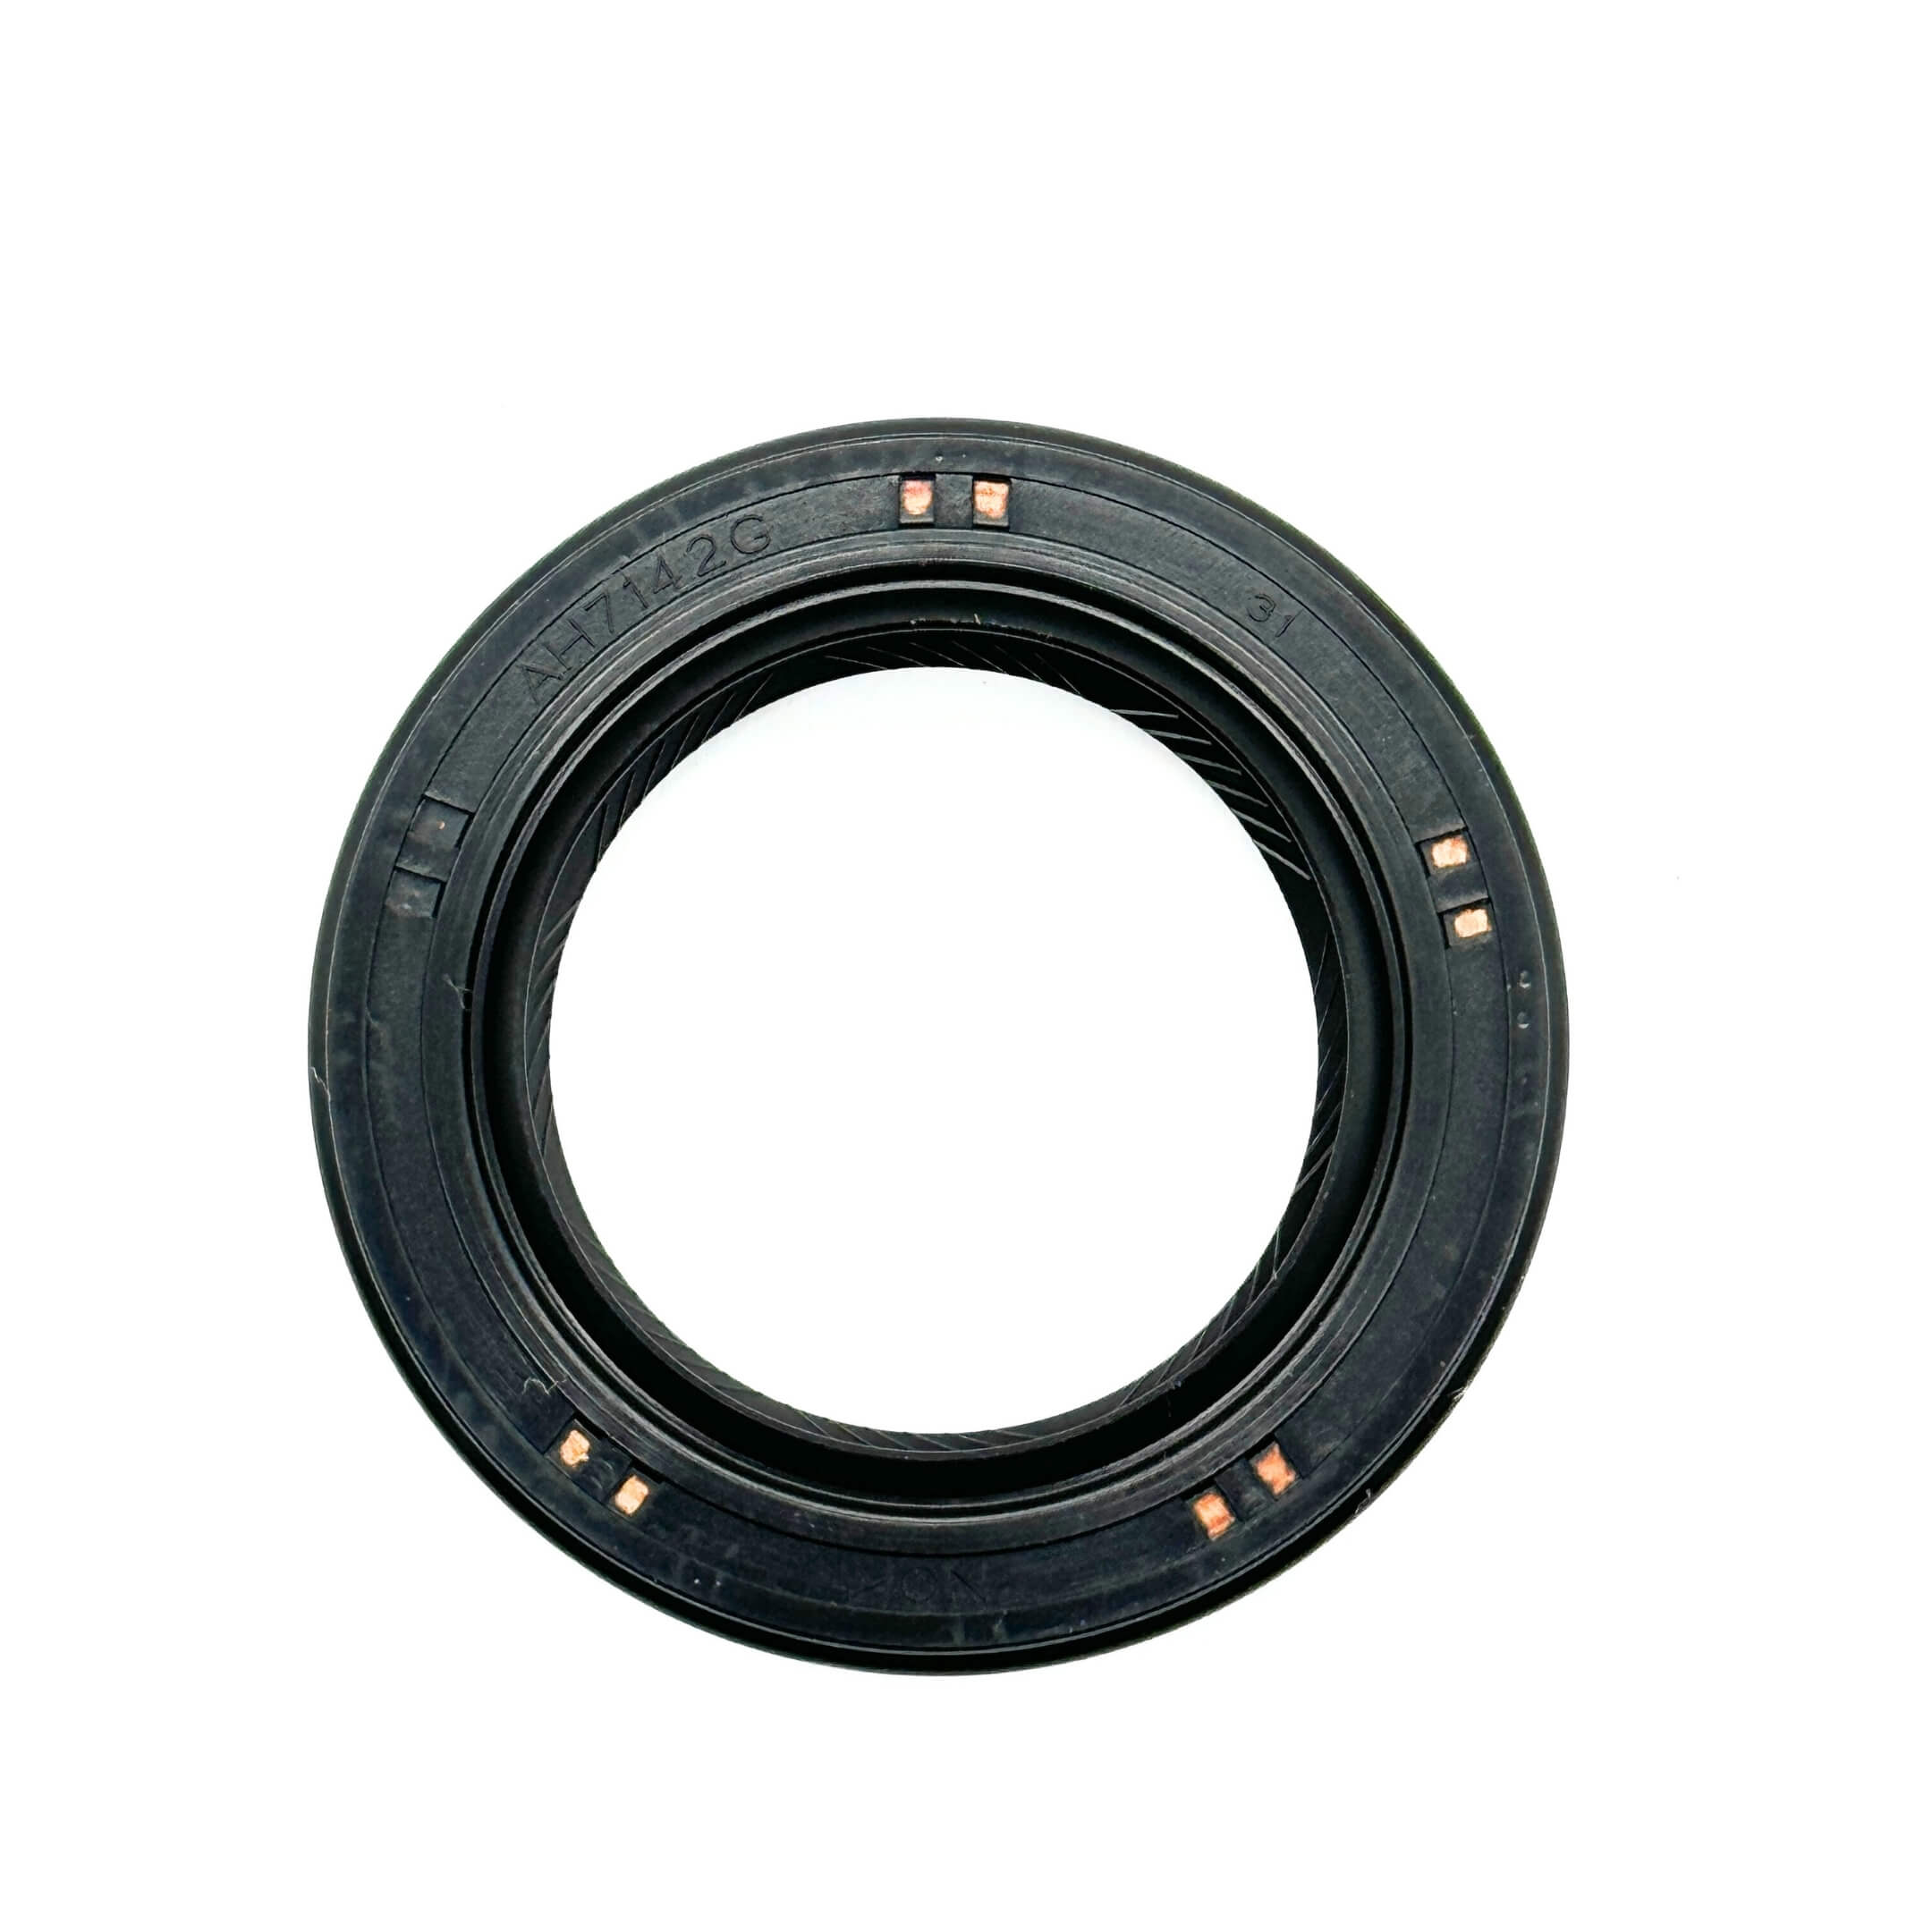
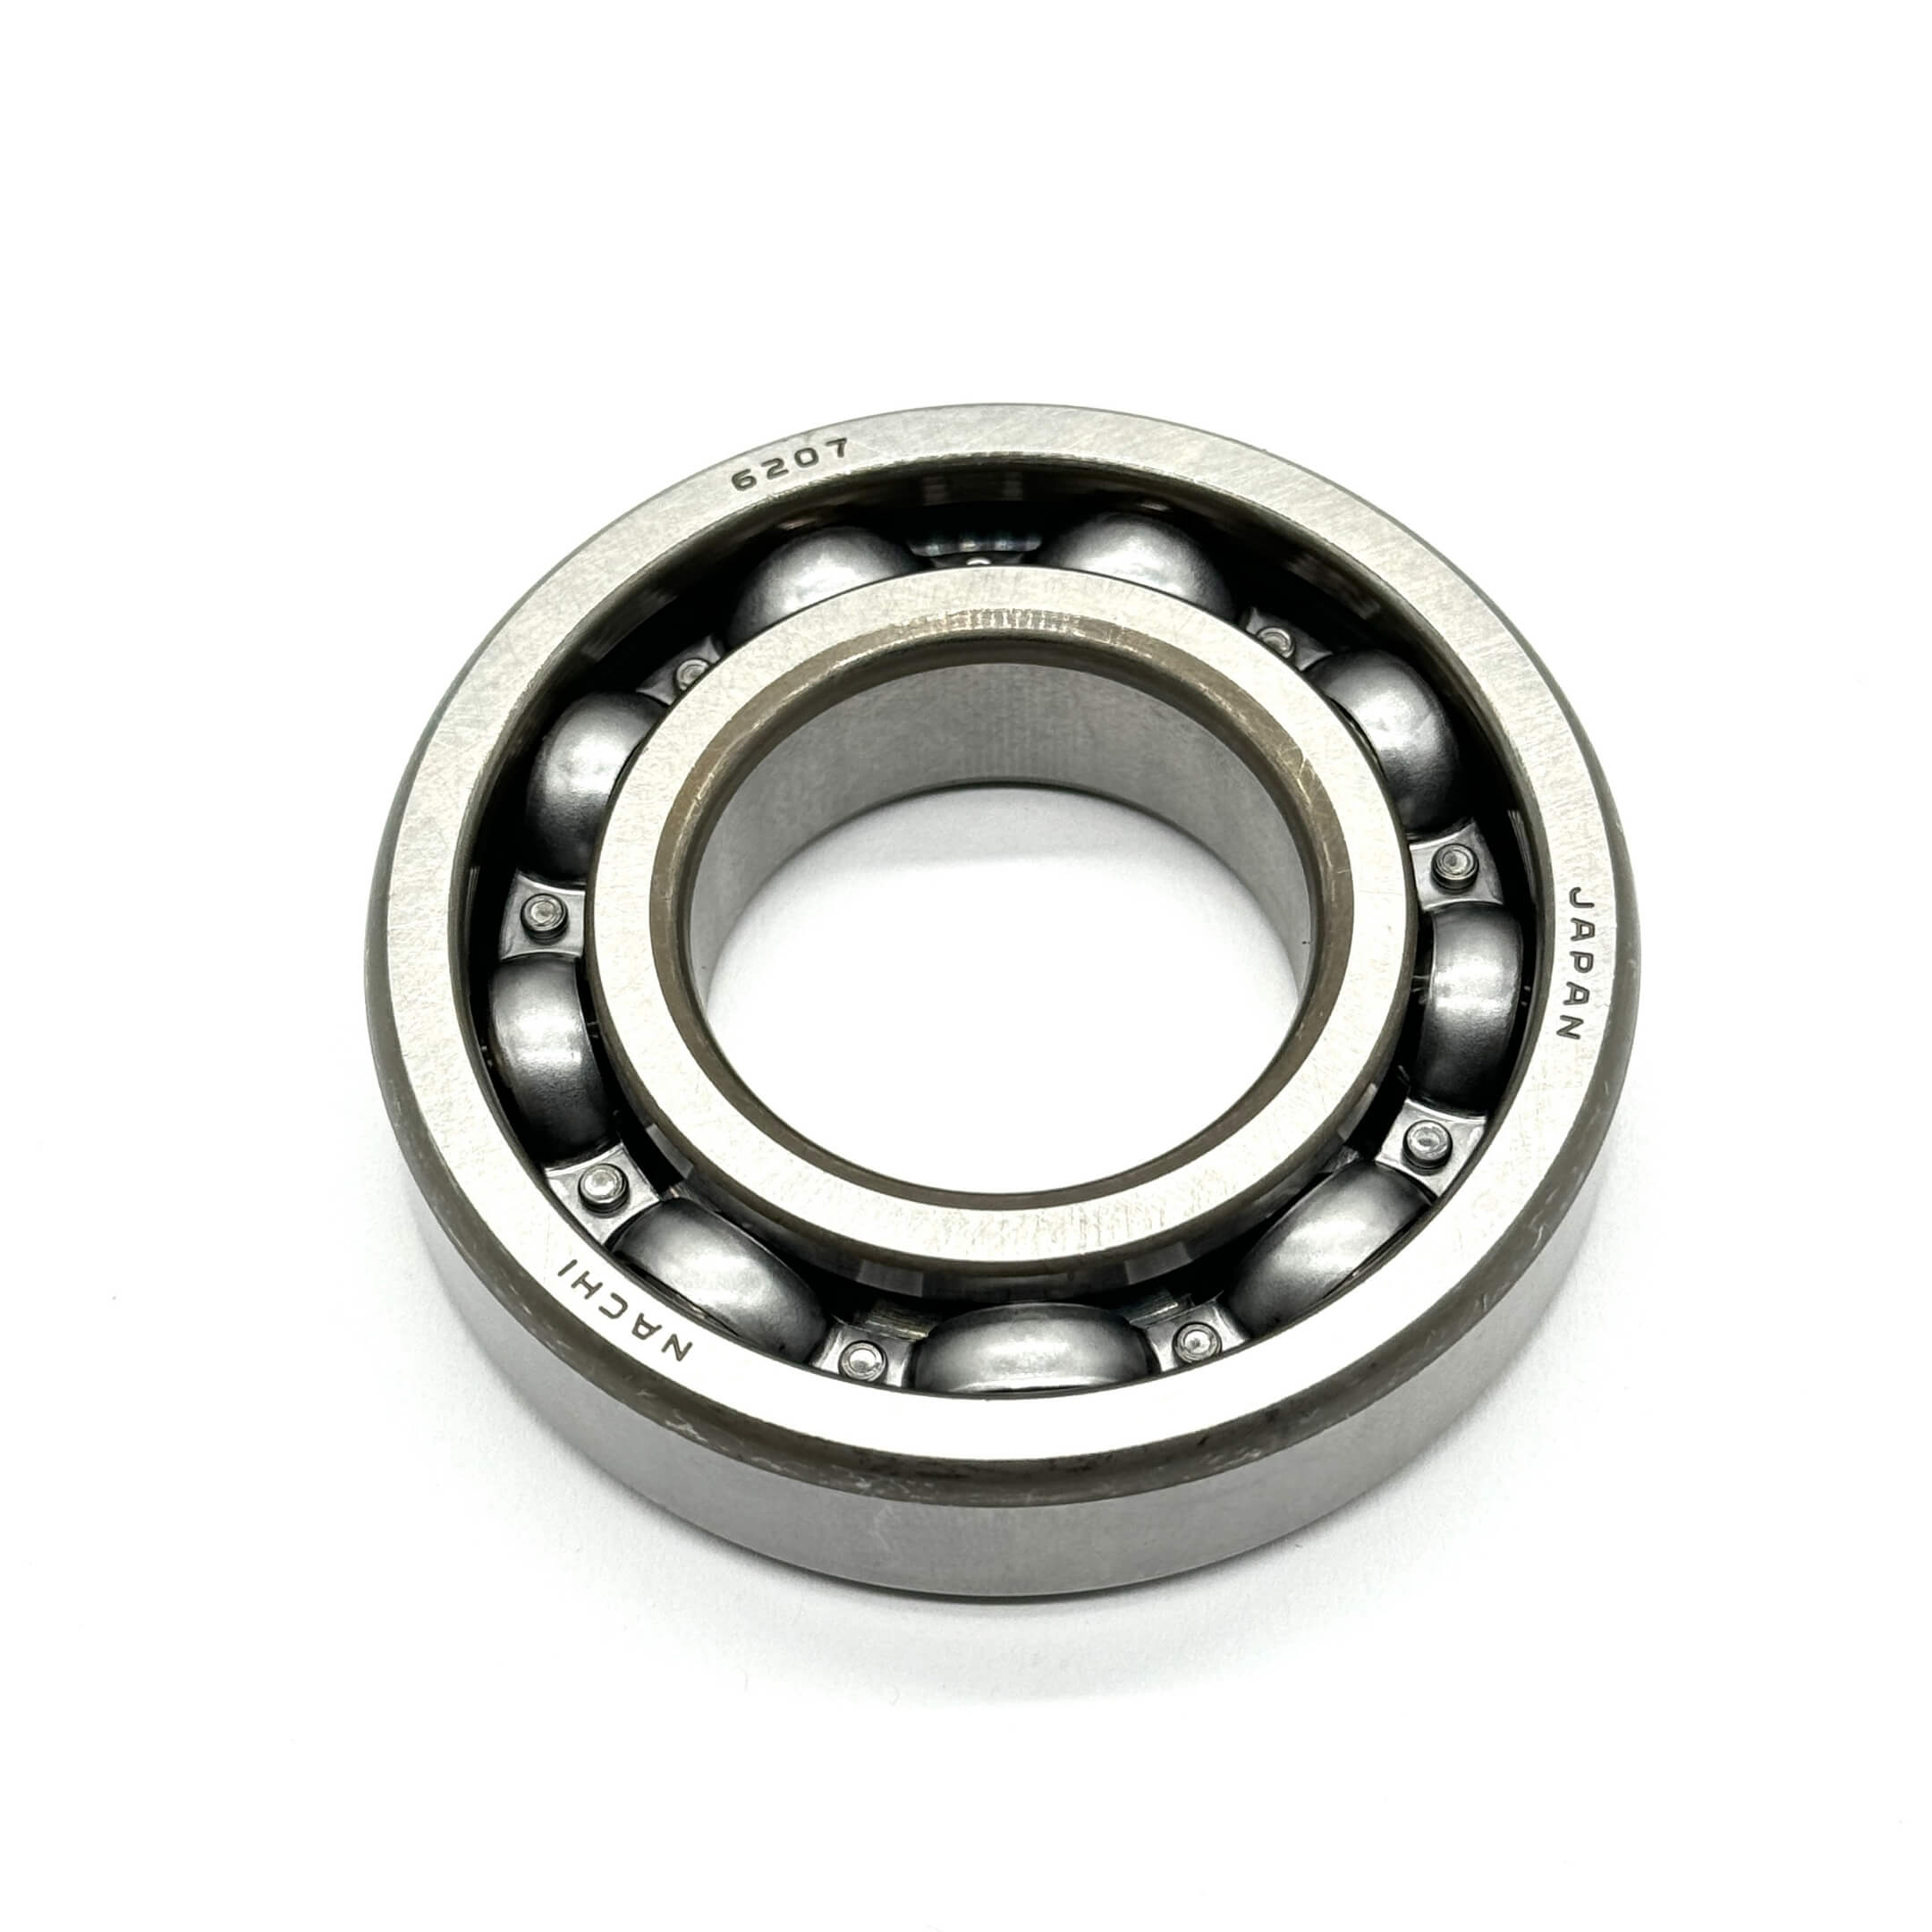
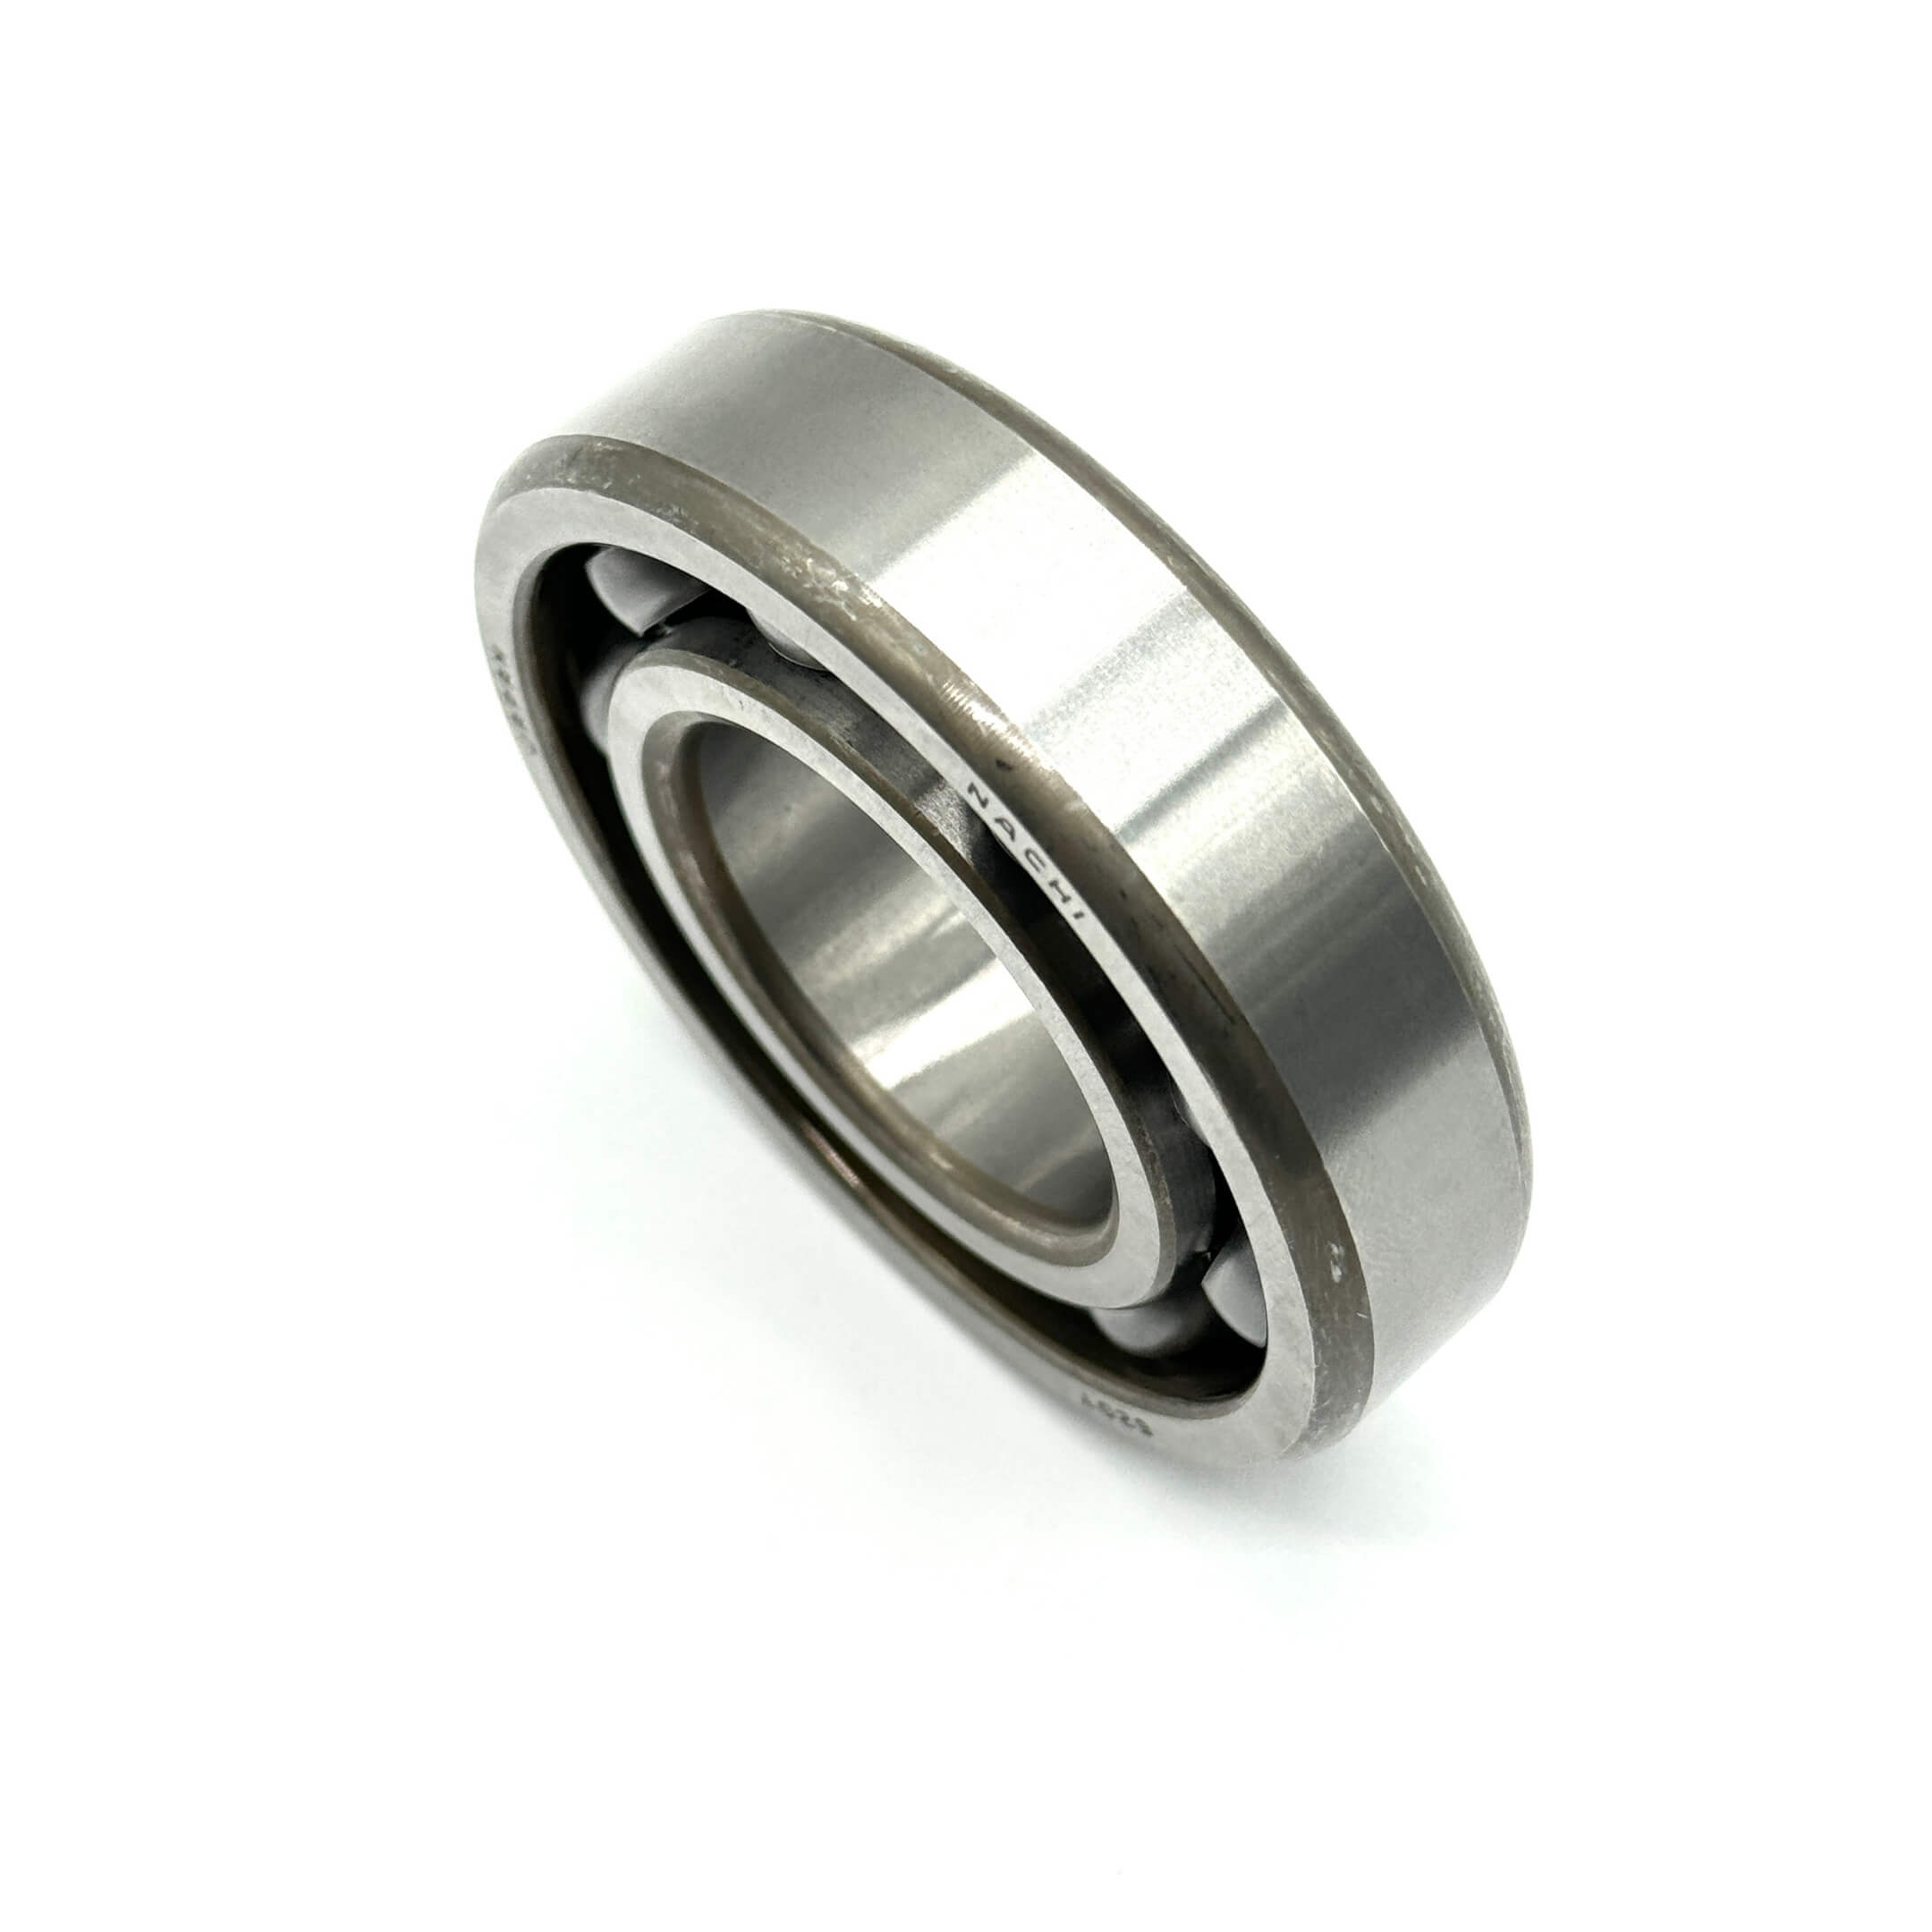
| Manual transmission | Input, output and counter gear bearings, needle bearings, synchronizer rings, snap rings, case and extension housing oil seals. | Matched to the transmission identification mark. |
| Automatic transmission | Output shaft oil seals. | Split by production era, 1994 to 1996 and 1997 to 1998, from catalog fitment data. Confirm the full CHASSIS NO. and production date. |
| Transfer case | Type T and Type K oil seals, gaskets, gear bearings, sprocket bearings. | 4WD only. Type T and Type K application comes from catalog fitment data, so send the transmission or transfer identification. |
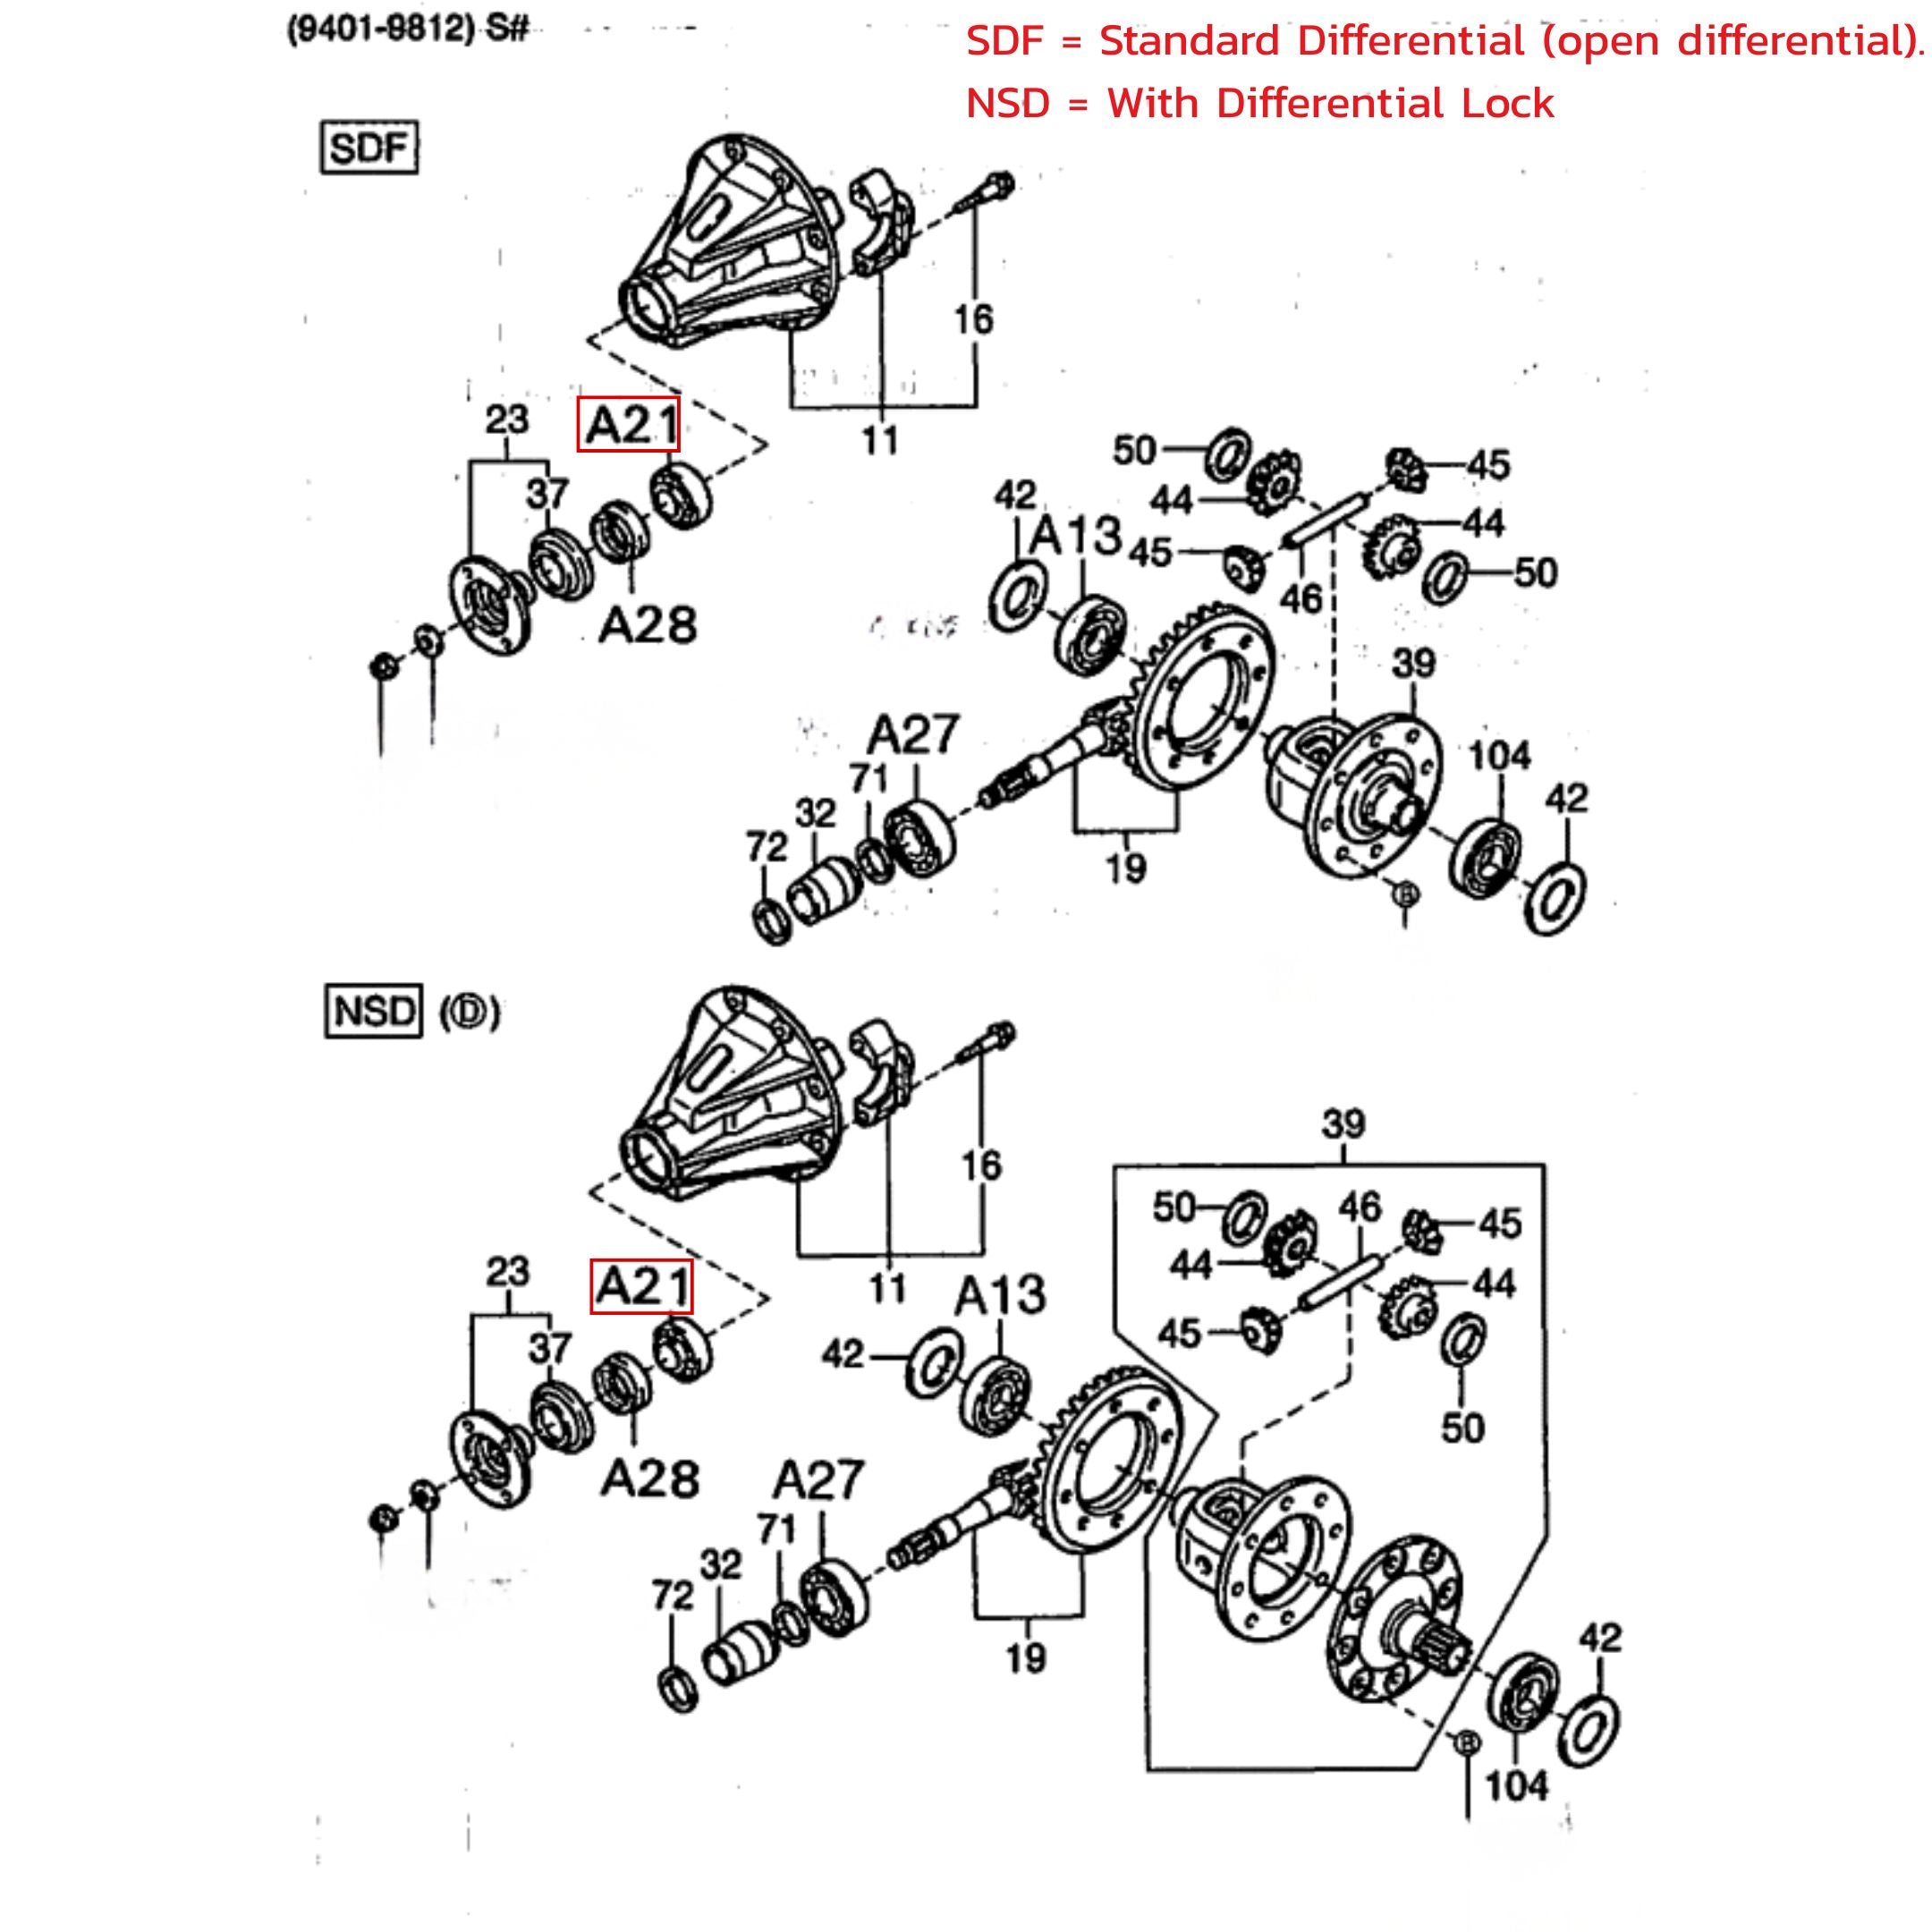
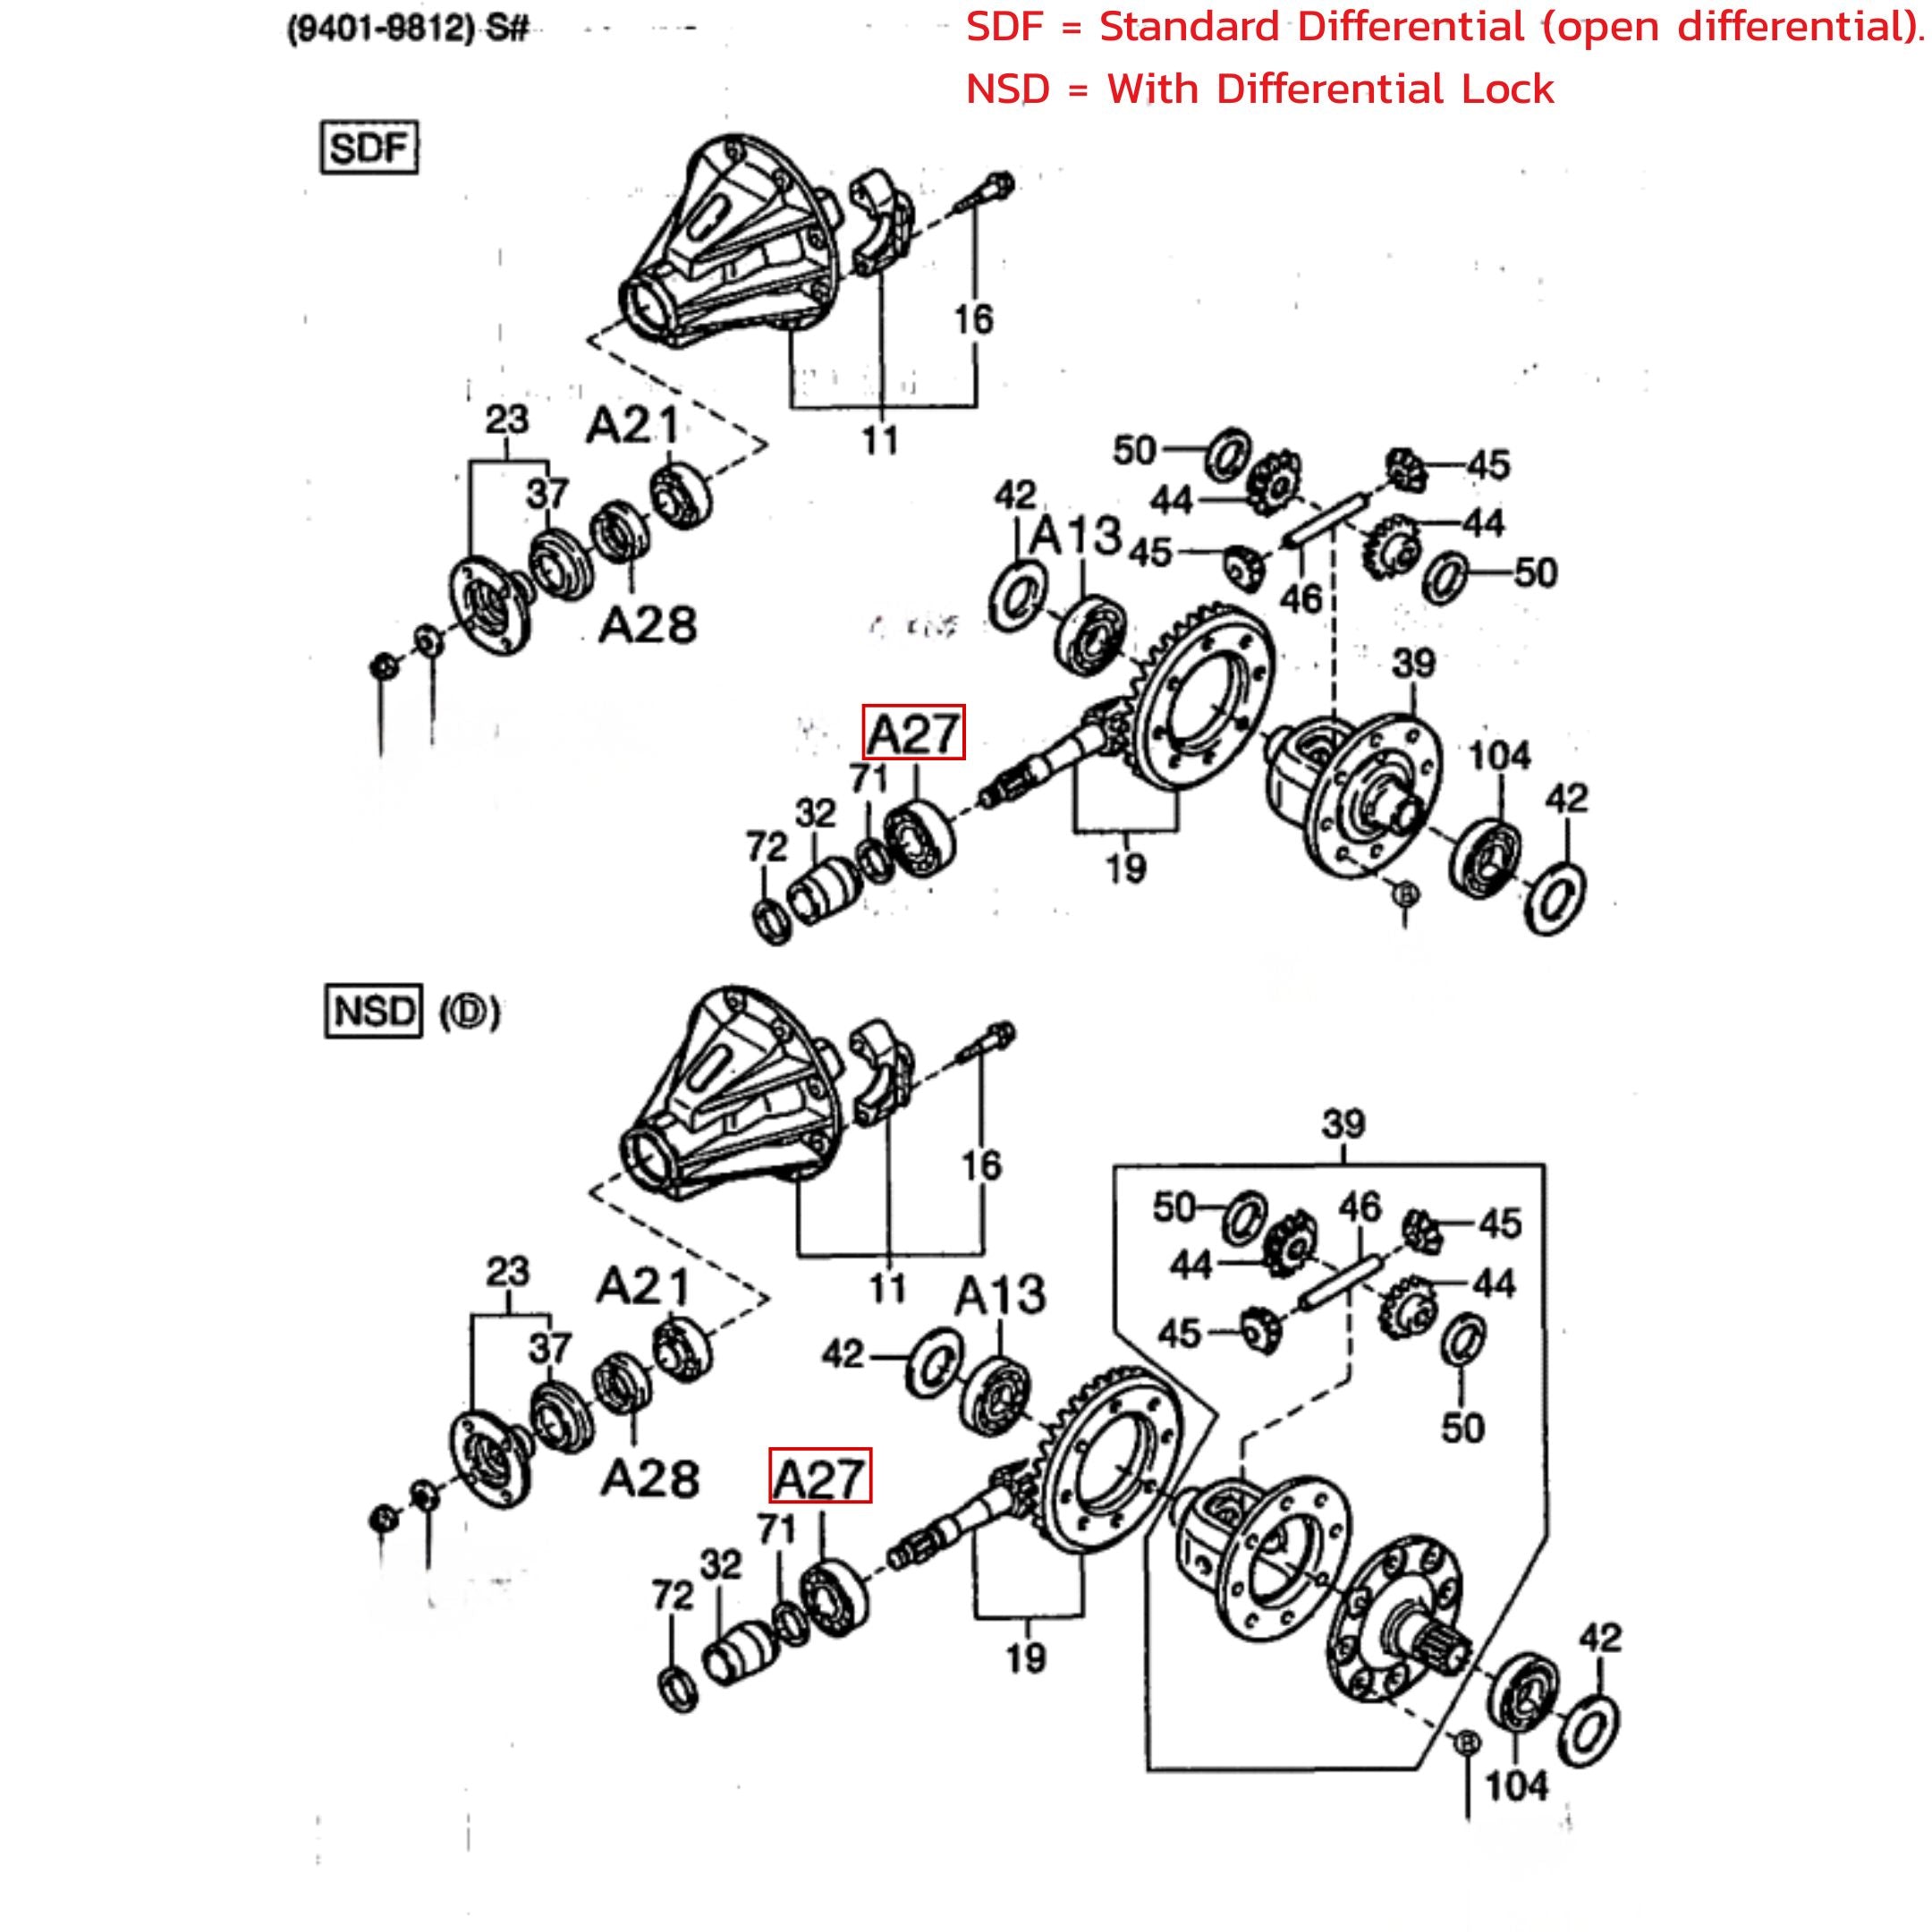
| Differential | Front and rear pinion oil seals, pinion bearings, side bearing sets. | Front differential parts are 4WD only. Rear fits both. |
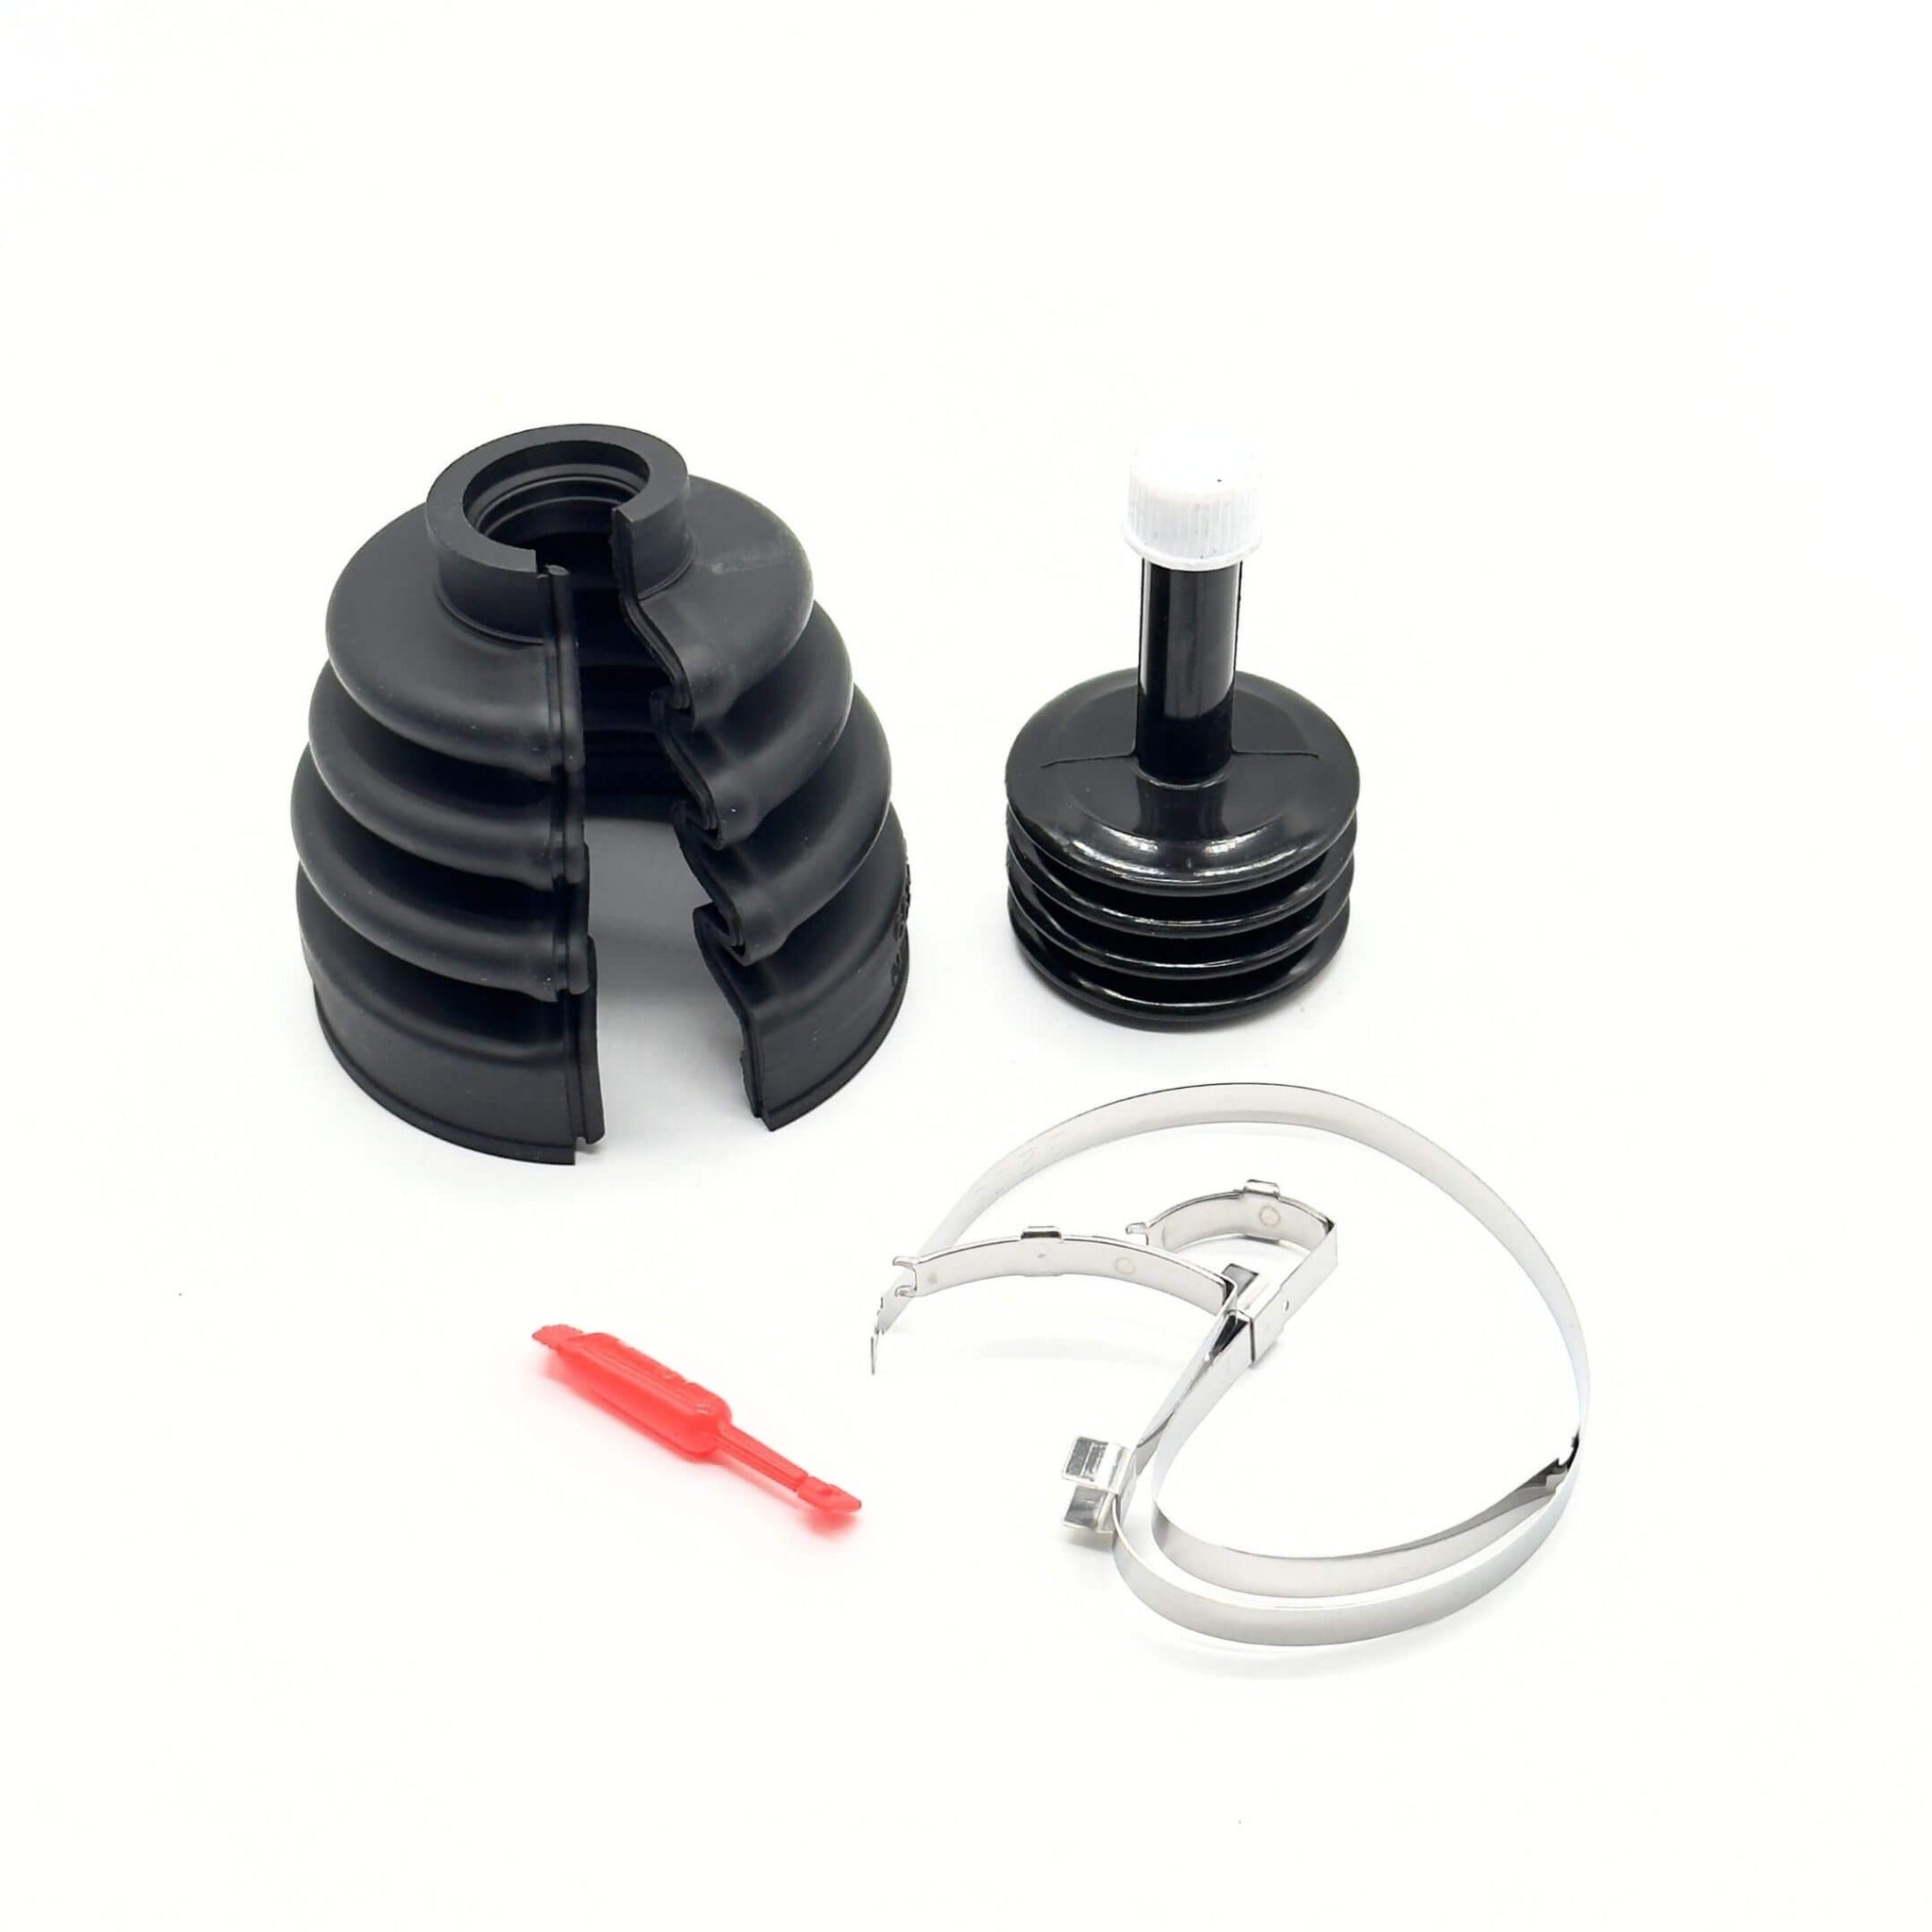
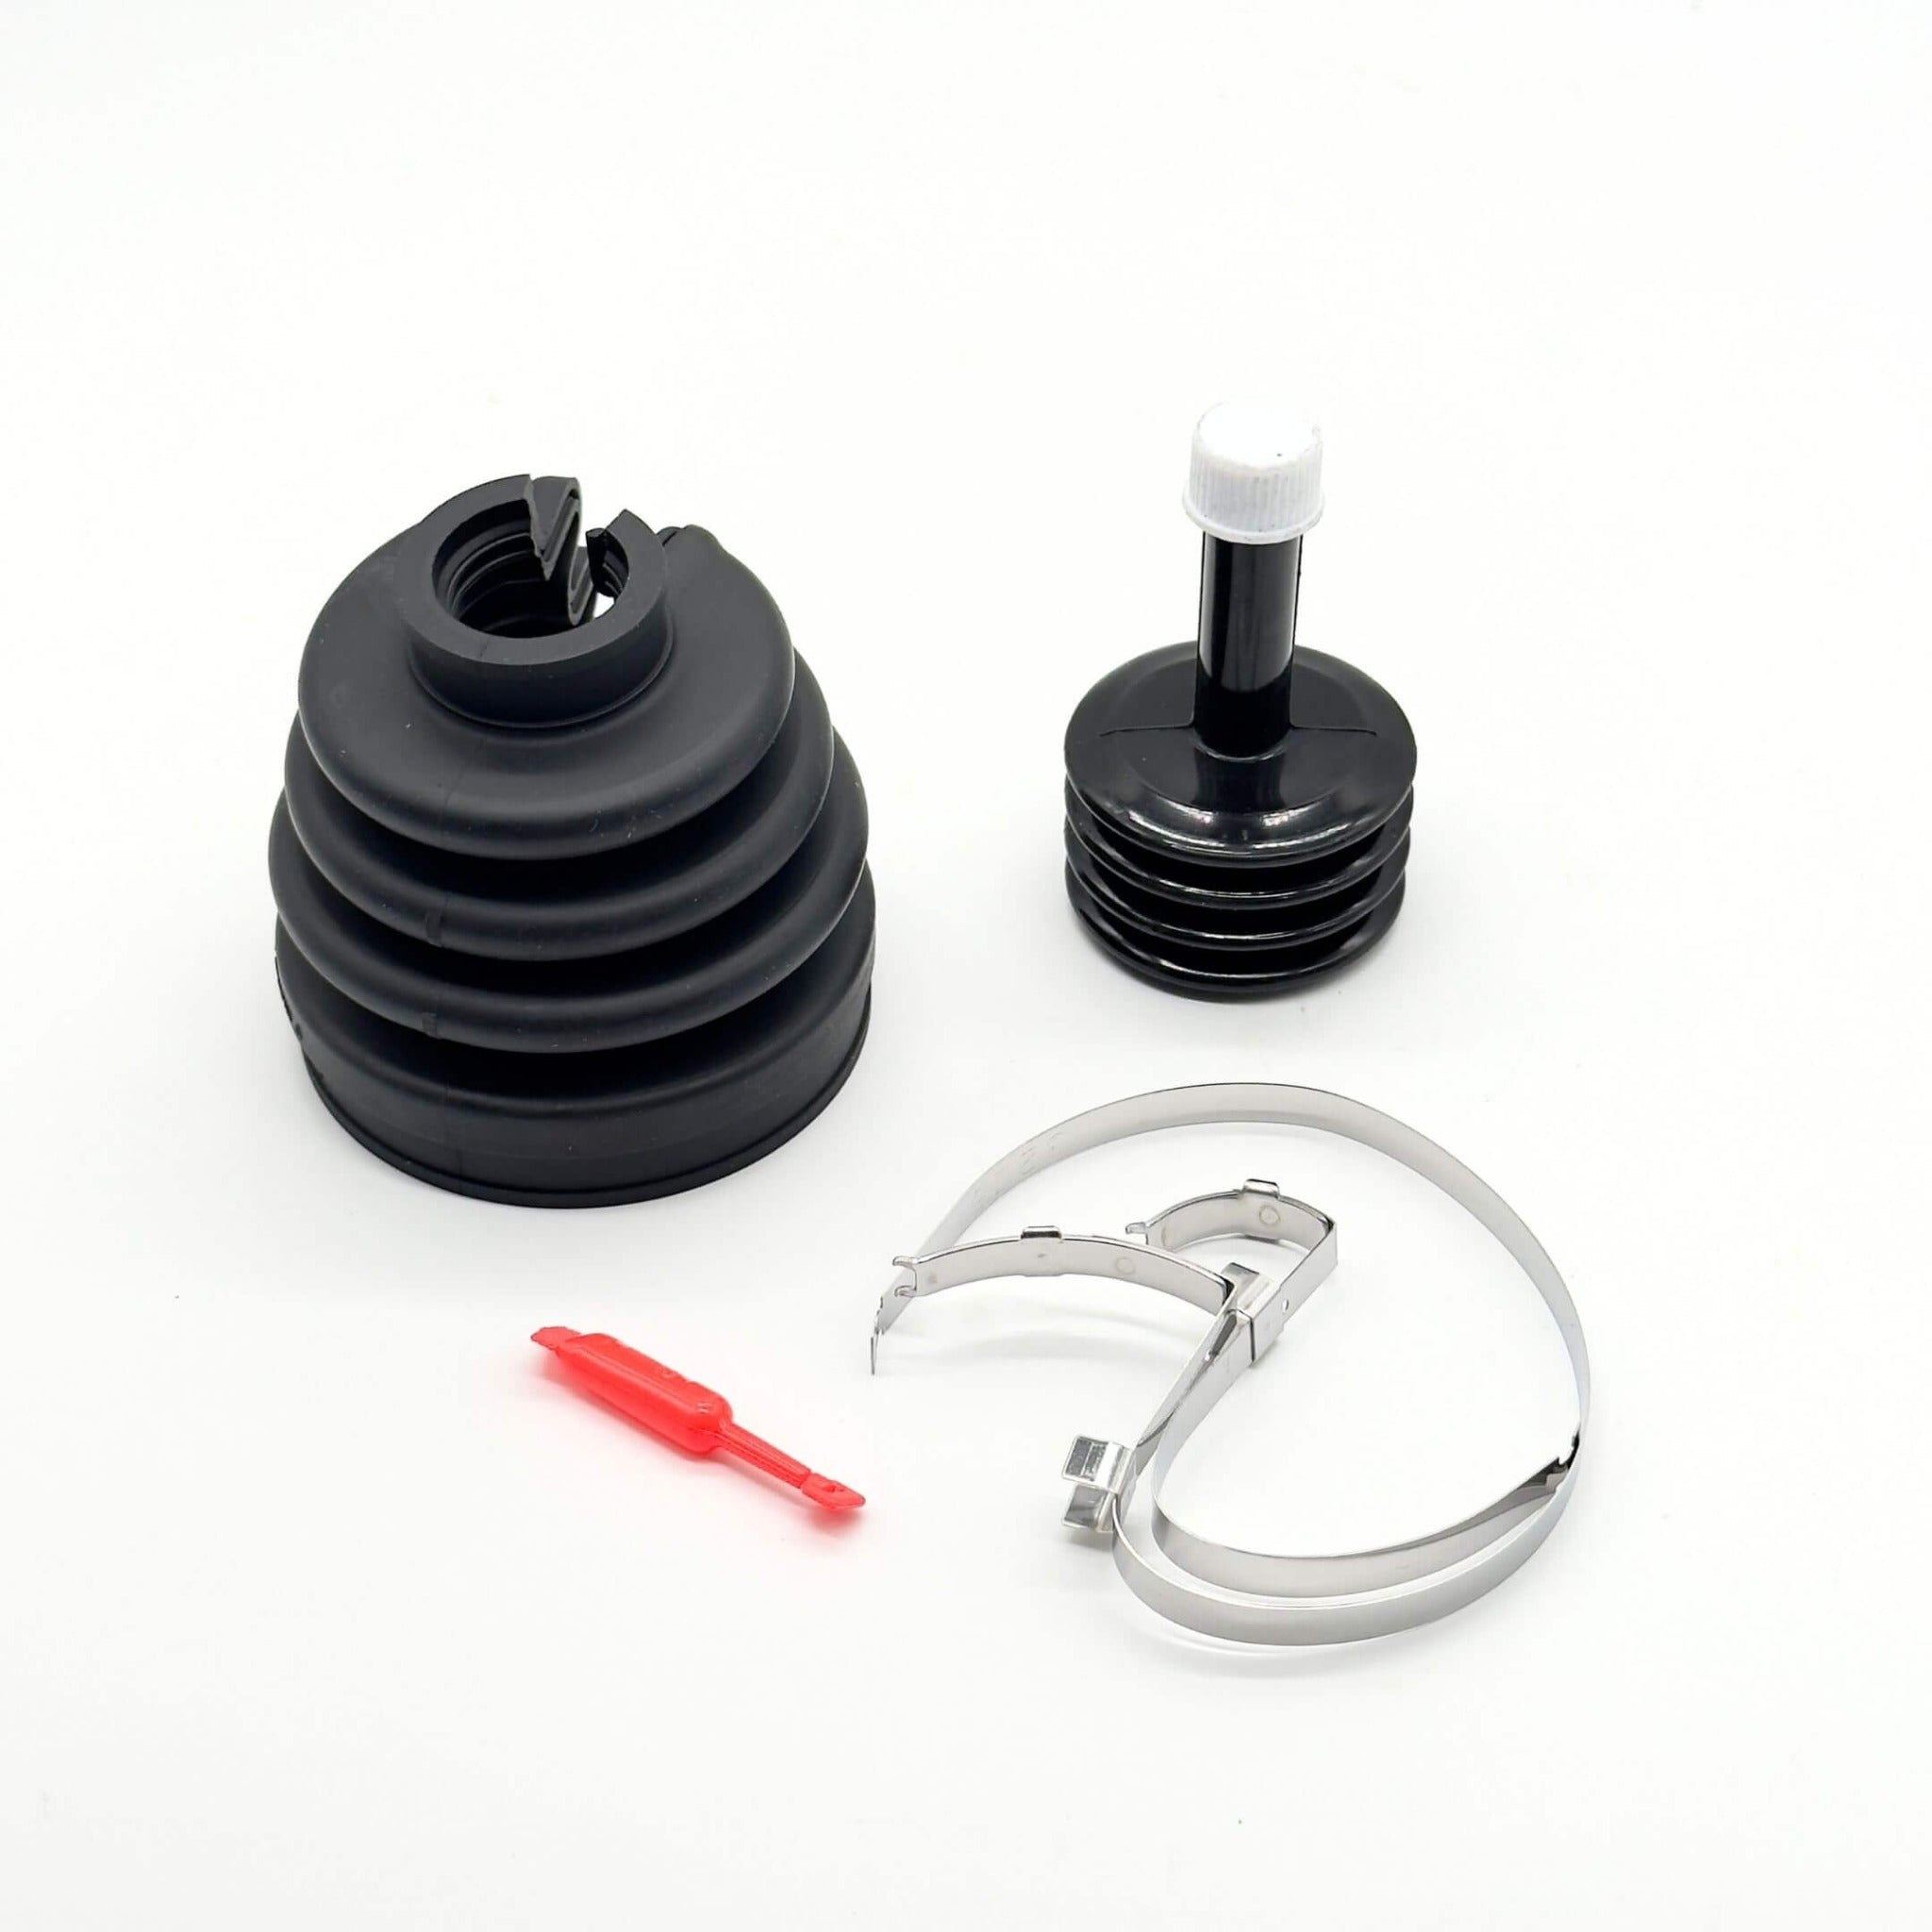
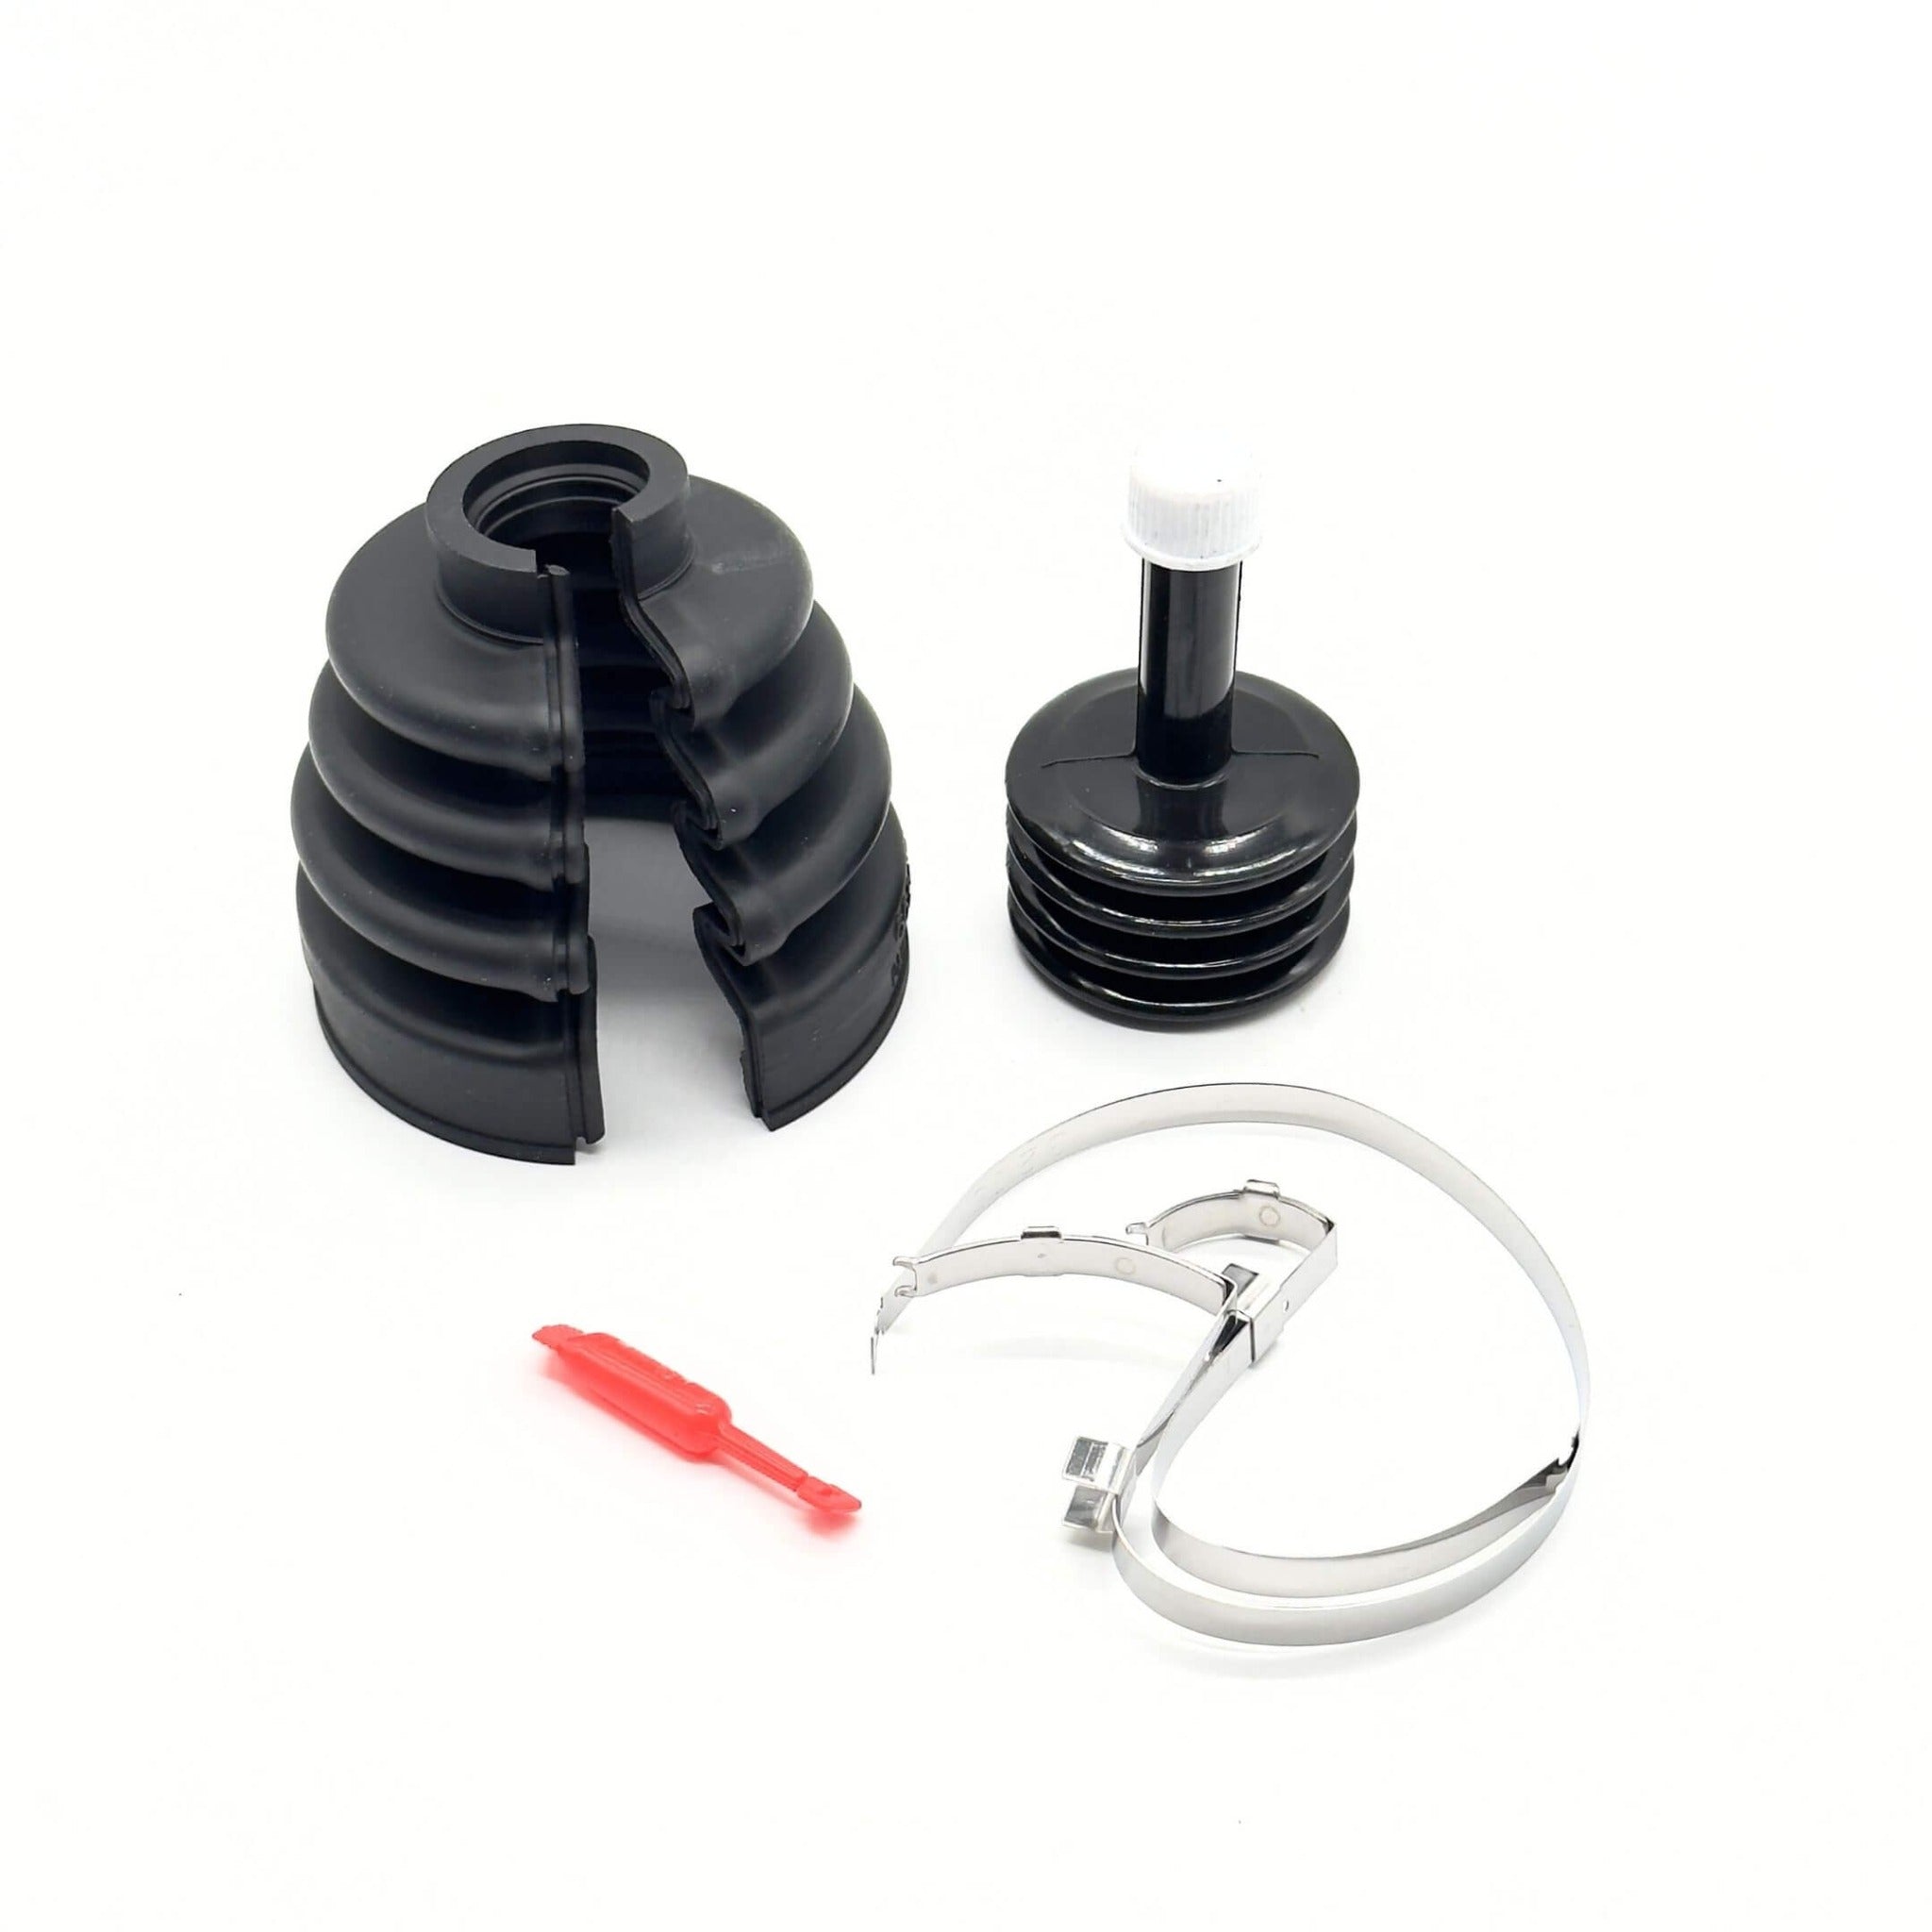
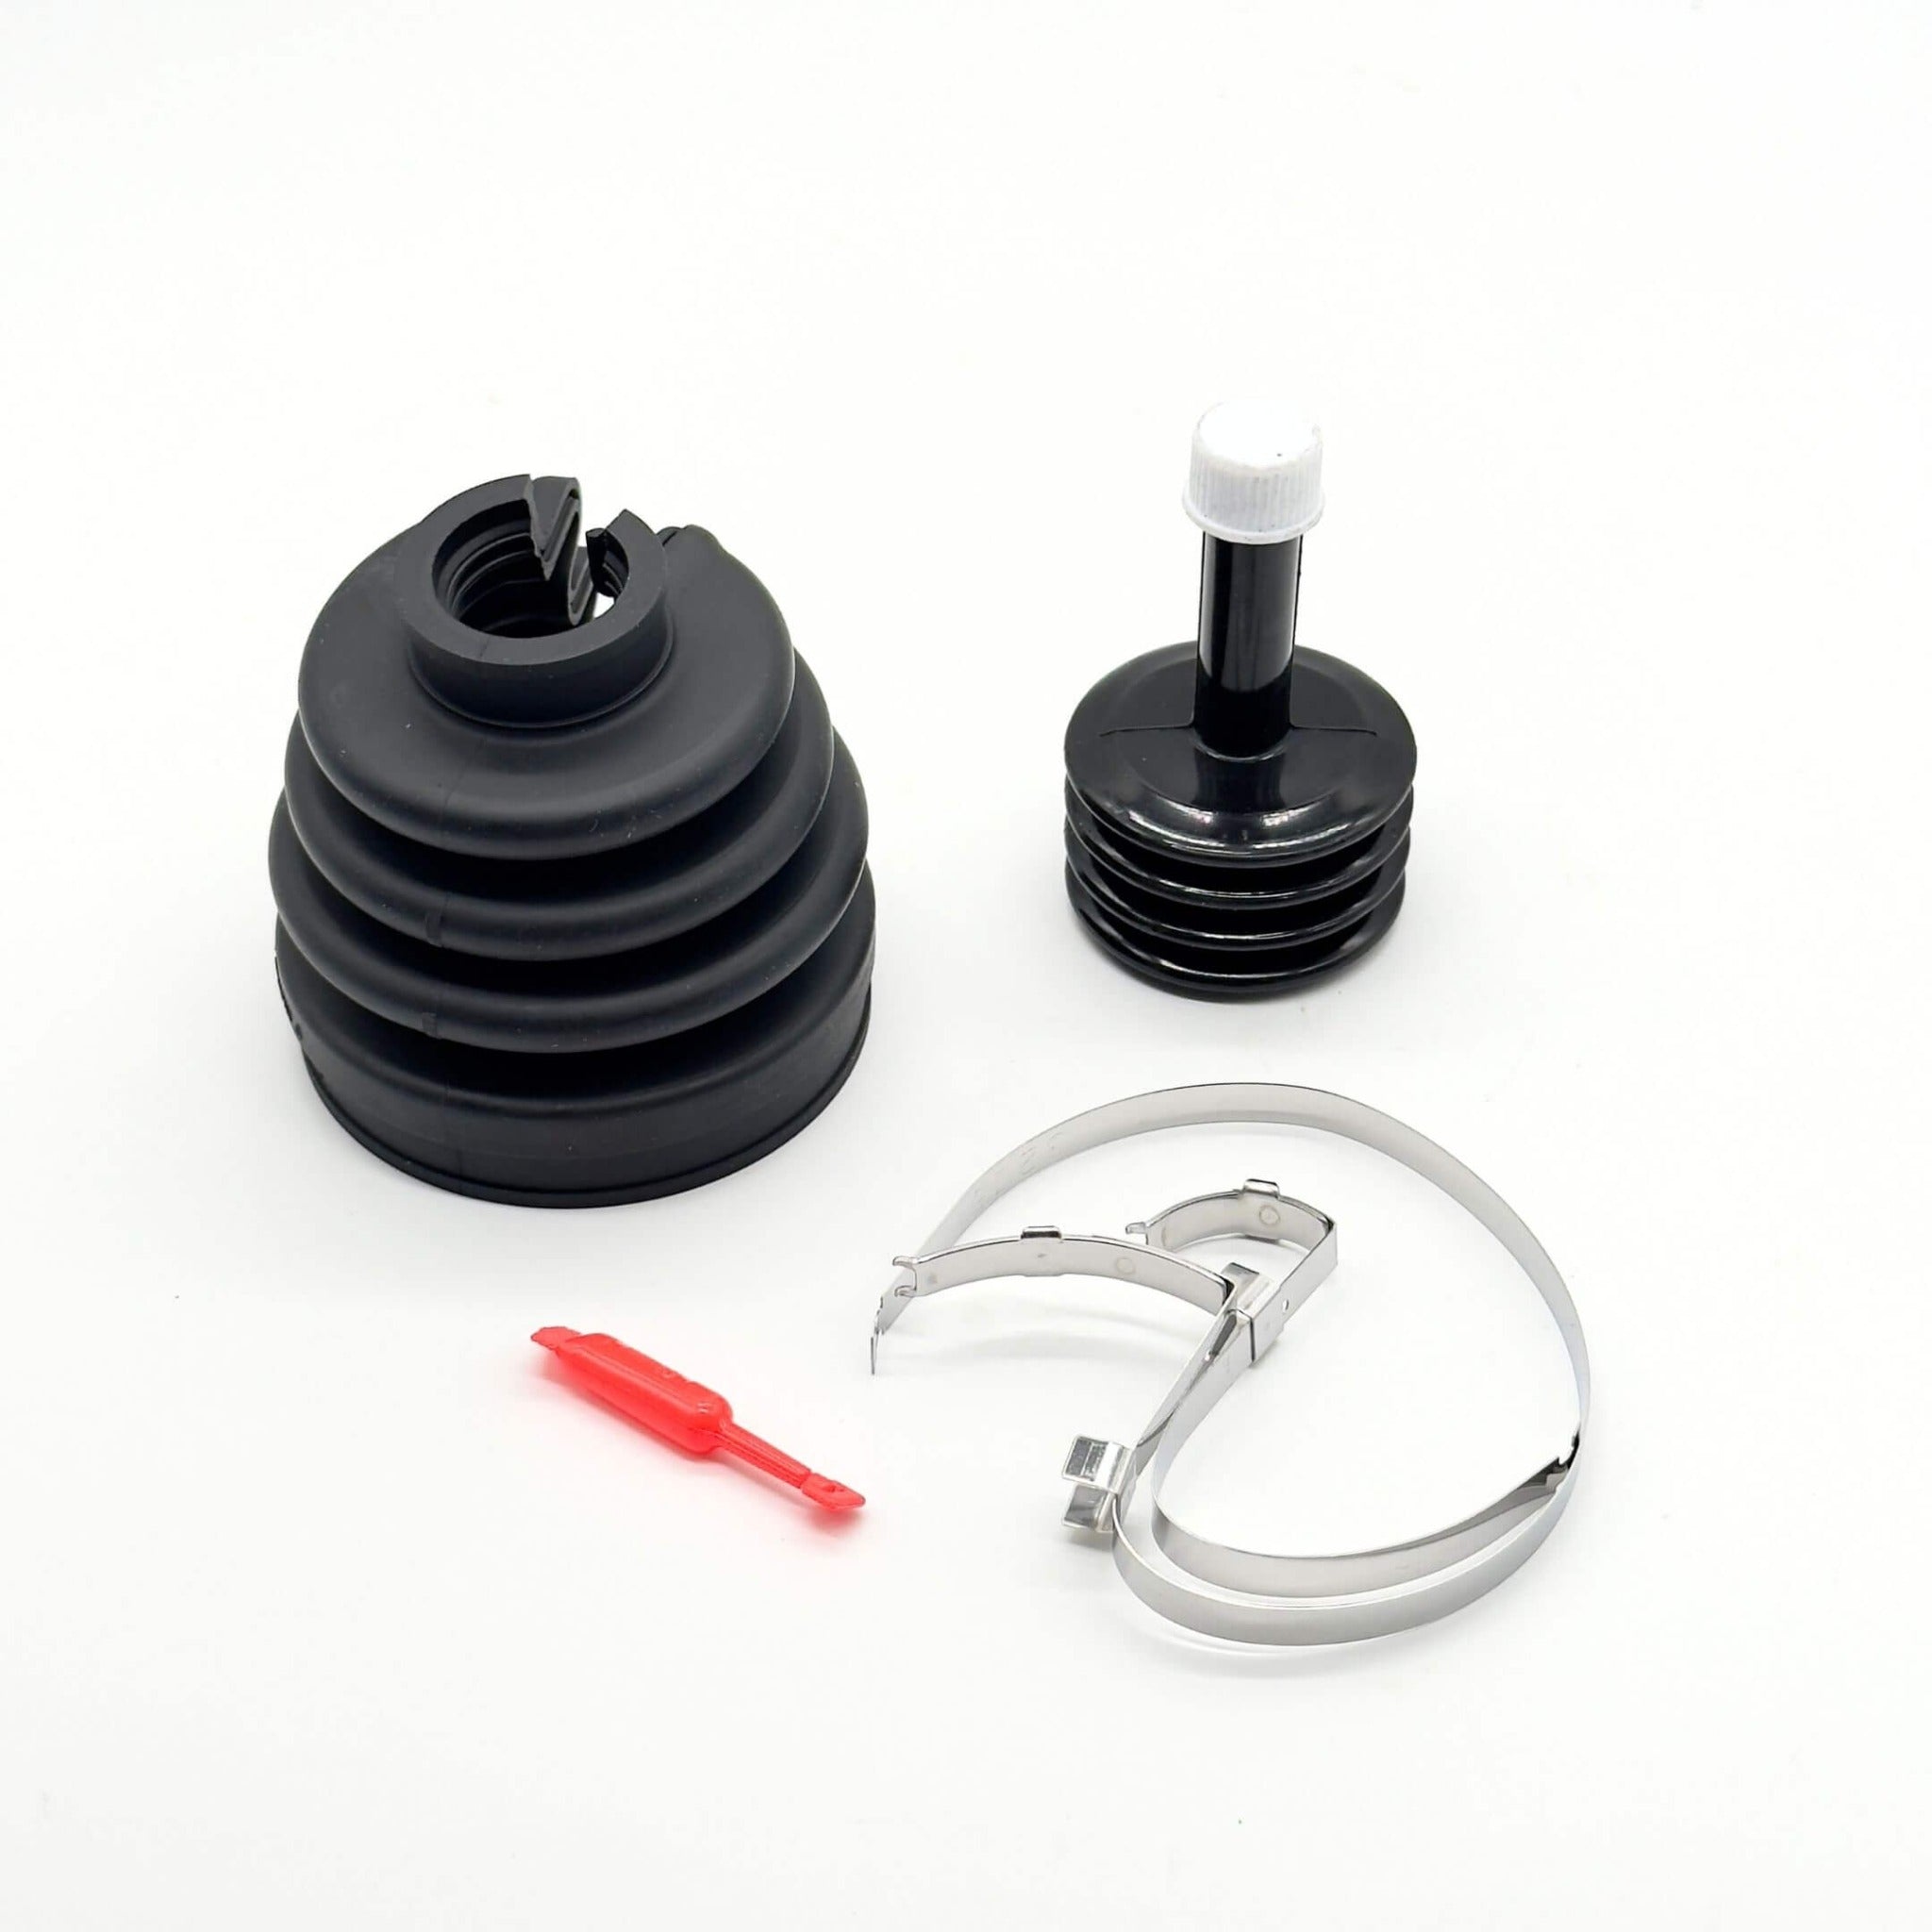
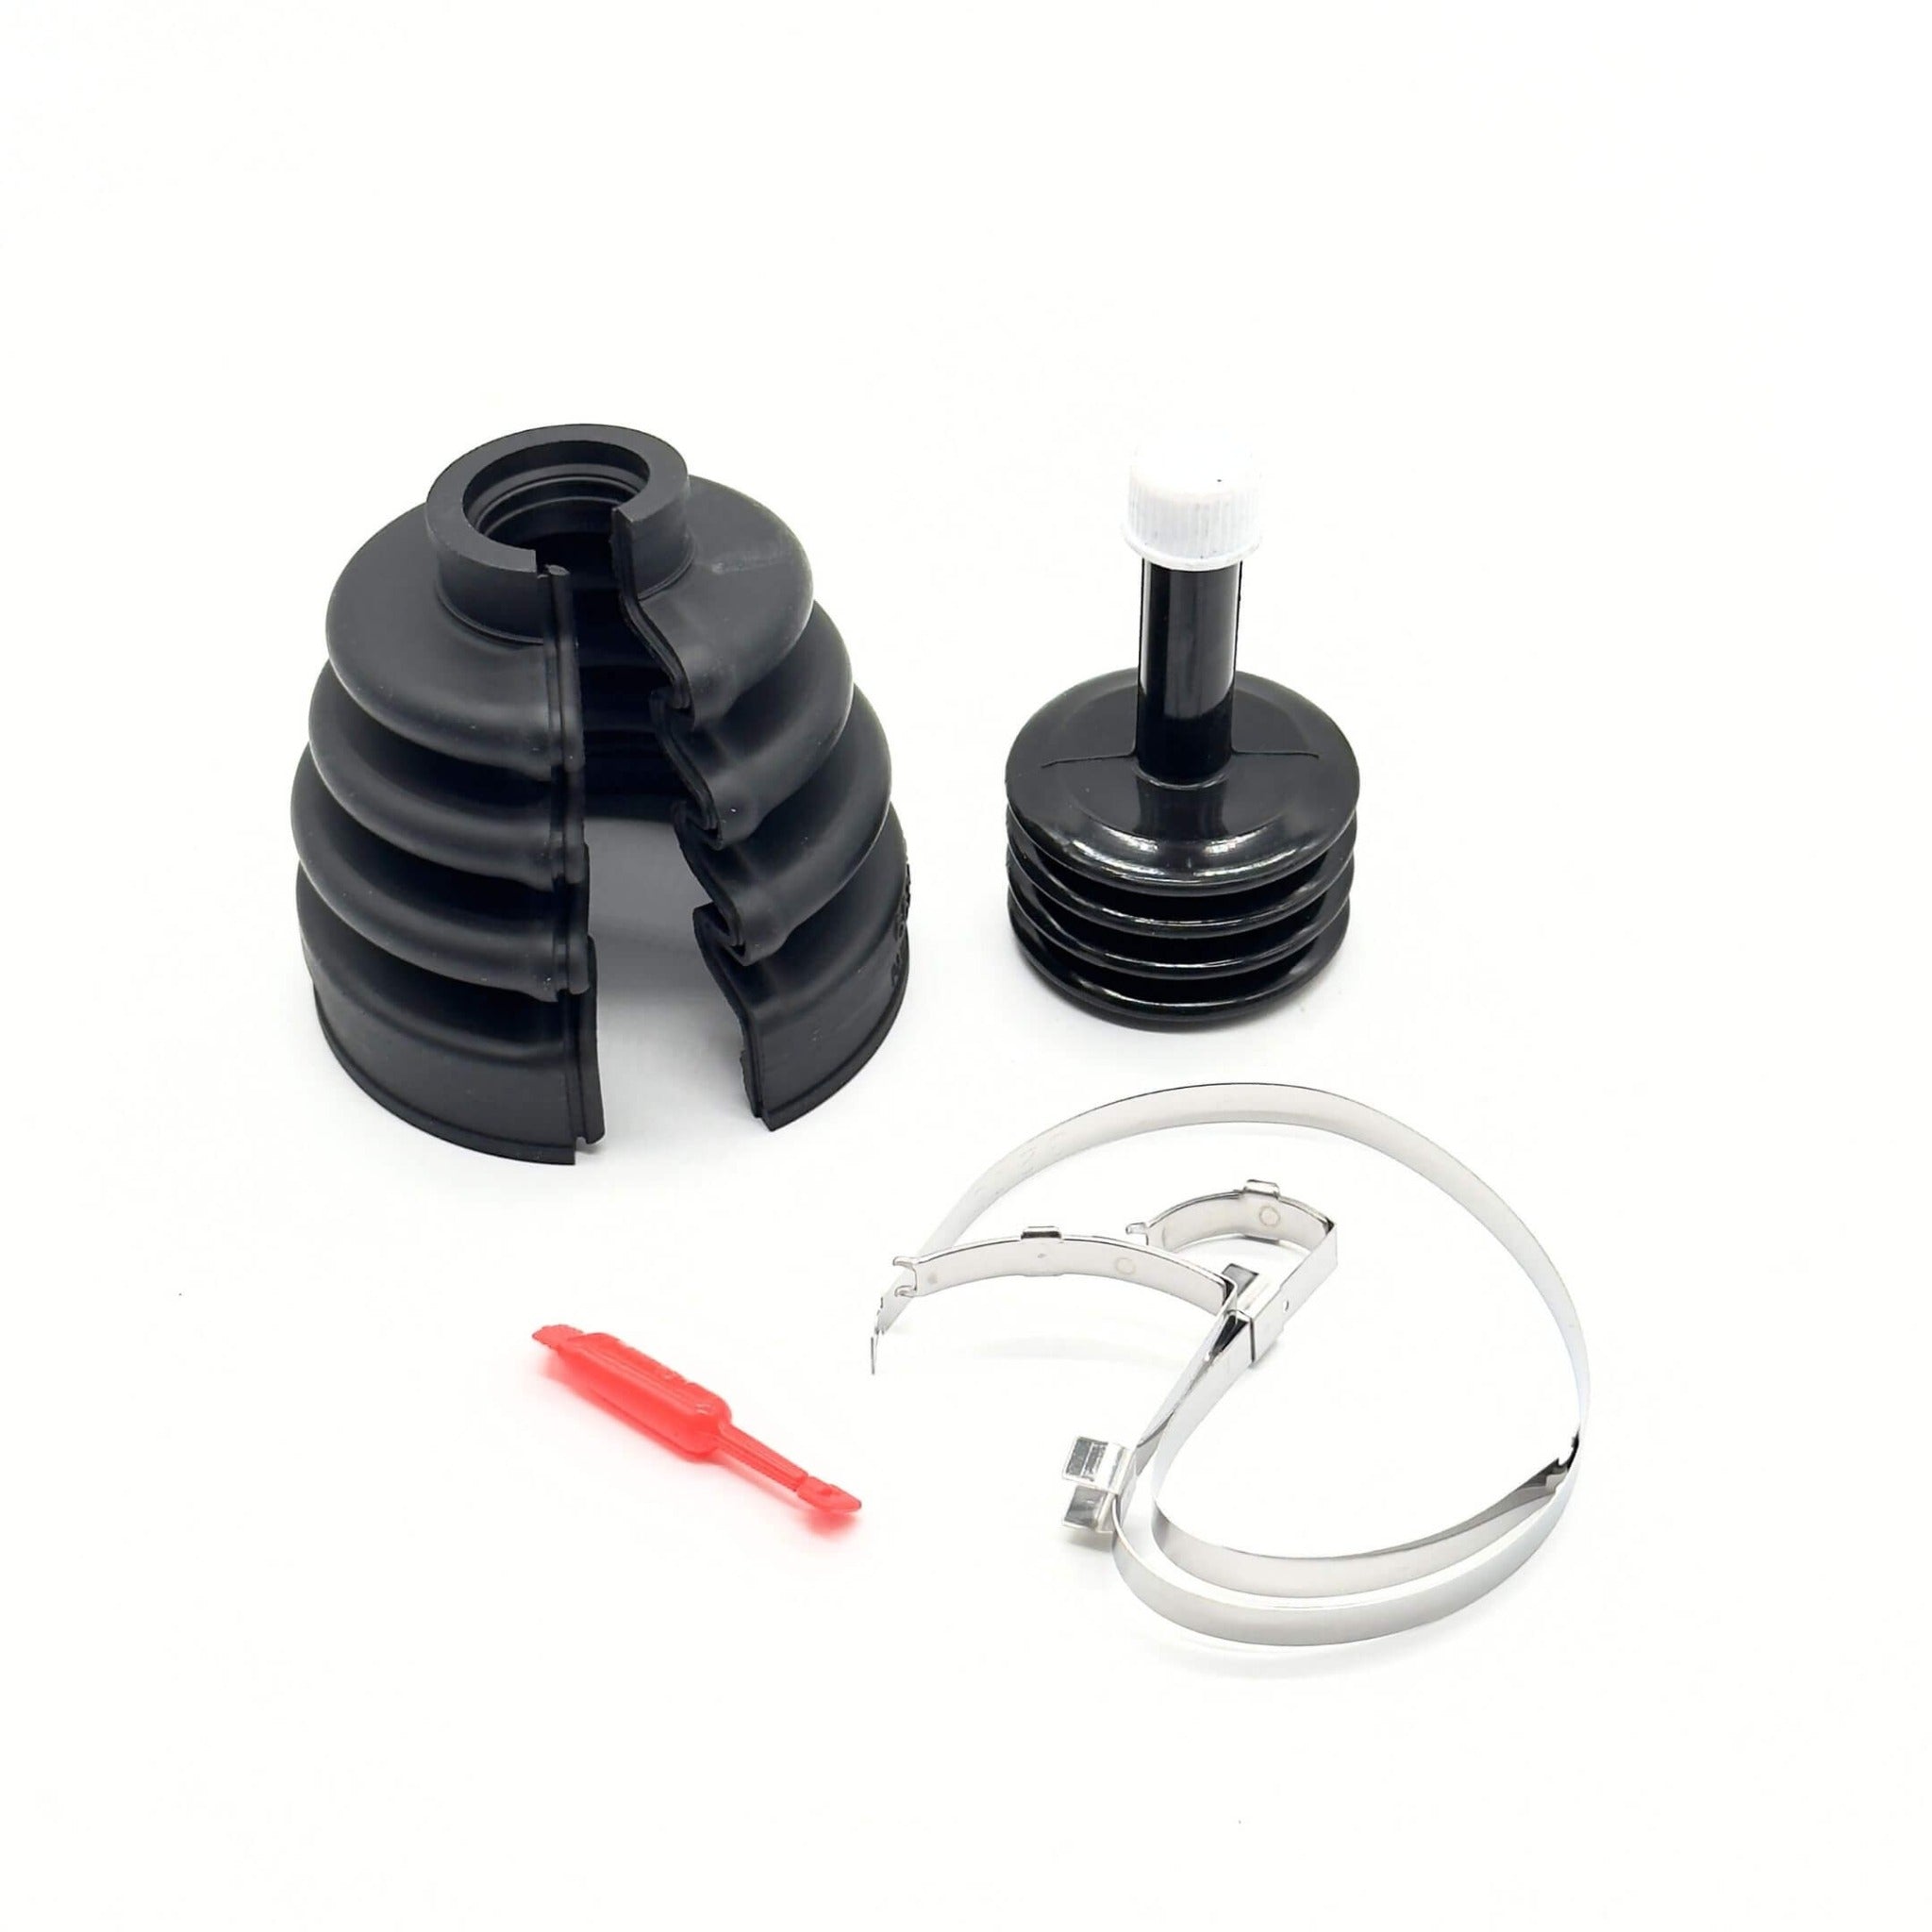
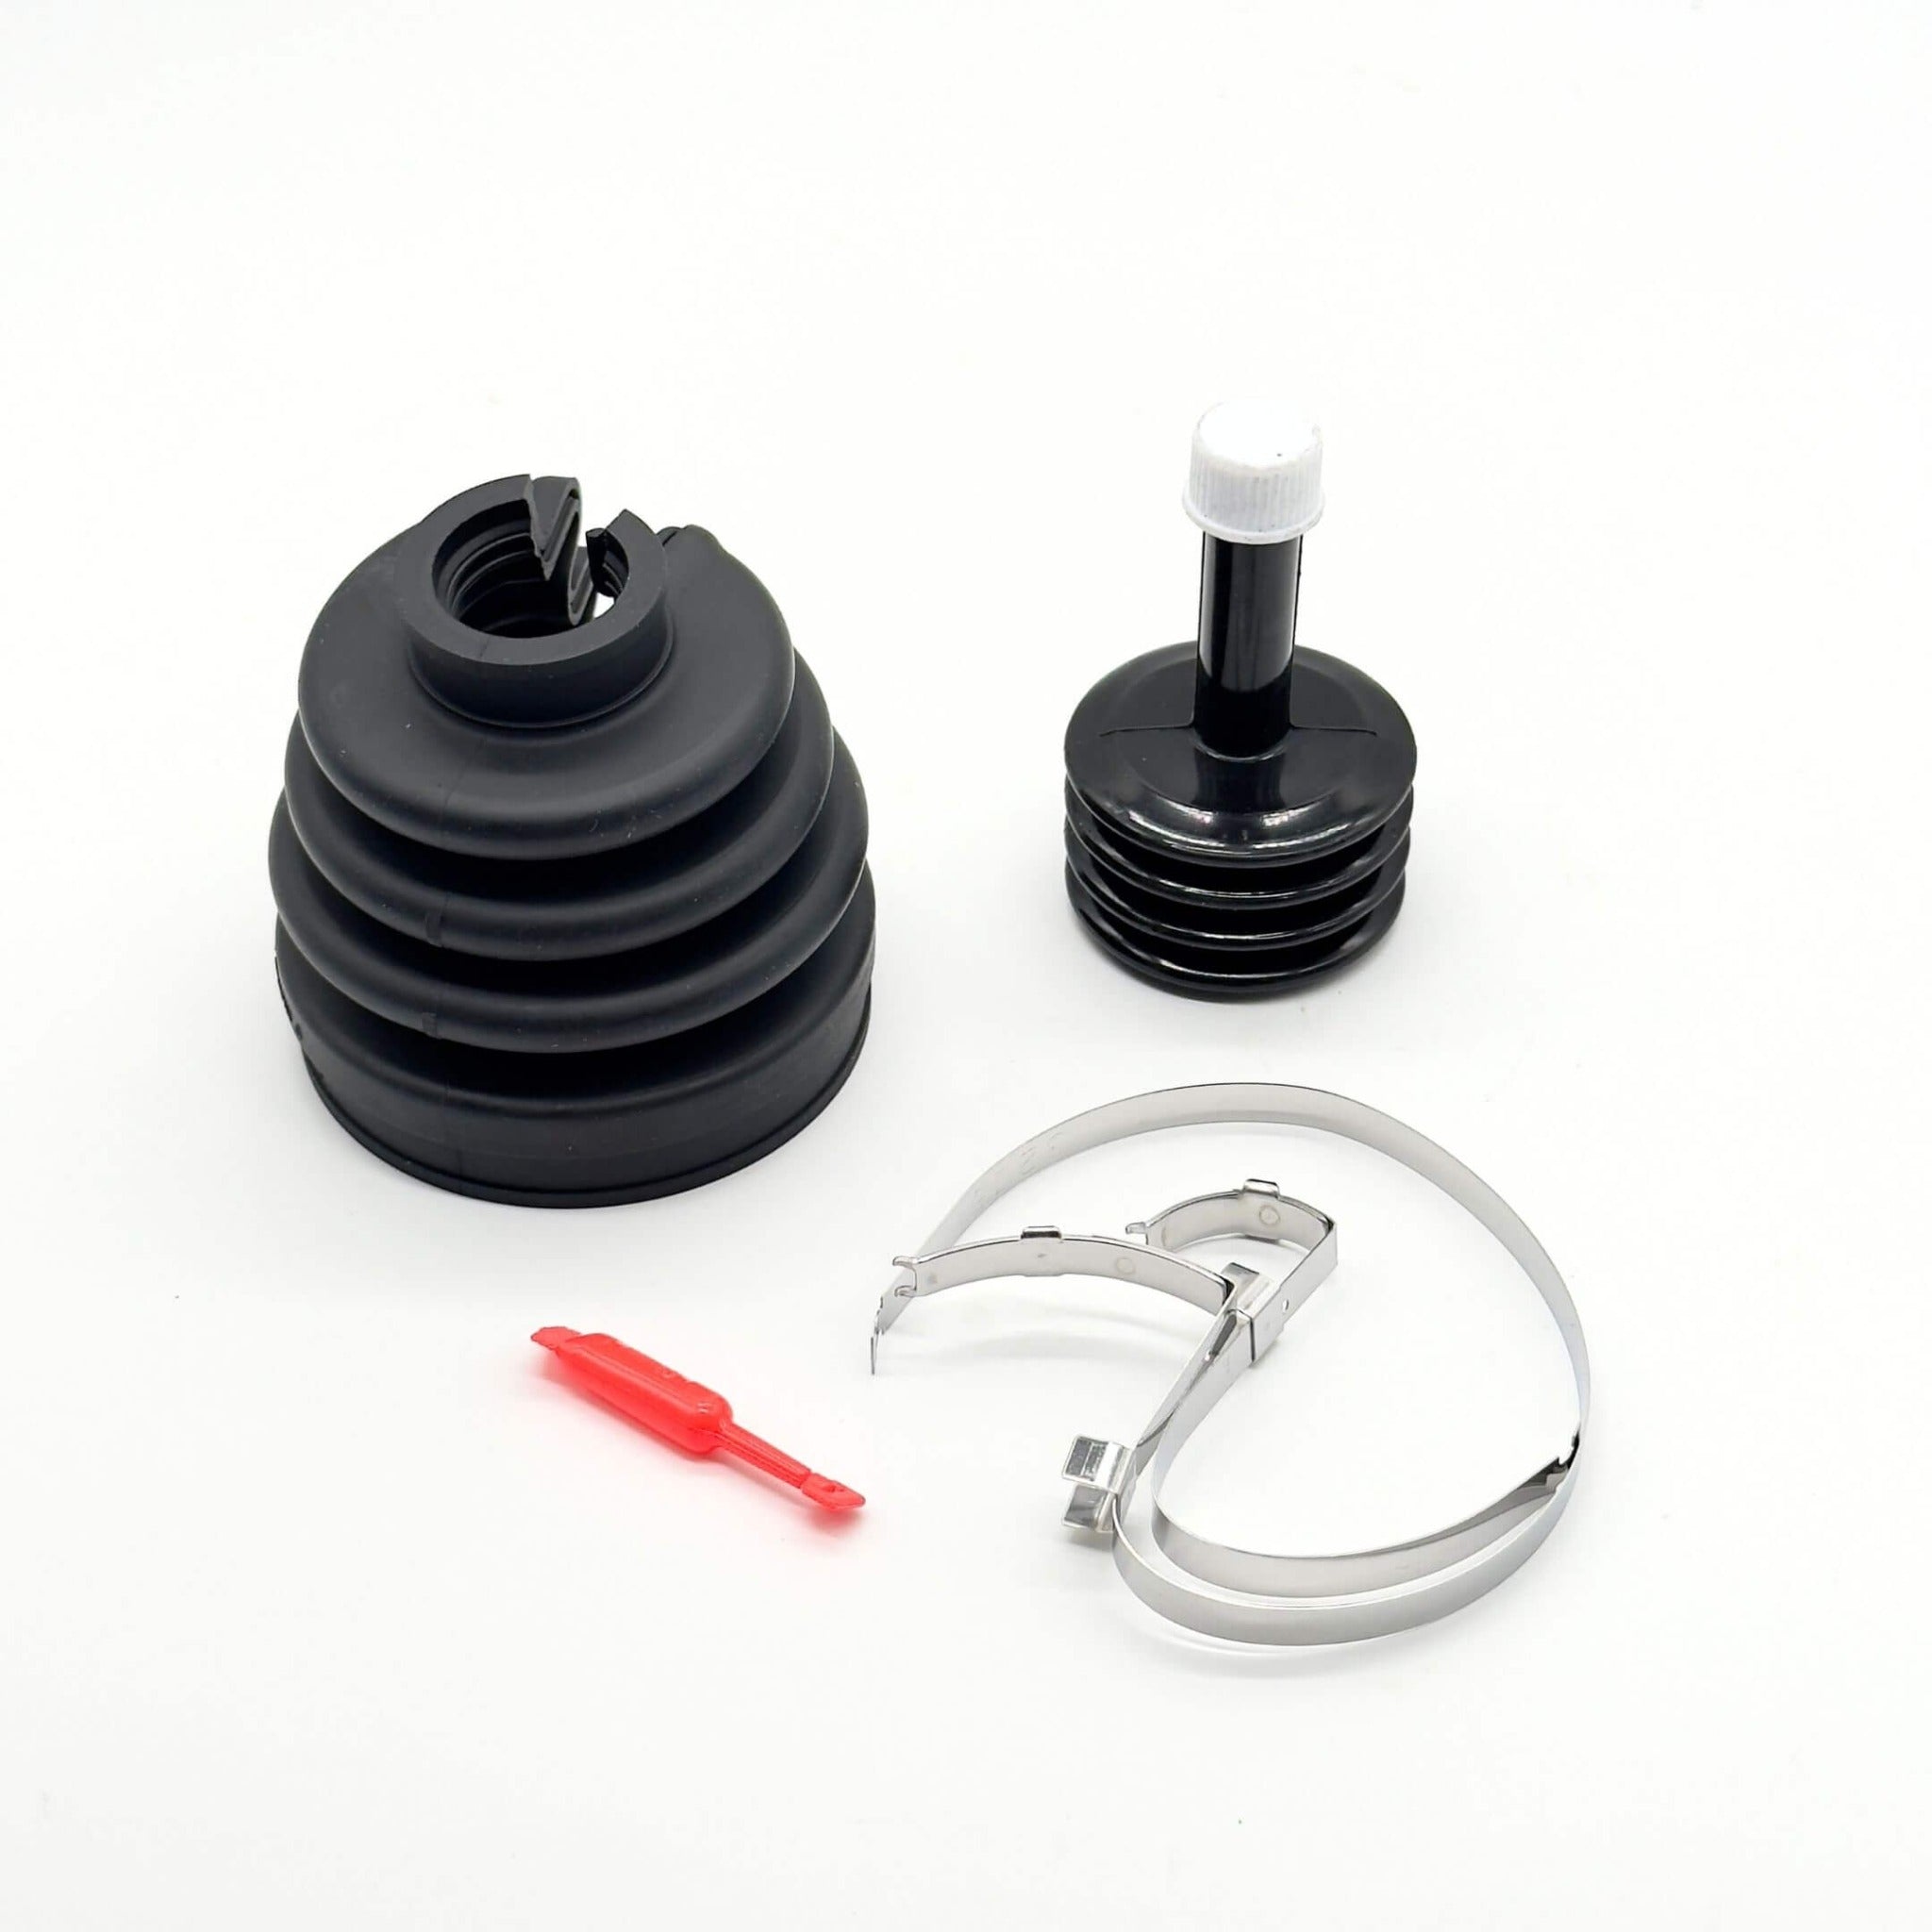
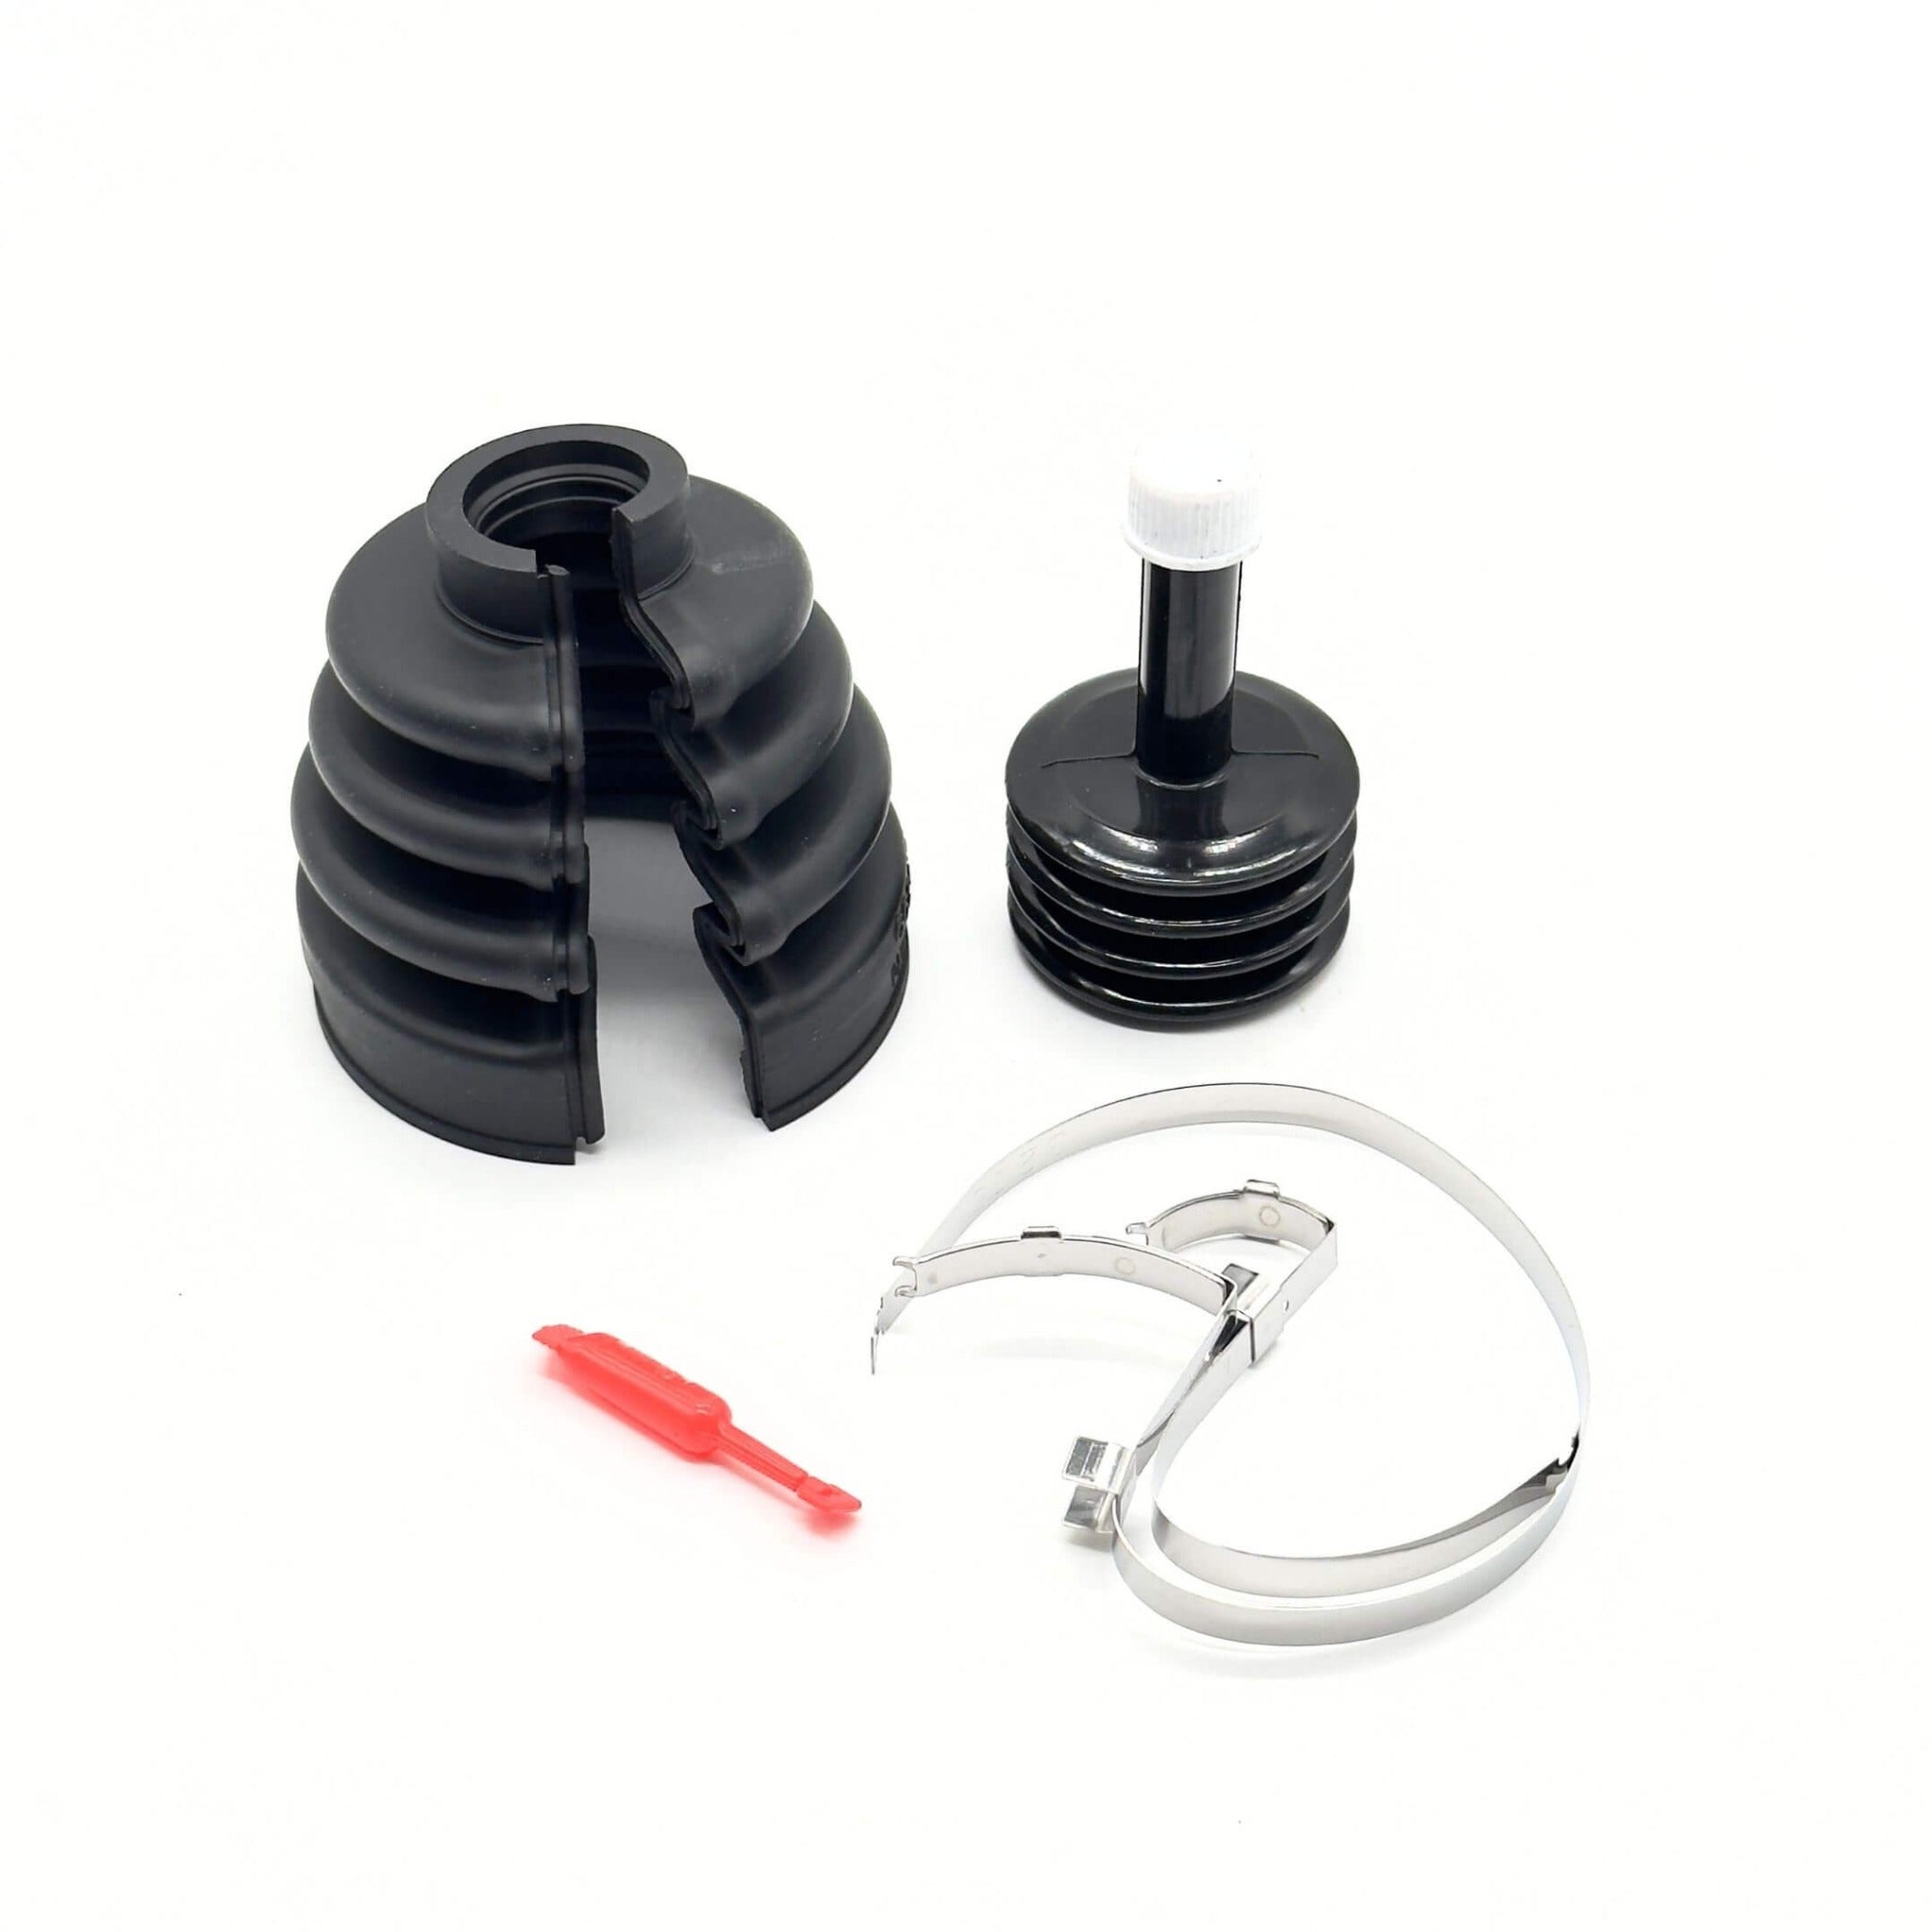
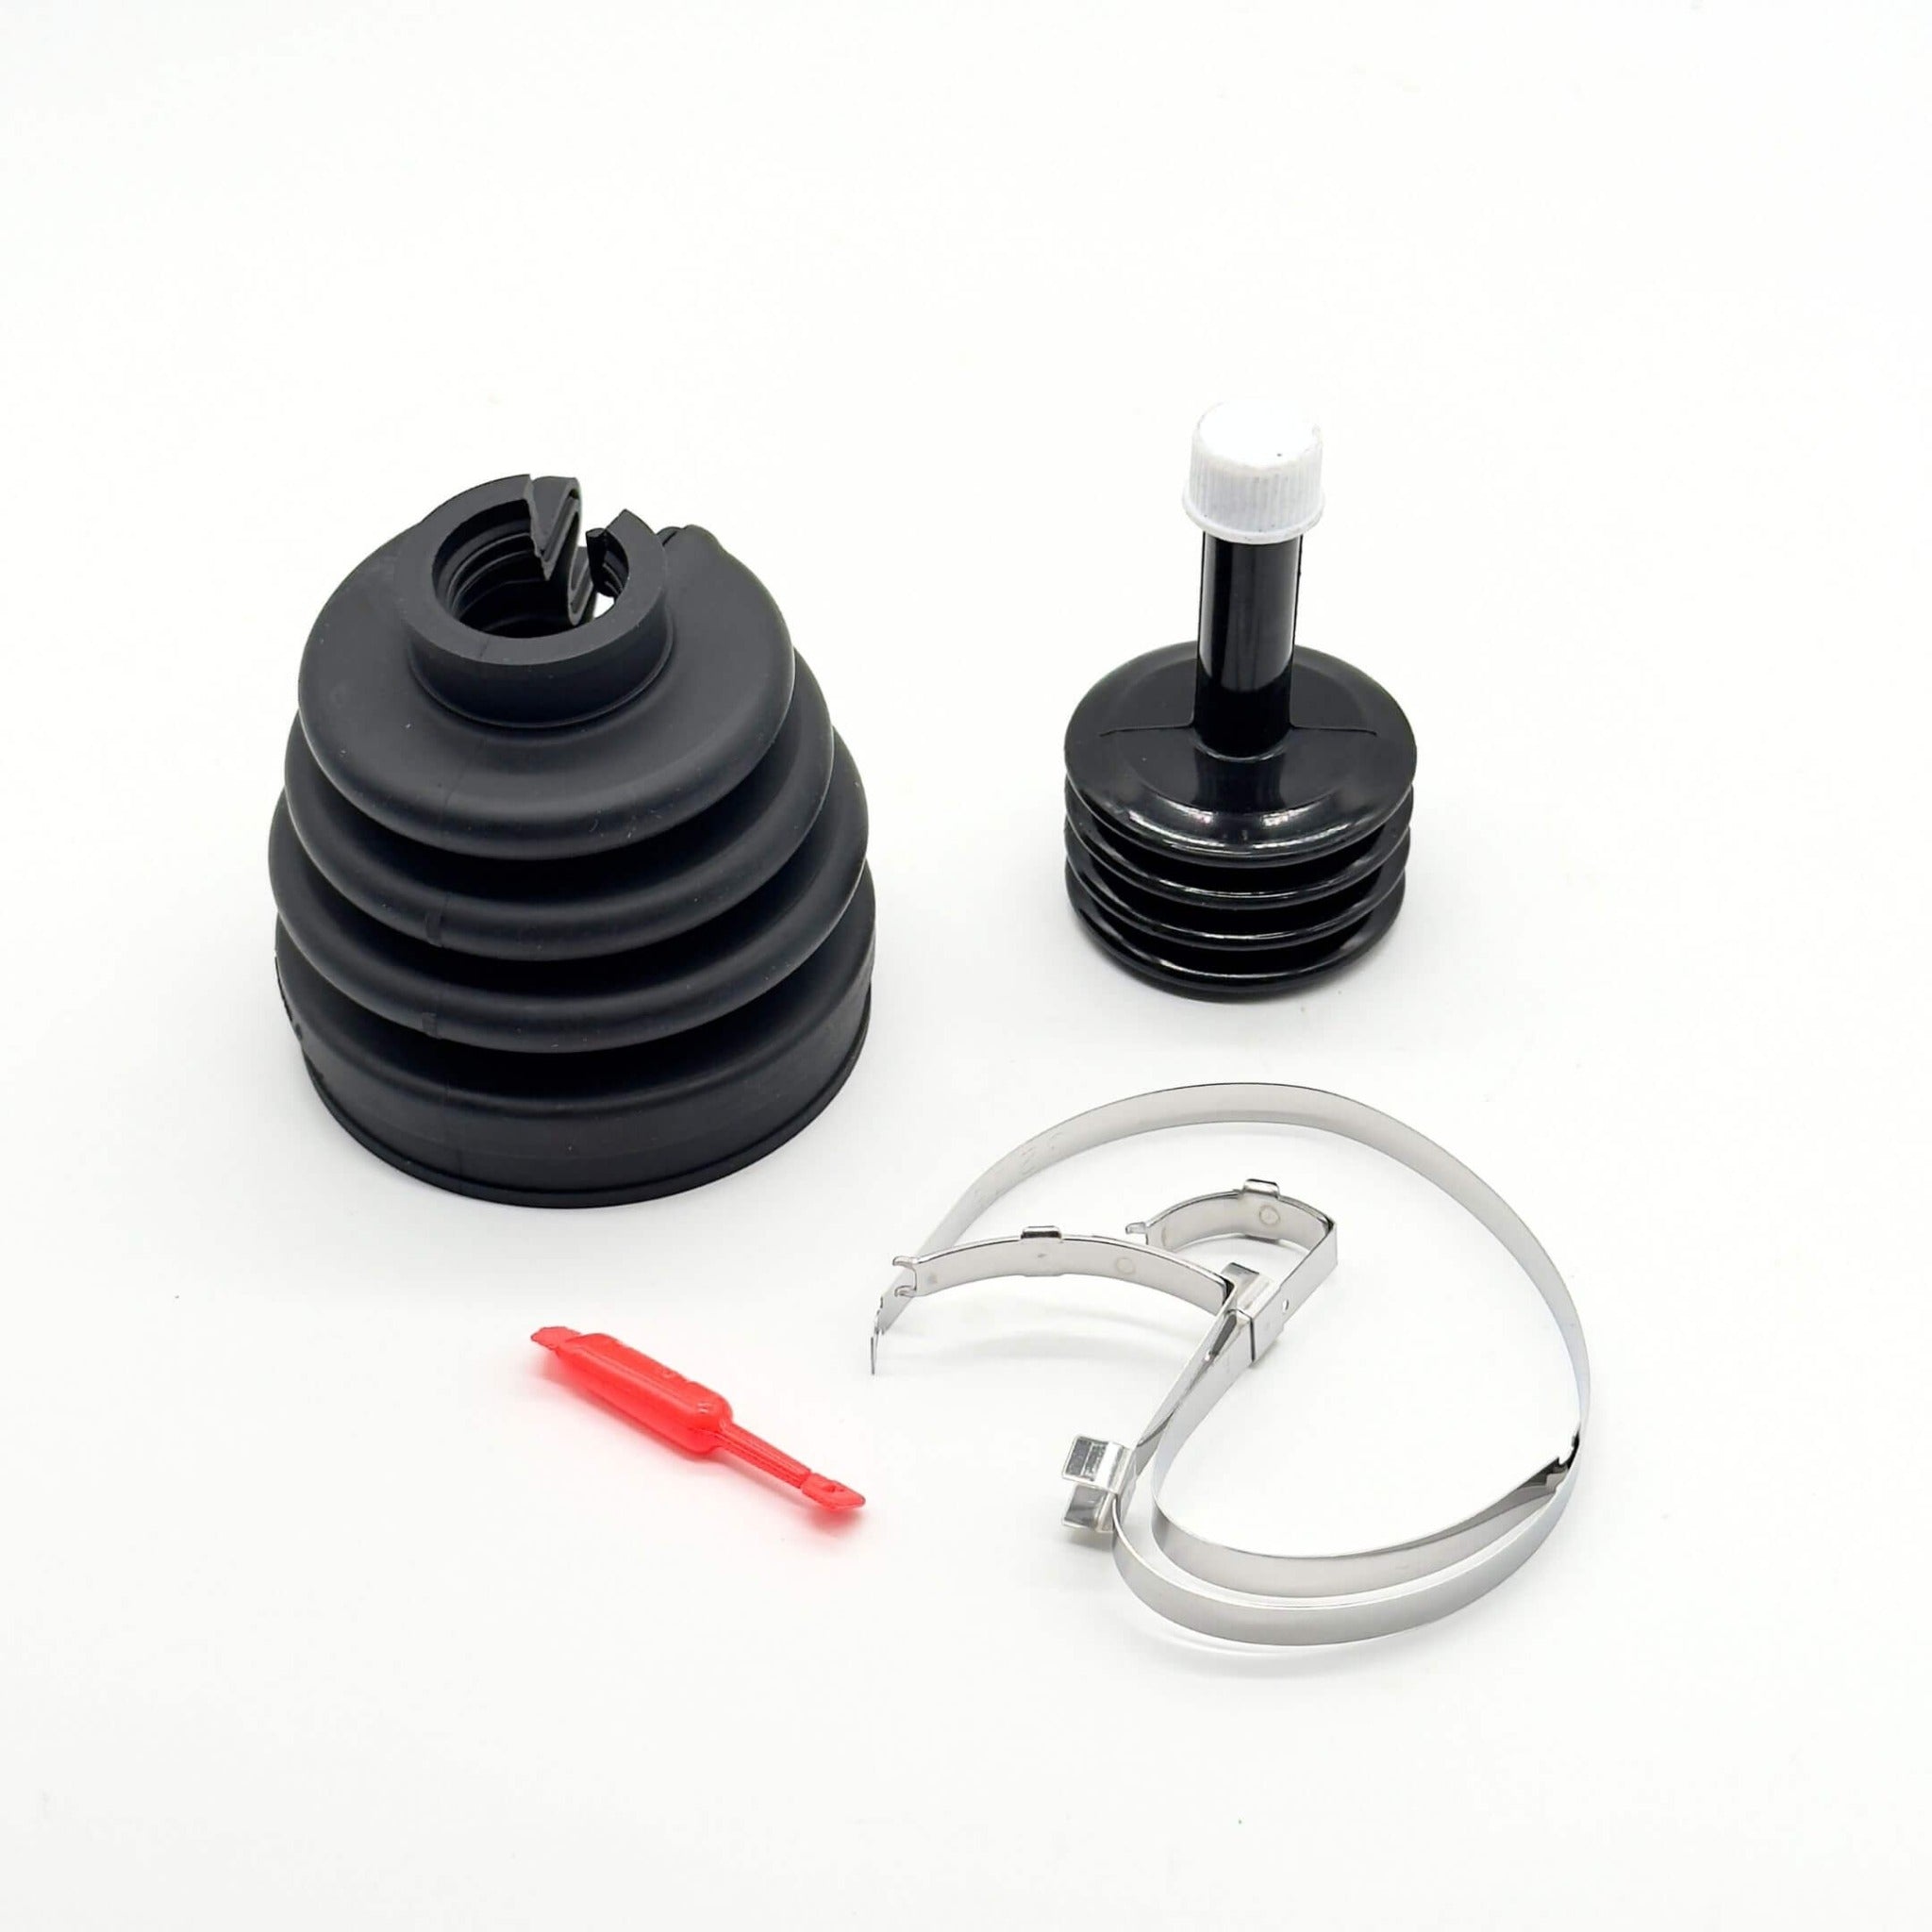
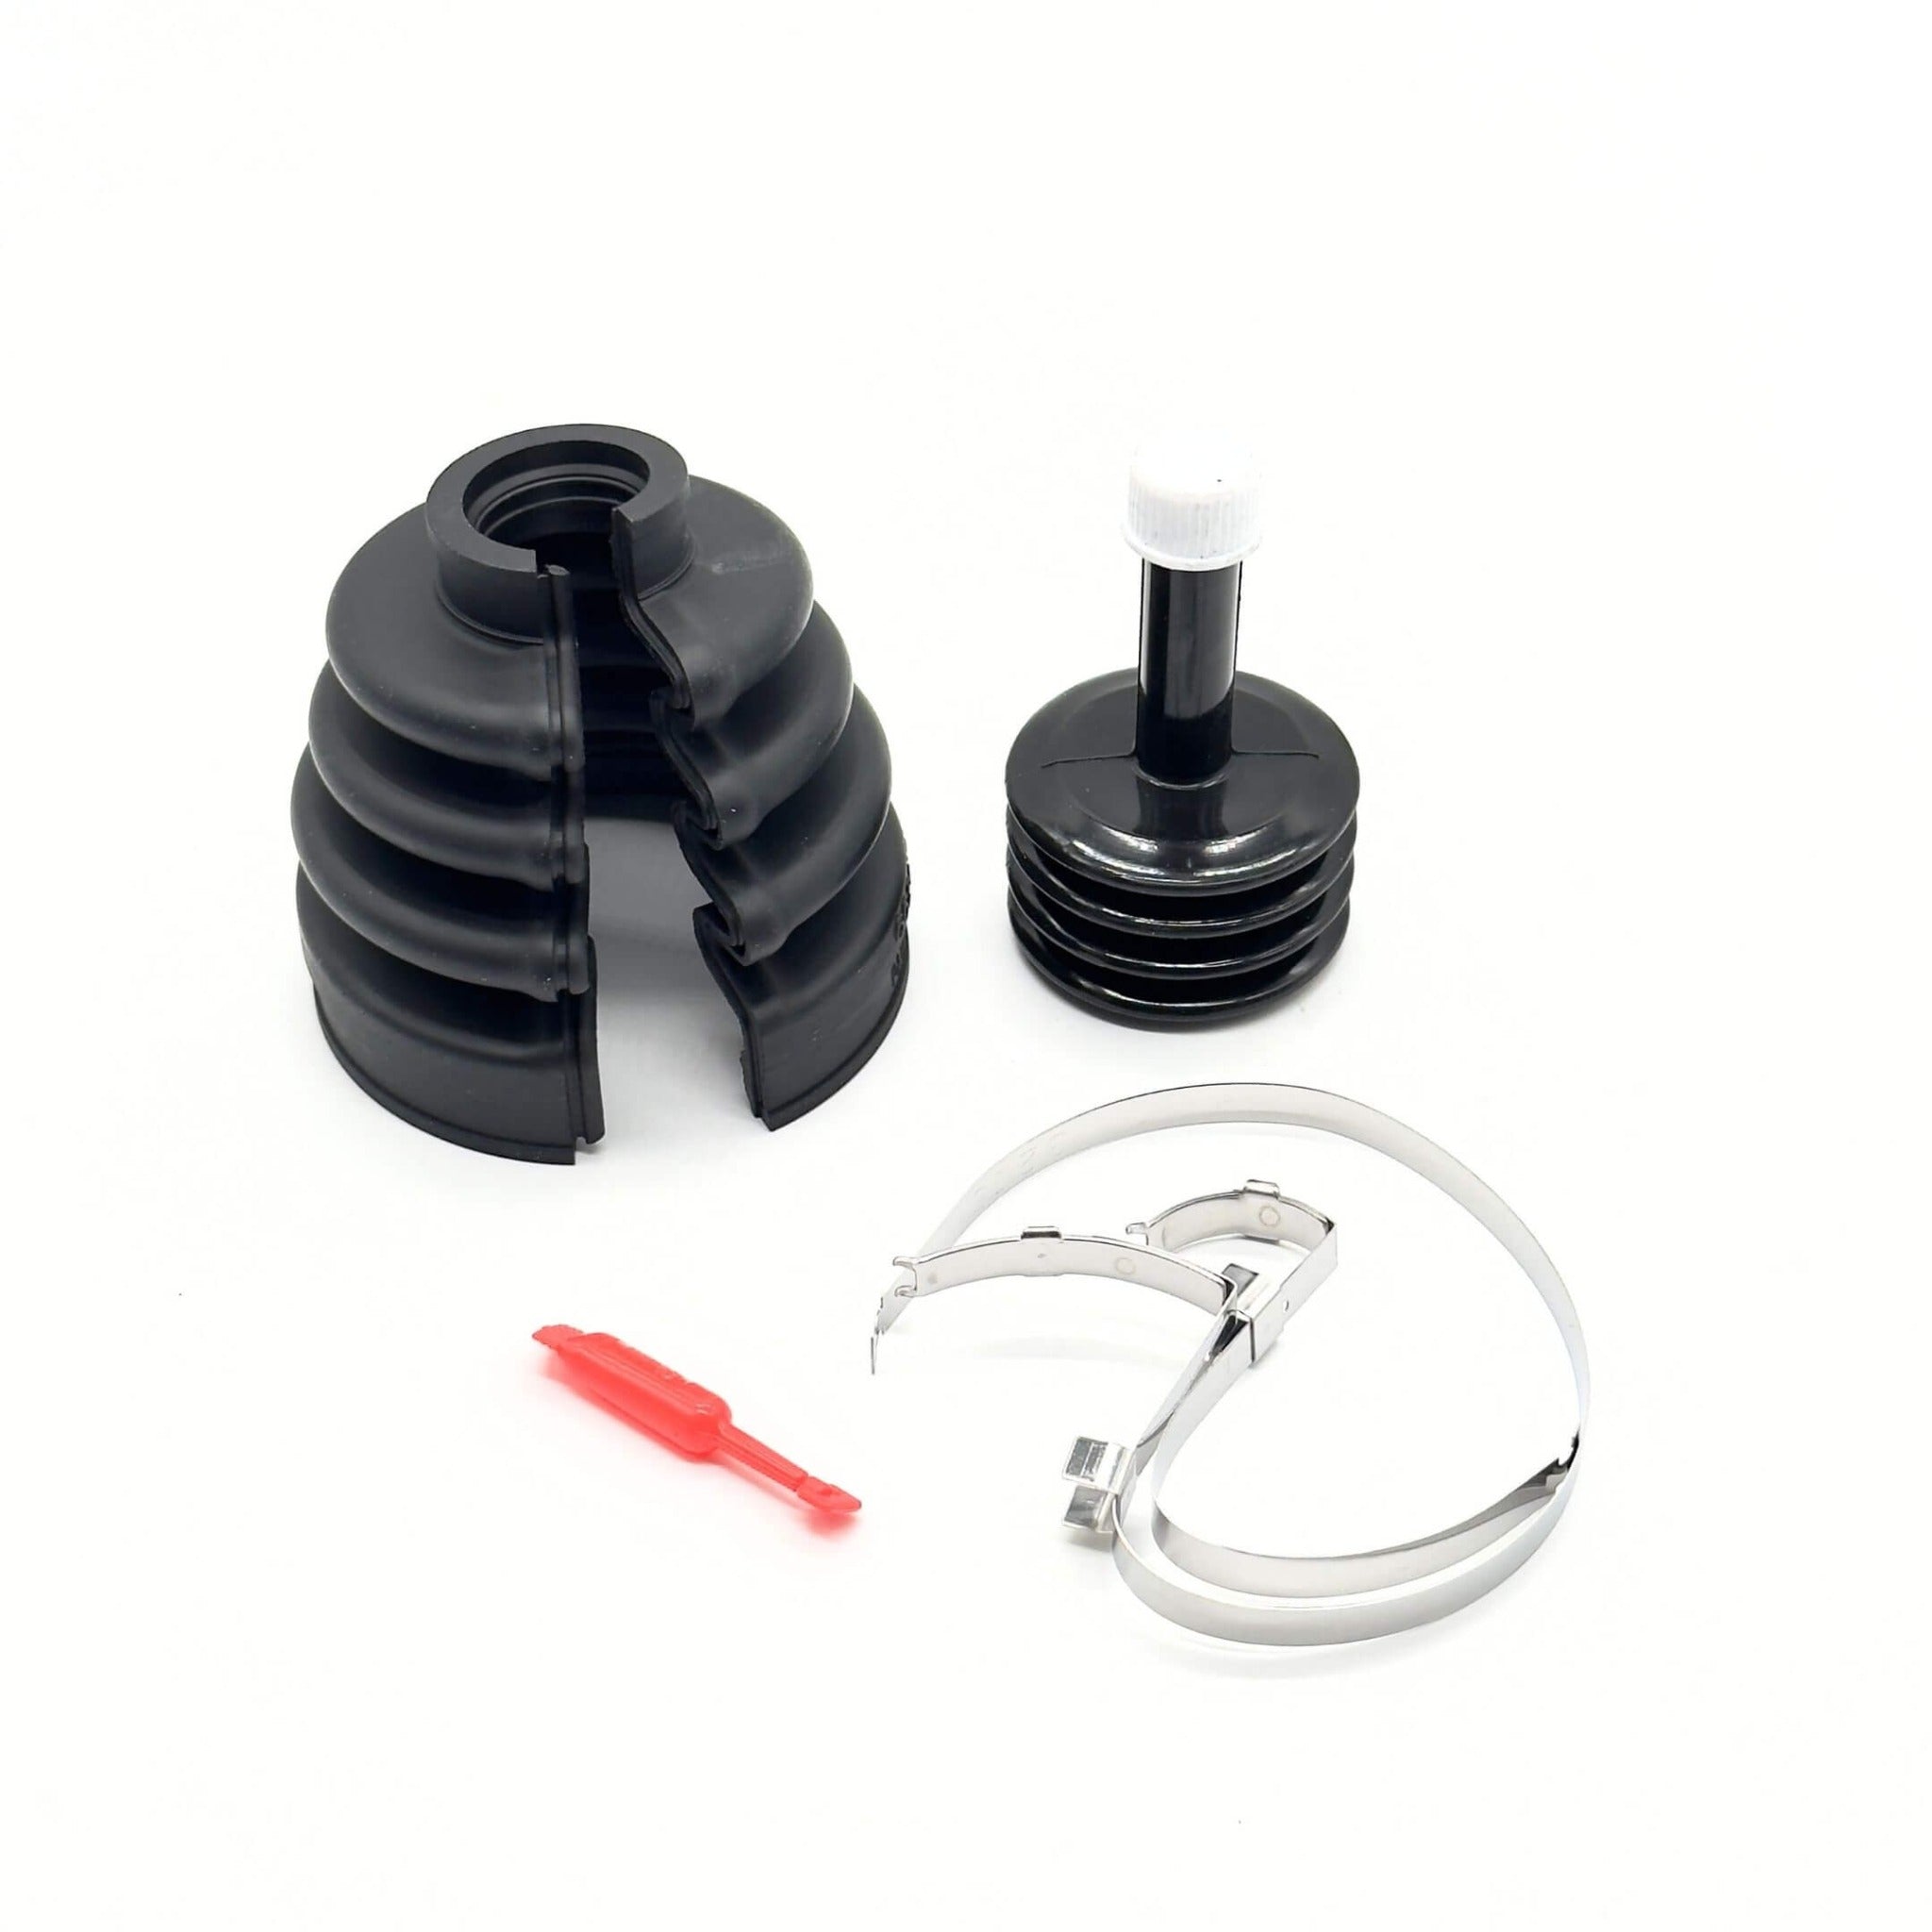
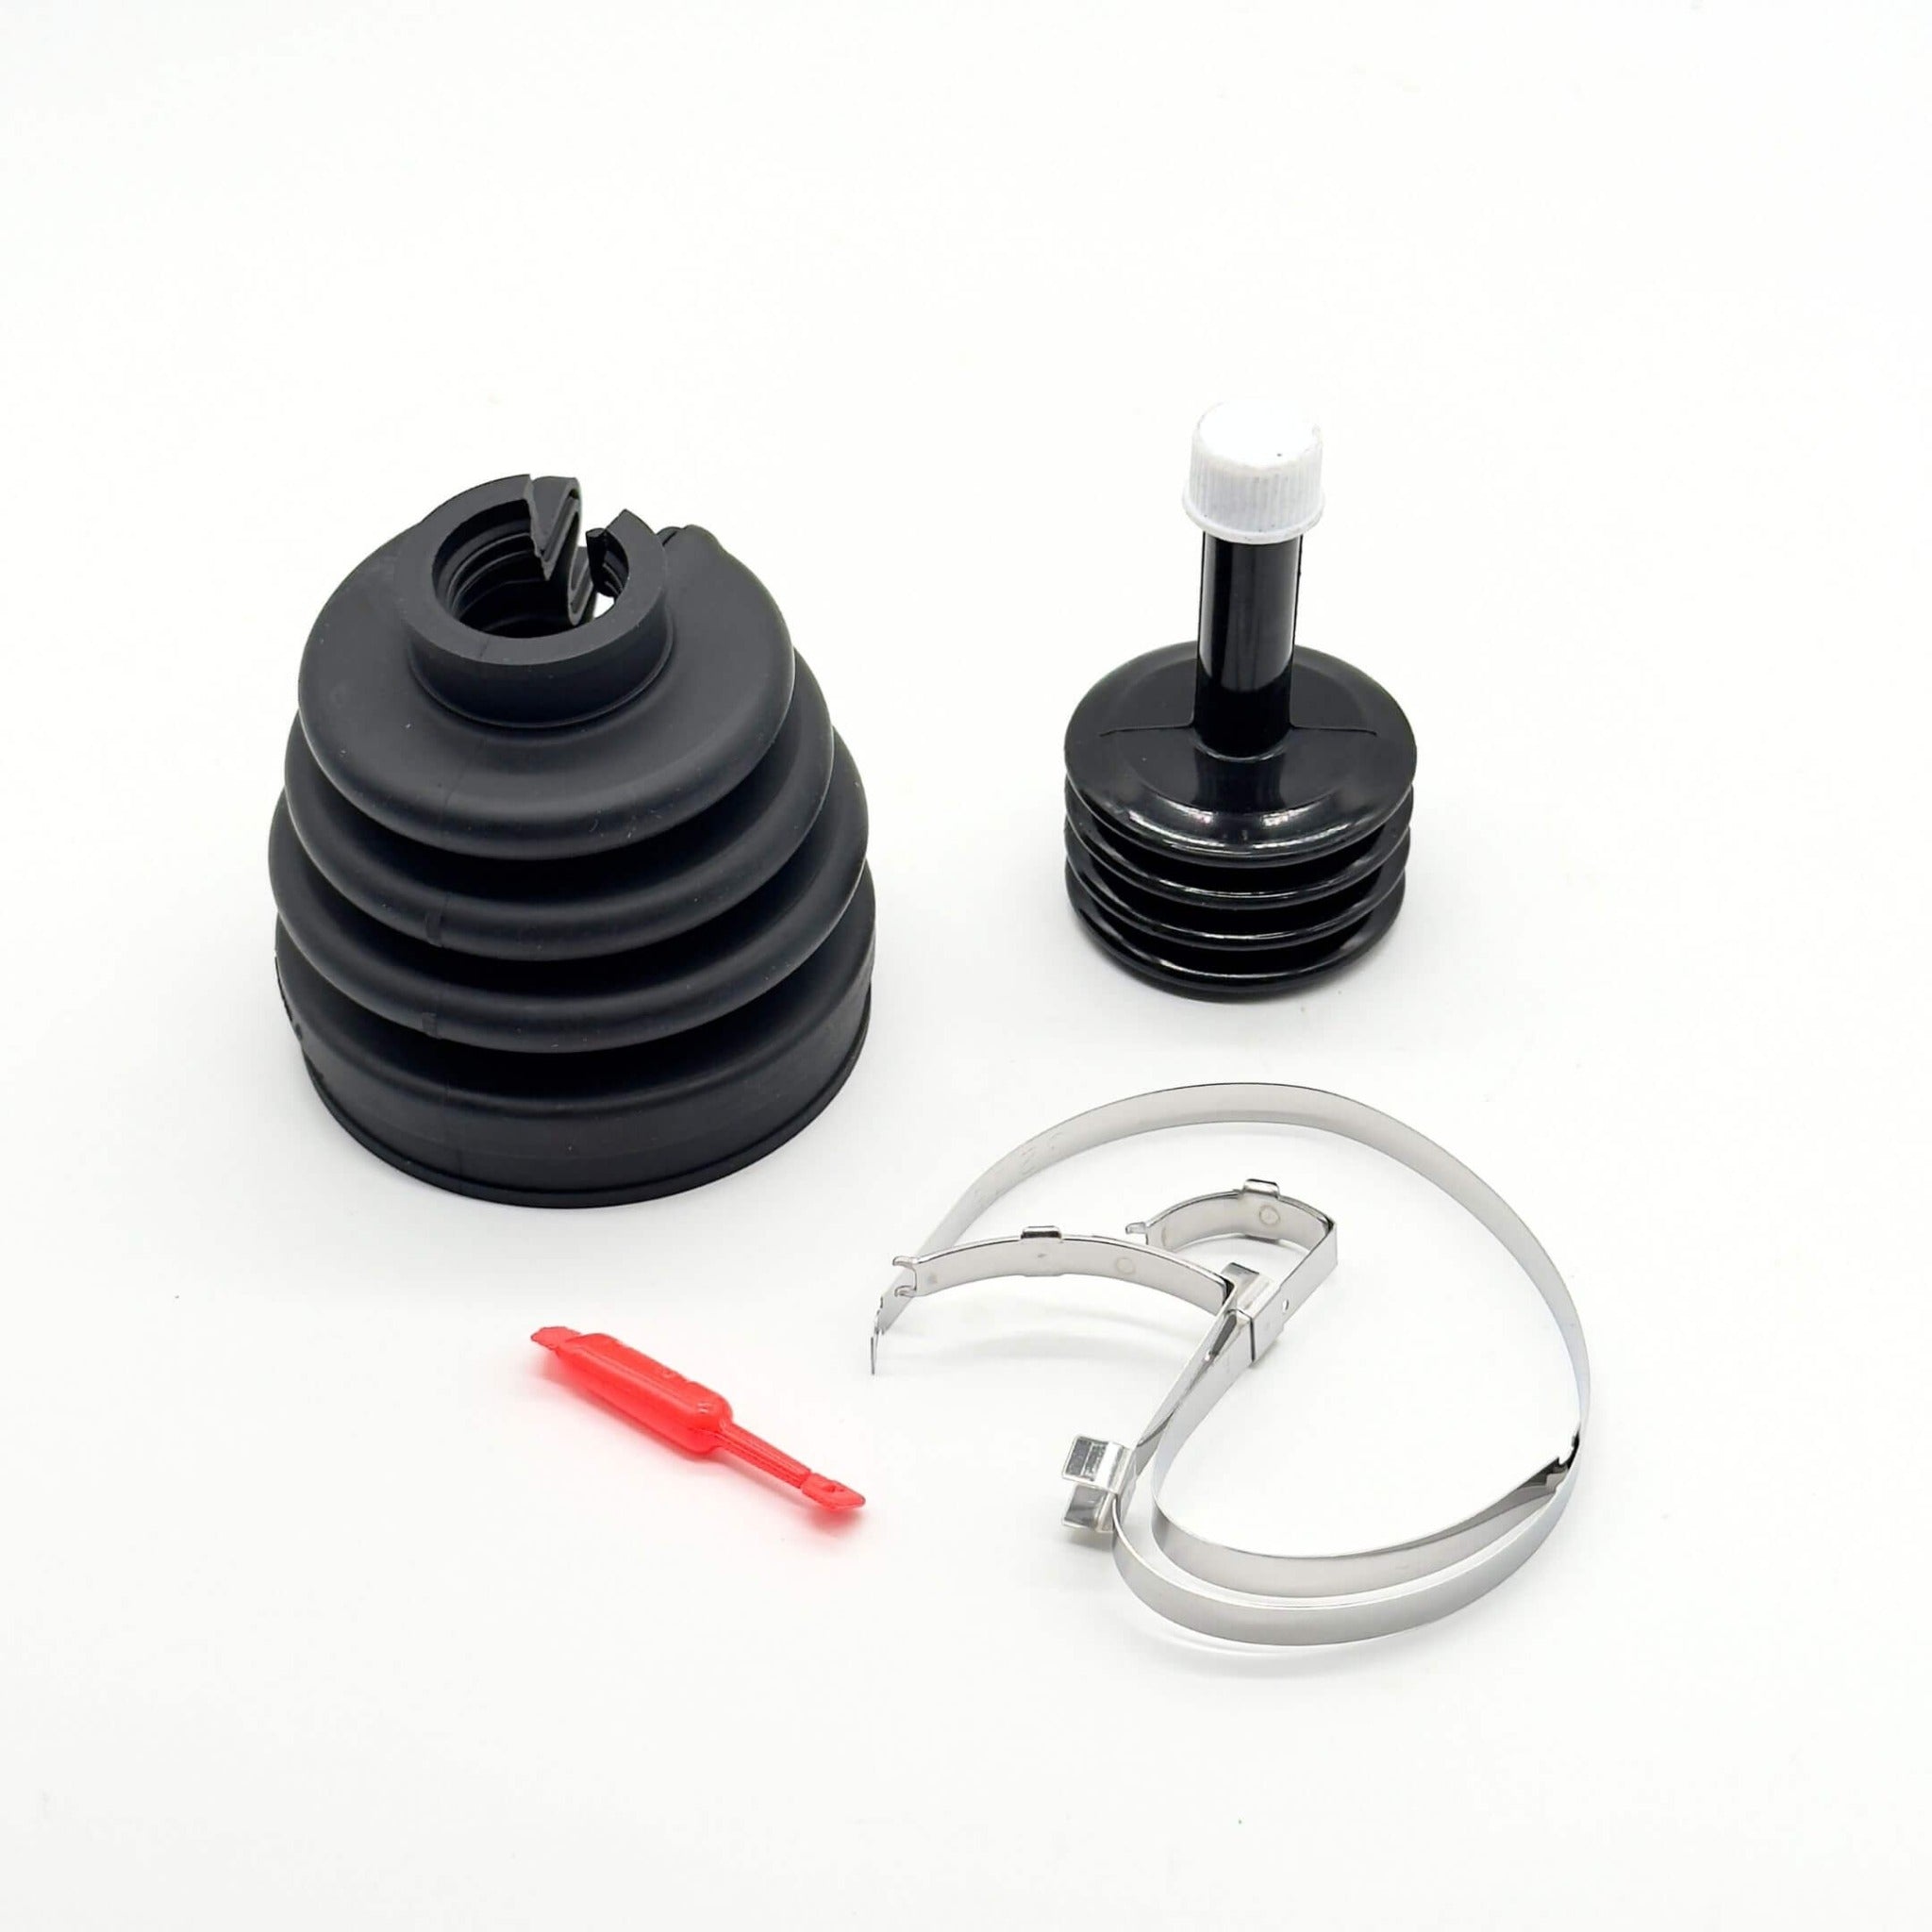
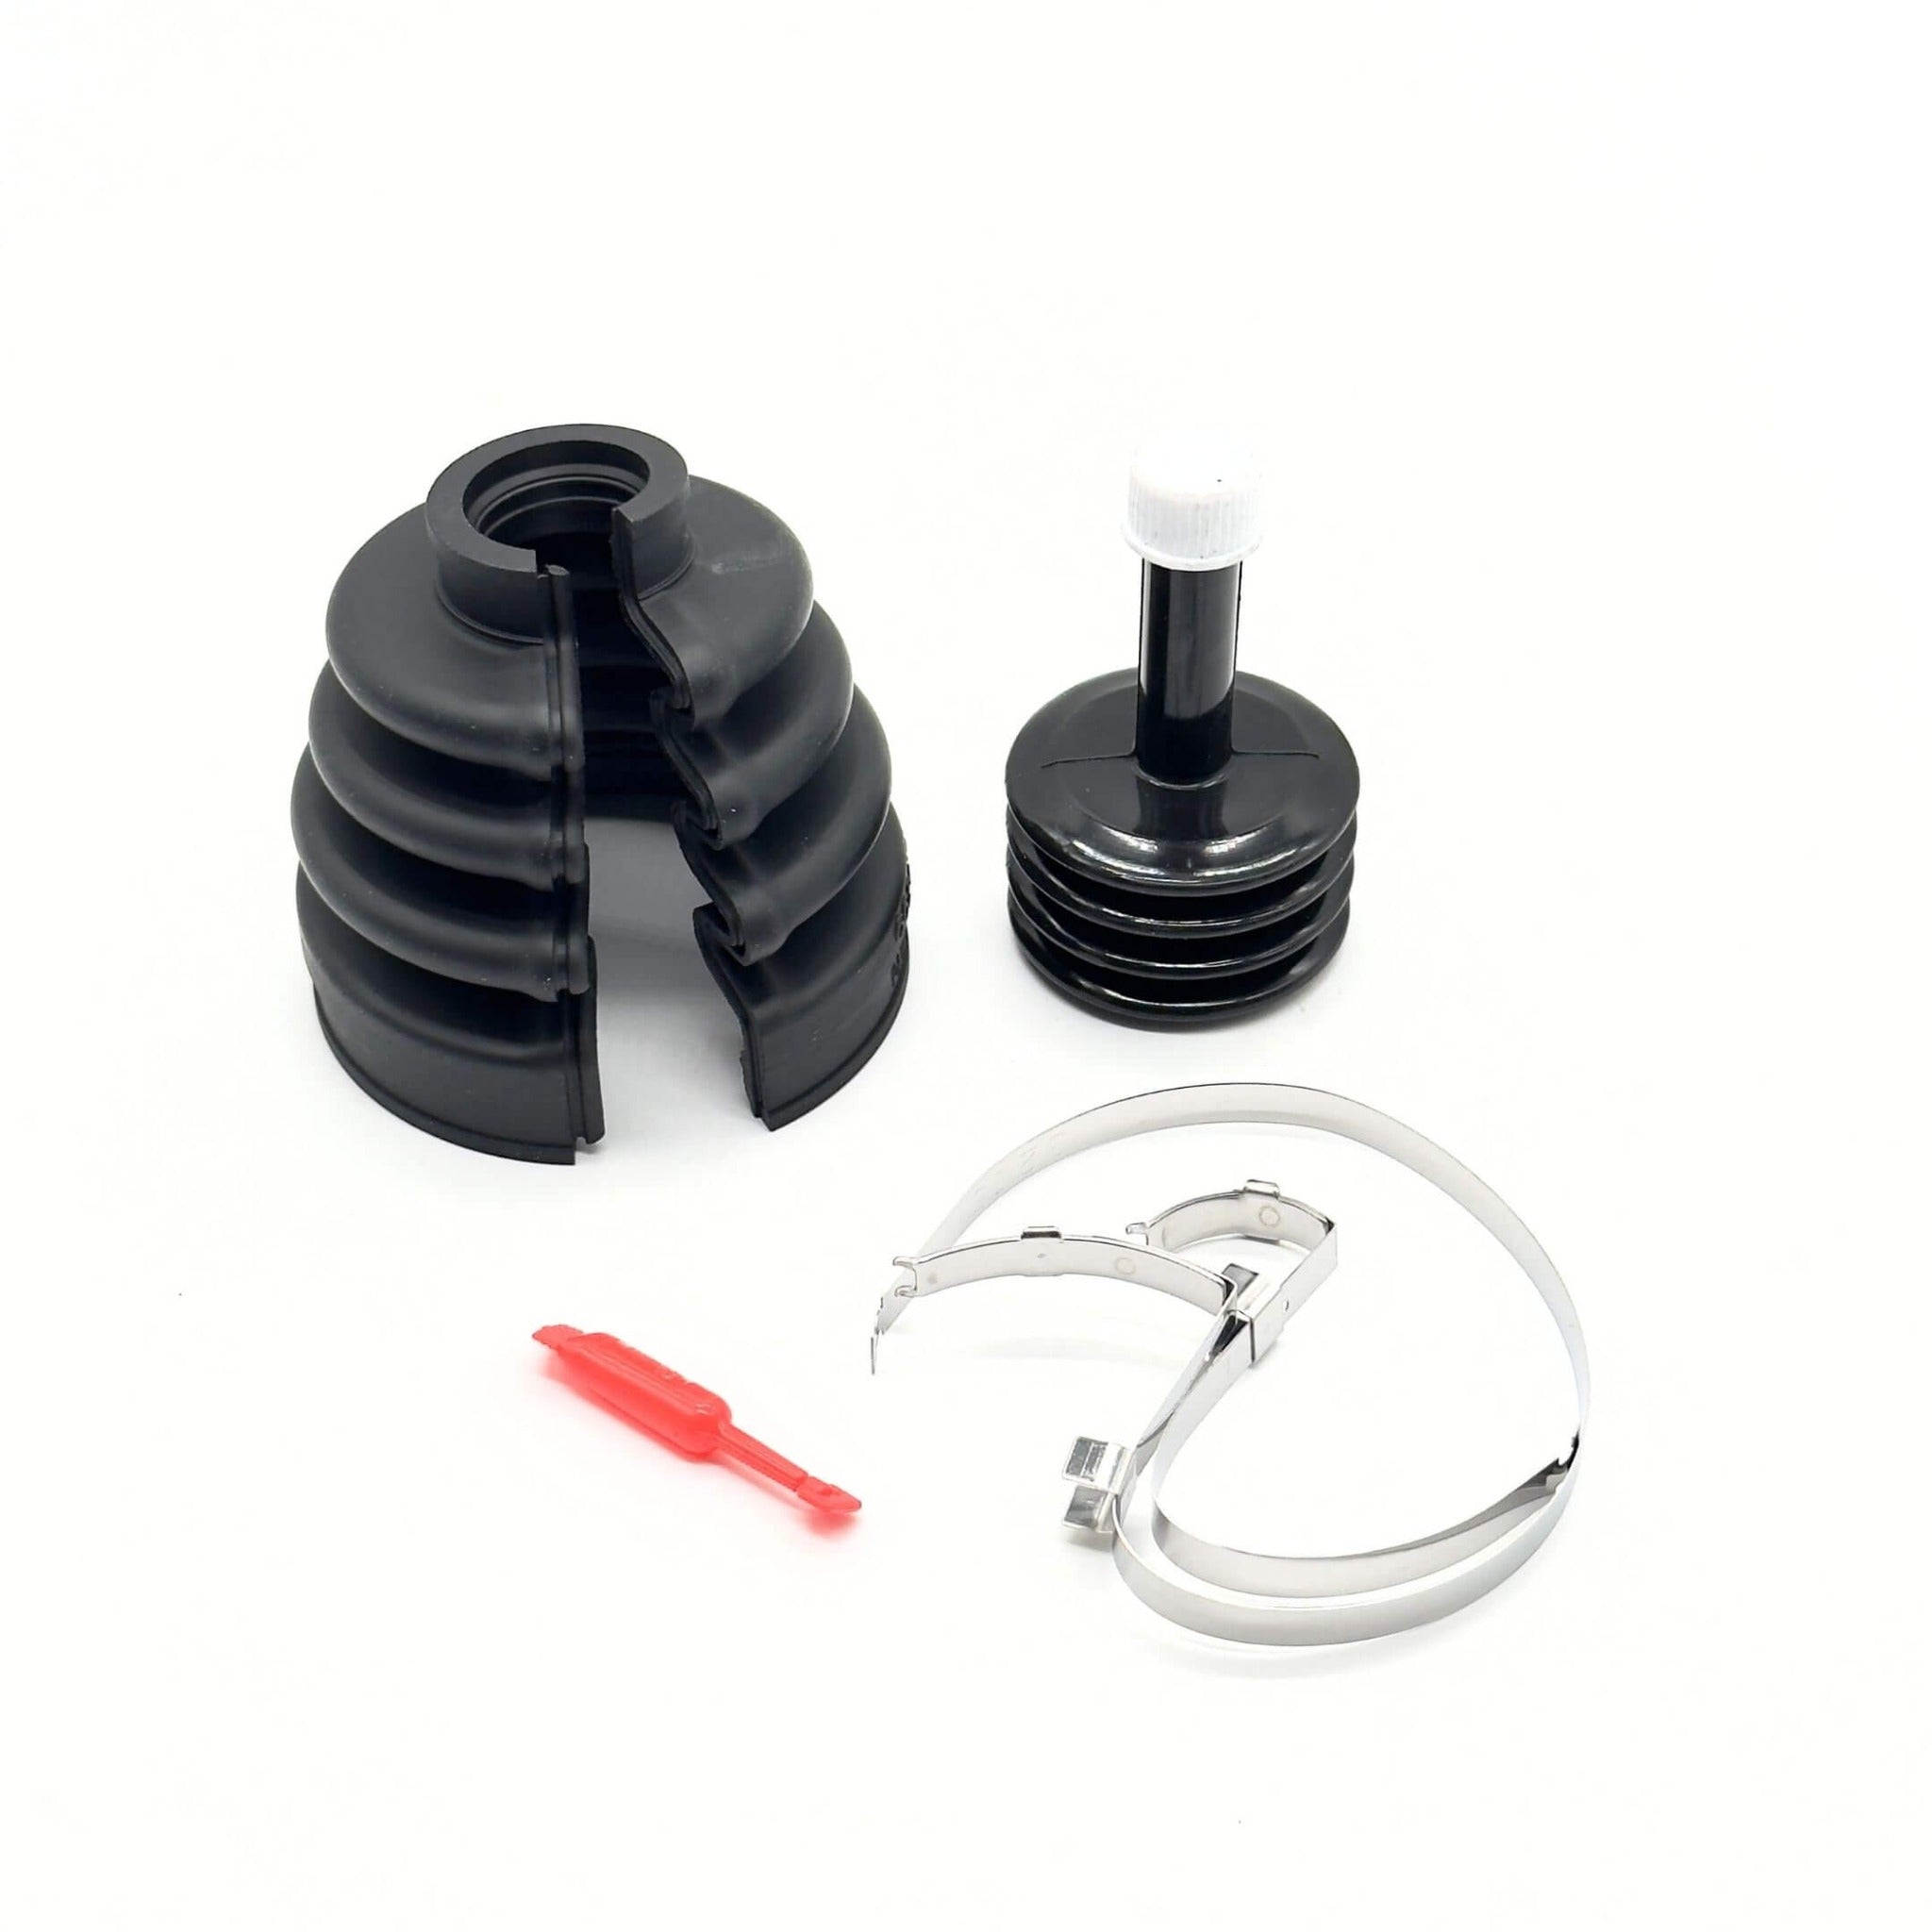
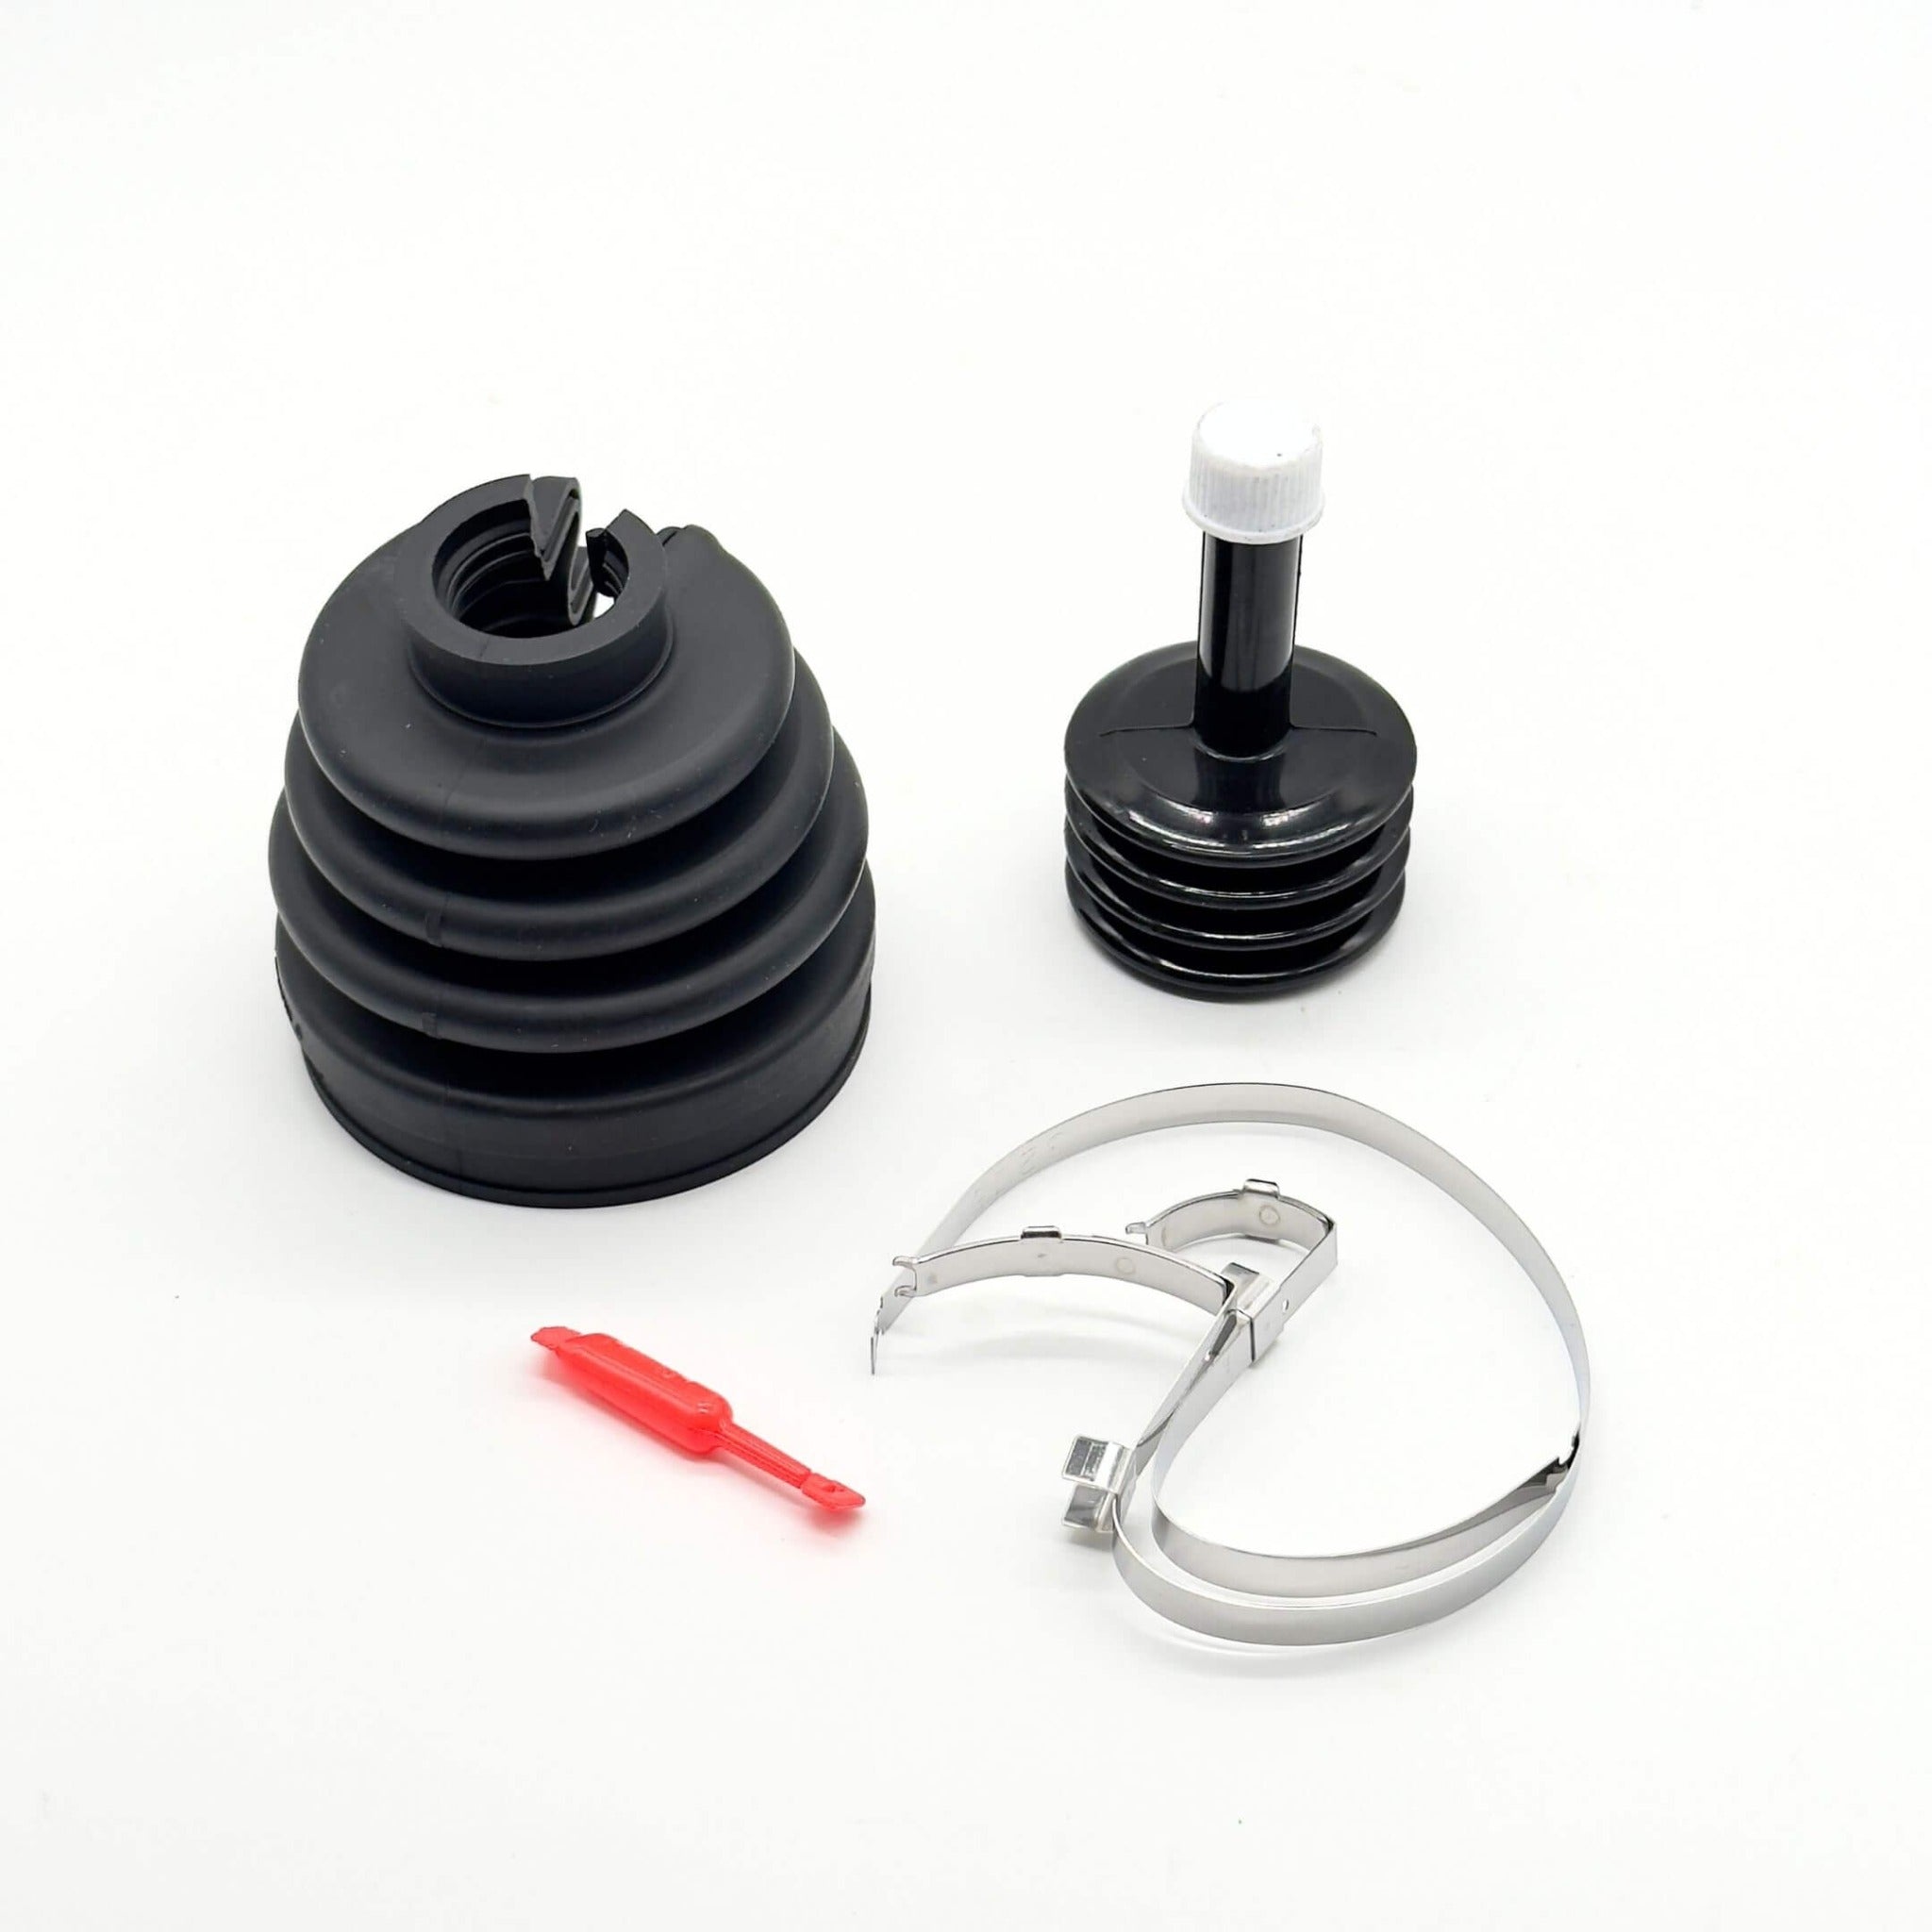
| Driveline | Front CV axle boots, inner and outer. | 4WD only. |
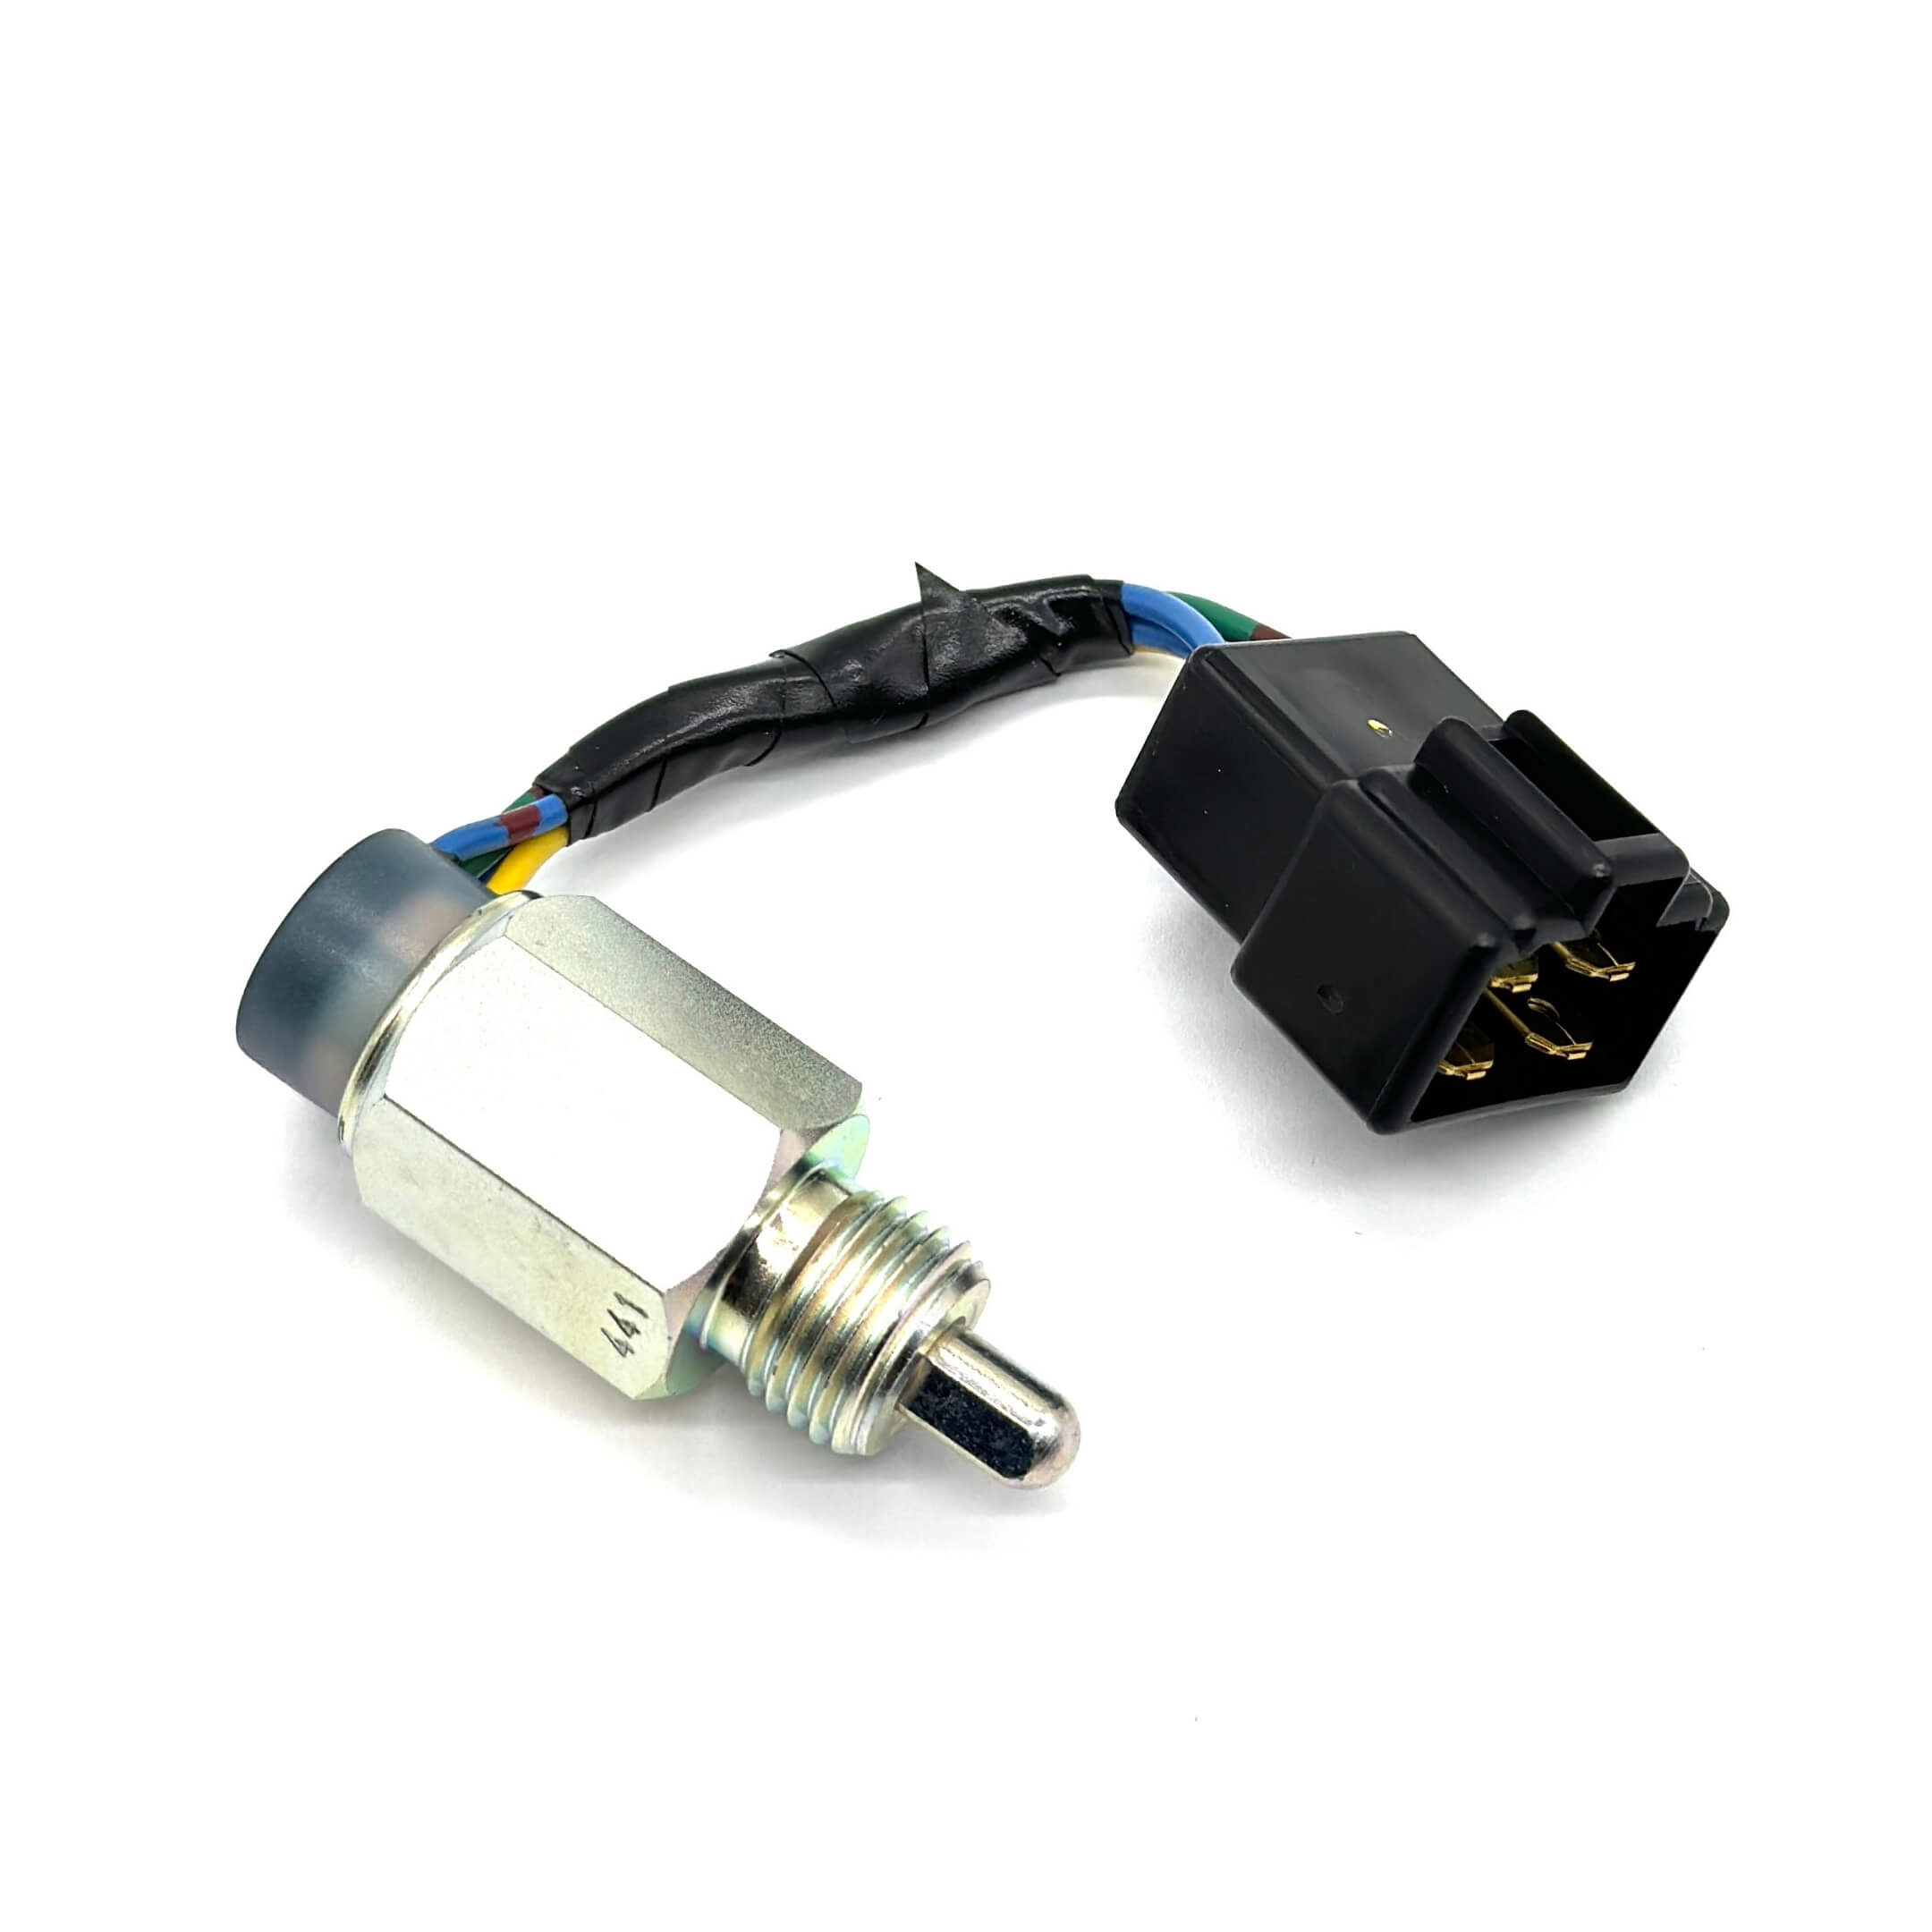
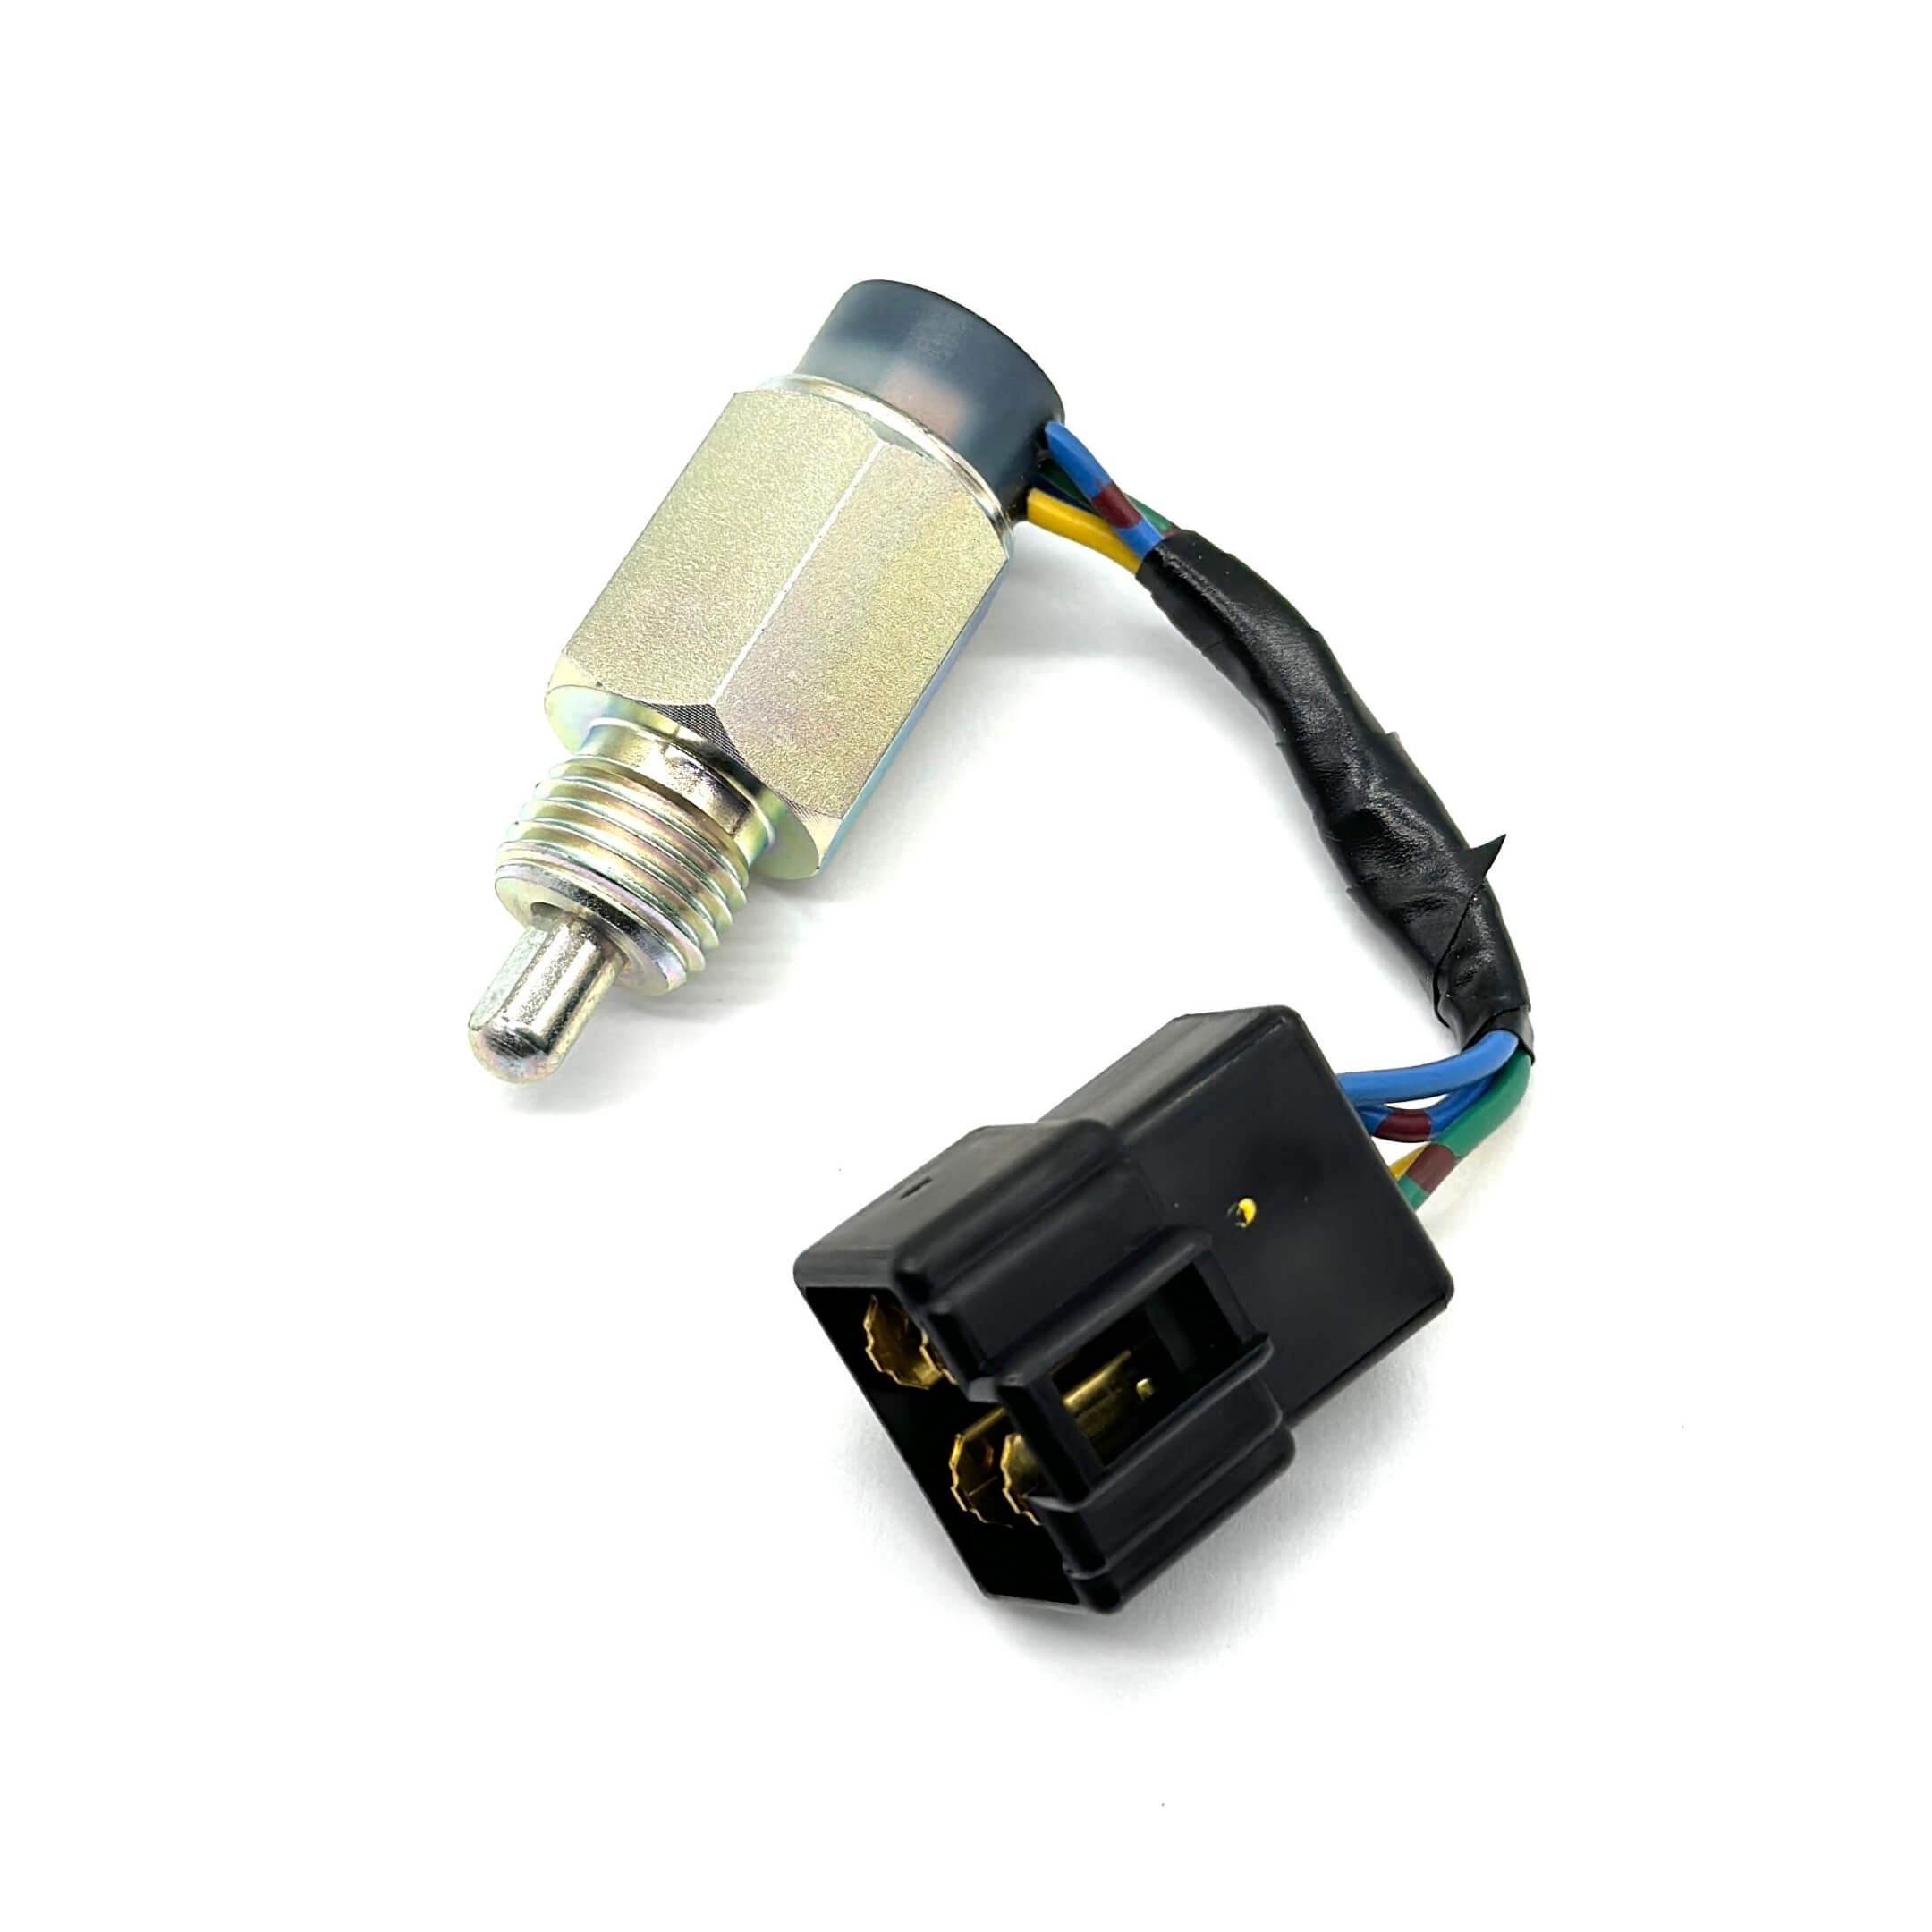
| Controls and switches | Gear-position detection switches, including the factory 1st-position detection switch. | Manual trucks. Matched to the transmission identification mark. |
Which part do you need
Start from something confirmed: a measurement past its limit, a leak traced to a specific seal, or a failed factory test. A noise on its own is a reason to inspect, not a part number.
| Confirmed finding | Typical part needed |
|---|---|
| Clutch disc rivet recess at or below the wear limit, or disc runout past its limit | Clutch kit or clutch disc for your application |
| Release bearing hub rough or catching when rotated under load | Release bearing, with the rest of the clutch service parts |
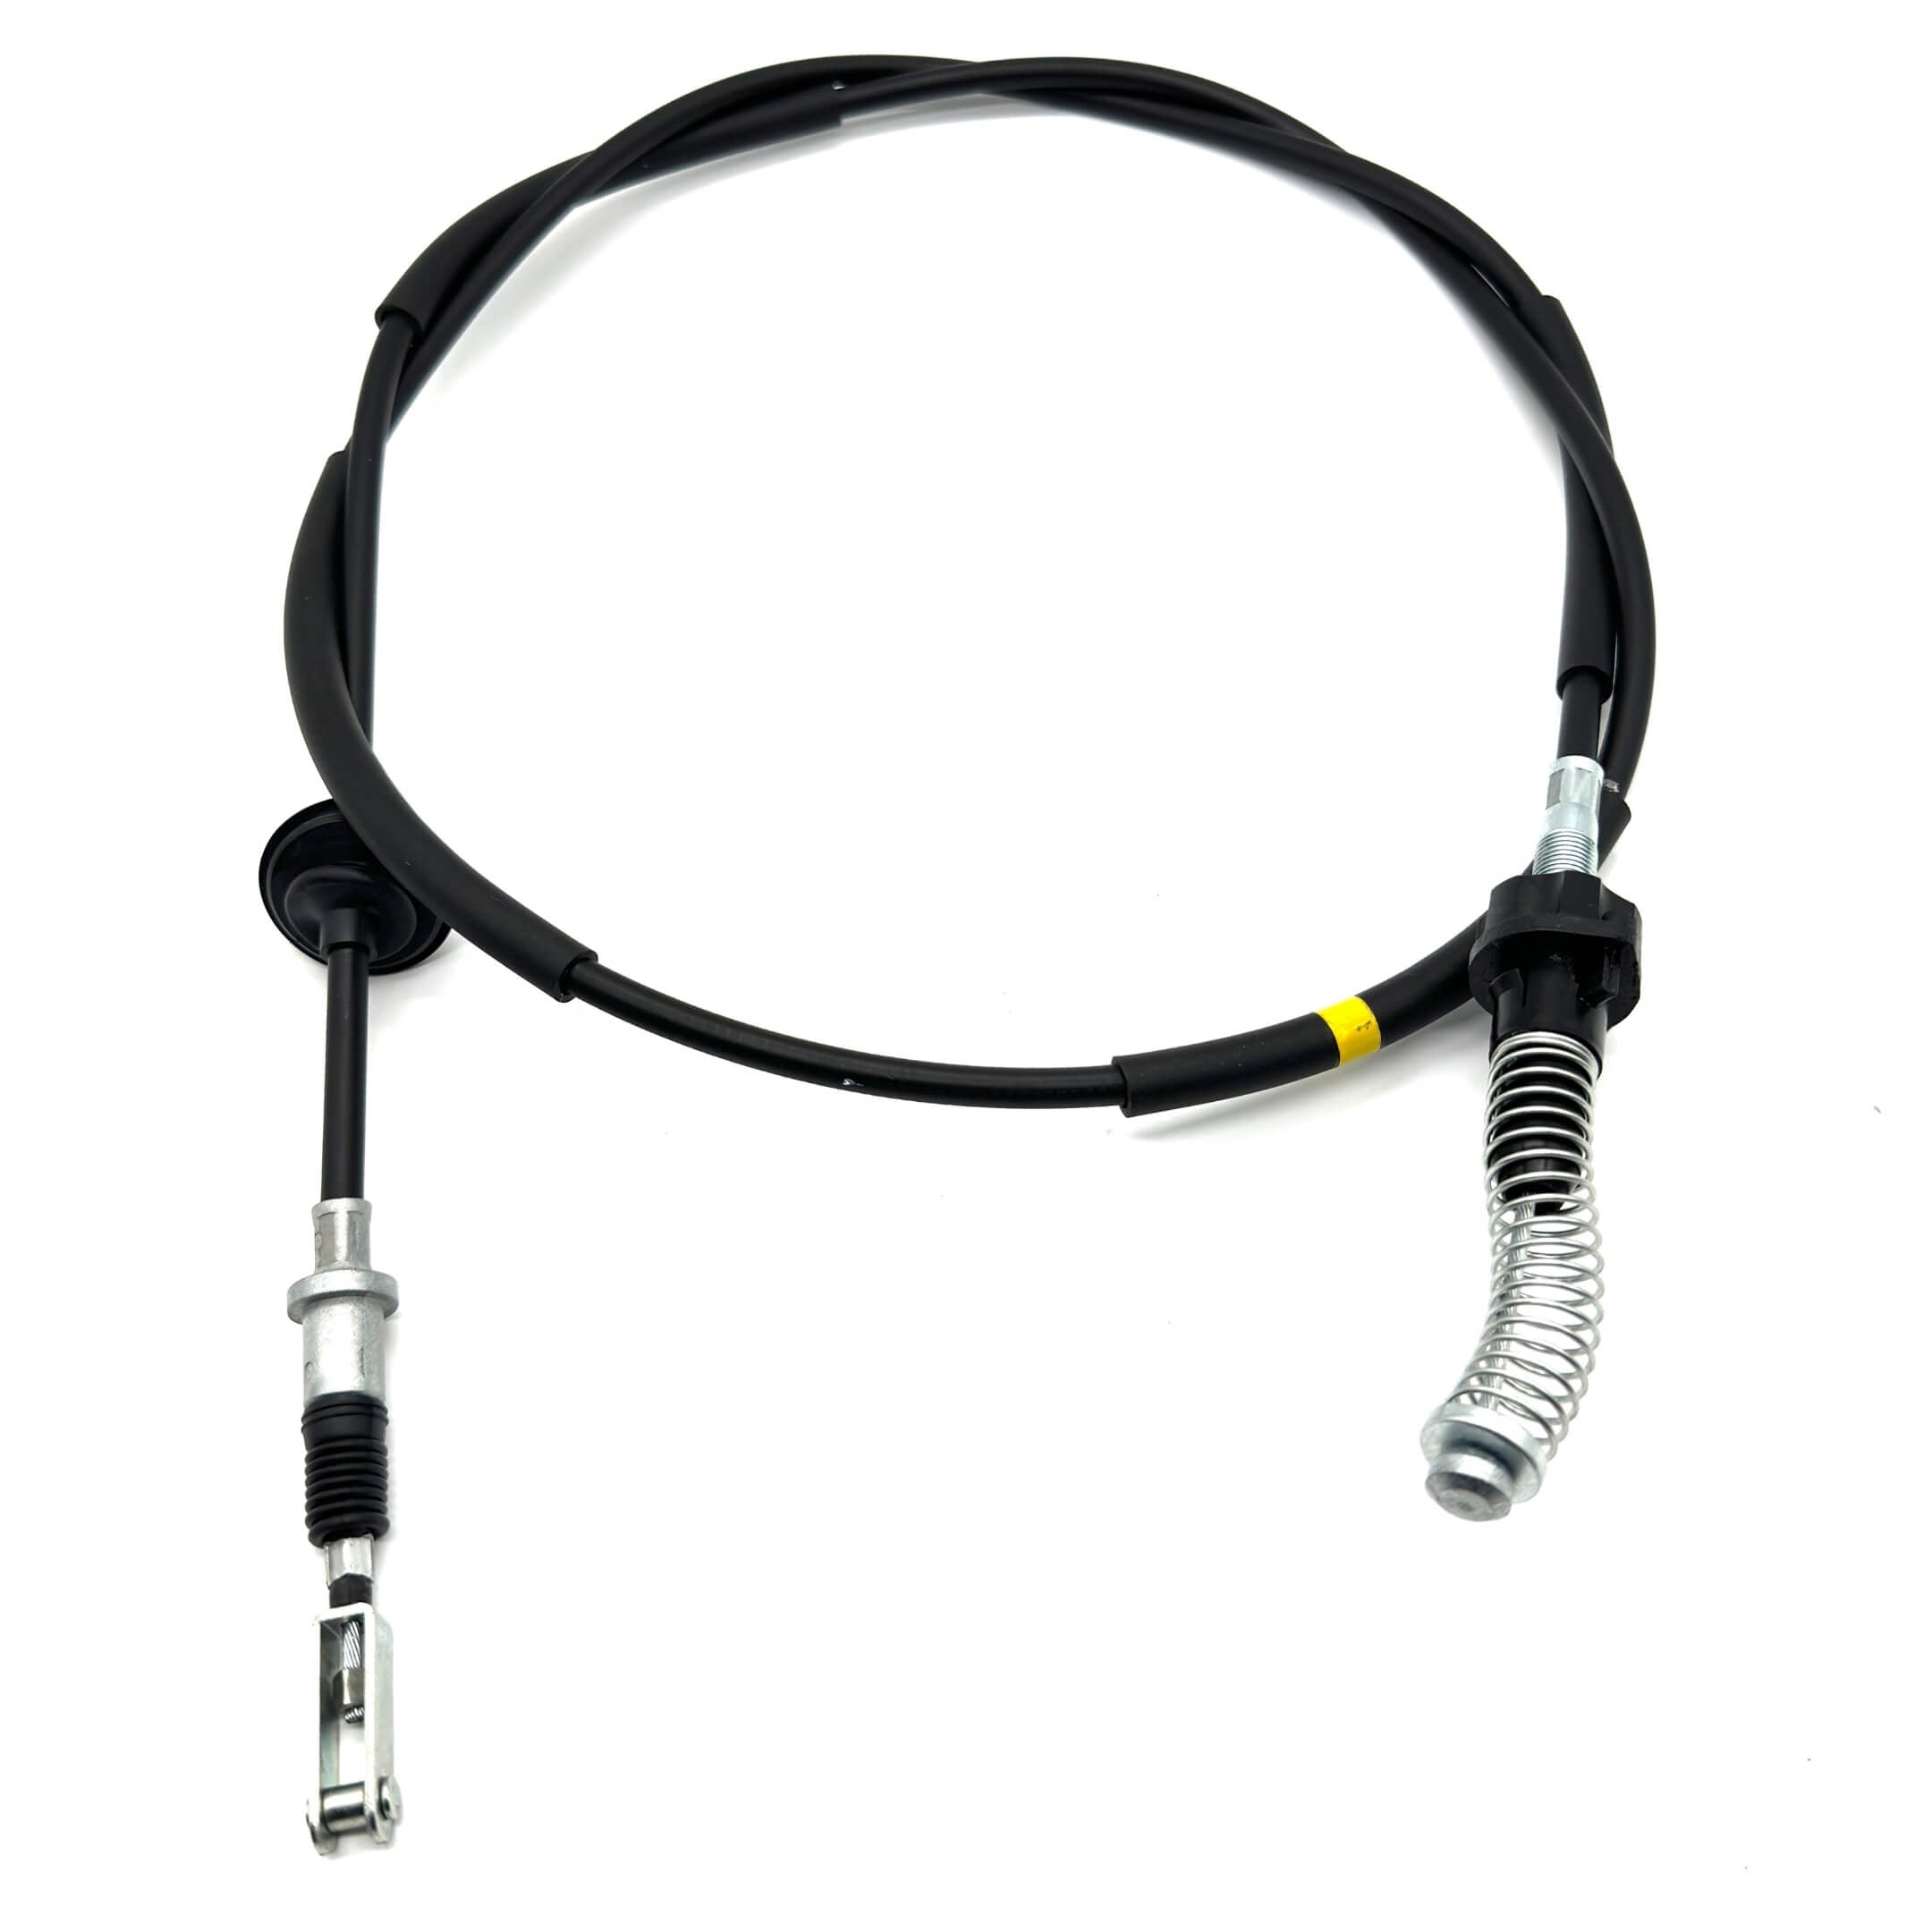
| Clutch cable inner wire binds or will not slide smoothly, or the cable shows wear, damage, deformation or cracking | Clutch cable |
| Manual gearbox leak traced to the extension housing seal | Extension housing oil seal, plus a new drain plug gasket for the refill |
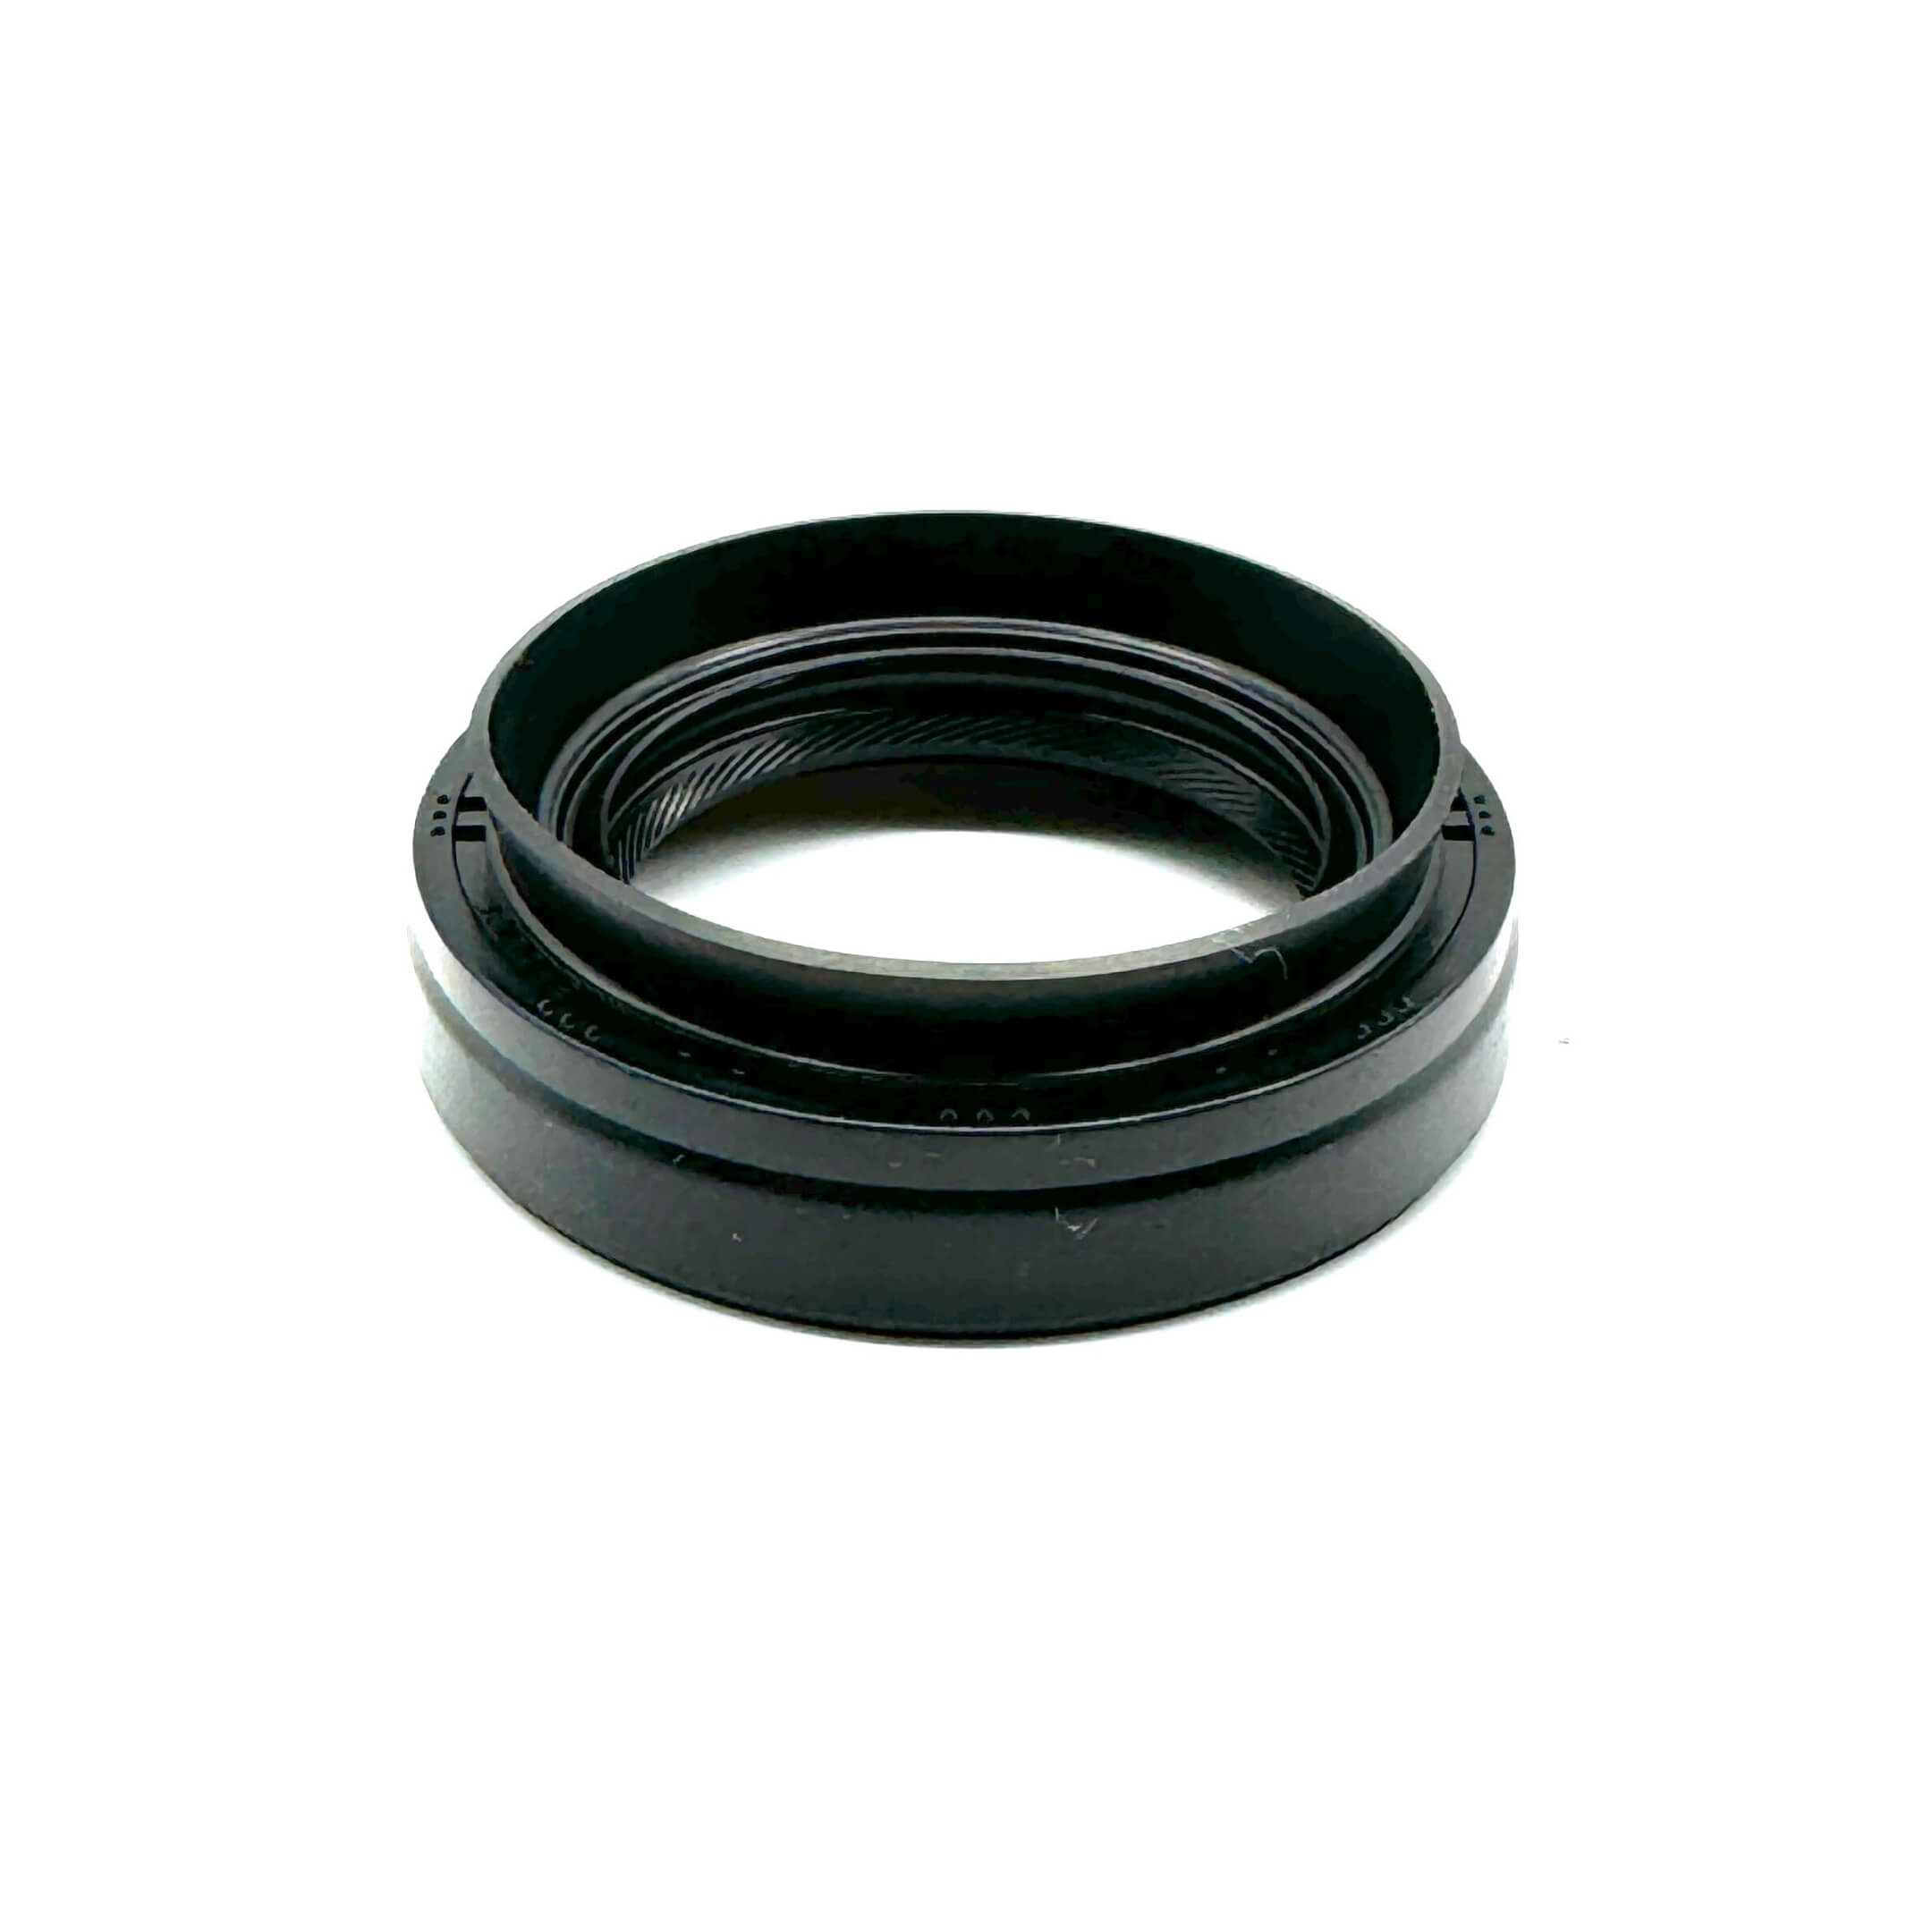
| Automatic output shaft seal leak confirmed | Production-specific output shaft oil seal |
| Transfer case leak traced to a specific seal or gasket | Transfer seal or gasket for the identified configuration |
| CV boot split, or grease thrown around the joint | Inner or outer CV boot as applicable |
| Differential leak traced to the pinion seal | Pinion oil seal for that end of the truck |
Inspection & Service
What Daihatsu asks to be serviced on this drivetrain, and how often. Where the factory separates private use from commercial use, both are shown.
| Item | Factory action | Interval |
|---|---|---|
| Manual transmission and transfer oil | Replace | 2 years or 30,000 km |
| Automatic transmission fluid | Replace | 4 years or 60,000 km |
| Differential oil, front and rear | Replace | 2 years or 30,000 km |
| Automatic transmission oil cooler hoses | Replace | 4 years, or 2 years on commercial use vehicles |
The factory inspection schedule
Daihatsu runs two sets of inspection intervals, one for private use and one for commercial use, and the drivetrain rows are not all marked alike. Nothing in the drivetrain is checked before operation or at the private six month interval, so private inspection starts at twelve months.
| Inspection item | Private use | Commercial use | What the factory checks |
|---|---|---|---|
| Transmission oil leaks and level | 12 and 24 months | 1, 3 and 12 months | Manual: 0 to 5 mm below the filler hole. Automatic: between L and F on the gauge. Automatic transfer: 0 to 5 mm below its own filler hole. |
| Operating mechanism play | 24 months | 12 months | Play in the shift mechanism, transfer included. |
| Connecting part looseness | 12 and 24 months | 3 and 12 months | Loose yoke flange and joint fasteners. |
| Joint dust boot cracks and damage | 12 and 24 months | 3 and 12 months | Drive shaft joint boots. The factory marks this row 4WD only. |
| Spline play | 24 months | 12 months | Play at the propeller and drive shaft splines. |
| Universal joint play | 24 months | 12 months | Move each joint by hand in every direction. |
| Propeller shaft runout | Not marked | 12 months | Runout limit 1.0 mm. |
| Center bearing play | 24 months | 12 months | Play at the center bearing. |
| Axle shaft twist and cracks | Not marked | 12 months | Rear axle shaft condition. |
| Differential oil leaks and level | 12 and 24 months | 1, 3 and 12 months | 0 to 5 mm below the filler hole. |
The two oil rows carry a distance marker as well, and the factory footnote limits that one to checking for leaks rather than the full level check.
Checking the level on everything except the automatic
The manual gearbox, the transfer case and both differentials have no dipstick. Take the filler plug out and check by feel: the oil belongs within 0 to 5 mm below the lower edge of the filler opening. Fit a new gasket to the drain plug whenever it comes out.


The automatic transmission oil cooler hoses are on a replacement schedule rather than an inspection, so they are counted in years rather than looked at. We do not stock them, so they are worth putting on your own list.
Transmission Systems
The manual trucks use a cable-actuated clutch: a single dry disc, a diaphragm-spring cover, a release bearing riding on a fork, and a cable you adjust by hand rather than a hydraulic cylinder to bleed. Behind it the gearbox runs on input, output and counter gear bearings with needle bearings, synchronizer rings and snap rings, sealed at the case and at the extension housing.

Clutch inspection
Four checks decide whether a clutch job needs more than a kit, and all four happen with the parts already off the truck. Lining wear is read as the depth of the rivet below the friction face rather than as a thickness. Disc runout is checked with the disc on centers and a dial indicator against the face. The flywheel gets its own runout check. The cover is checked for diaphragm finger height variation once it is bolted down. Every limit is in Specifications.


Spin the release bearing hub under load while it is out and feel for roughness or catching, then look it over for damage and wear. It is already off the truck at that point, and it is the part that turns a quiet new clutch into a noisy one.
Clutch cable adjustment
Adjustment happens at the transmission end, not at the pedal. Pull the outer cable toward the front of the truck until the release bearing just touches the diaphragm spring, hold it there, and set the gap between the adjusting nut and the grommet to 3.5 to 5.0 mm. Line the grommet projection up with the nearest groove in the nut to lock it, then check pedal height and free play.

Three things decide whether a new clutch stays quiet. The disc goes on one way round only. Spline grease goes on very thinly from the clutch cover side, 0.2 g, so that no excess protrudes toward the flywheel friction side. The six cover bolts seat against three knock pins in the flywheel and tighten in the printed sequence rather than in a circle.
Gearbox controls and switches
Transmission position-detection switches, including the factory 1st-position detection switch, are gearbox parts in the factory manual rather than clutch parts, which is where the old listing had them. The back-up lamp switch sits on the same case. Both take a gasket that the factory marks non-reusable.
Automatic transmission
Automatic trucks run Daihatsu Amix DII-type automatic transmission fluid, total capacity approximately 3.0 L. The factory checking temperature is 70 to 80°C, and almost everything the manual asks of an automatic owner depends on the fluid being at that temperature and the level being right.
Checking the fluid the way the factory does
An automatic Hijet is not checked cold with the engine off, which is how most people check an automatic and why so many of these trucks are running on the wrong level.
- Park on level ground.
- Bring the fluid to the factory checking temperature of 70 to 80°C.
- Apply the parking brake.
- Hold the brake pedal down and start the engine.
- With the engine idling, move the selector slowly through every range from P to L.
- Return the selector to P.
- Leave the engine idling. Pull the gauge and wipe it clean.
- Blow it off so no lint is left on it.
- Reinsert it fully, then pull it again and read the level.
- The level belongs between the L and F marks.

If the two sides of the gauge disagree, use the lower reading. The factory says so directly. Both overfill and underfill can cause transmission problems, so topping up past the upper mark is not the safe option it looks like. If the level is low, inspect the transmission and the cooler circuit for leaks before simply topping it off.
Towing an automatic
This is the one instruction on this page that can cost you a transmission. With the engine stopped the oil inside an automatic does not circulate normally, and the factory warns that the gears and clutches can be damaged for as long as the wheels keep turning them.
- Put the shift lever in N.
- Keep the speed at 30 km/h or less, about 19 mph.
- Keep the distance to 50 km or less, about 31 miles.
- If internal transmission failure is suspected, the manual instead has a 4WD truck shifted to 2WD and the steering secured straight ahead, then moved with the rear wheels lifted.
Oiwa practical recommendation. A flatbed avoids all of this and is what we would use for any distance past a trip to the shop. That is our advice rather than a Daihatsu instruction, and it is worth saying out loud to whoever is hooking up the truck, because a tow driver has no reason to assume a Kei Truck is different from anything else on the road.
Service precautions
The factory is specific about how an automatic comes apart. Wash the sand and mud off the outside before anything is opened, and work somewhere free of dust. Do not use gloves or shop rags during disassembly, and keep contamination out of the transmission. Confirm where it is leaking before disassembly rather than after. Tap case joints apart with a plastic hammer rather than prying them. Coat every sliding part with fluid on the way back together, and replace any gasket or O-ring that comes off with a new one.
Driveline & Controls
4WD trucks add a transfer case, front differential, front propeller shaft, and front CV axles. The rear propeller shaft and rear differential are not 4WD only, so confirm the specific component before ordering.

Transfer case
The transfer case bolts to the back of the gearbox and splits drive to the front axle. Behind a manual it shares one combined oil fill with the gearbox. Behind an automatic it is filled on its own. Type T and Type K oil seals, gaskets, gear bearings and sprocket bearings are stocked for it. Which of those fits your truck comes from catalog fitment data rather than from the service manual, so send the transmission or transfer identification with your order.
Front and rear differential
The two differentials run different oils at different weights, both listed in Specifications. Pinion oil seals, pinion bearings and side bearing sets are stocked for both ends.
CV boots and propeller shaft
Front CV axle boots, inner and outer, are stocked for 4WD trucks. The factory inspection schedule marks this drive shaft boot check 4WD only.

A split boot allows grease to escape and contamination to enter the joint. Replace a damaged boot before the CV joint is damaged. Propeller shafts are inspected rather than rebuilt in the factory documentation, to a runout limit of 1.0 mm. No propeller shaft, universal joint or rear axle parts are stocked in this collection. Some 4WD trucks were built with a PTO-driven generator, which changes a handful of brackets near the transfer case, so note it when you order if your truck has one.
Troubleshooting
This section answers what to test next, not what to replace. Every line below routes a symptom to an inspection or a factory test, and the part decision waits until one of those comes back with an answer.
| What you notice | What to inspect or test, in order |
|---|---|
| Clutch engagement point has moved, or the pedal sits high or low | Pedal height, pedal free play, then the cable adjustment gap. |
| Clutch slips under load | Free play first, then the cable adjustment, then disc lining wear and disc runout with the gearbox out. |
| Grinding on the way into a gear | Clutch release, cable adjustment, then the shift and select cables for smooth travel and torn boots. |
| Whine that rises with road speed | Gear oil level and condition, then the case and extension housing for leaks. |
| Automatic engages late from N to D or N to R | Fluid level at the correct temperature, then the time lag test. |
| Automatic shifts harshly, or slips between gears | Fluid level and condition, then the stall test, then read the diagnostic codes. |
| Automatic will not move | Selector cable adjustment and the neutral start switch, then the stall test. |
| Engine starts in a range other than P or N | Neutral start switch inspection, and the control cable adjustment behind it. |
| Shift lever will not leave Park | The shift lock and key interlock checks below, and the stop lamp switch. |
| PWR lamp is flashing a code | Read the codes, twice, before and after reproducing the fault. |
| Noise or vibration only in 4WD | Transfer case oil level, then propeller and drive shaft joint play and spline play, then propeller shaft runout. |
| Grease thrown around a front joint | CV boot condition, inner and outer, on both sides. |
Time lag test
With the fluid at 70 to 80°C, the parking brake on and the wheels chocked, hold the brake and start the engine. At idle, select a range and time how long it takes until the shift lands. N to D belongs at 0.7 seconds or less, N to R at 1.2 seconds or less. Take several measurements, leave about a minute between them, and average the readings.
A delay beyond the factory limit requires further diagnosis. Daihatsu lists hydraulic pressure faults along with internal clutch, brake and one-way clutch problems among the possible causes, so a long lag narrows the search rather than ending it.
Stall test
Run with the fluid at 70 to 80°C, the wheels chocked, the parking brake on and the air conditioning off. Hold each range no longer than five seconds, and leave at least a minute between the D and R runs. Factory stall speed is 2,600 to 2,900 rpm.
A stall speed above the factory range can indicate low line pressure or internal clutch or brake slip, and which it is depends on whether the abnormal result comes in D, in R, or in both. A low result in both ranges points instead at engine output or the torque converter stator one-way clutch. Note which range produced the reading before you go further.
Neutral start switch
The engine must start in P and in N and in no other range. With the ignition on and the lever in reverse, the reversing lamps light and the reverse buzzer sounds, and the position indicator in the cluster matches the lever. Anything else points at the neutral start switch or its adjustment.
Shift lock and key interlock
These trucks have a shift-lock system that holds the lever in Park until the brake pedal is pressed, plus a key interlock that stops the key turning to OFF while the lever is out of Park. Both are separate from the transmission, and both fail in ways that feel exactly like a transmission fault.

- Ignition ON, lever in Park, button released. The lever must not move and the button must not press in.
- Press the brake pedal. The button must now press in and the lever must come out of Park. If it will not, check the stop lamp switch: the same switch feeds the brake lights.
- With the ignition at ACC and the lever out of Park, the key must refuse to turn to OFF. Put the lever back in Park, let the button go, then hold it in again: the key must still refuse. Release the button and it turns.
There is a release button for when the shift lock will not let go. Pressing it frees the lever from Park without the brake pedal, which is how a truck with a dead shift lock gets into neutral to be moved. None of the shift-lock parts are stocked in this collection.
Reading automatic diagnostic codes
The automatic self-diagnoses and reports through the PWR indicator lamp in the instrument cluster. Ignition ON, bridge check-connector terminal T1, terminal 17, to terminal E1, terminal 3, and count the flashes. Count the pins before you bridge anything, because the factory warns that the wrong pair causes damage.
| Code | Warning lamp | Circuit the factory points at |
|---|---|---|
| 21 | Yes | Shift solenoid No. 1, open circuit |
| 22 | Yes | Shift solenoid No. 1, short to ground |
| 23 | Yes | Shift solenoid No. 2, open circuit |
| 24 | Yes | Shift solenoid No. 2, short to ground |
| 25 | Yes | B1 solenoid, open circuit |
| 26 | Yes | B1 solenoid, short to ground |
| 41 | Yes | Throttle-position-sensor signal circuit, including the sensor and related engine control computer wiring |
| 52 | Yes | Vehicle speed sensor system, including its coil, its rotor teeth and the wiring |
| 55 | No | Neutral start switch system |
A stored code names a circuit, not a failed component. Code 55 is the only one that does not light the warning lamp in the factory table. Read the codes twice, once before you reproduce the fault and once after. To clear them, turn the ignition off, remove the PMNT backup fuse for ten seconds or more, refit it and confirm the normal code returns. Removing that fuse also erases codes stored by other computers, so read everything first. None of the solenoids or sensors named above are stocked in this collection.
Installation
The factory marks a specific set of parts non-reusable, or calls for a new one on reassembly. They are cheap, they are almost never the reason a job gets booked, and leaving them out is the usual reason the same job gets done twice.
| Service operation | Parts that must be replaced |
|---|---|
| Any oil change on the gearbox, transfer or automatic | Drain plug gasket. |
| Removing the transfer case from the gearbox | Extension housing gasket, and the PTO gasket on a PTO truck. |
| Manual or automatic extension housing seal | Type T oil seal. |
| Speedometer driven gear | Type V oil seal, sleeve O-ring and dust seal. |
| Back-up lamp switch or position-detection switch | Switch gasket. |
| Automatic transmission, anything opened | Every gasket and O-ring removed, the filler tube O-ring included. |
| Automatic selector cable adjustment | Control cable lock nut, refitted with the lever in Neutral and no slack in the cable. |
| Separating the transmission from the engine | Where the factory procedure identifies a bolt as sealant-coated, install a new sealant-coated bolt. |
Torque converter bolts are their own trap. The factory specifies a bolt 11 ± 0.5 mm long and warns that anything longer both prevents correct tightening and deforms the converter internally, impairing its function. Do not substitute a longer bolt.
Specifications
Every number on this page in one place, as printed, with enough context to use it.
Clutch
| Clutch measurement | Factory figure |
|---|---|
| Pedal height | 139 to 149 mm |
| Pedal free play | 15 to 25 mm |
| Cable adjustment gap | 3.5 to 5.0 mm |
| Disc wear limit, rivet recess depth | 0.3 mm |
| Disc runout limit | 1.0 mm |
| Flywheel runout limit | 0.10 mm |
| Cover finger height variation limit | 0.7 mm |
Fluids and capacities
| System | Fluid | Capacity |
|---|---|---|
| Manual transmission, 2WD | SAE 75W-85 gear oil, API GL-3 | 1.1 L |
| Manual transmission with transfer, 4WD | SAE 75W-85 gear oil, API GL-3 | 2.3 L total |
| Automatic transmission | Amix DII-type ATF | Approximately 3.0 L |
| Transfer case, automatic trucks | SAE 75W-85 gear oil, API GL-3 | 1.6 L |
| Front differential | SAE 75W-85 hypoid gear oil, API GL-5 | 0.61 L |
| Rear differential | SAE 90 hypoid gear oil, API GL-5 | 1.3 L |
Fill level on everything except the automatic is 0 to 5 mm below the lower edge of the filler opening.
Test limits
| Test | Factory figure |
|---|---|
| Automatic time lag, N to D | 0.7 seconds or less |
| Automatic time lag, N to R | 1.2 seconds or less |
| Automatic stall speed | 2,600 to 2,900 rpm |
| Automatic fluid checking temperature | 70 to 80°C |
| Propeller shaft runout limit | 1.0 mm |
| Torque converter bolt length | 11 ± 0.5 mm |
Torque, clutch
| Fastener | kgf-cm | ft-lb |
|---|---|---|
| Clutch pedal lock nut | 185 ± 35 | 13.4 ± 2.5 |
| Release-fork support to clutch housing | 185 ± 35 | 13.4 ± 2.5 |
| Release-fork set plate, two bolts | 55 ± 15 | 4.0 ± 1.1 |
| Clutch cover to flywheel | 185 ± 35 | 13.4 ± 2.5 |
Torque, manual transmission
| Fastener | kgf-cm | ft-lb |
|---|---|---|
| Engine to transmission | 600 ± 100 | 43.4 ± 7.2 |
| Rear engine mount insulator to body | 195 ± 35 | 14.1 ± 2.5 |
| Rear engine mount insulator to bracket | 250 ± 50 | 18.1 ± 3.6 |
| Clutch housing under cover | 185 ± 35 | 13.4 ± 2.5 |
| Right stiffener plate | 375 ± 75 | 27.1 ± 5.4 |
| Left stiffener plate | 185 ± 35 | 13.4 ± 2.5 |
| Transmission control cable bracket | 185 ± 35 | 13.4 ± 2.5 |
| Back-up lamp switch | 325 ± 75 | 23.5 ± 5.4 |
| Transmission floor-shift assembly to body | 130 ± 30 | 9.4 ± 2.2 |
| Oil filler and drain plug | 400 ± 100 | 28.9 ± 7.2 |
Torque, automatic transmission
| Fastener | kgf-cm | ft-lb |
|---|---|---|
| Drive plate to crankshaft | 450 ± 50 | 32.5 ± 3.6 |
| Engine to transmission, bolt | 600 ± 100 | 43.4 ± 7.2 |
| Engine to transmission, nut | 185 ± 35 | 13.4 ± 2.5 |
| Torque converter to drive plate | 242 ± 28 | 17.5 ± 2.0 |
| Oil-cooler tube union bolt | 350 ± 50 | 25.3 ± 3.6 |
| Clutch housing under cover | 185 ± 35 | 13.4 ± 2.5 |
| Right stiffener plate | 185 ± 35 | 13.4 ± 2.5 |
| Left stiffener plate | 185 ± 35 | 13.4 ± 2.5 |
| Transmission control cable bracket | 185 ± 35 | 13.4 ± 2.5 |
| Control cable lock nut | 55 ± 15 | 4.0 ± 1.1 |
| Neutral-start switch | 185 ± 35 | 13.4 ± 2.5 |
| Transmission floor-shift assembly to body | 185 ± 35 | 13.4 ± 2.5 |
| Oil drain plug | 225 | 16.3 |
Torque, transfer case
| Fastener | kgf-cm | ft-lb |
|---|---|---|
| Transfer case to transmission | 375 ± 75 | 27.1 ± 5.4 |
| Transfer-position detection switch | 325 ± 75 | 23.5 ± 5.4 |
| PTO to transfer case | 185 ± 35 | 13.4 ± 2.5 |
| Oil filler and drain plug | 400 ± 100 | 28.9 ± 7.2 |
Factory values are printed in kgf-cm. The ft-lb column is a converted convenience value and the kgf-cm figure is the one to work to.
Factory Notes
Where the sources are odd, incomplete, or narrower than they look, we say so here rather than smoothing it over.
The automatic drain plug has no tolerance The factory master tightening table prints 225 kgf-cm for the automatic transmission drain plug with no plus or minus range, while every other drain and filler plug in this collection carries one. We read it that way off the printed page and have left it exactly as printed rather than inventing a tolerance.
The service manual is dated March 1994 It cannot establish product changes made later in the 1994 to 1998 run. Clutch kit production splits, the automatic output shaft seal era split, and Type T and Type K transfer applications come from parts-catalog fitment data, not from the service manual, and they are presented that way throughout this page.
The A20 mark and engine type A20 is listed as a turbocharged manual transmission configuration with Multi-Select 4WD on both the transmission identification table and the transfer identification table. Neither table ties A20 to a chassis code, so confirm the transmission identification mark itself before ordering.
Two rows carry no equipment split P19 and A20 have no body or equipment division drawn on the factory table. That is not the same as the mark covering every body, so the equipment column says no additional split shown rather than making a claim the source does not support.
The identification tables do not name chassis codes The transmission and transfer identification tables classify these marks by drive system, engine, transfer type and body, and do not tie a mark to a chassis code. So we do not claim a given mark is or is not yours on the strength of those tables alone. Send the mark, or a photo of the label, and we will confirm it against catalog fitment before anything ships.
Where can I buy Daihatsu Hijet transmission parts in the United States?
Oiwa Garage supplies Daihatsu Hijet transmission, clutch, transfer case and driveline parts from our California warehouse. Availability varies by part, so check the individual listing. Not sure you selected the right parts? Add your Hijet’s full CHASSIS NO. at checkout and we will verify fitment before shipping.
Our 100% Fitment Guarantee
Add your VIN or chassis number at checkout and we verify the fitment of every part in your order before anything ships. We check your full chassis code and transmission type, plus the transmission identification mark, production date, and engine configuration where required for internal gearbox or transfer parts. If anything does not match your truck, we contact you before dispatch. If something arrives wrong, we exchange it or refund you in full. No hassle, no runaround.
Contact Our Fitment Specialistsor text us directly at 562-661-8862
Fitment verified by the Kei Truck specialists at Oiwa Garage · Collection description updated August 2026.