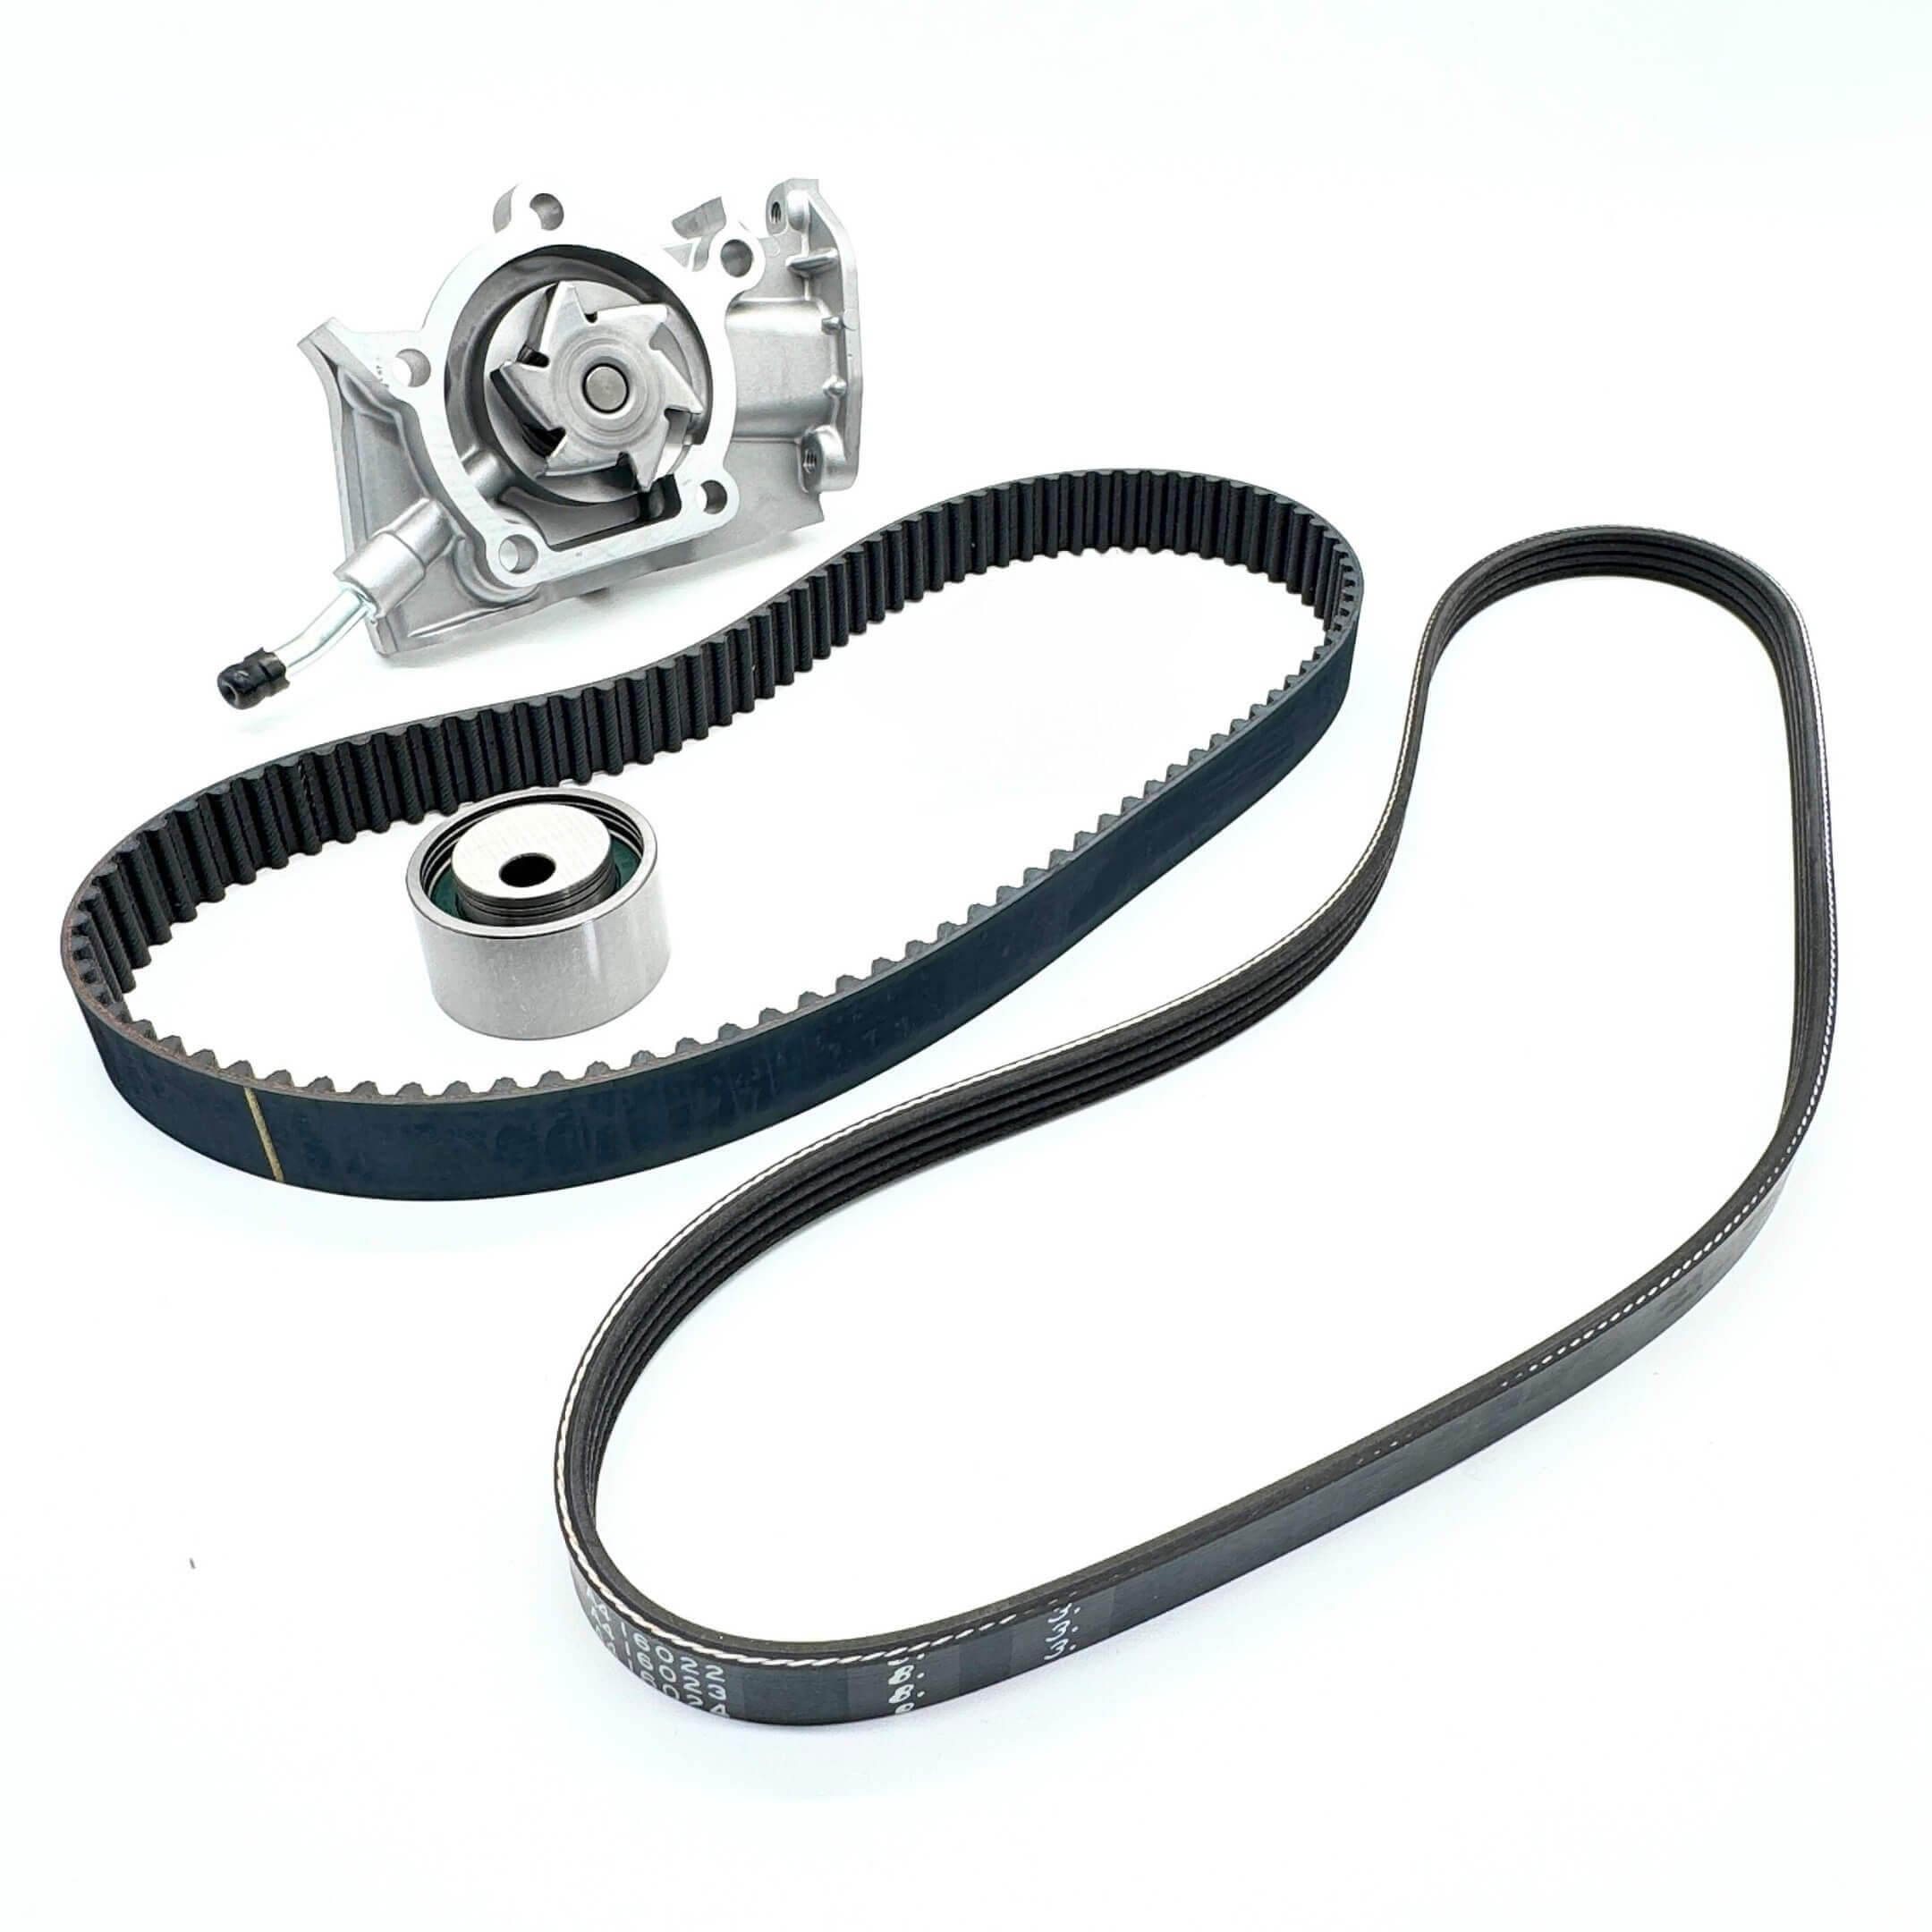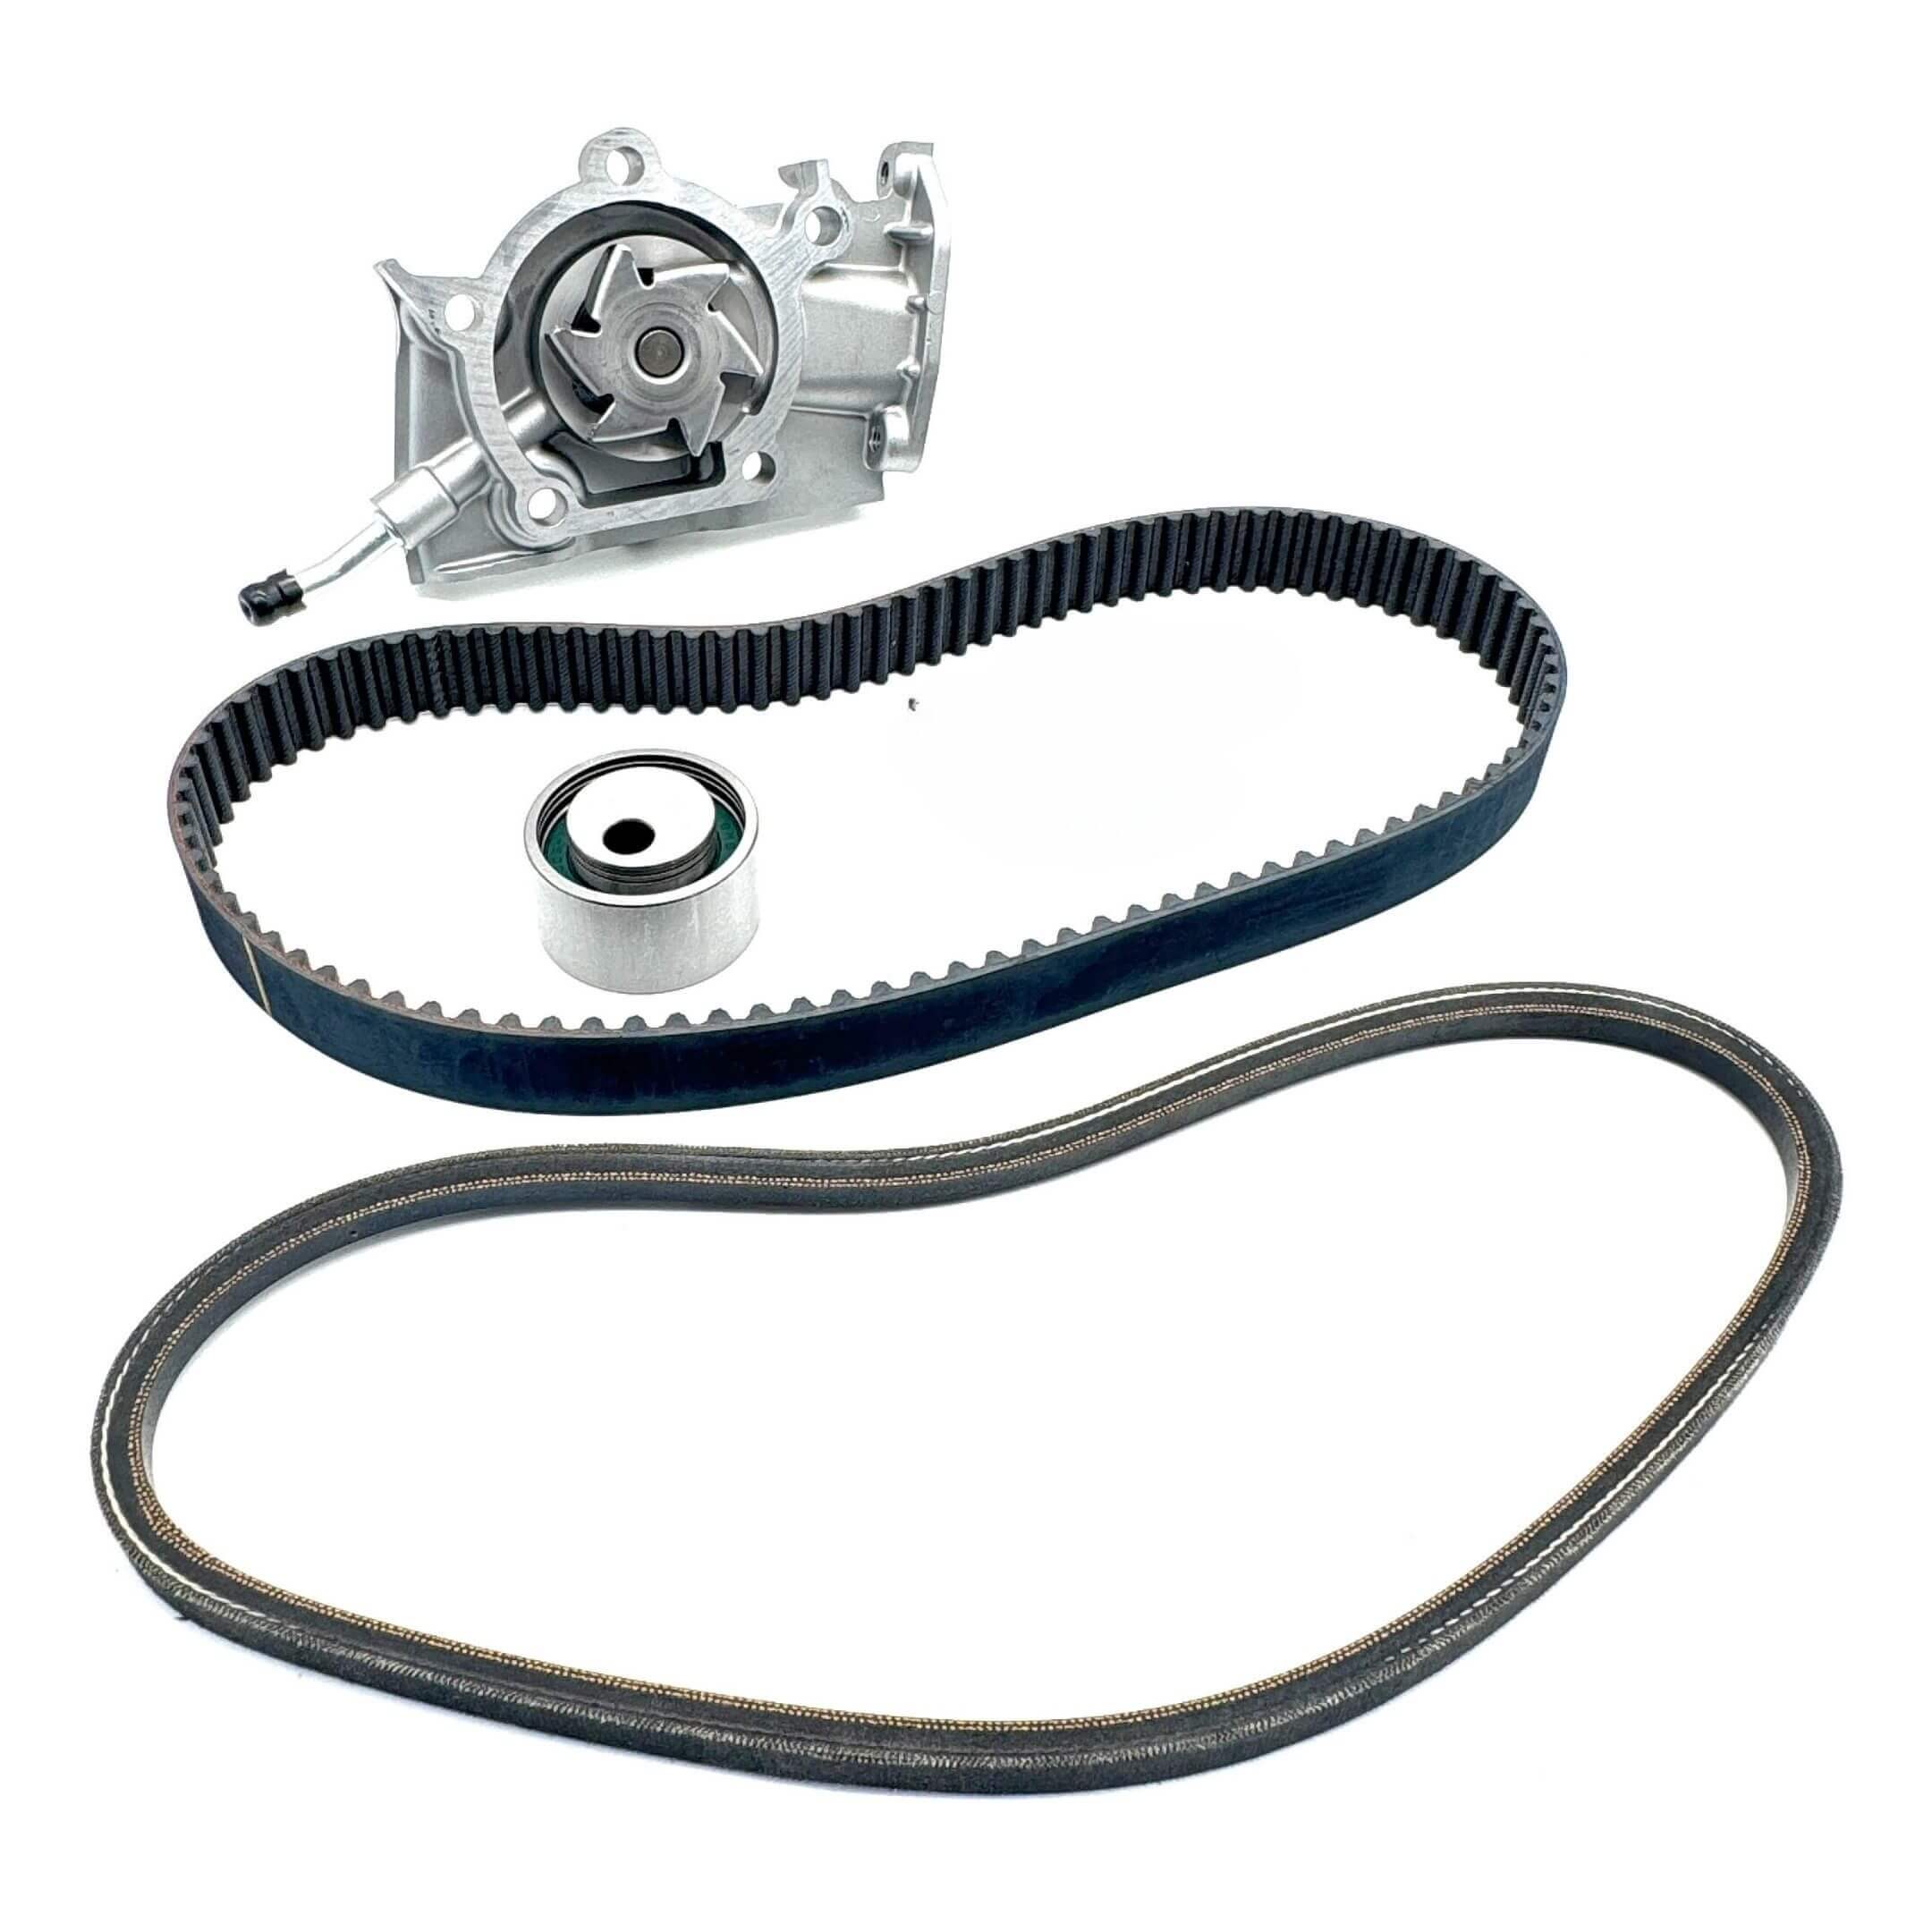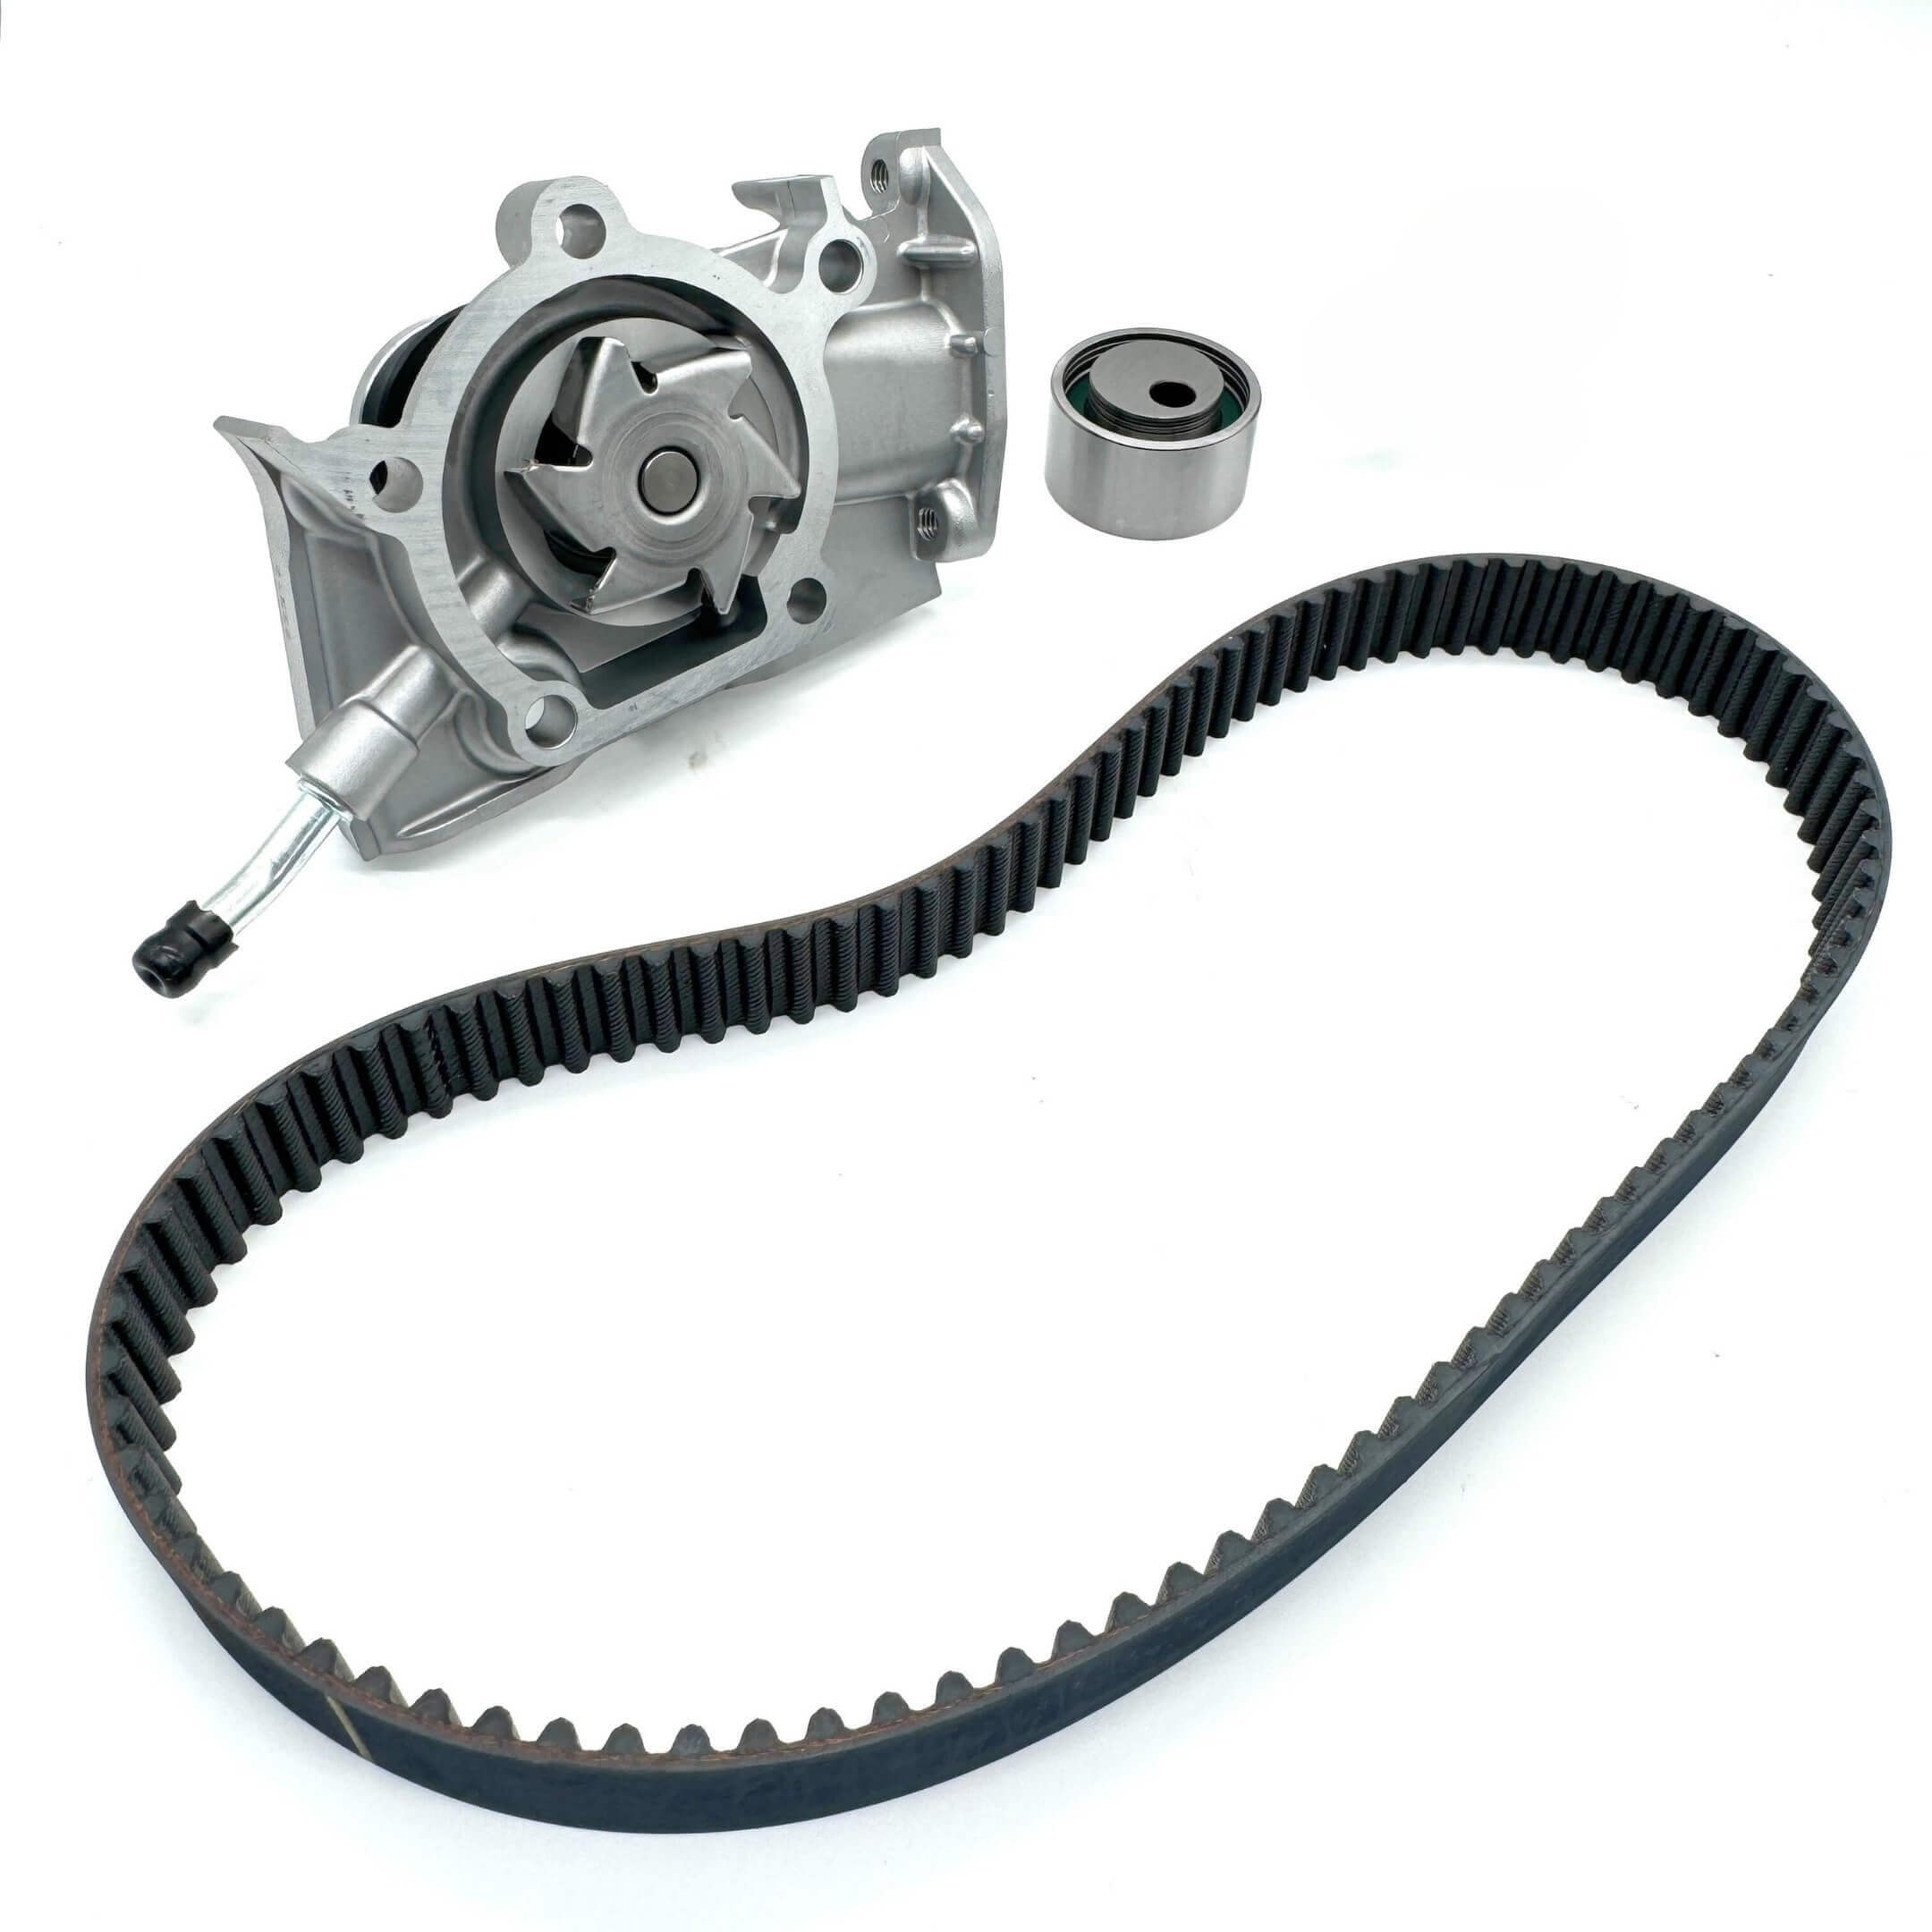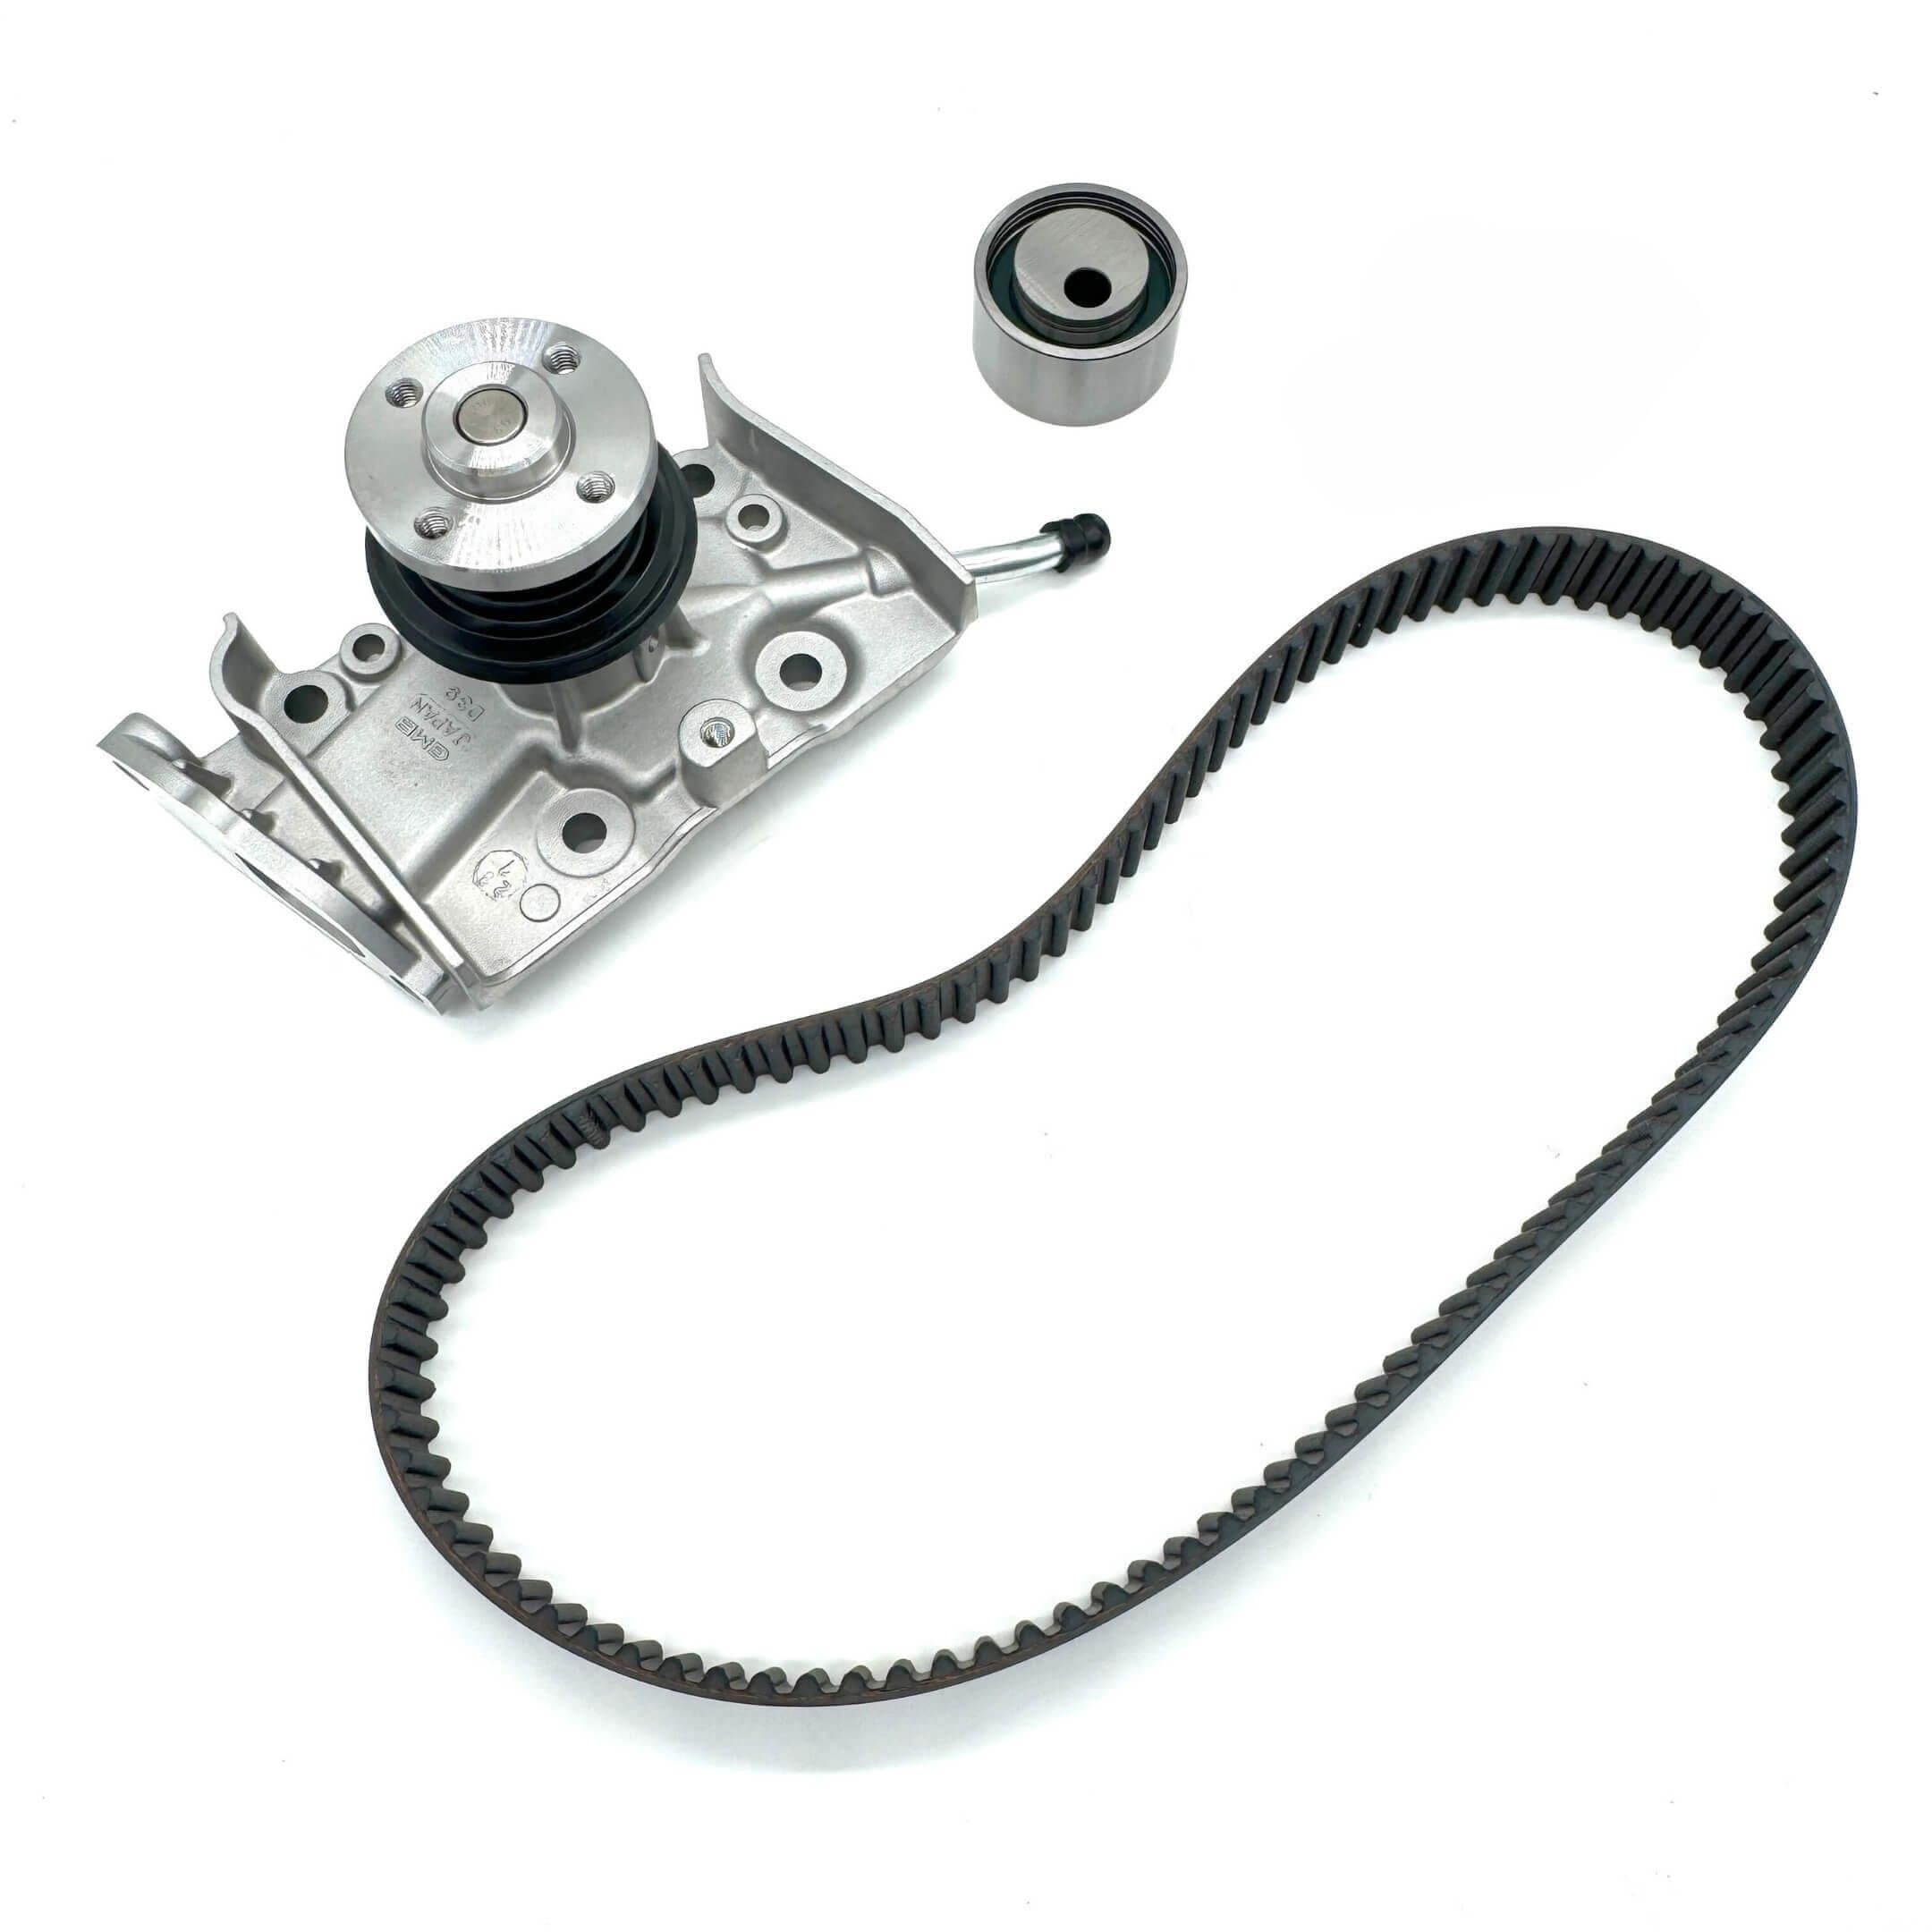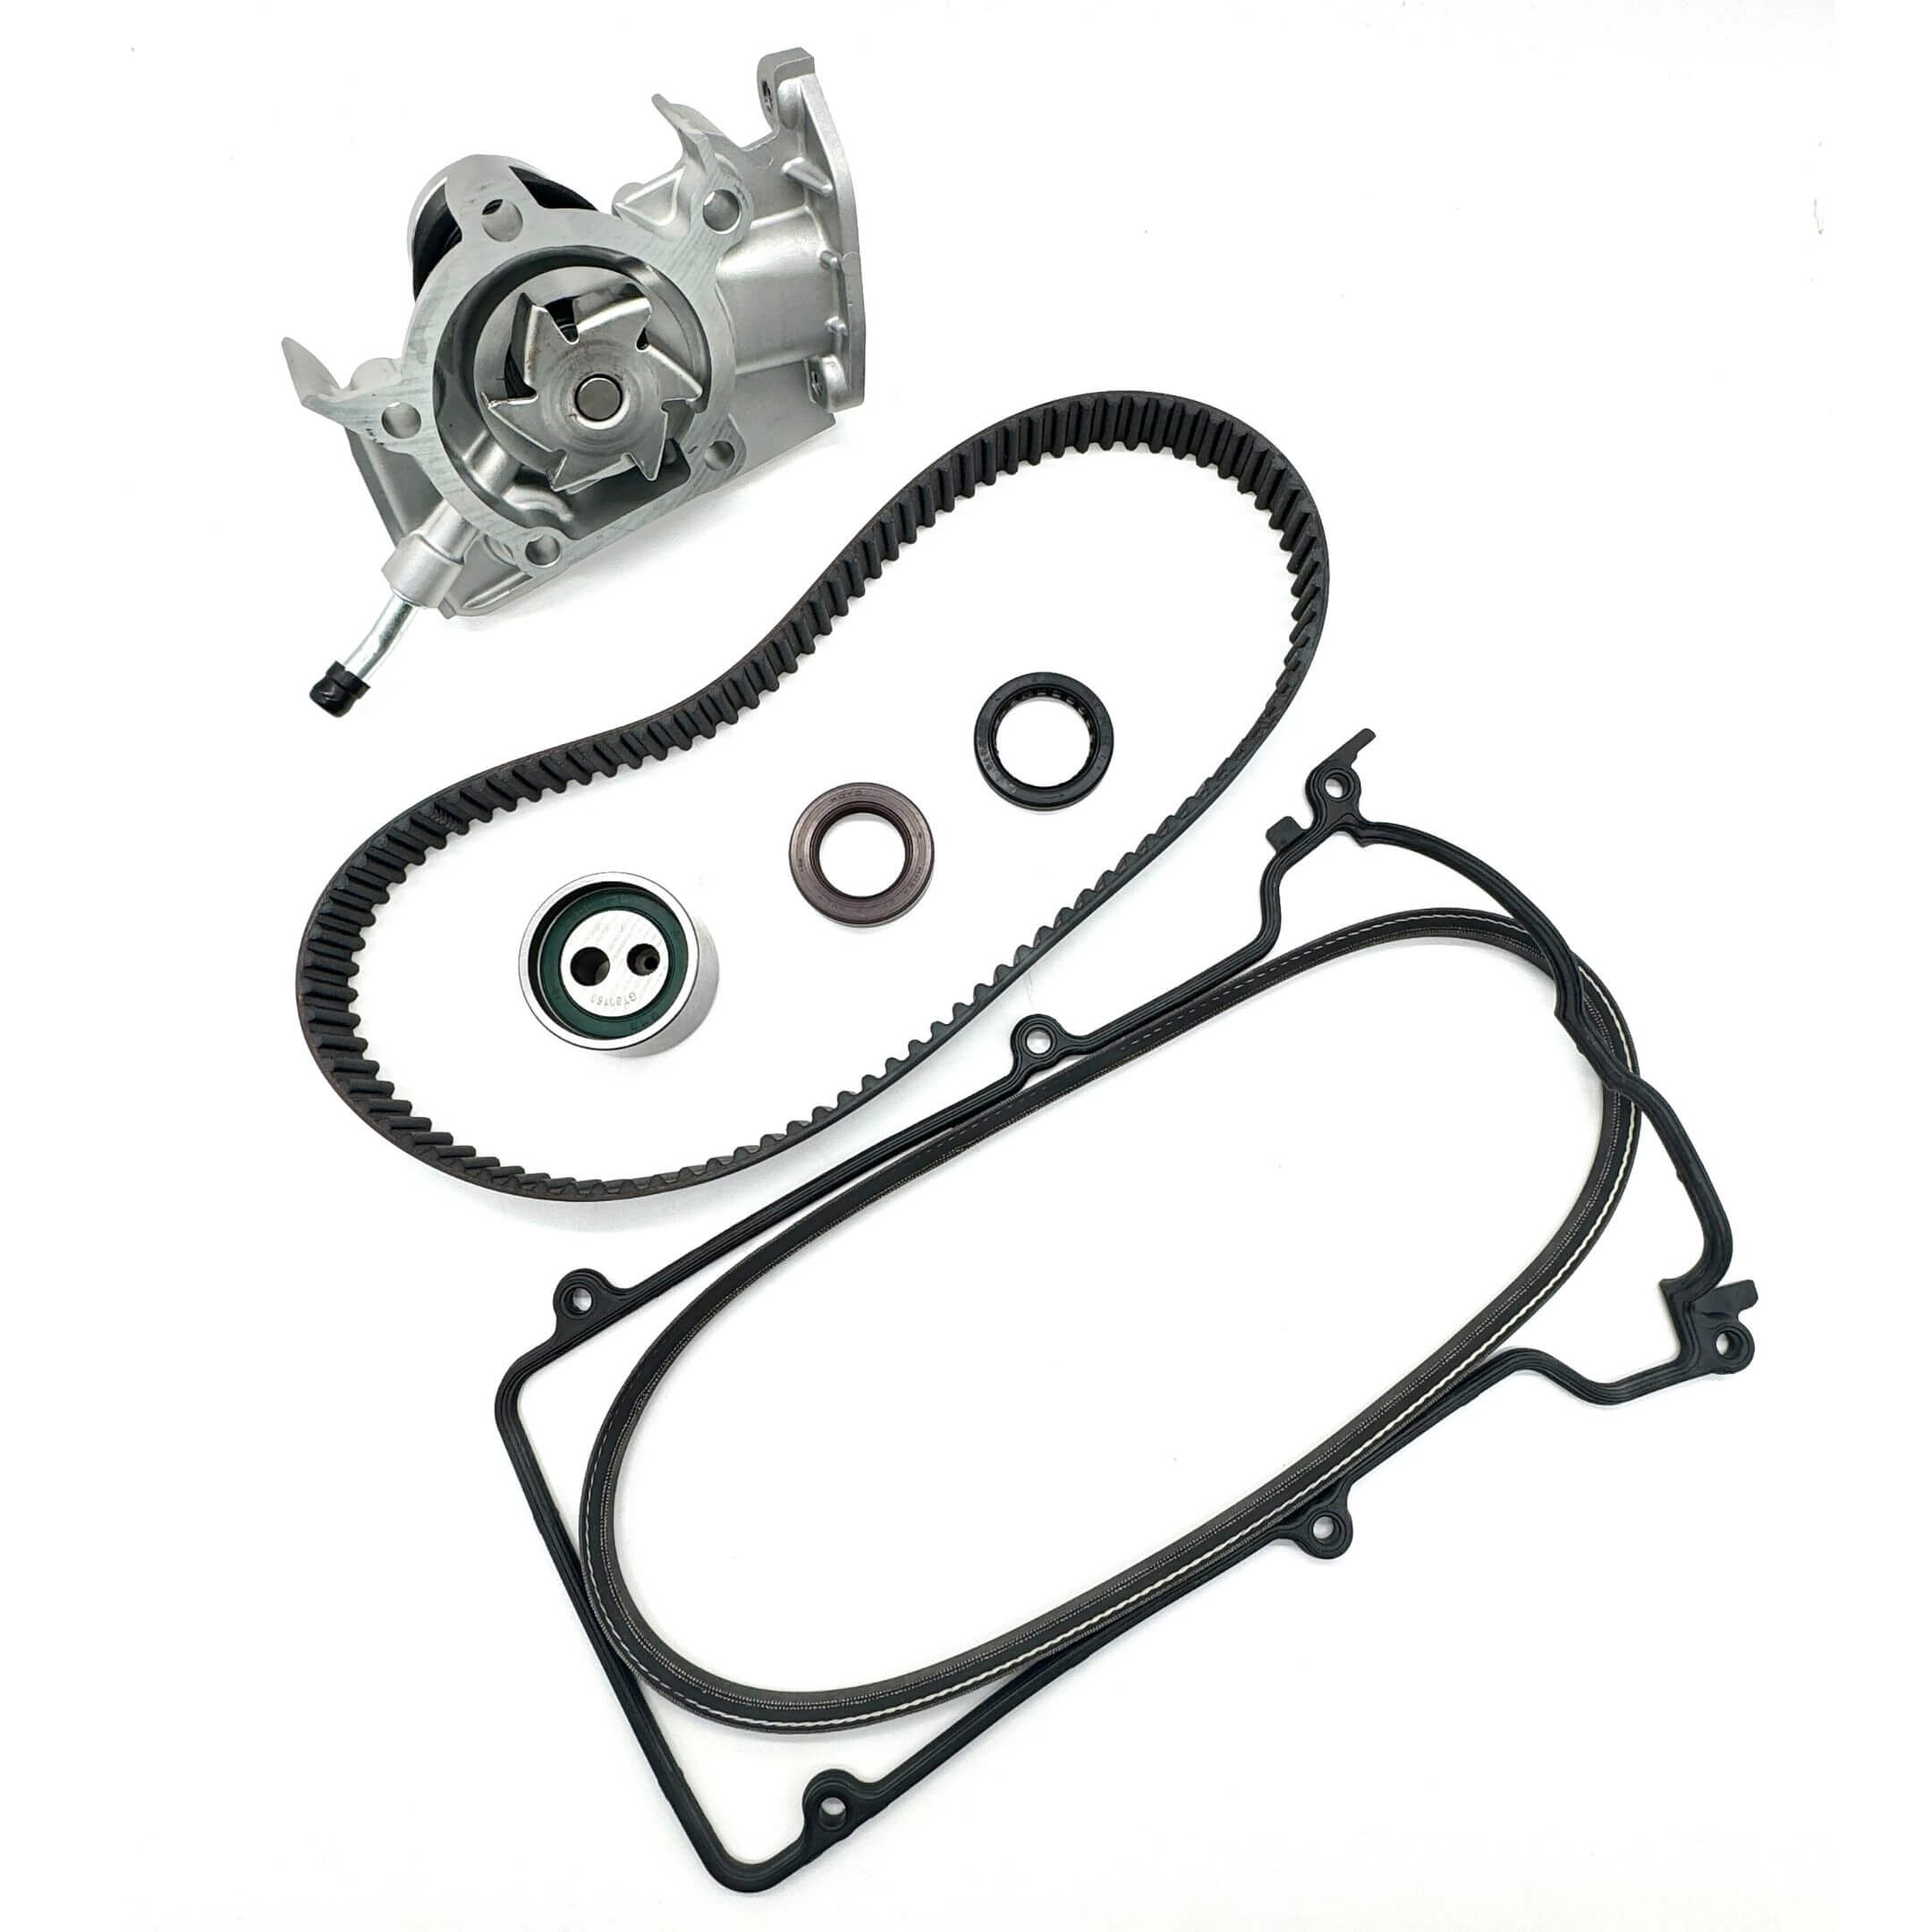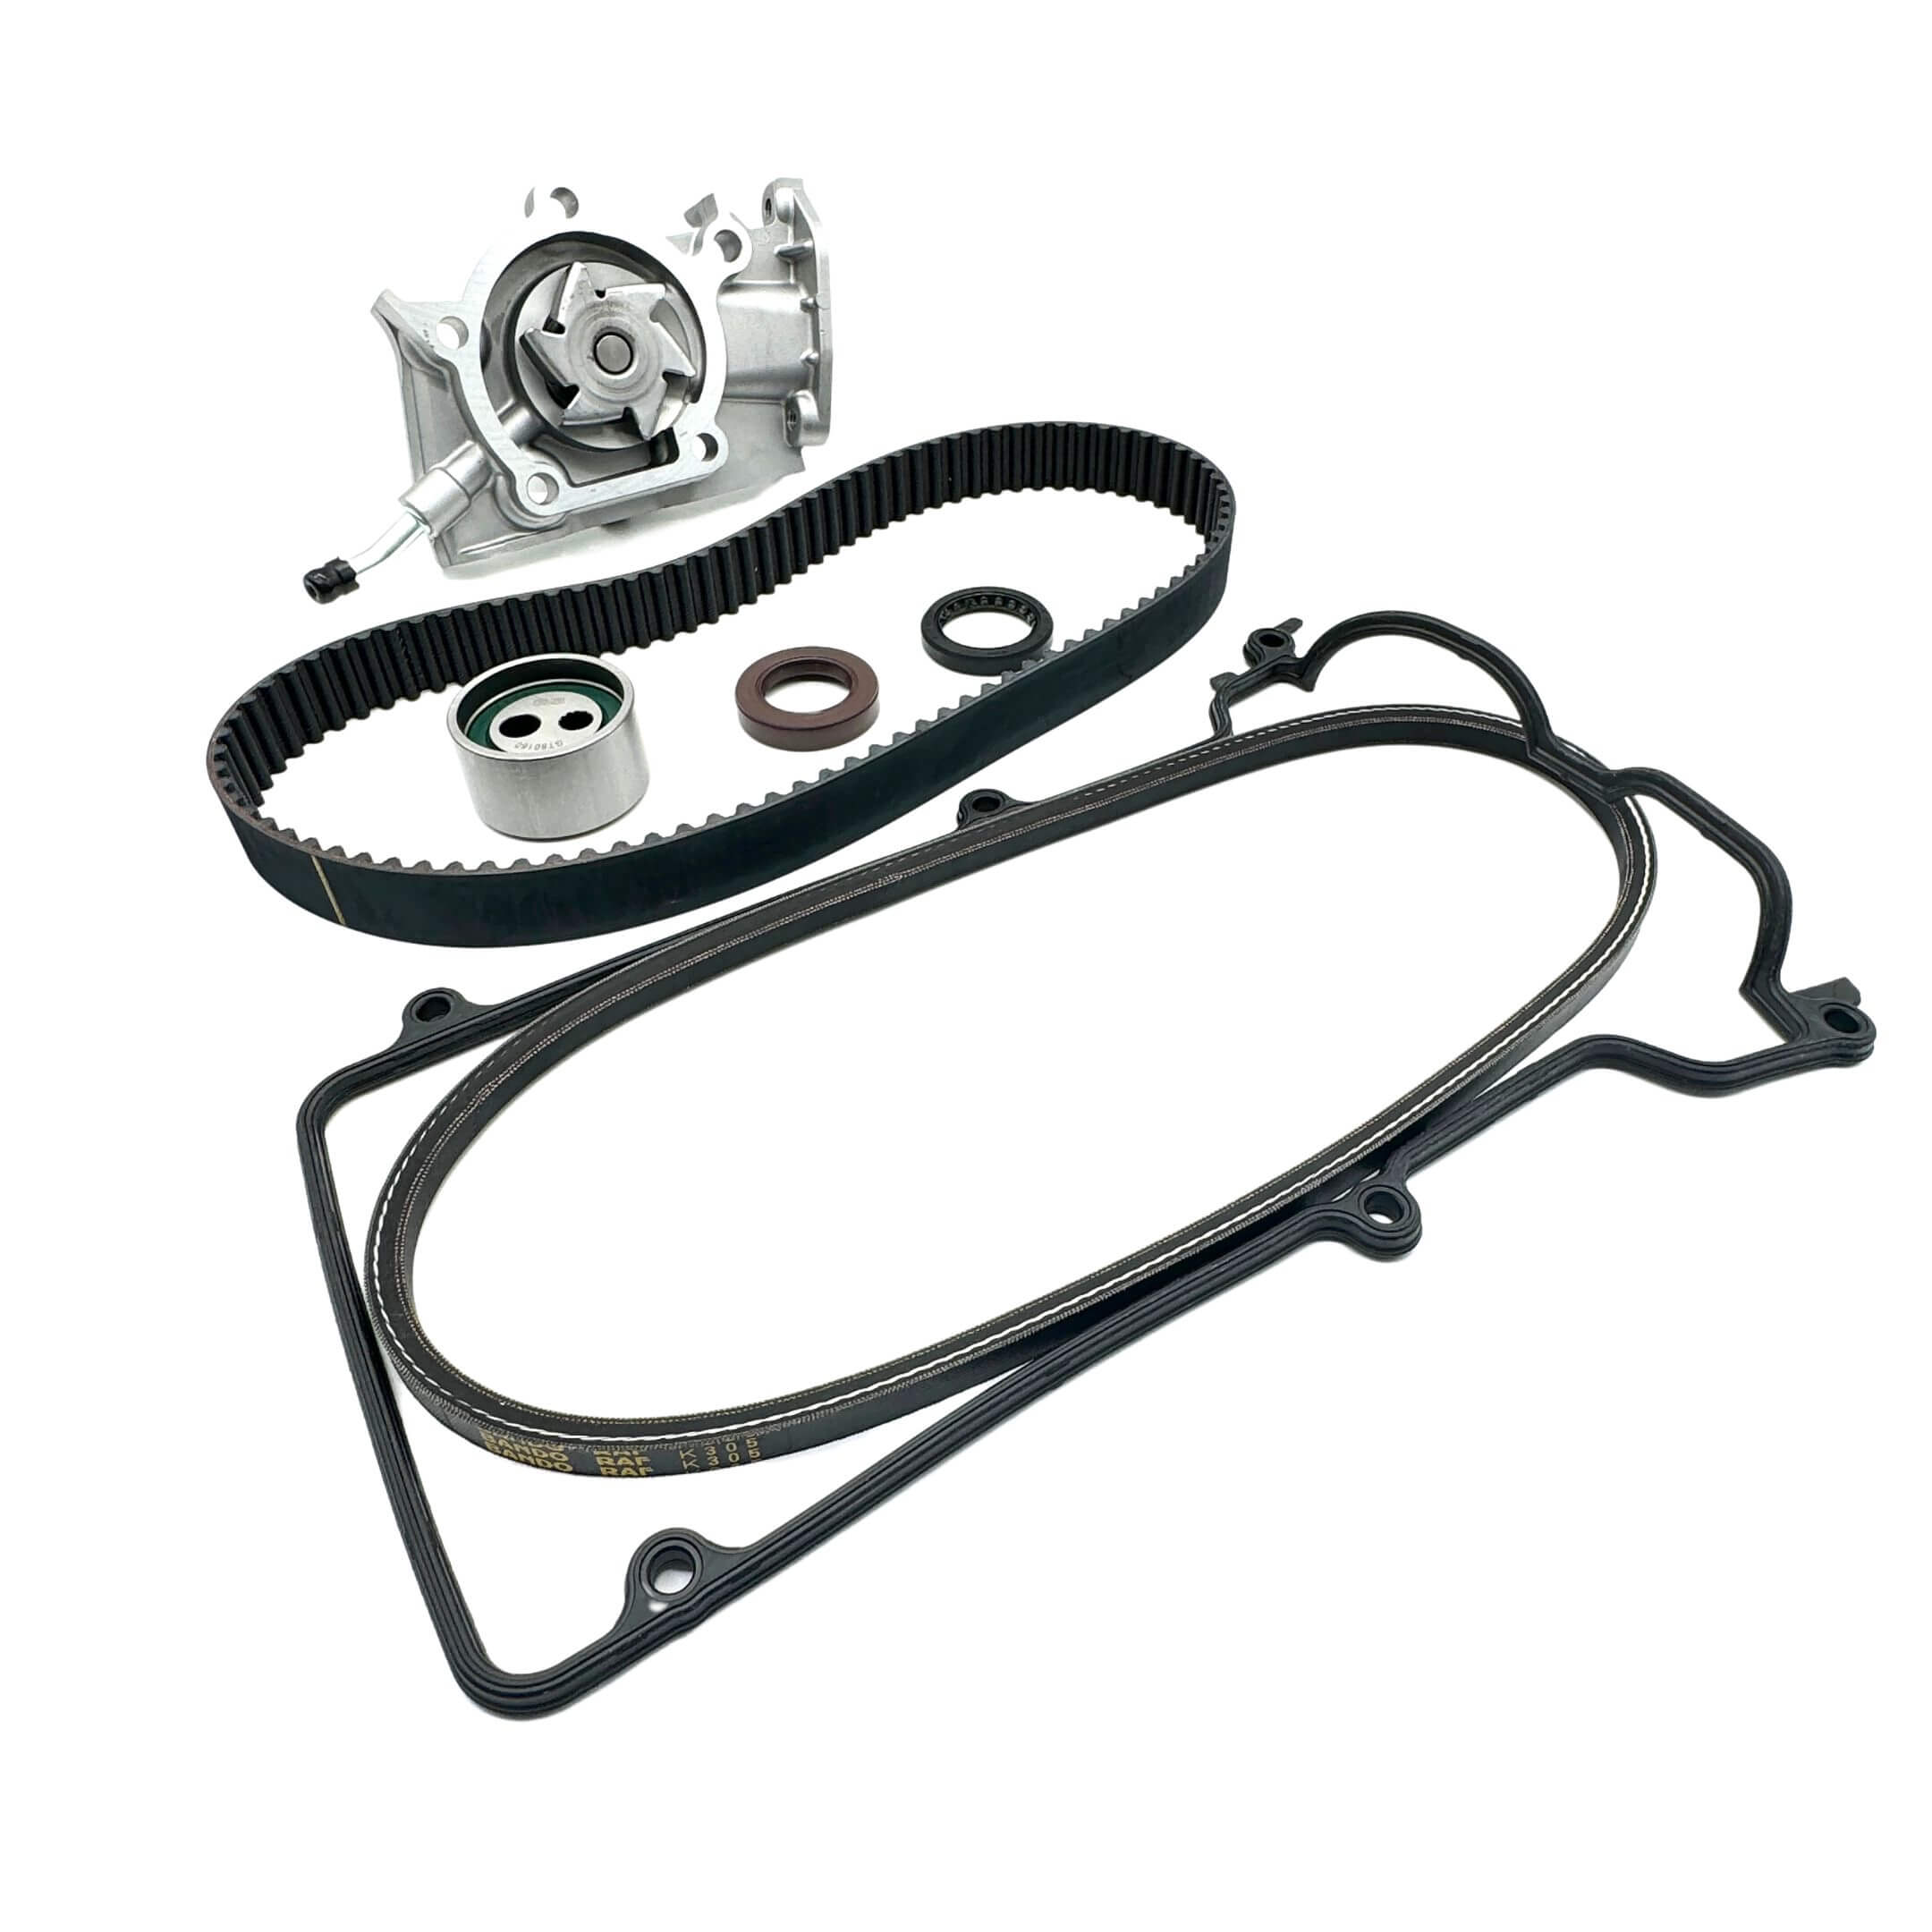
Daihatsu Hijet Timing Belt Kits - S100, S110 Models - 1994-1998
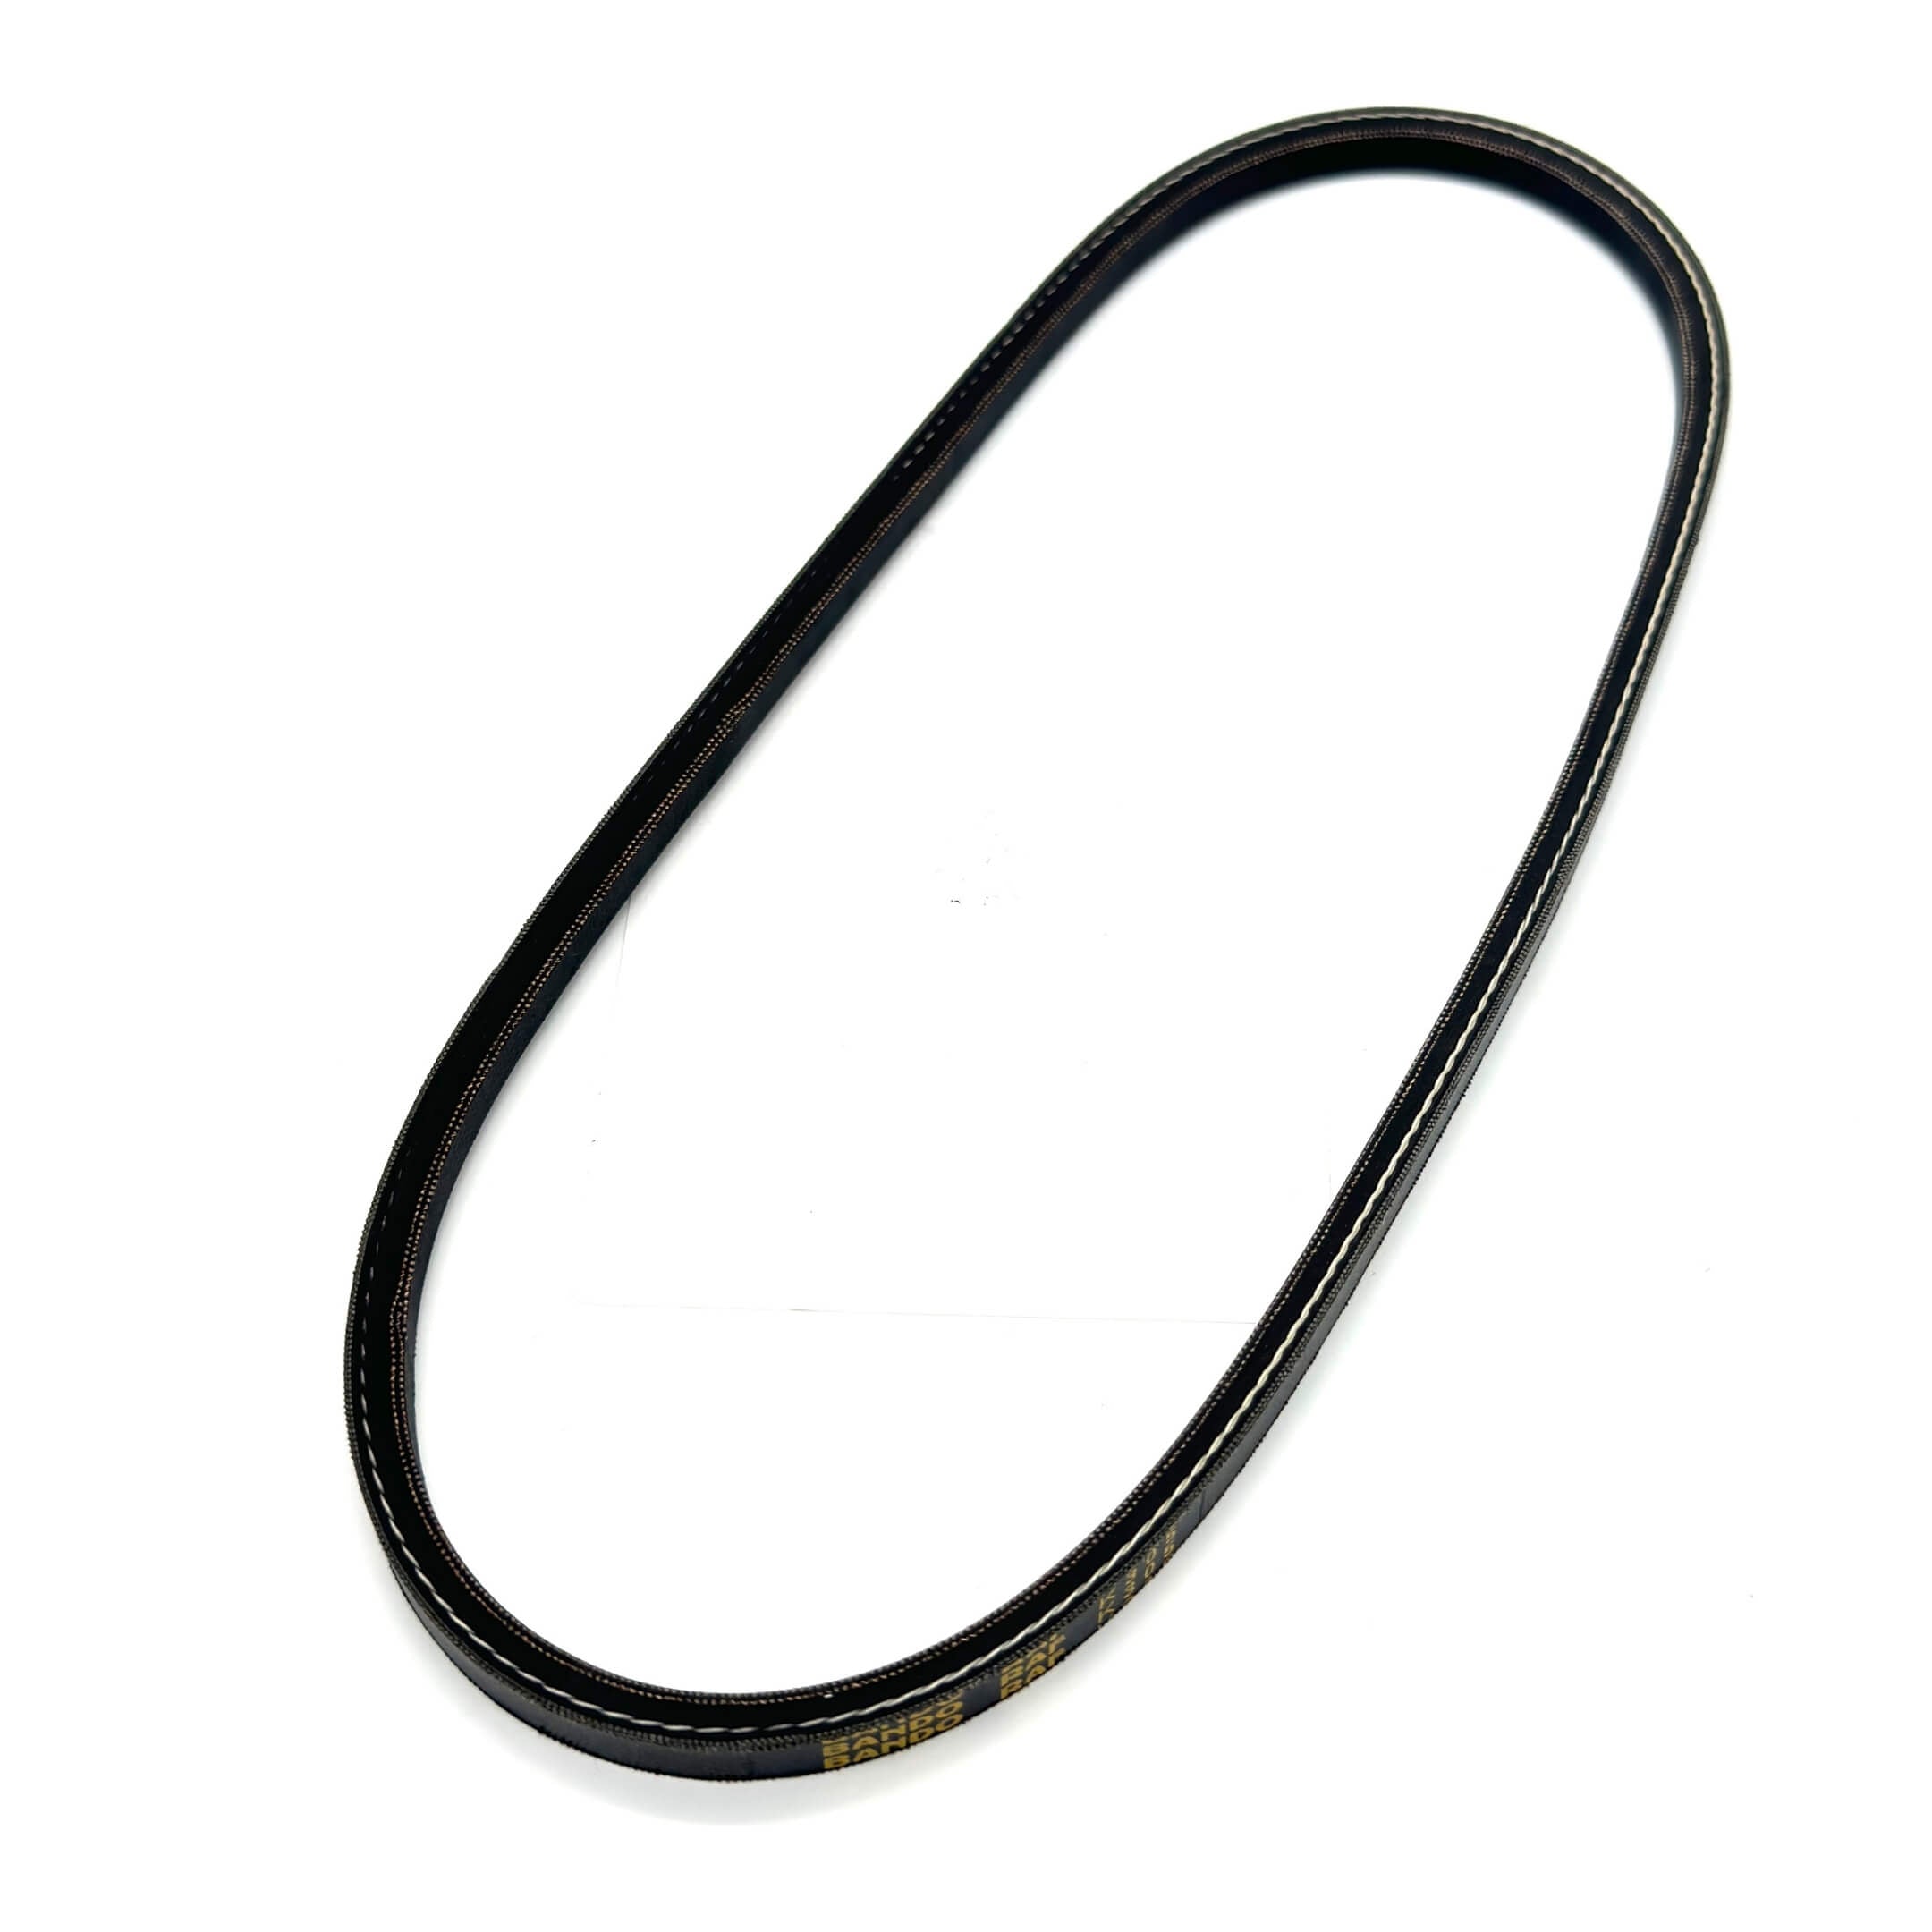
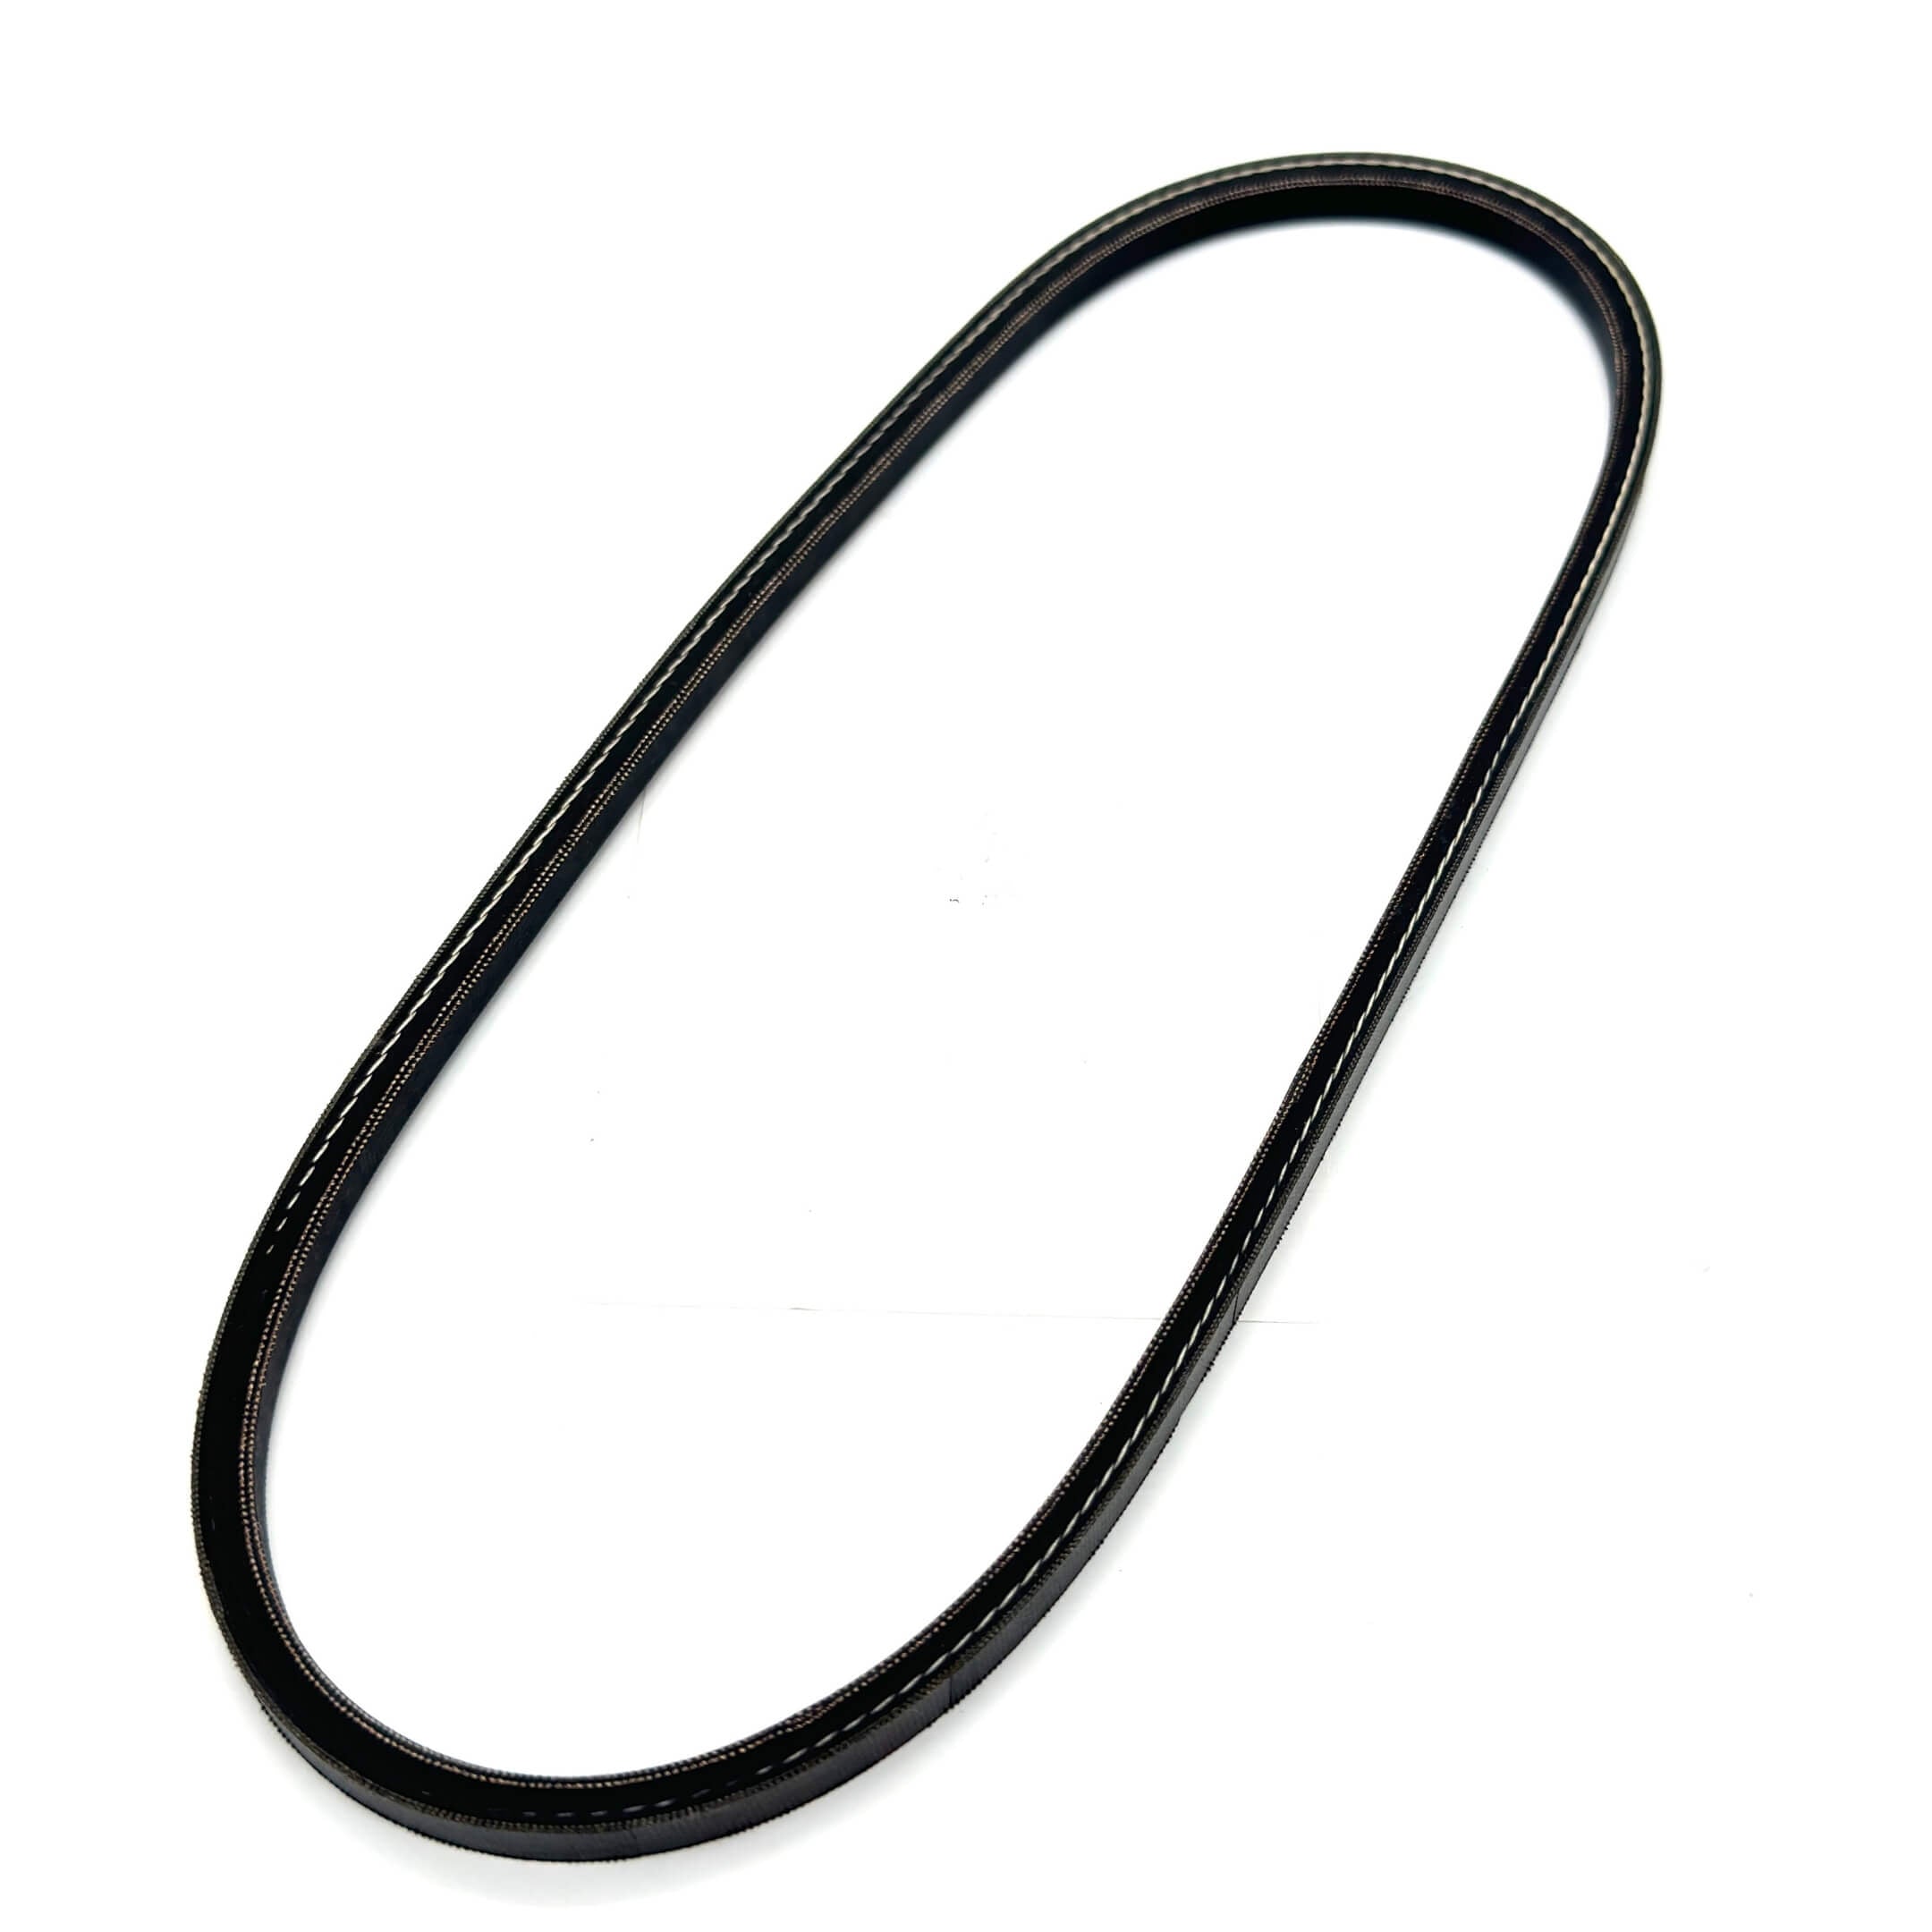
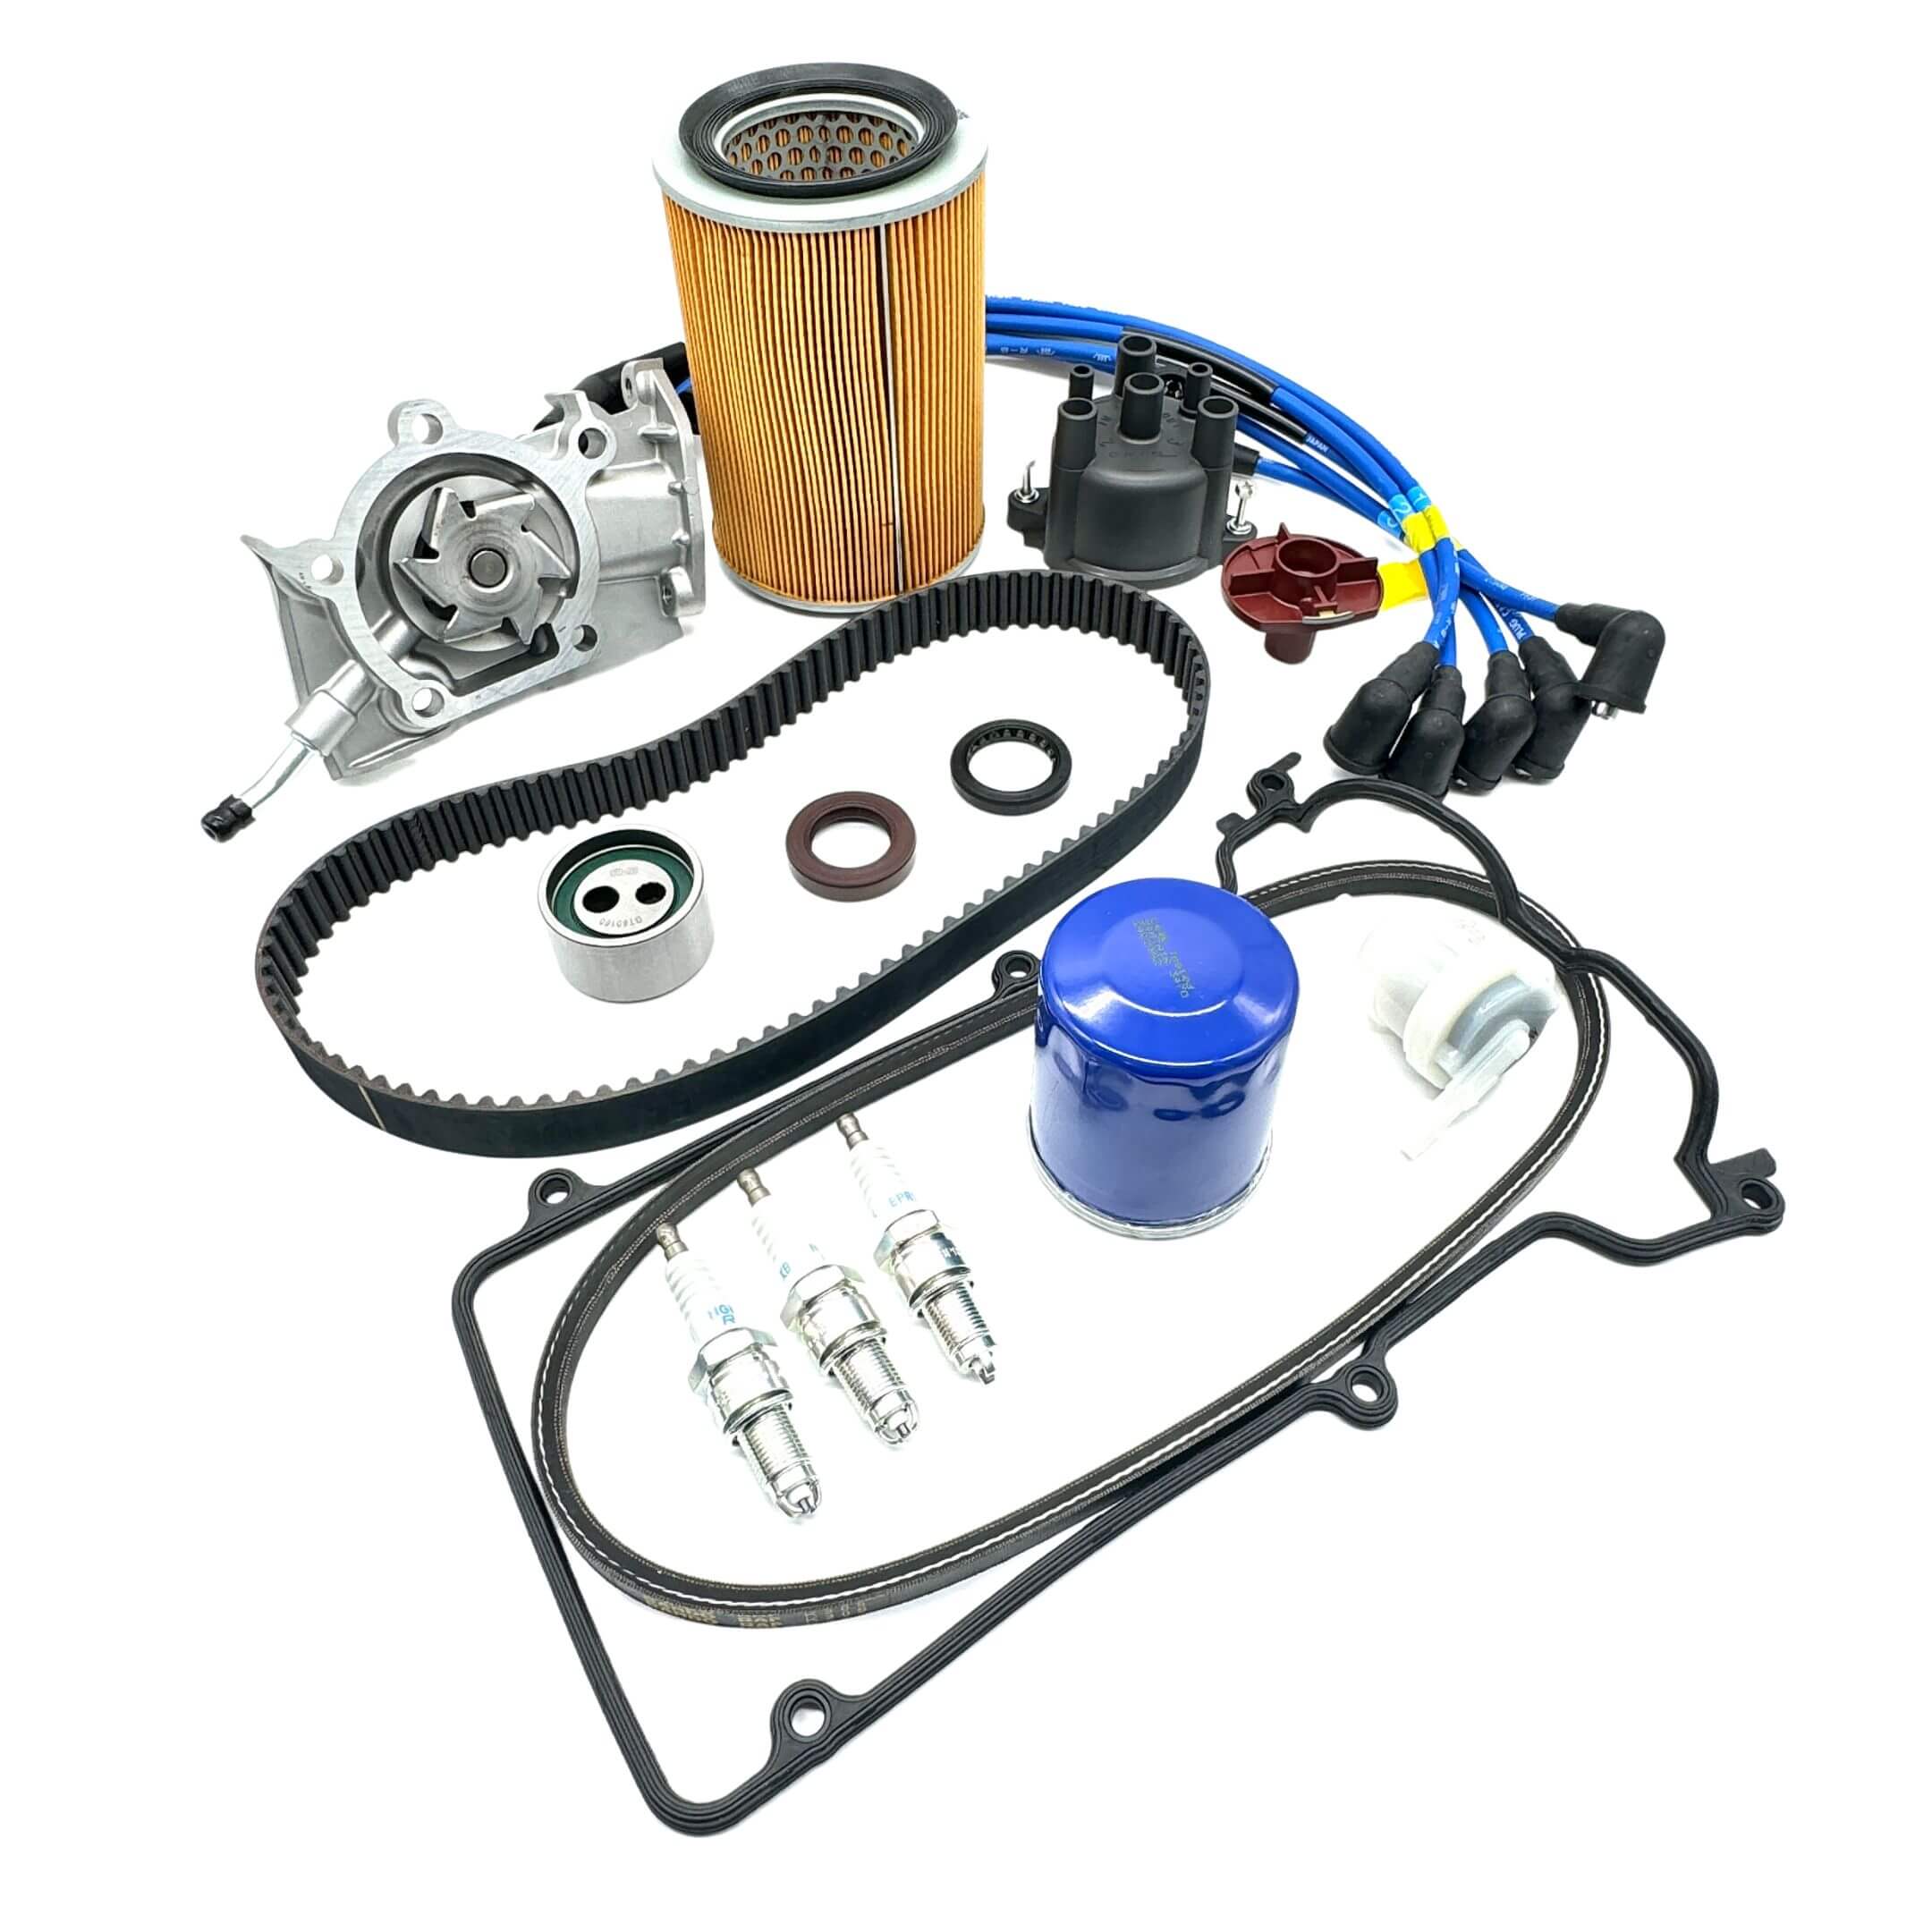
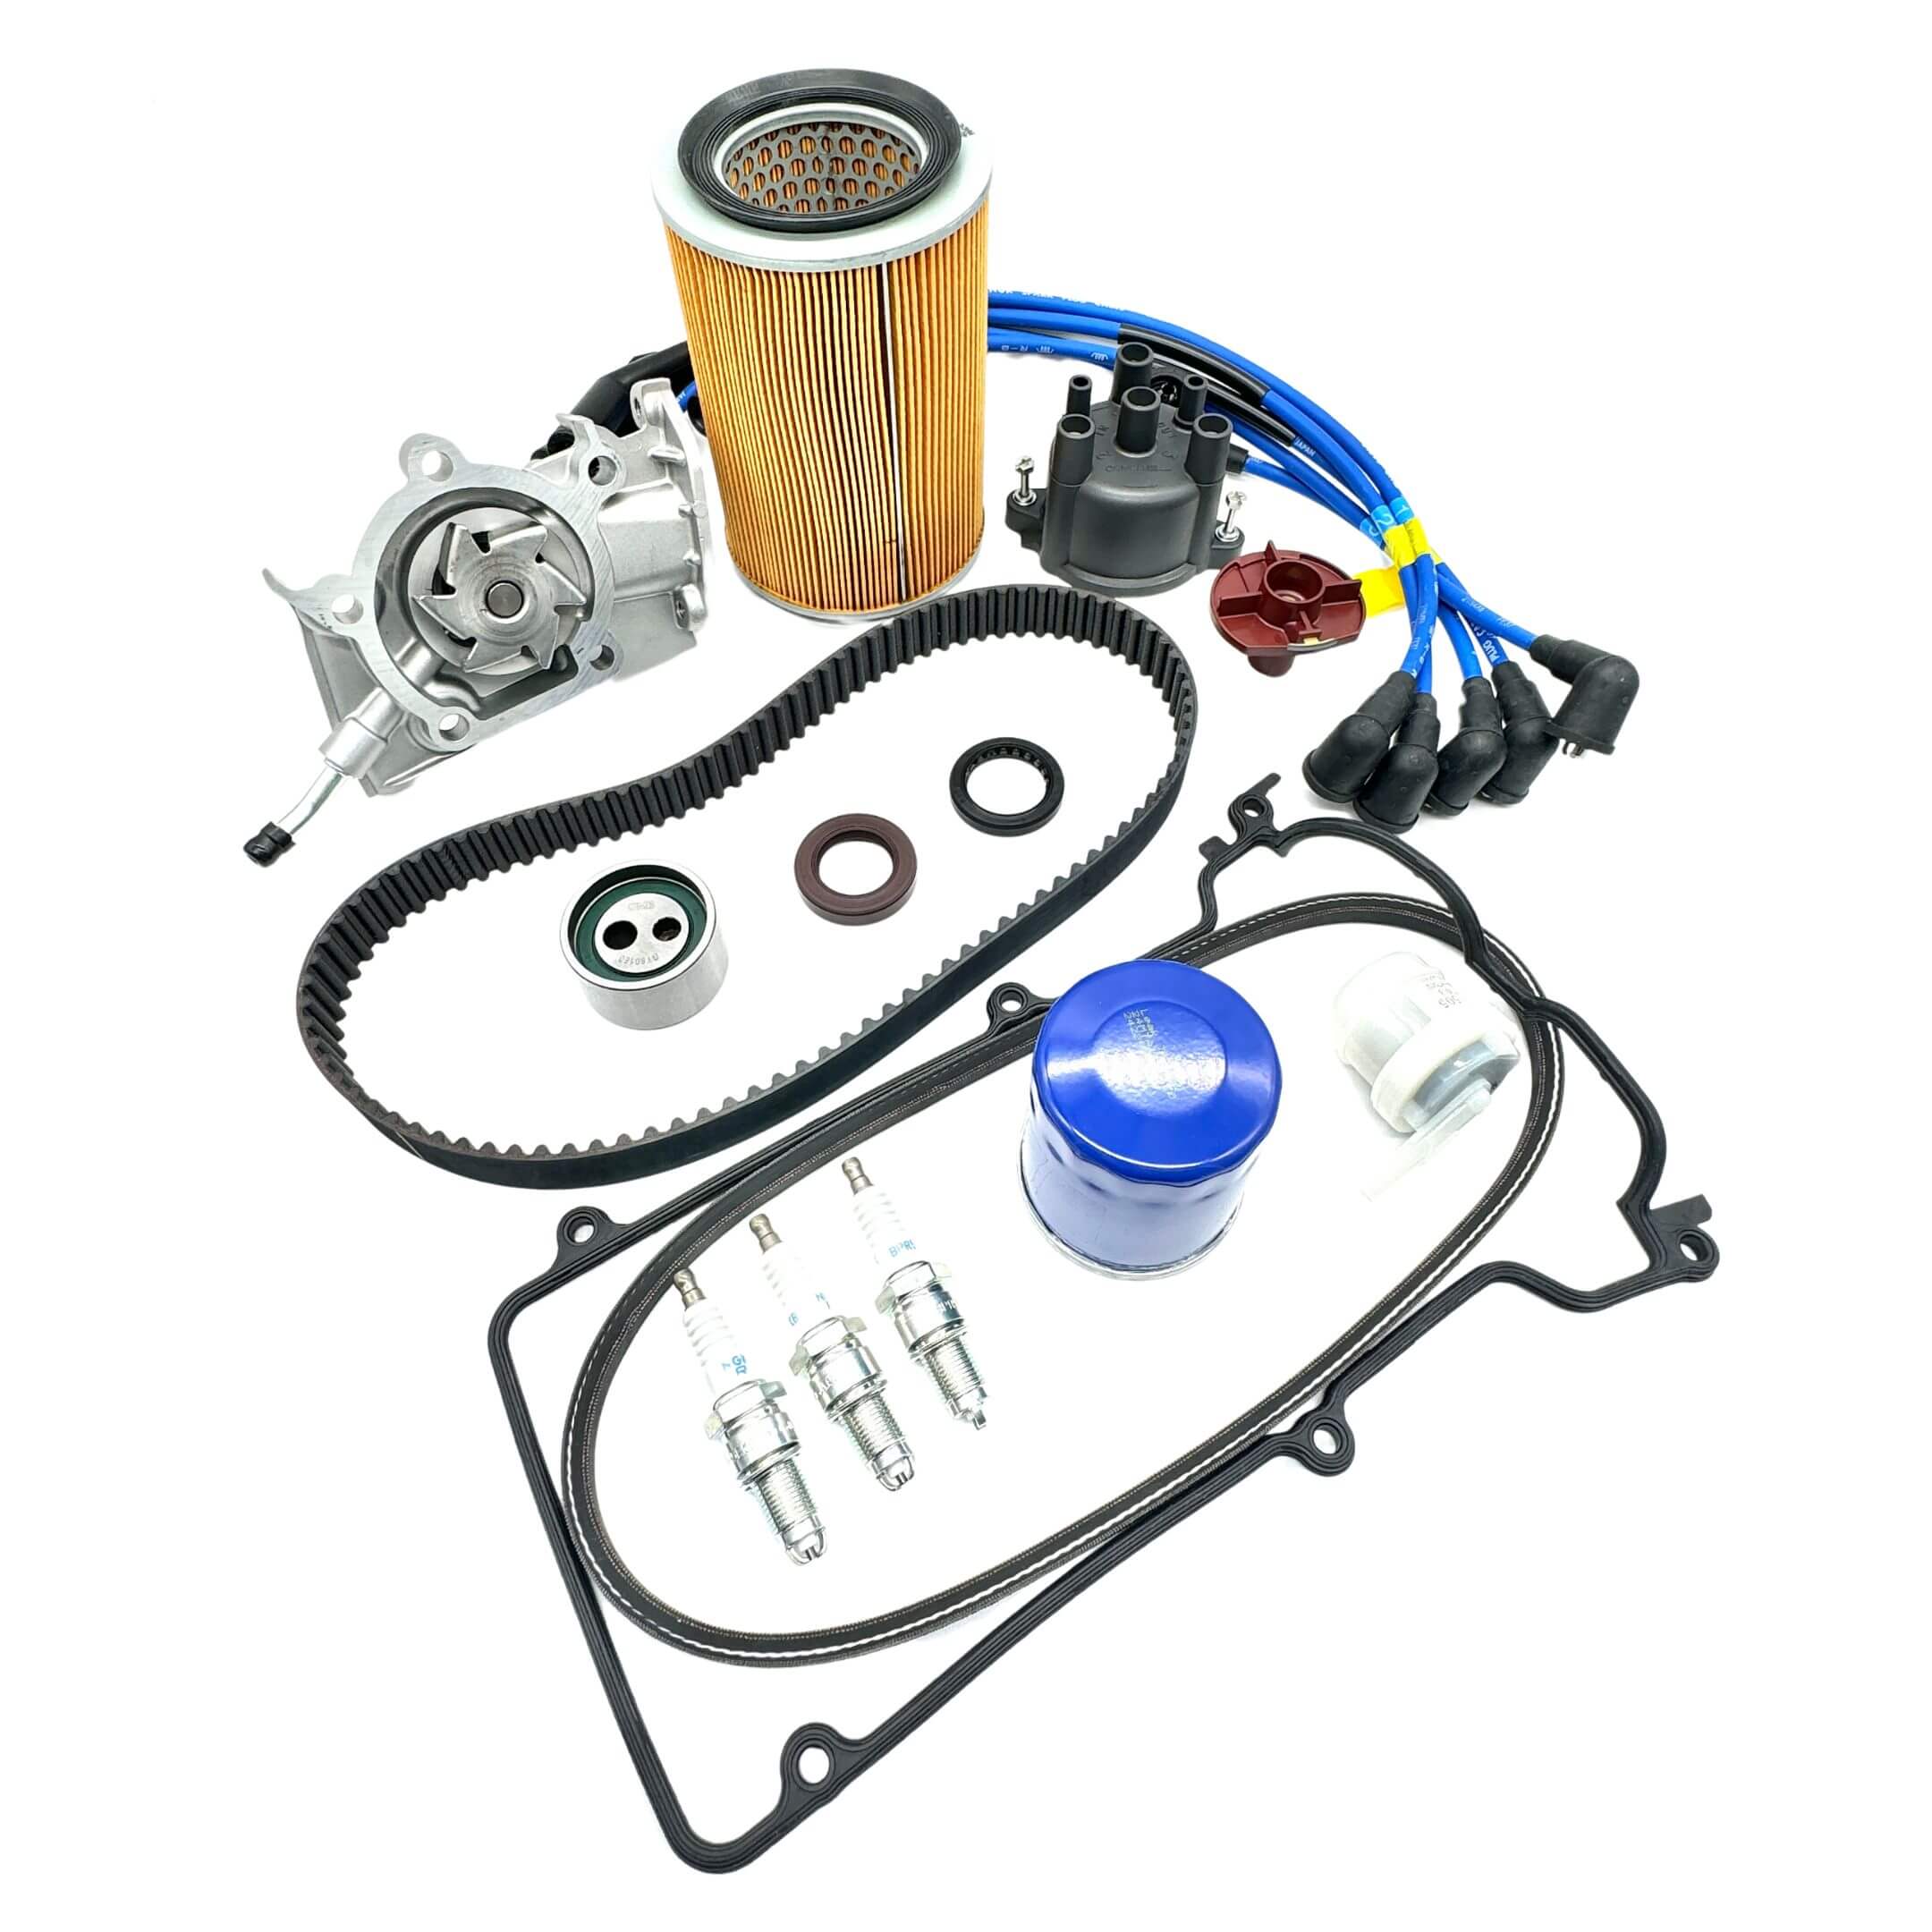
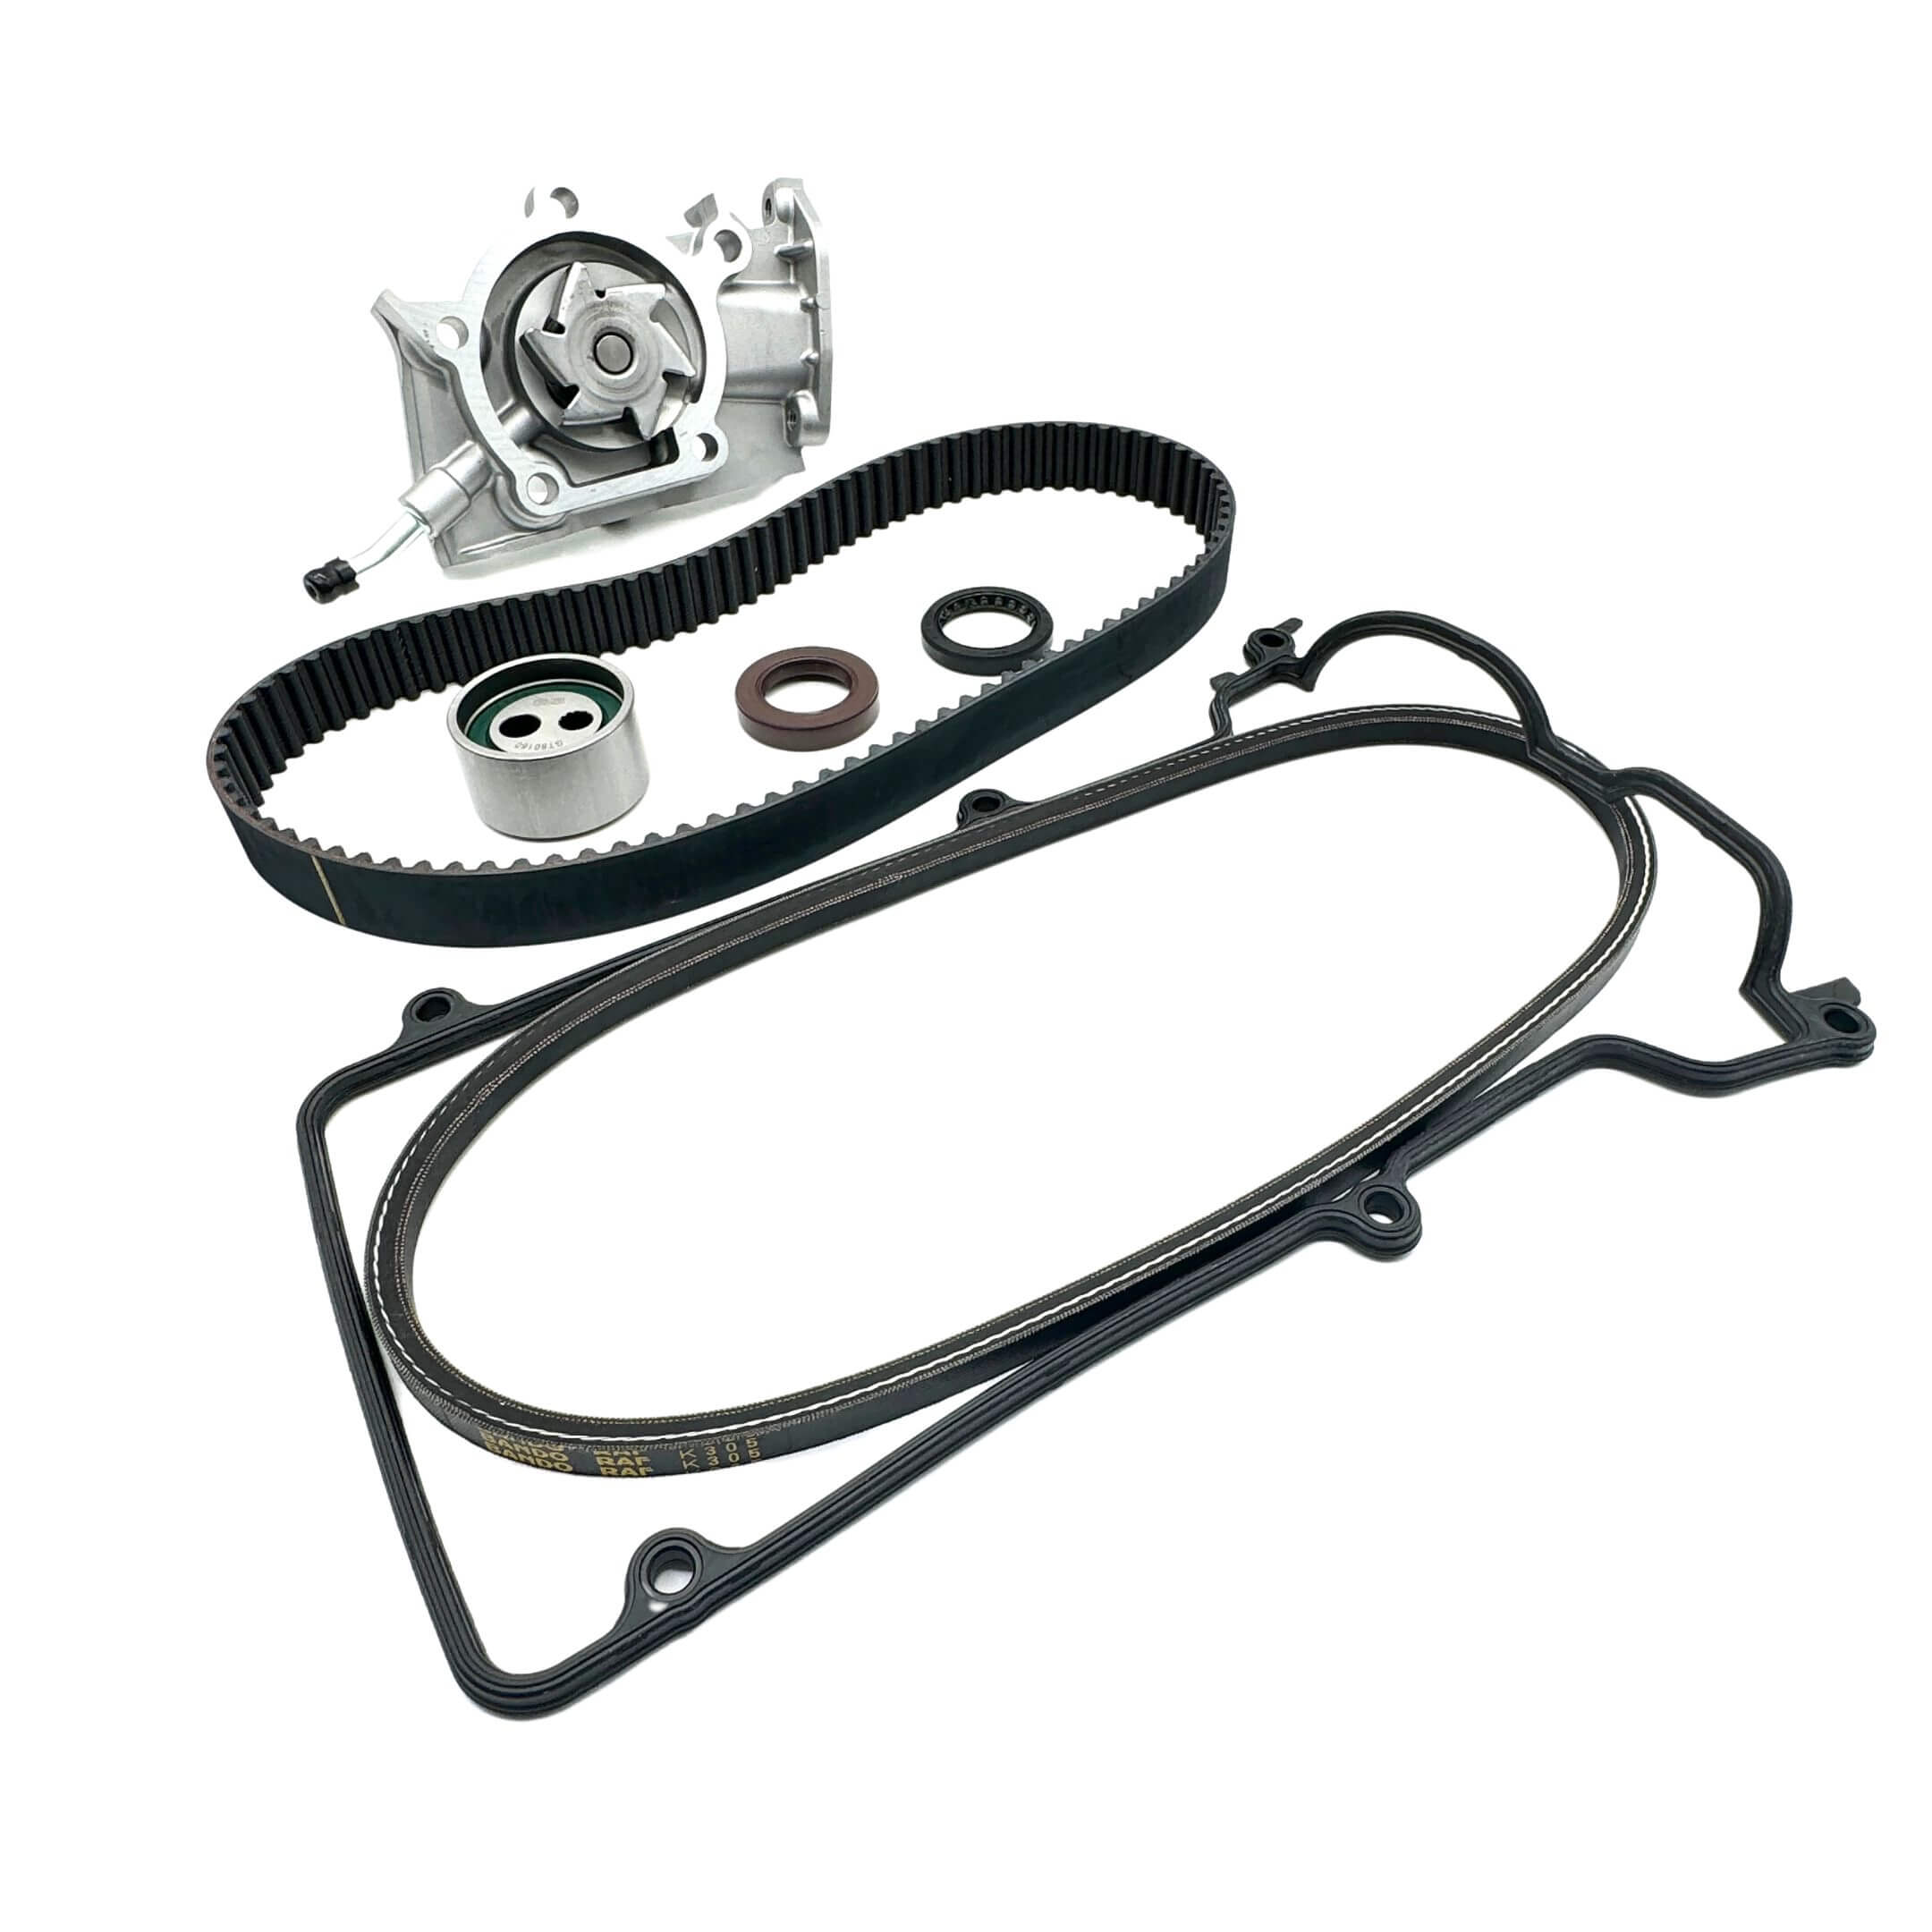
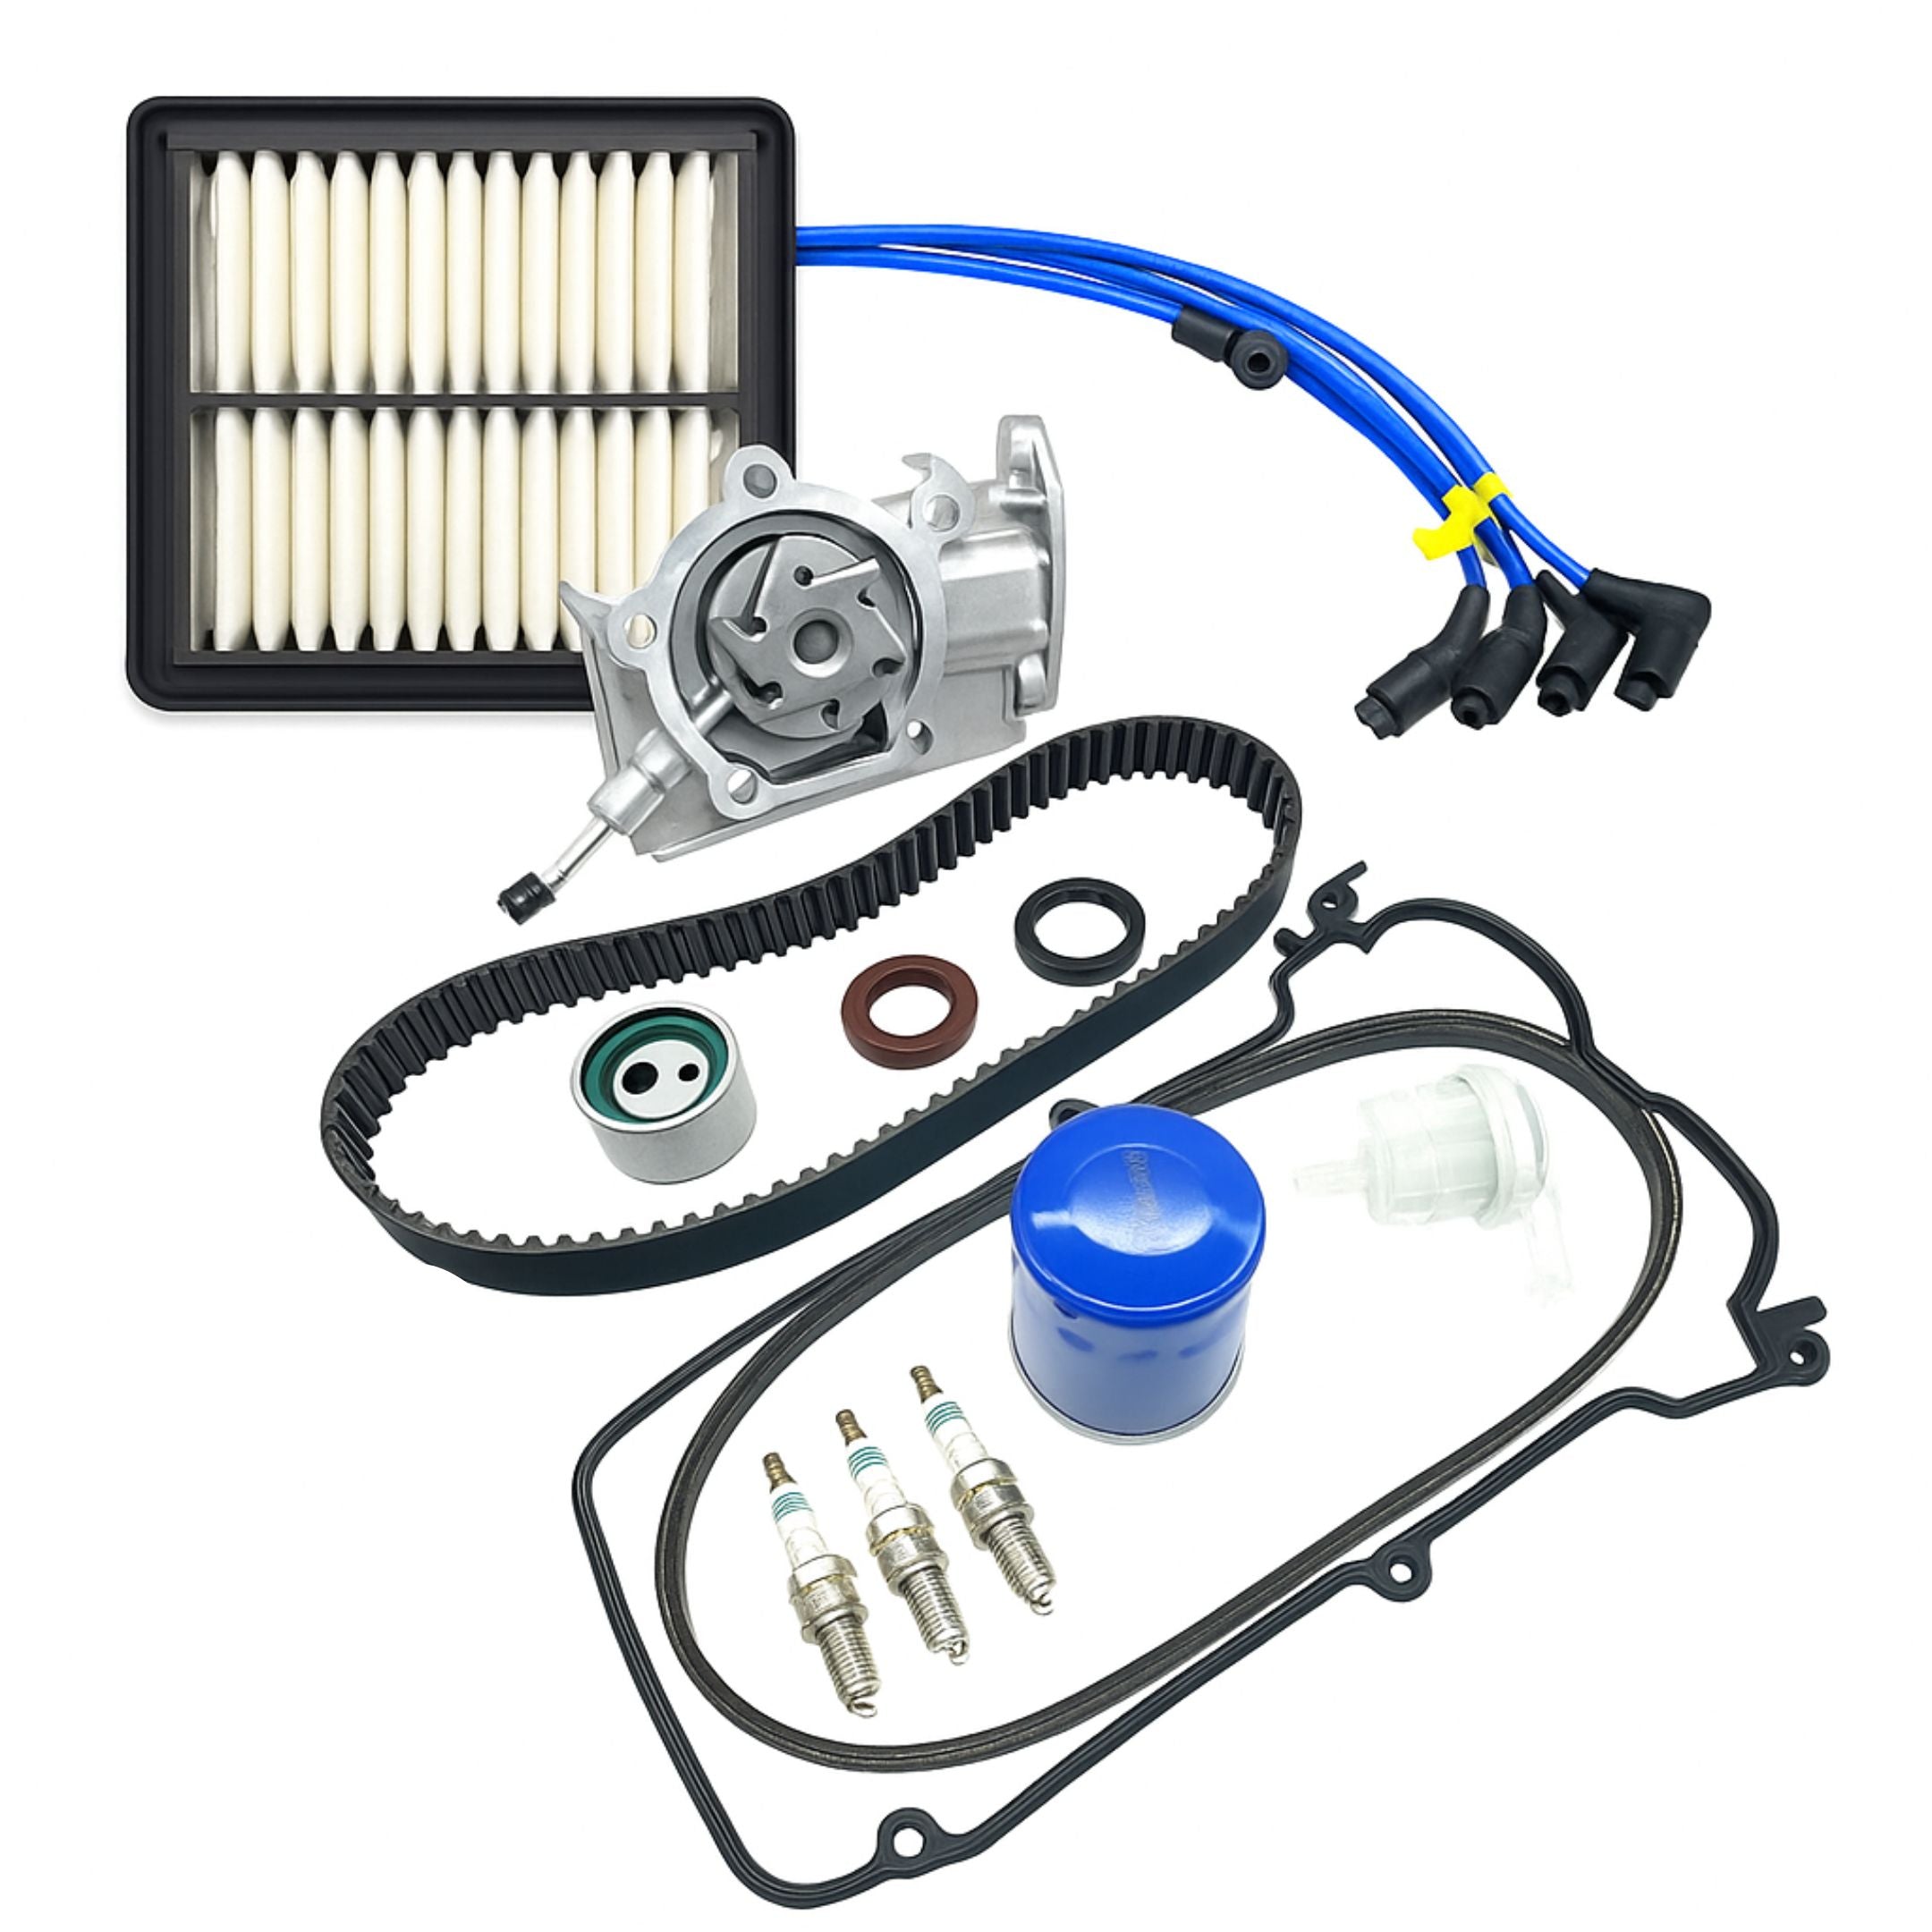
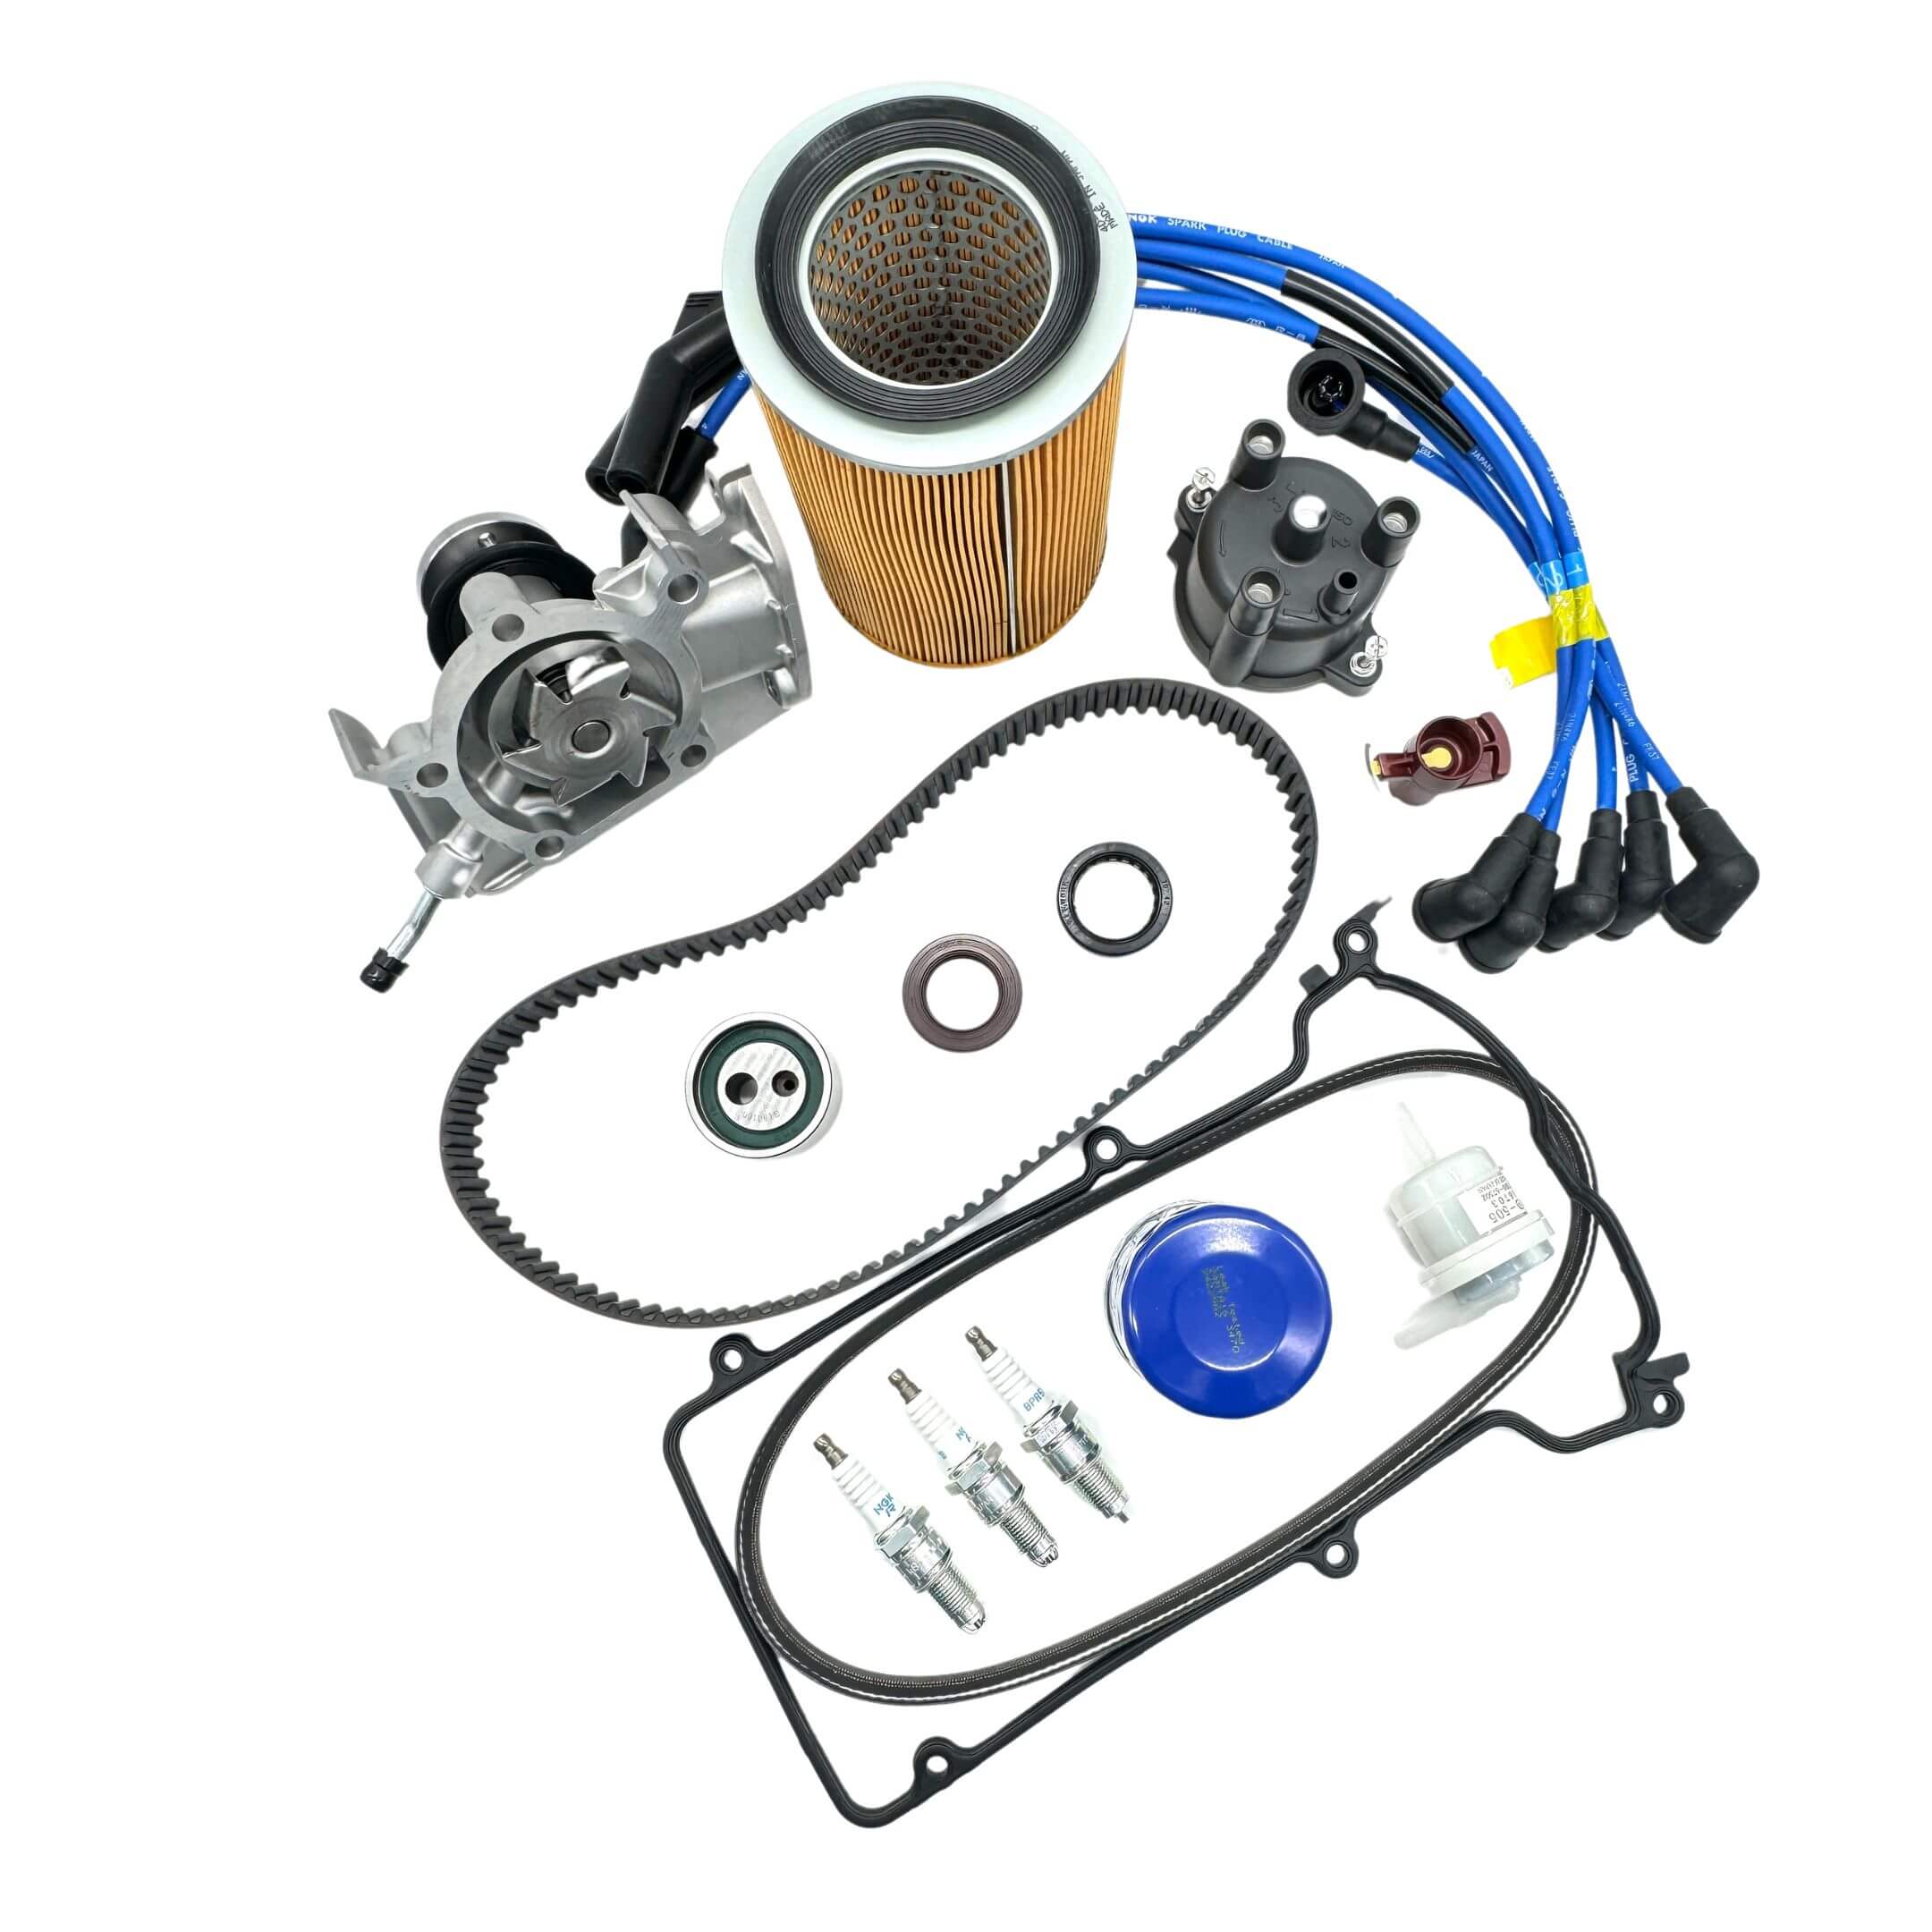
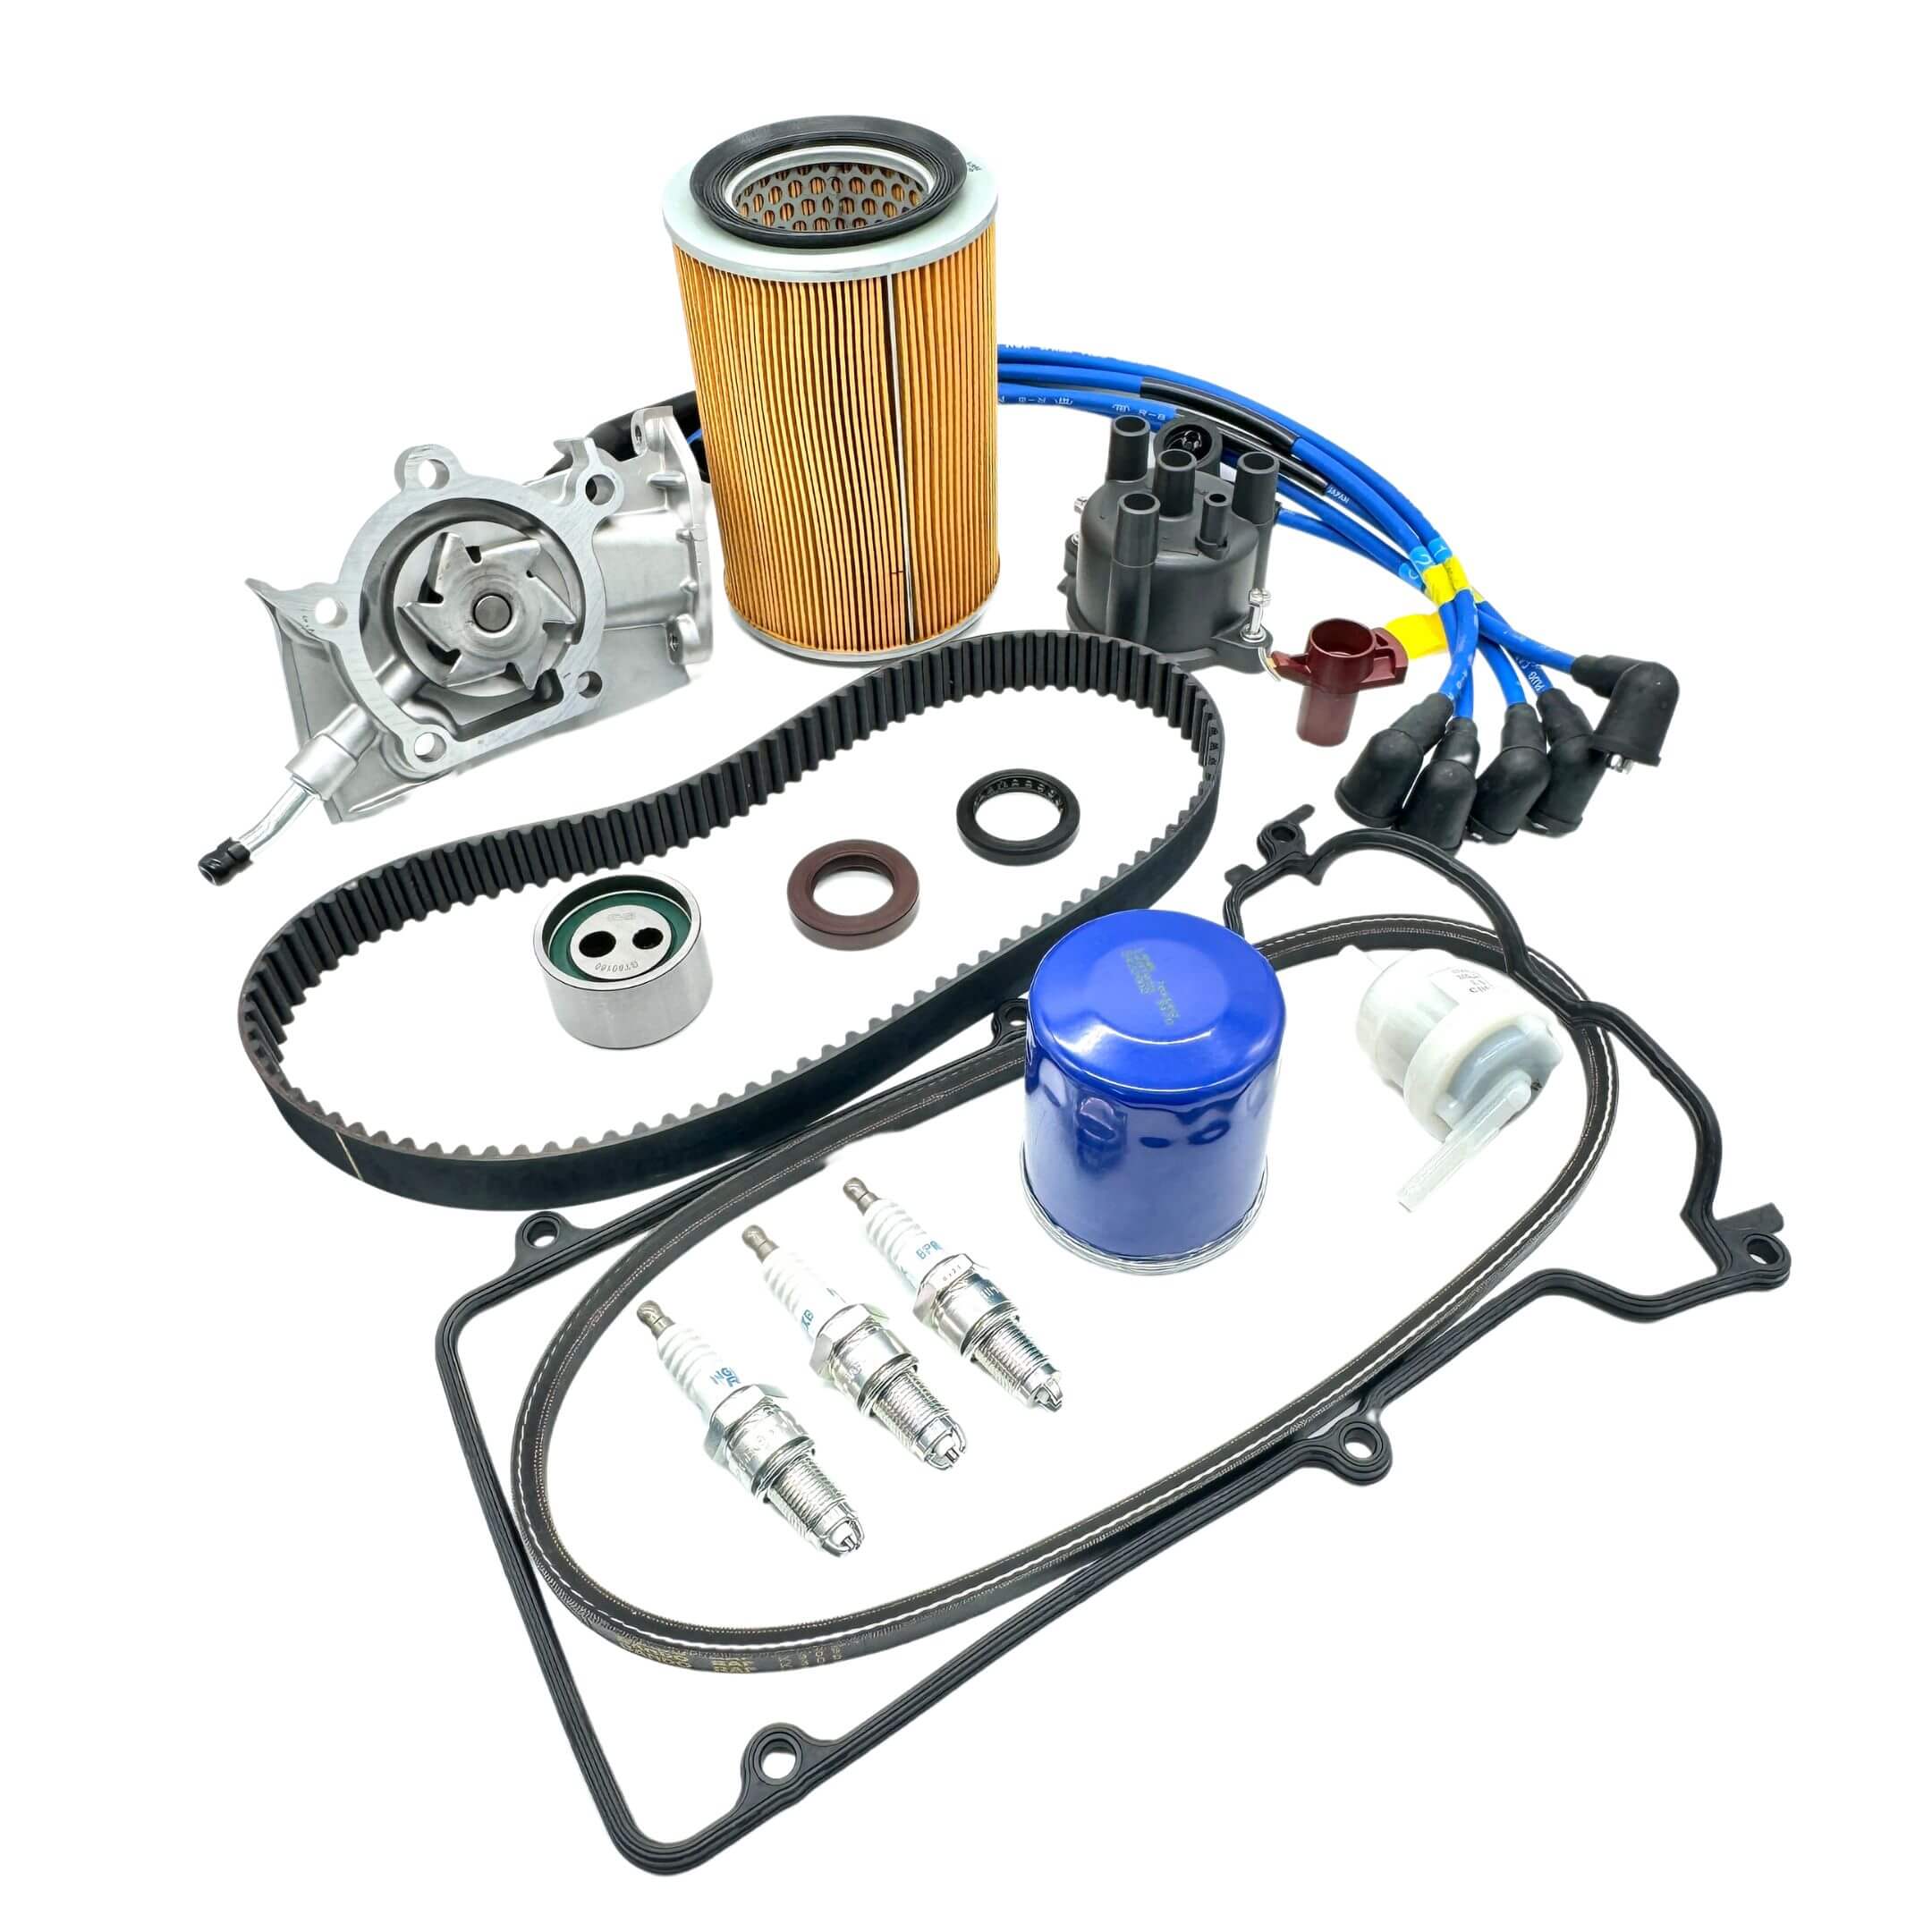
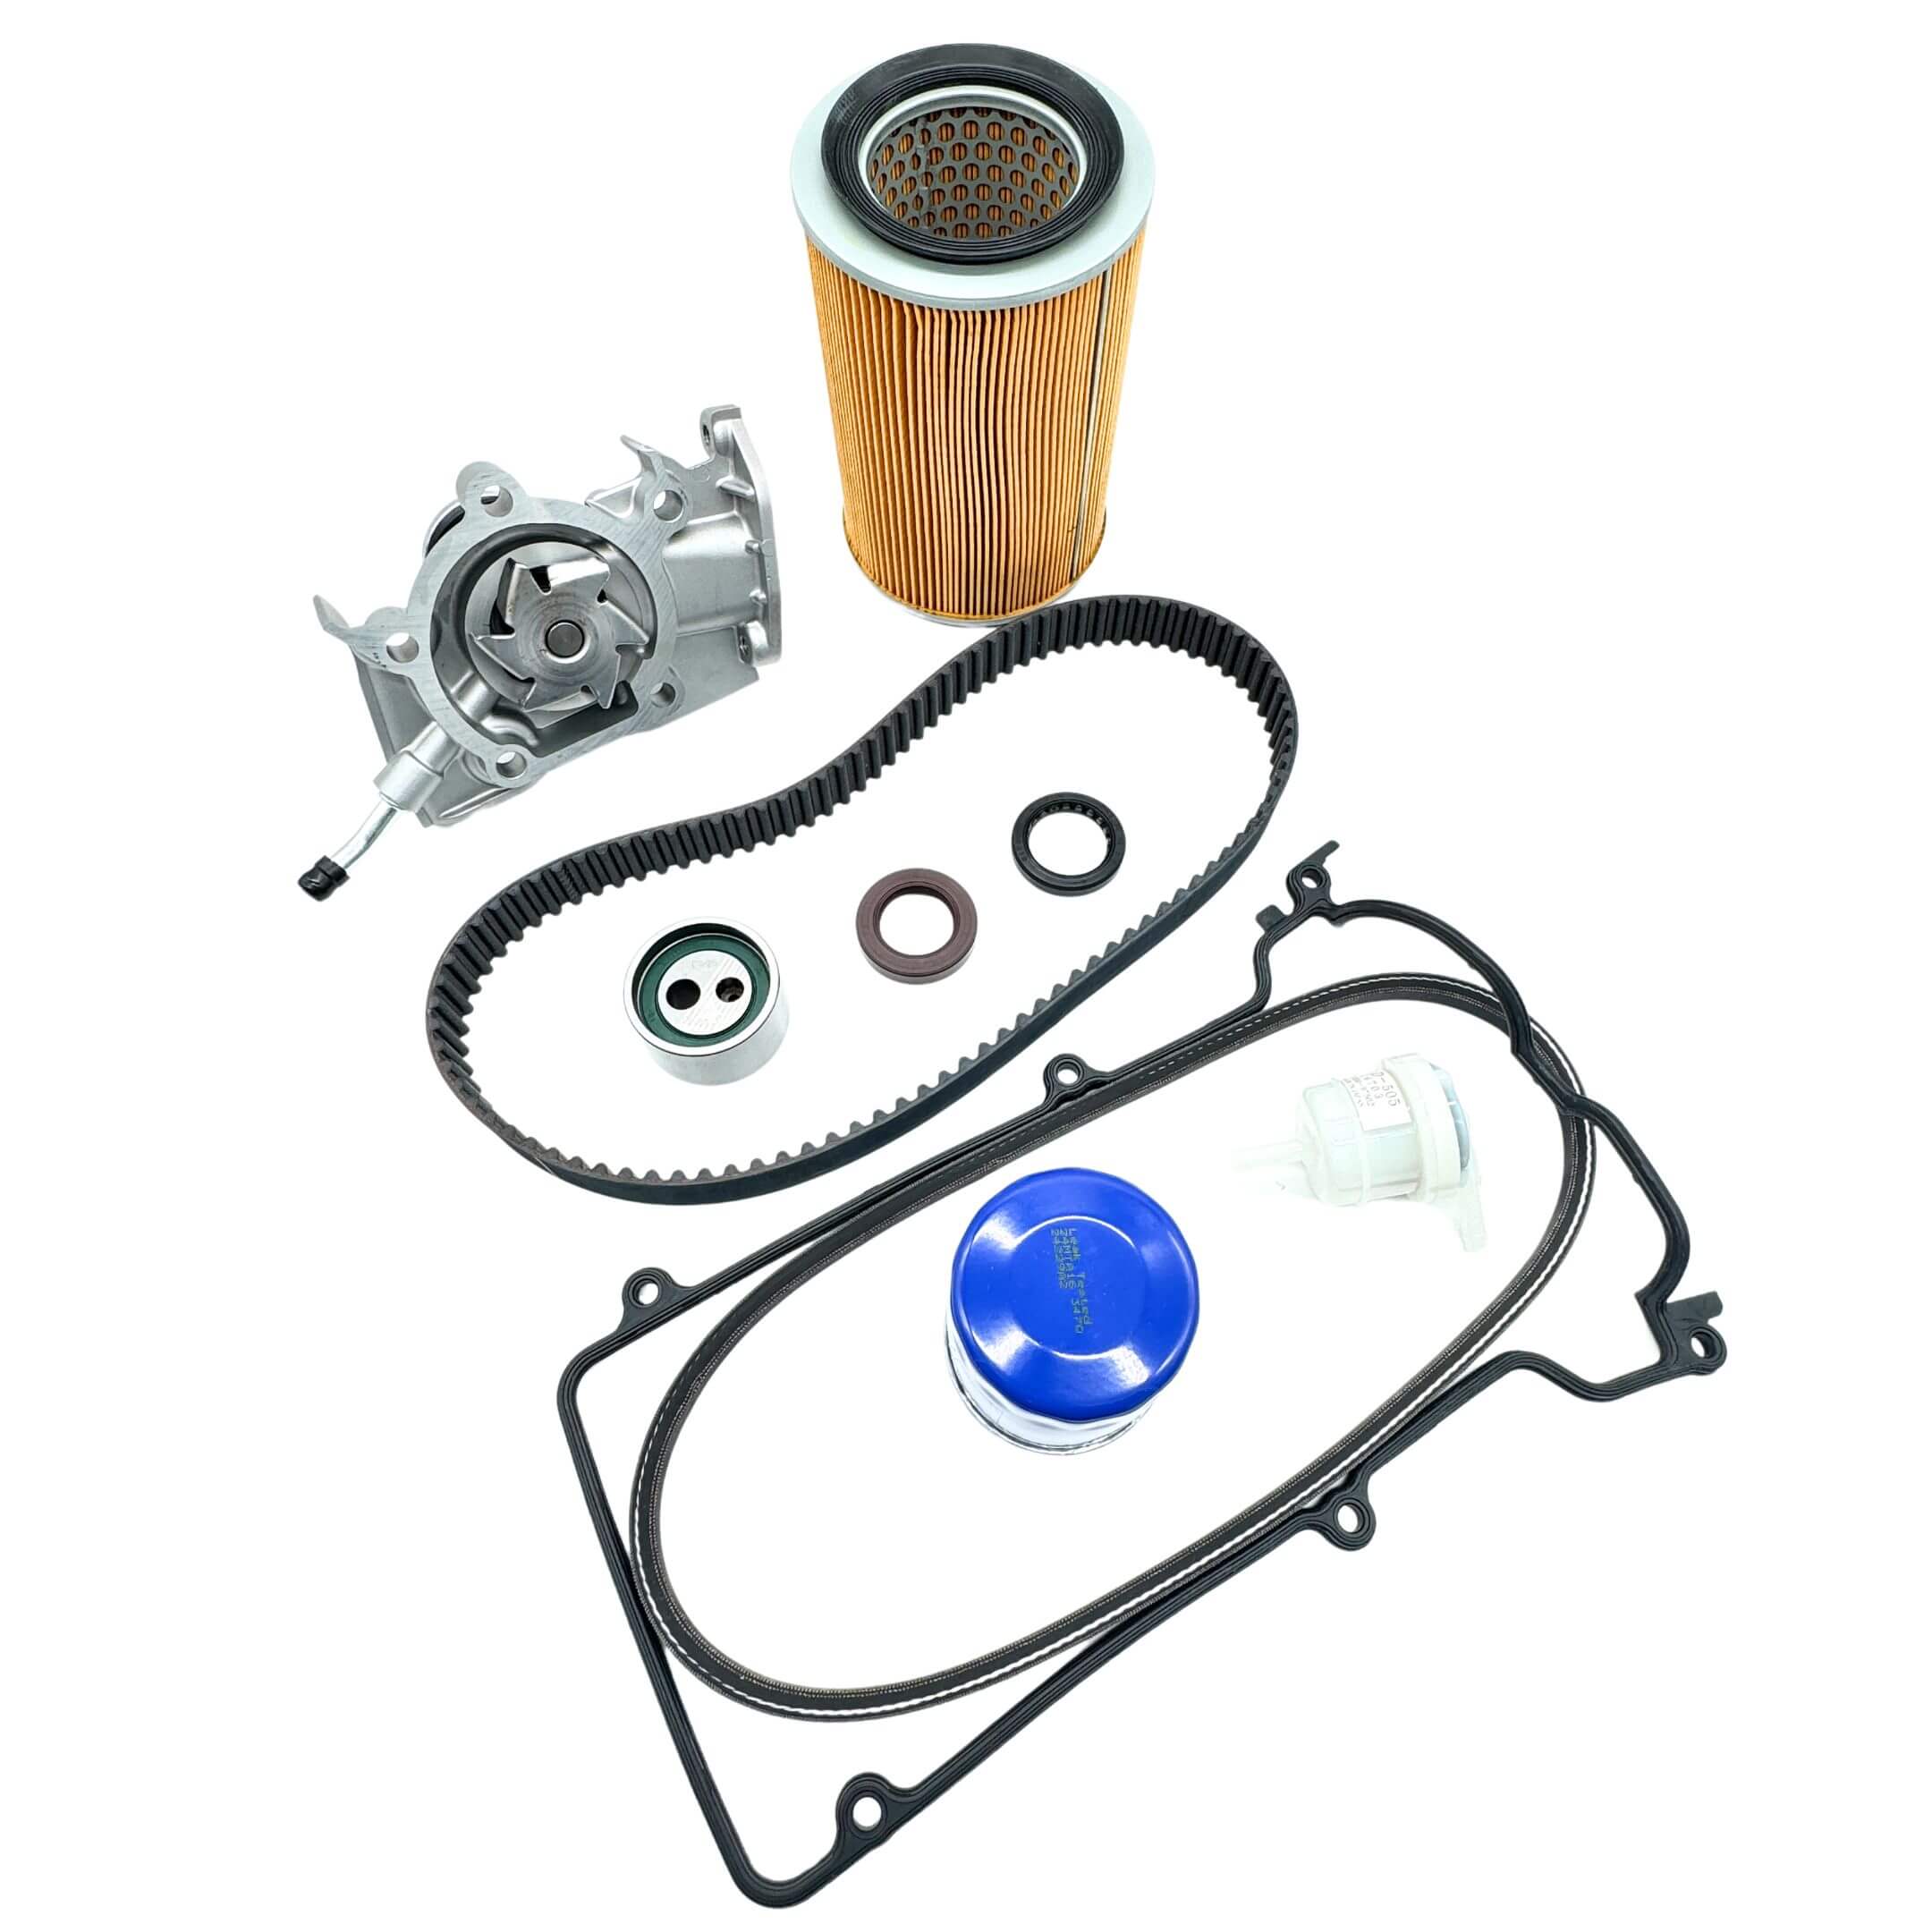
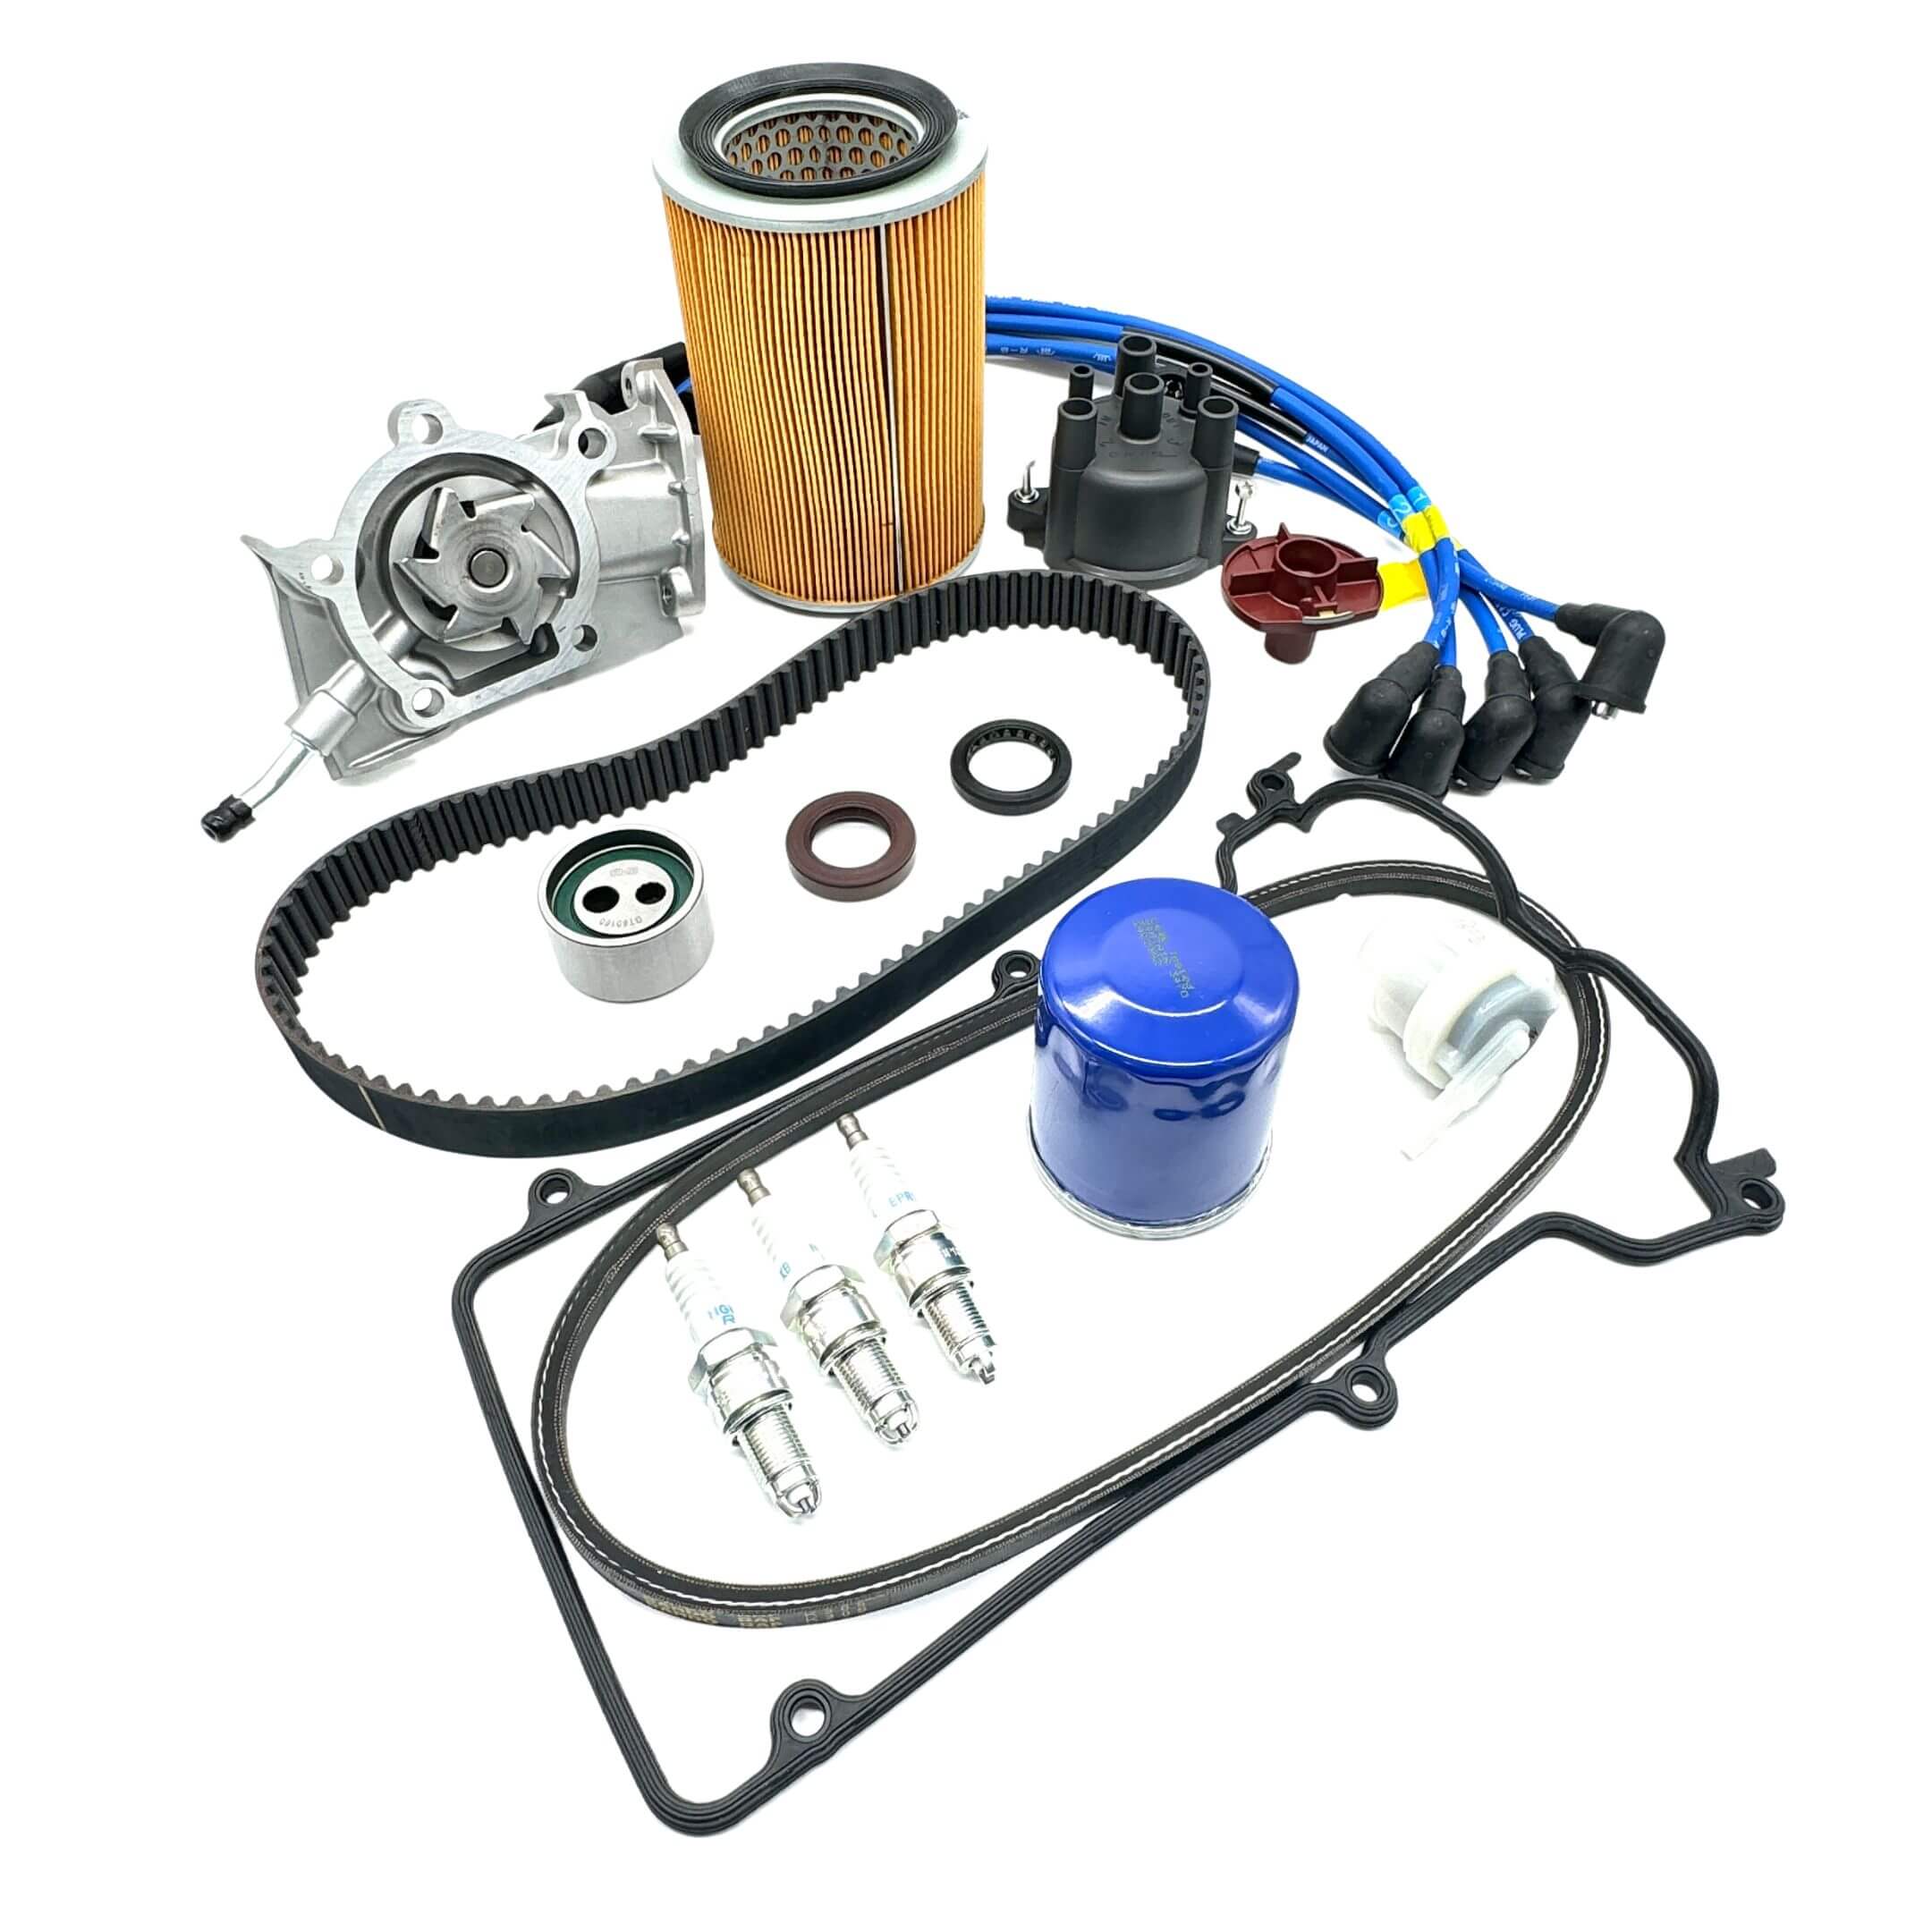
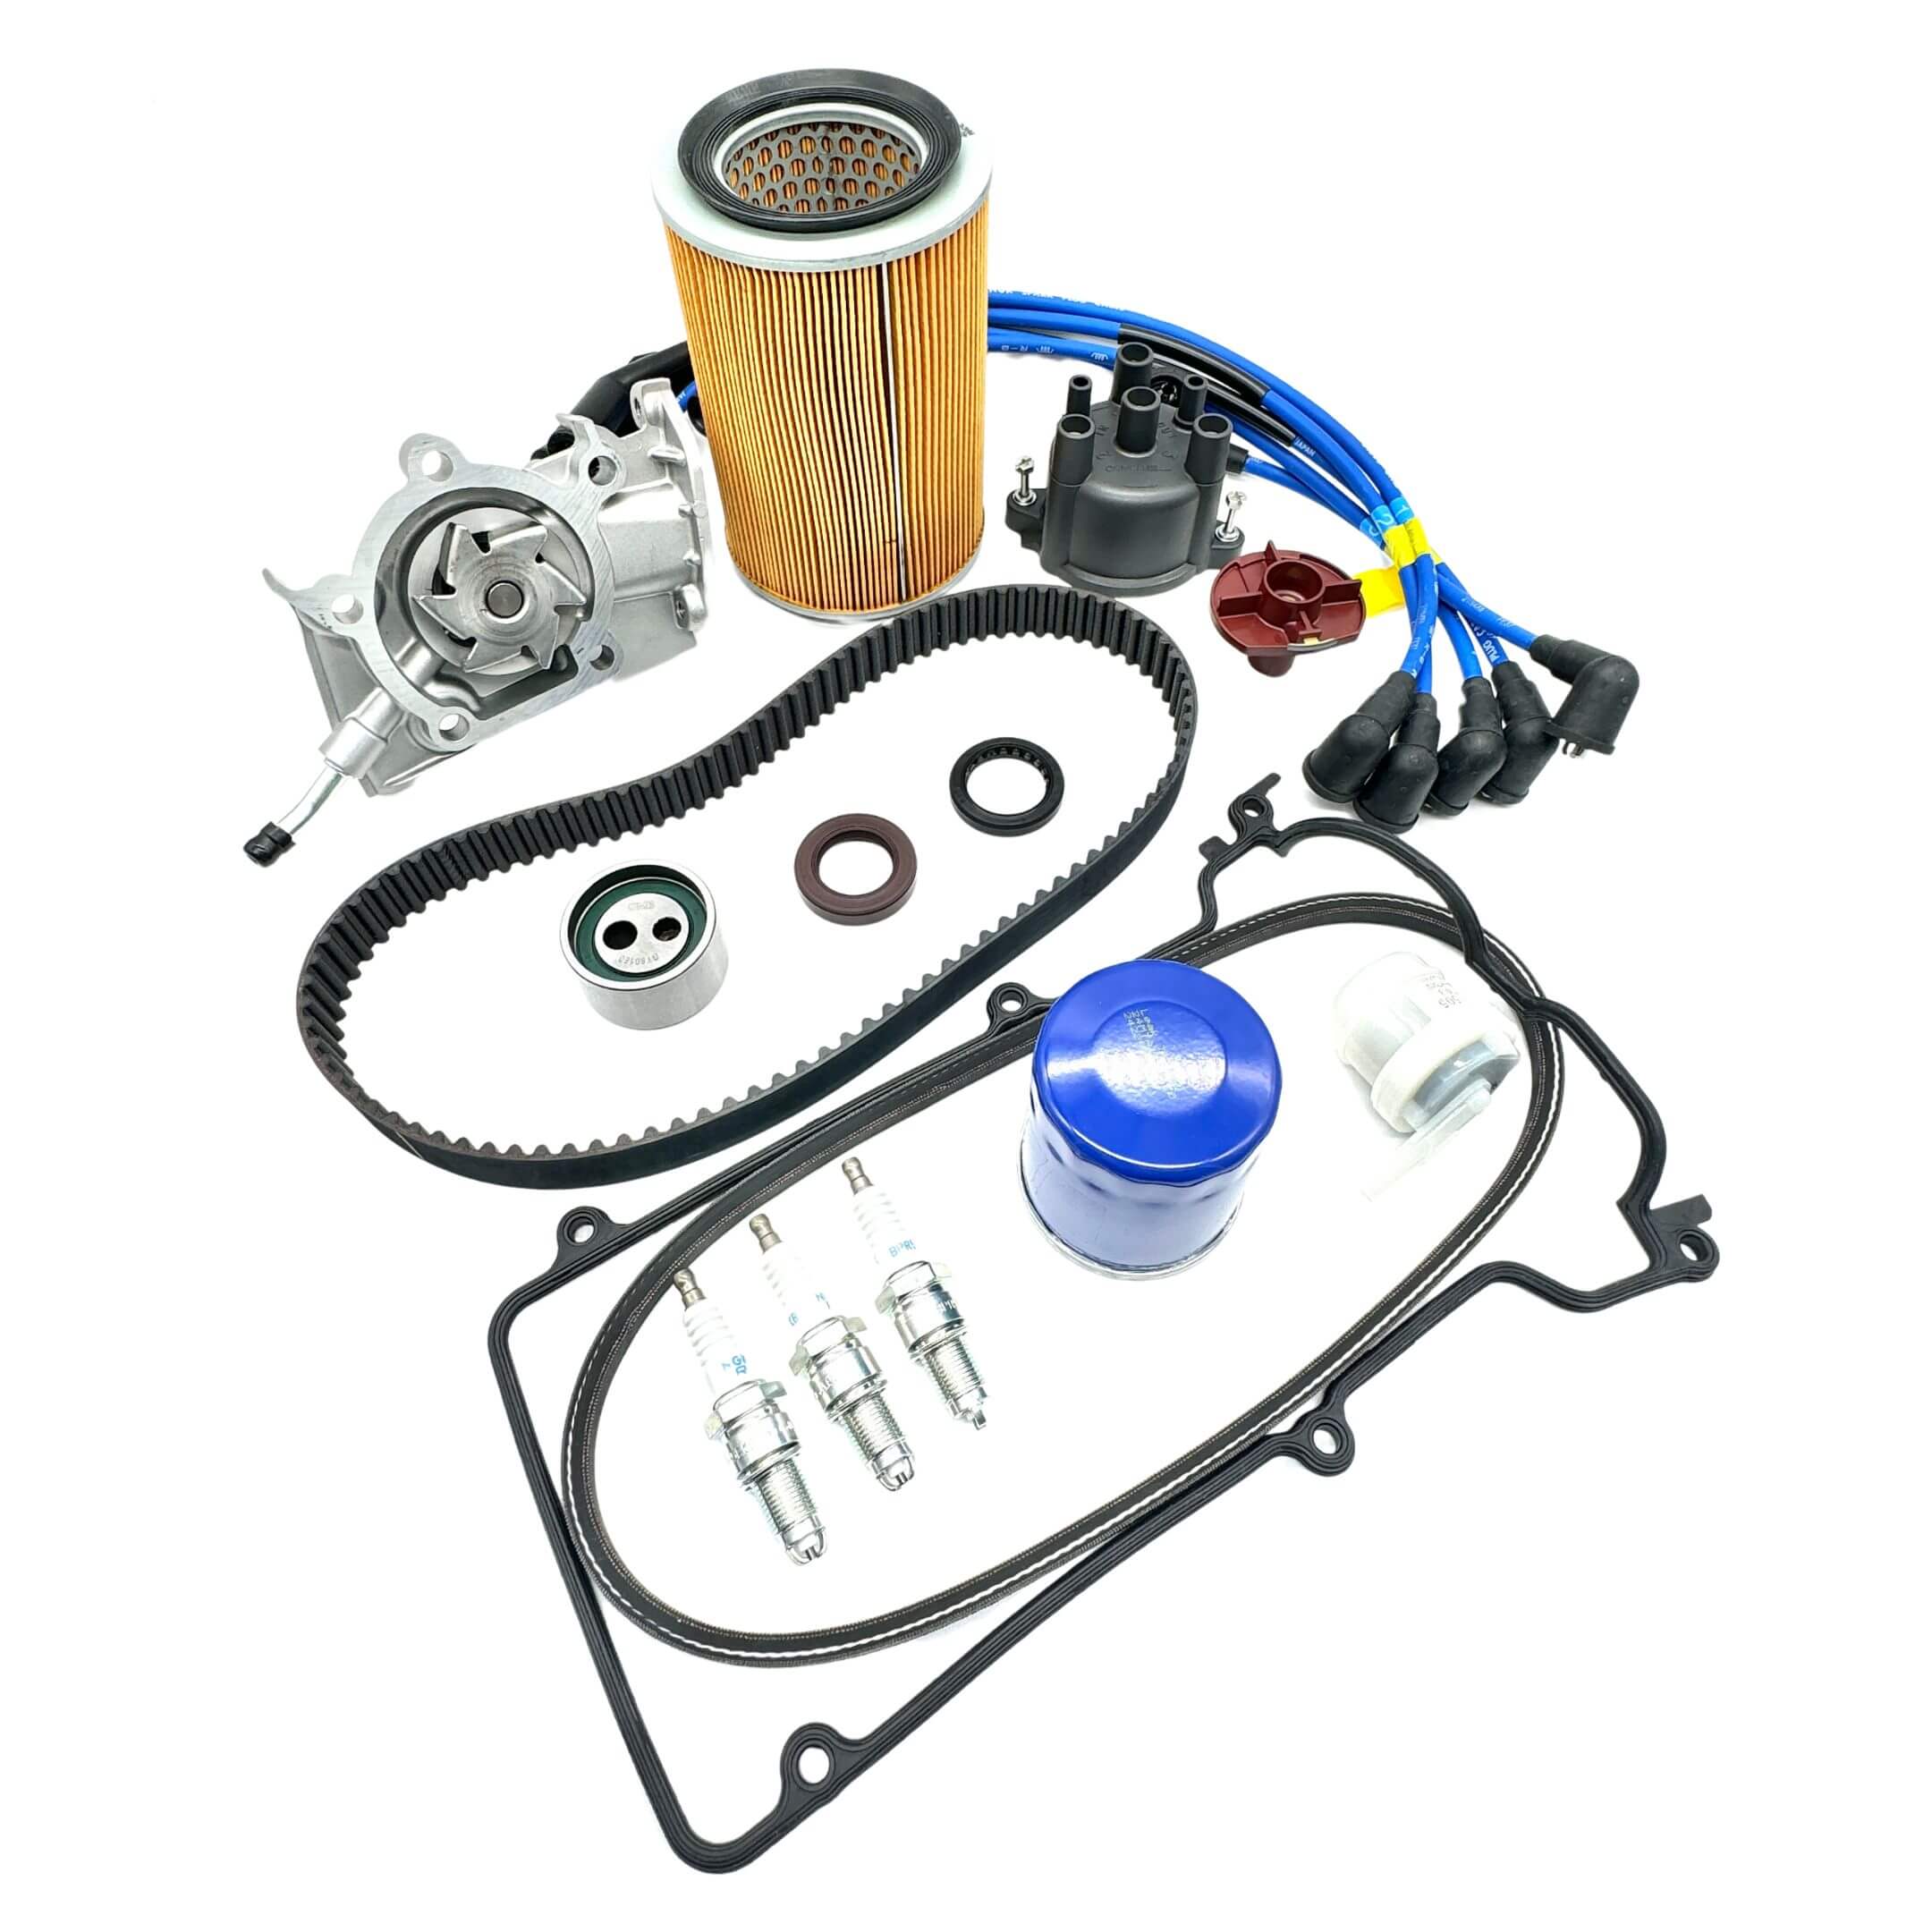
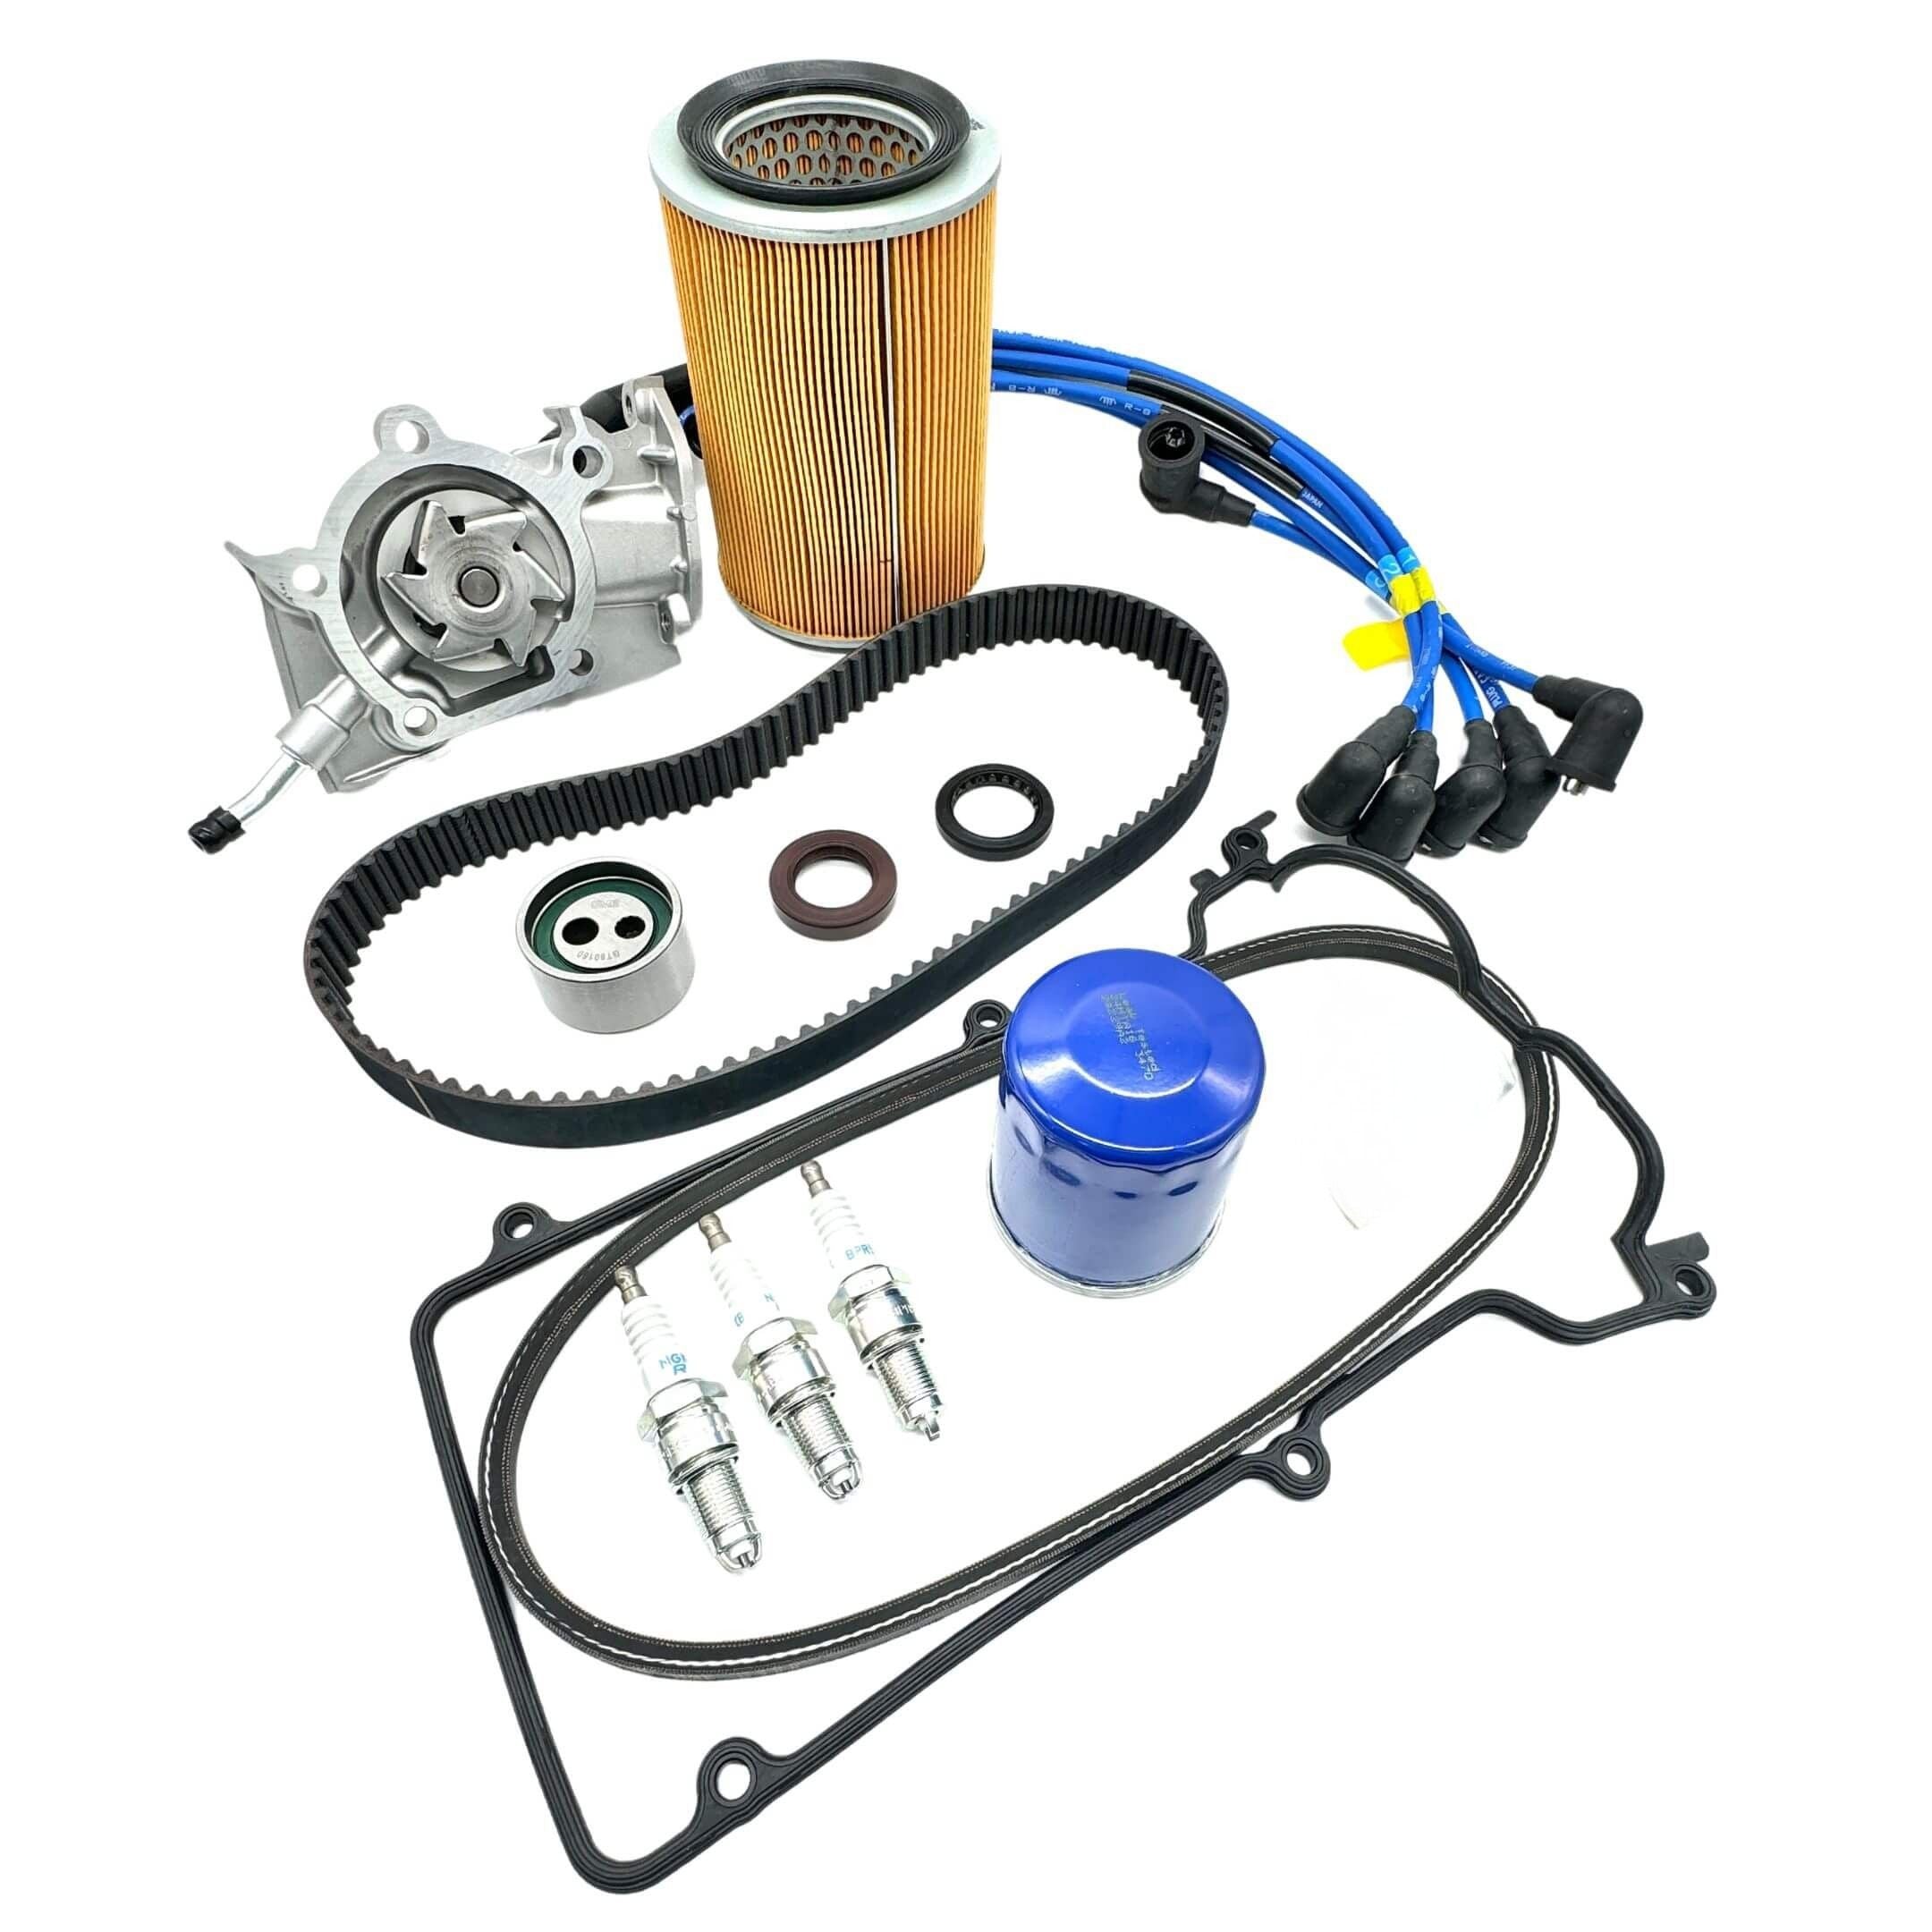
Belts, tensioner pulleys, cam and crank seals, water pumps, and kits from three pieces to nineteen. The ENGINE line on your plate chooses the belt, not the year; on EF-TS confirm the individual product.
Timing belt service parts for the Daihatsu Hijet S100 and S110, 1994 to 1998: belts, tensioner pulleys, camshaft and crankshaft seals, water pumps, and kits from three pieces up to nineteen. The ENGINE line on your plate chooses the belt, not the year; on EF-TS confirm the individual product.
Start with the ENGINE code on your plate, then confirm each product's fitment.
The ENGINE line on your identification plate is the starting point for choosing a belt, not the year and not the chassis code.
Confirm the fitment stated on the individual product before ordering; on EF-TS the engine code alone is not enough to settle it.
Some catalog applications here extend to S120 and S130 where that product states it. What we can supply varies by part, so check the individual product page.
Find Your Truck
The identification plate carries two lines that matter here. The CHASSIS NO. tells you the model. The ENGINE line is where belt selection starts. Read it first. The year on its own will not choose a belt for you, and neither will the chassis code. Then confirm the fitment stated on the individual product before you order.


How the catalog groups the engine codes
This grouping comes from Oiwa’s own catalog, not from the factory manual. The Daihatsu service manual used for this collection covers EF-NS, EF-ES and EF-TS and never uses the terms SOHC or DOHC. Treat the table below as catalog fitment guidance, not as an engine-architecture claim.
| Engine codes | Fitment guidance |
|---|---|
| EF-NS, EF-ES, EF-TS | These three codes share one belt family, and 19 of the 23 kits here are built on it. Use the fitment stated on the individual product, and read the EF-TS note below before you order. |
| EF-GS, EF-ZS, EF-RS, EF-ZL | These four codes share the other belt family, and 4 of the 23 kits are built on it. Confirm the fitment stated on the individual product for your engine code. |
S120 and S130
This collection is primarily organized around Daihatsu Hijet S100 and S110 timing-belt service parts. Certain catalog-listed applications extend to S120 and S130 models where the individual product fitment explicitly states S120/S130 coverage. That coverage is product by product. It is not a blanket statement about the collection, and the factory procedures reproduced on this page were verified against material covering S100 and S110. If your truck is an S120 or S130, read the fitment on the product itself or add your chassis code at checkout.
Choose Your Parts
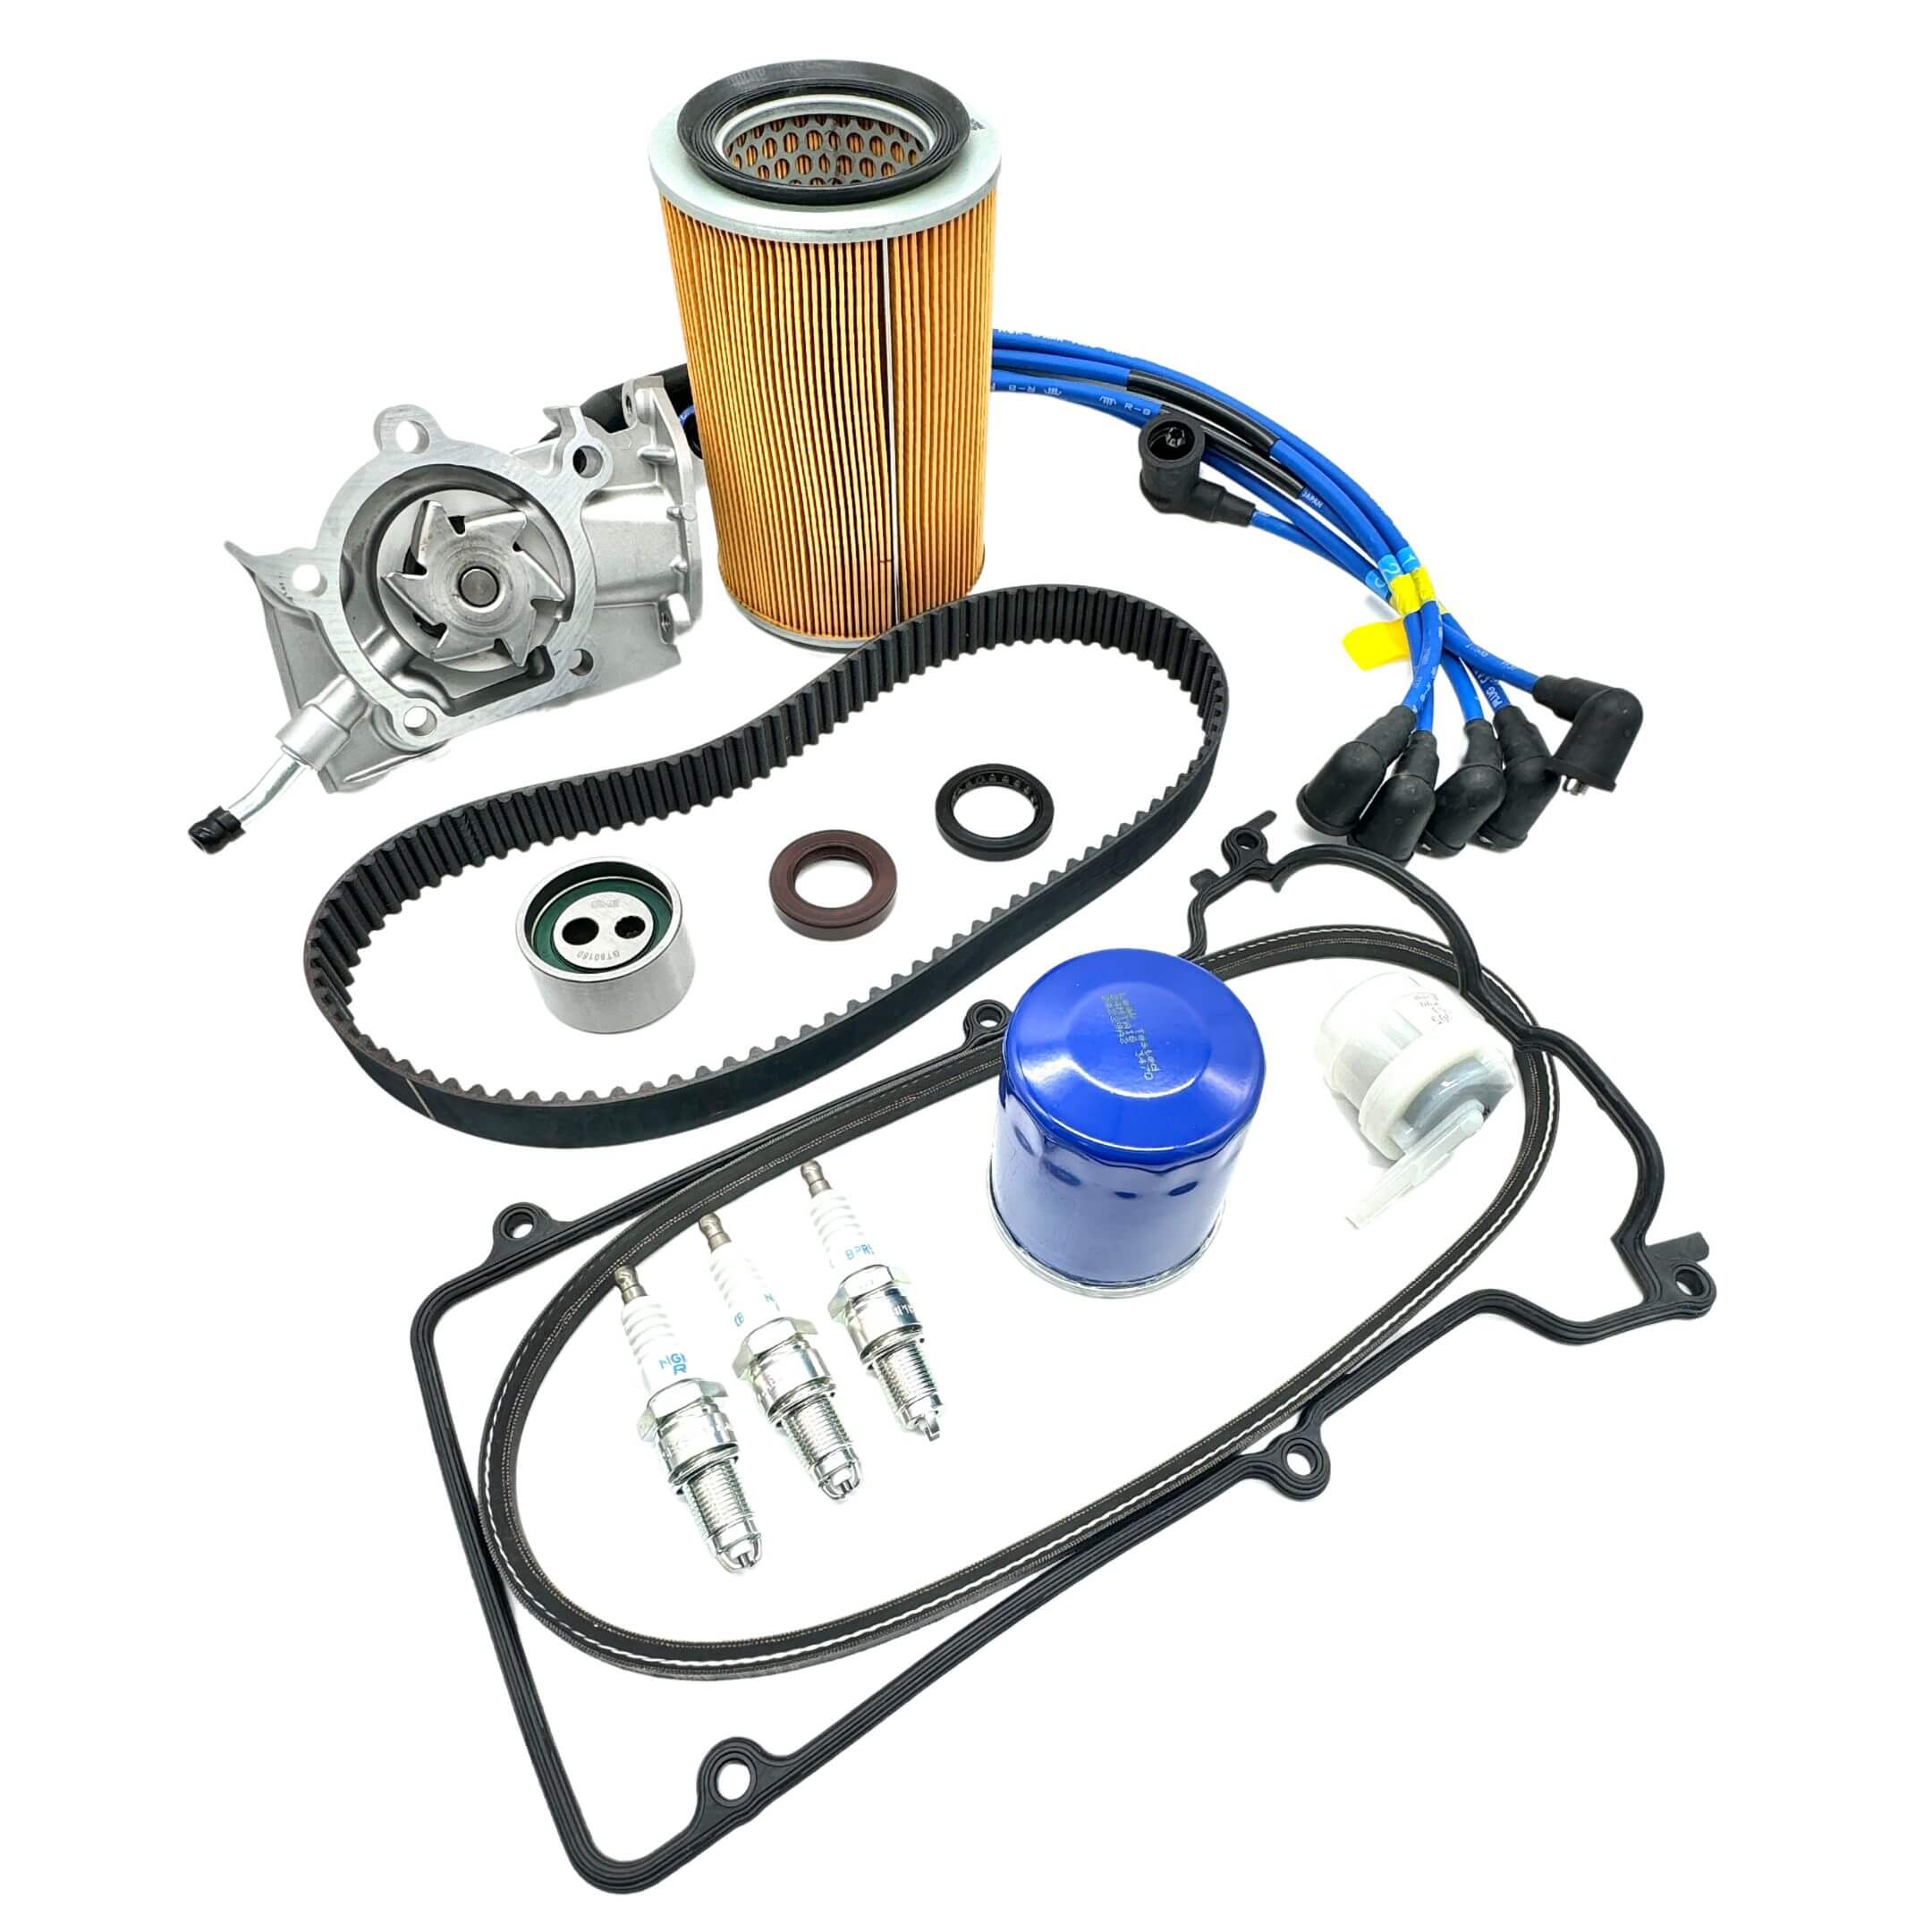
Six kinds of part. Belts, tensioners, water pumps and the camshaft and crankshaft seals shown here are grouped because their service work overlaps with timing-belt access: once the covers are off, the labour is already spent.
What is in this collection
| What you are buying | What is in the box | Choose it when |
|---|---|---|
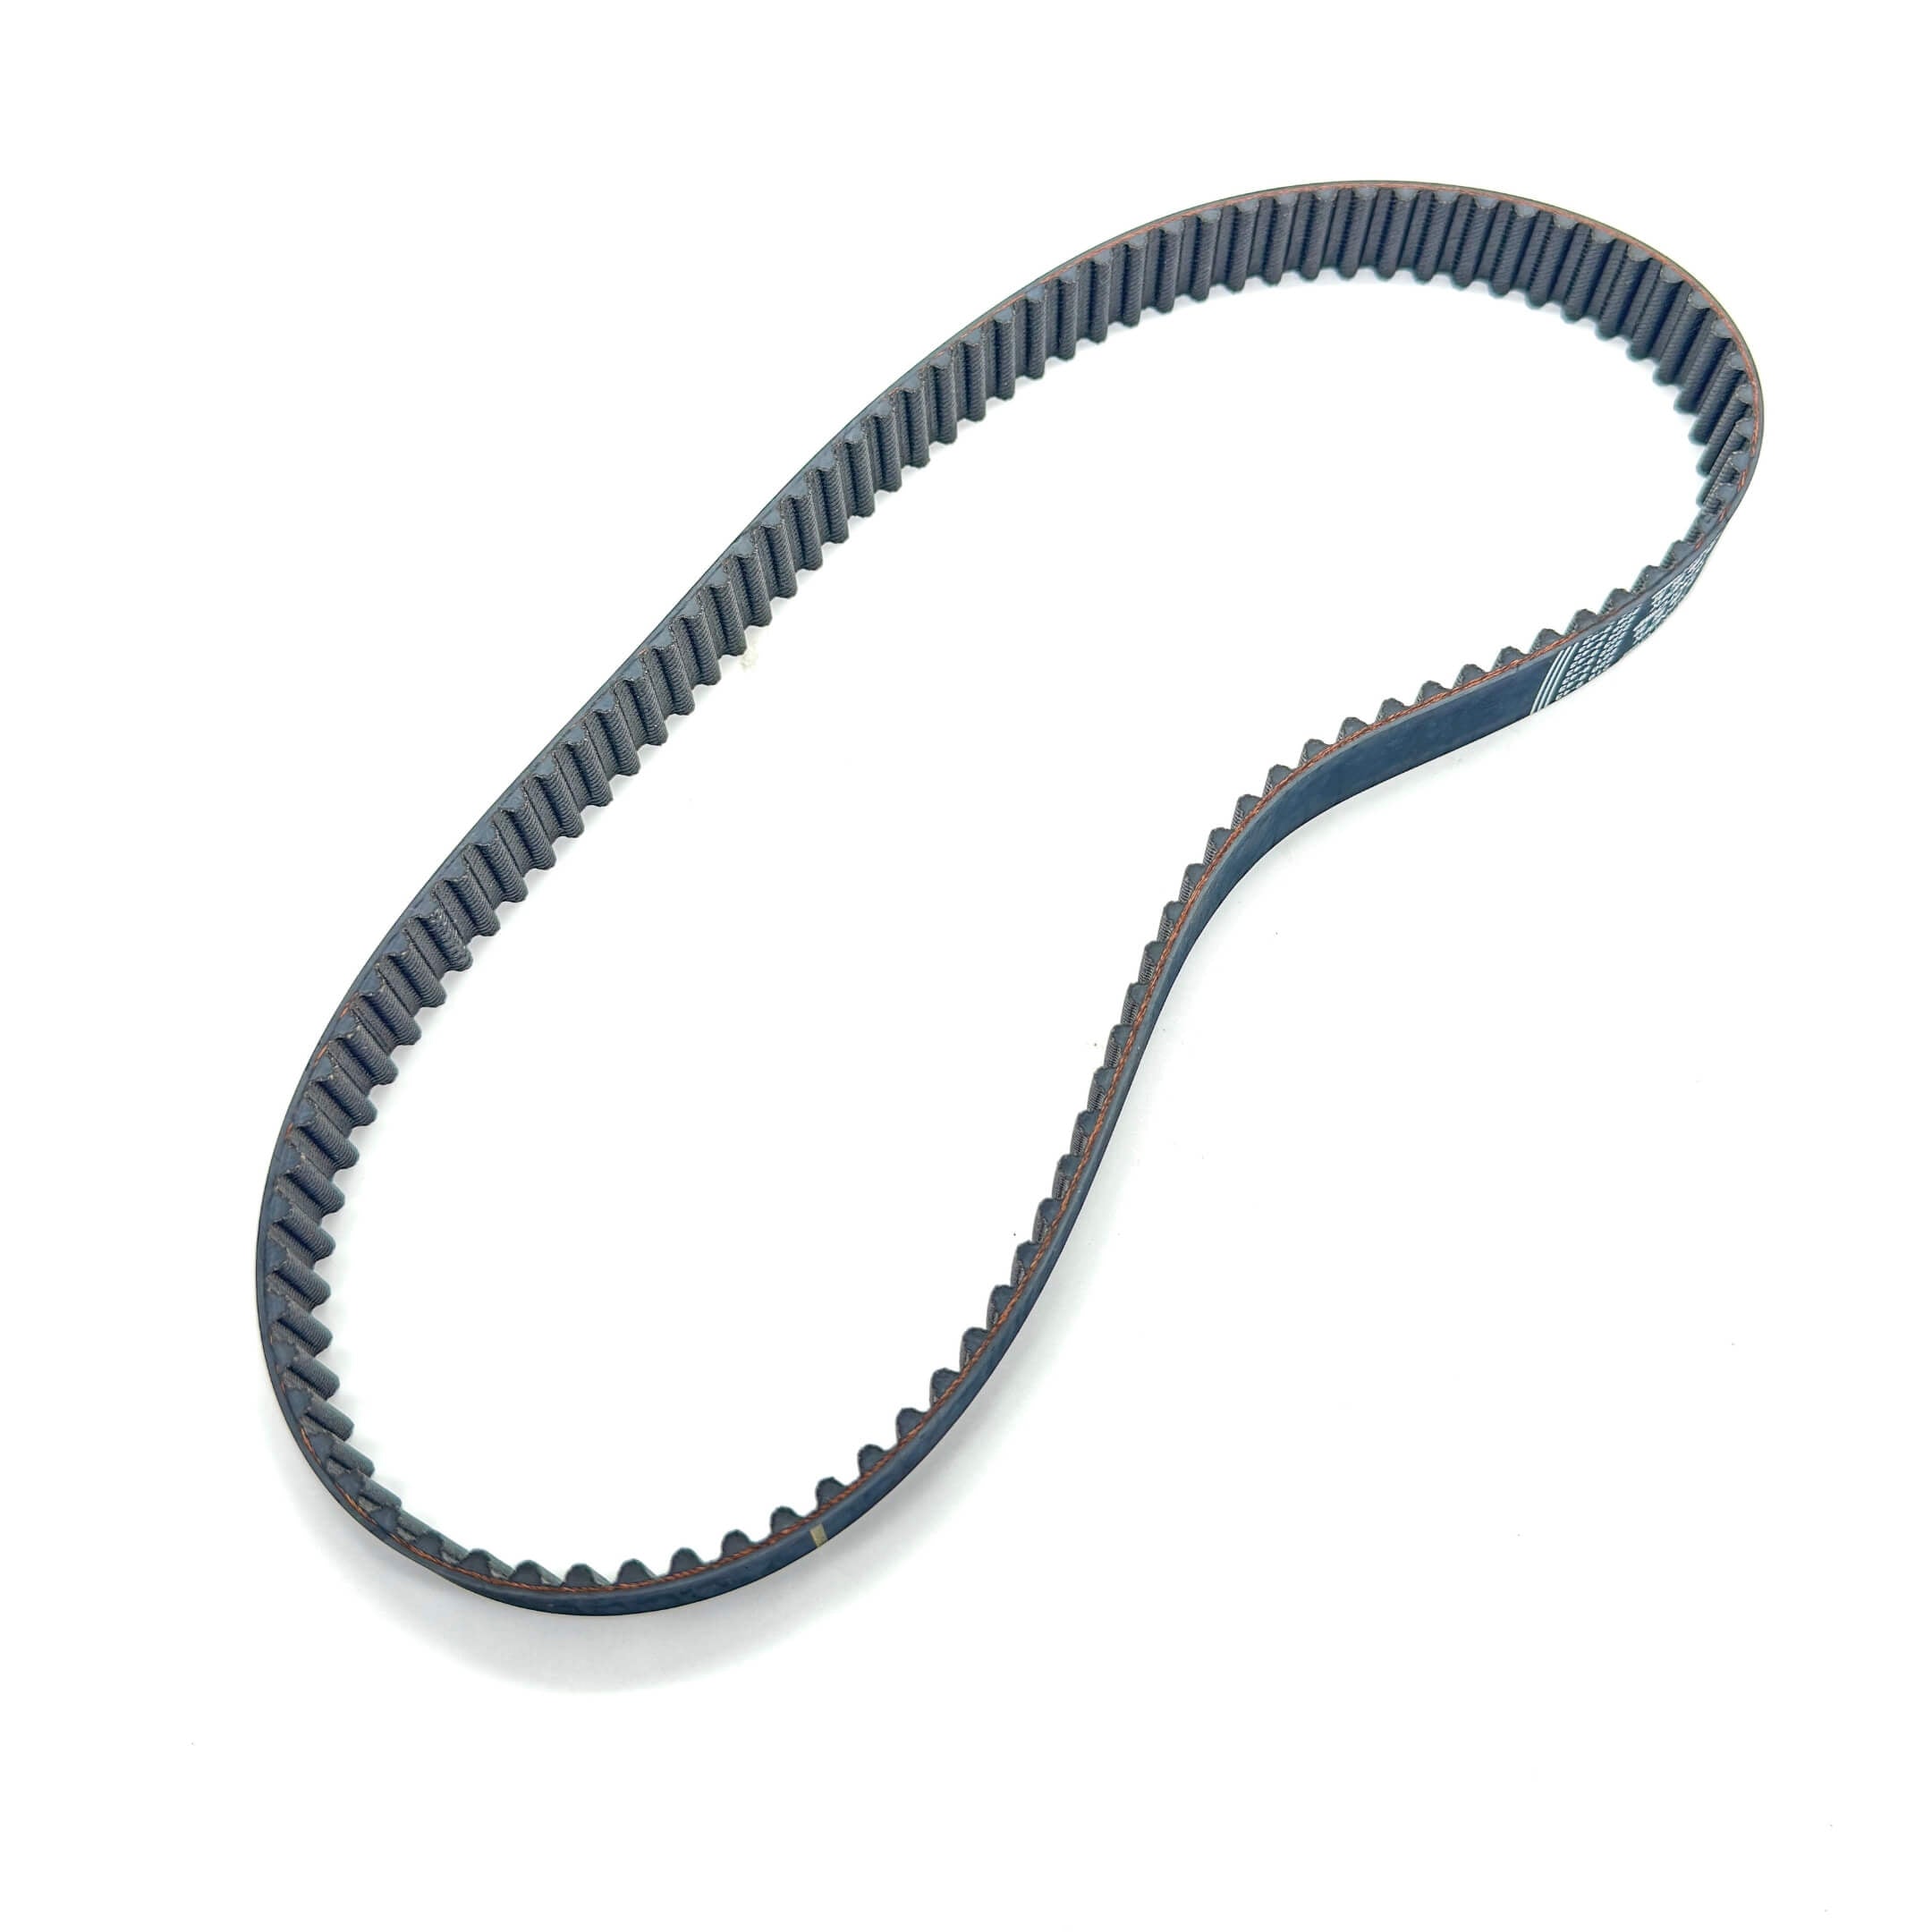
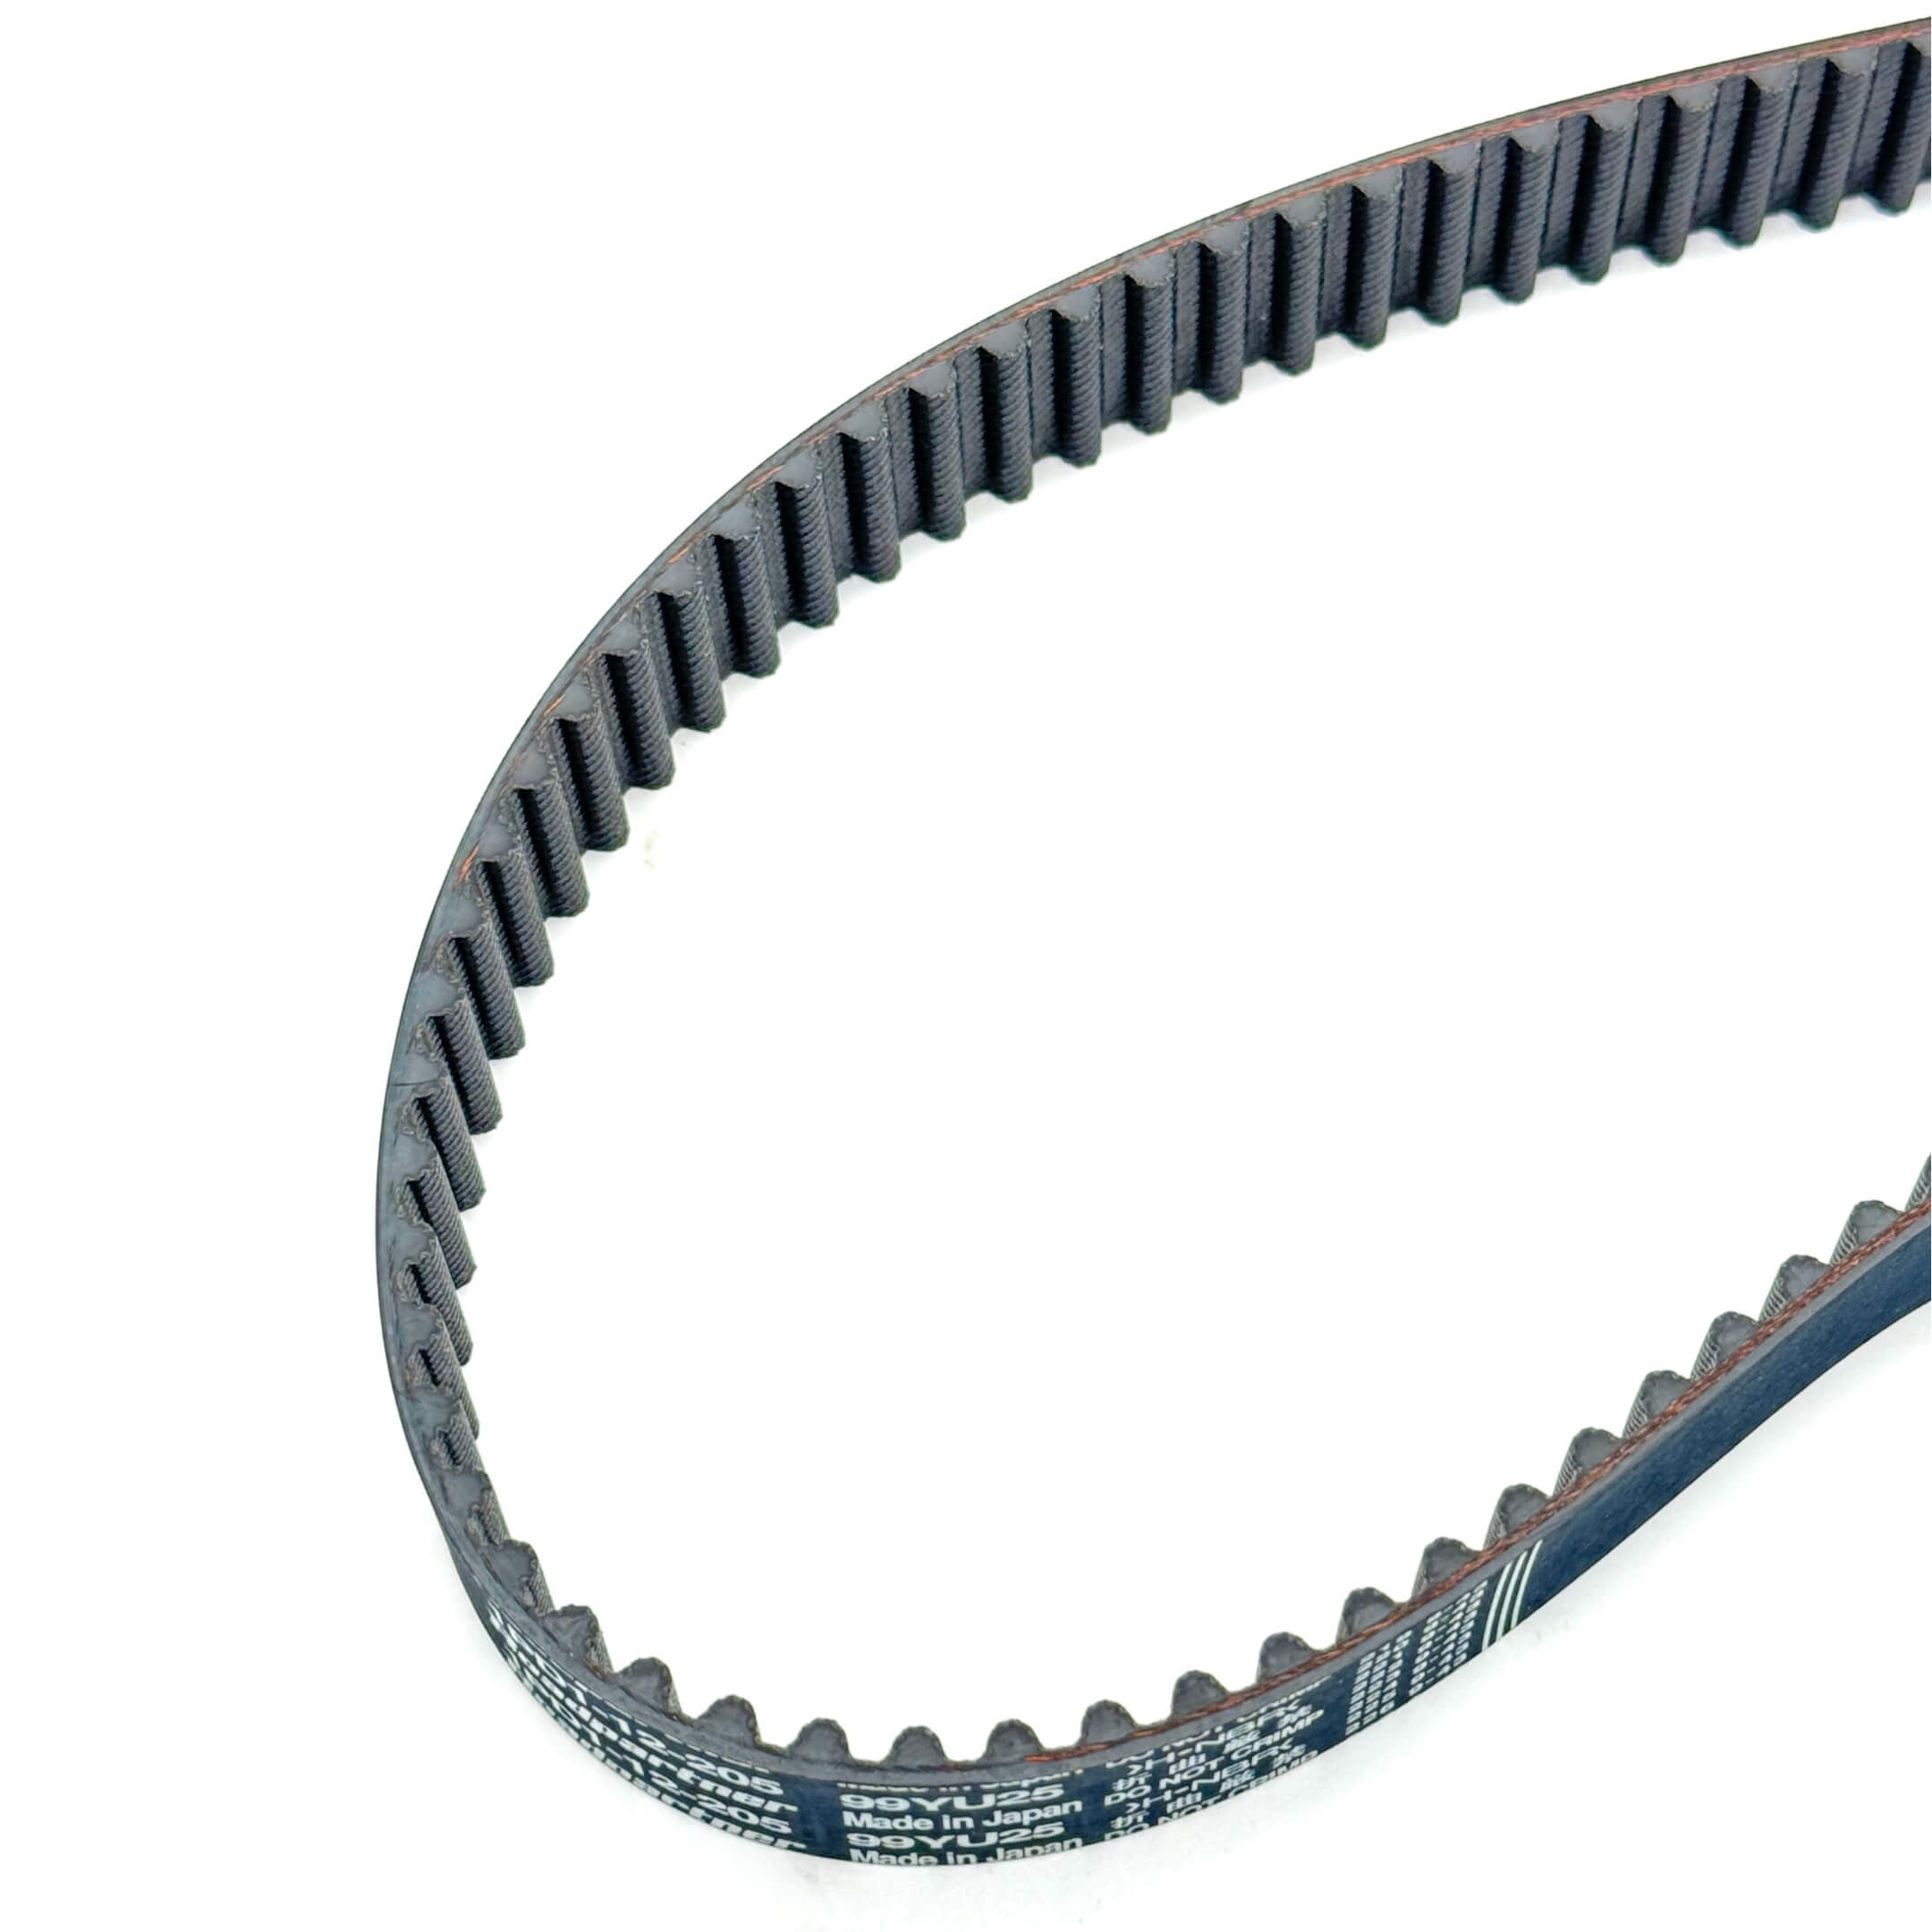
| Timing belt | The belt on its own. Two belt part numbers run through this catalog and they are not interchangeable. | The front of the engine was opened recently and the belt is the only thing due. |
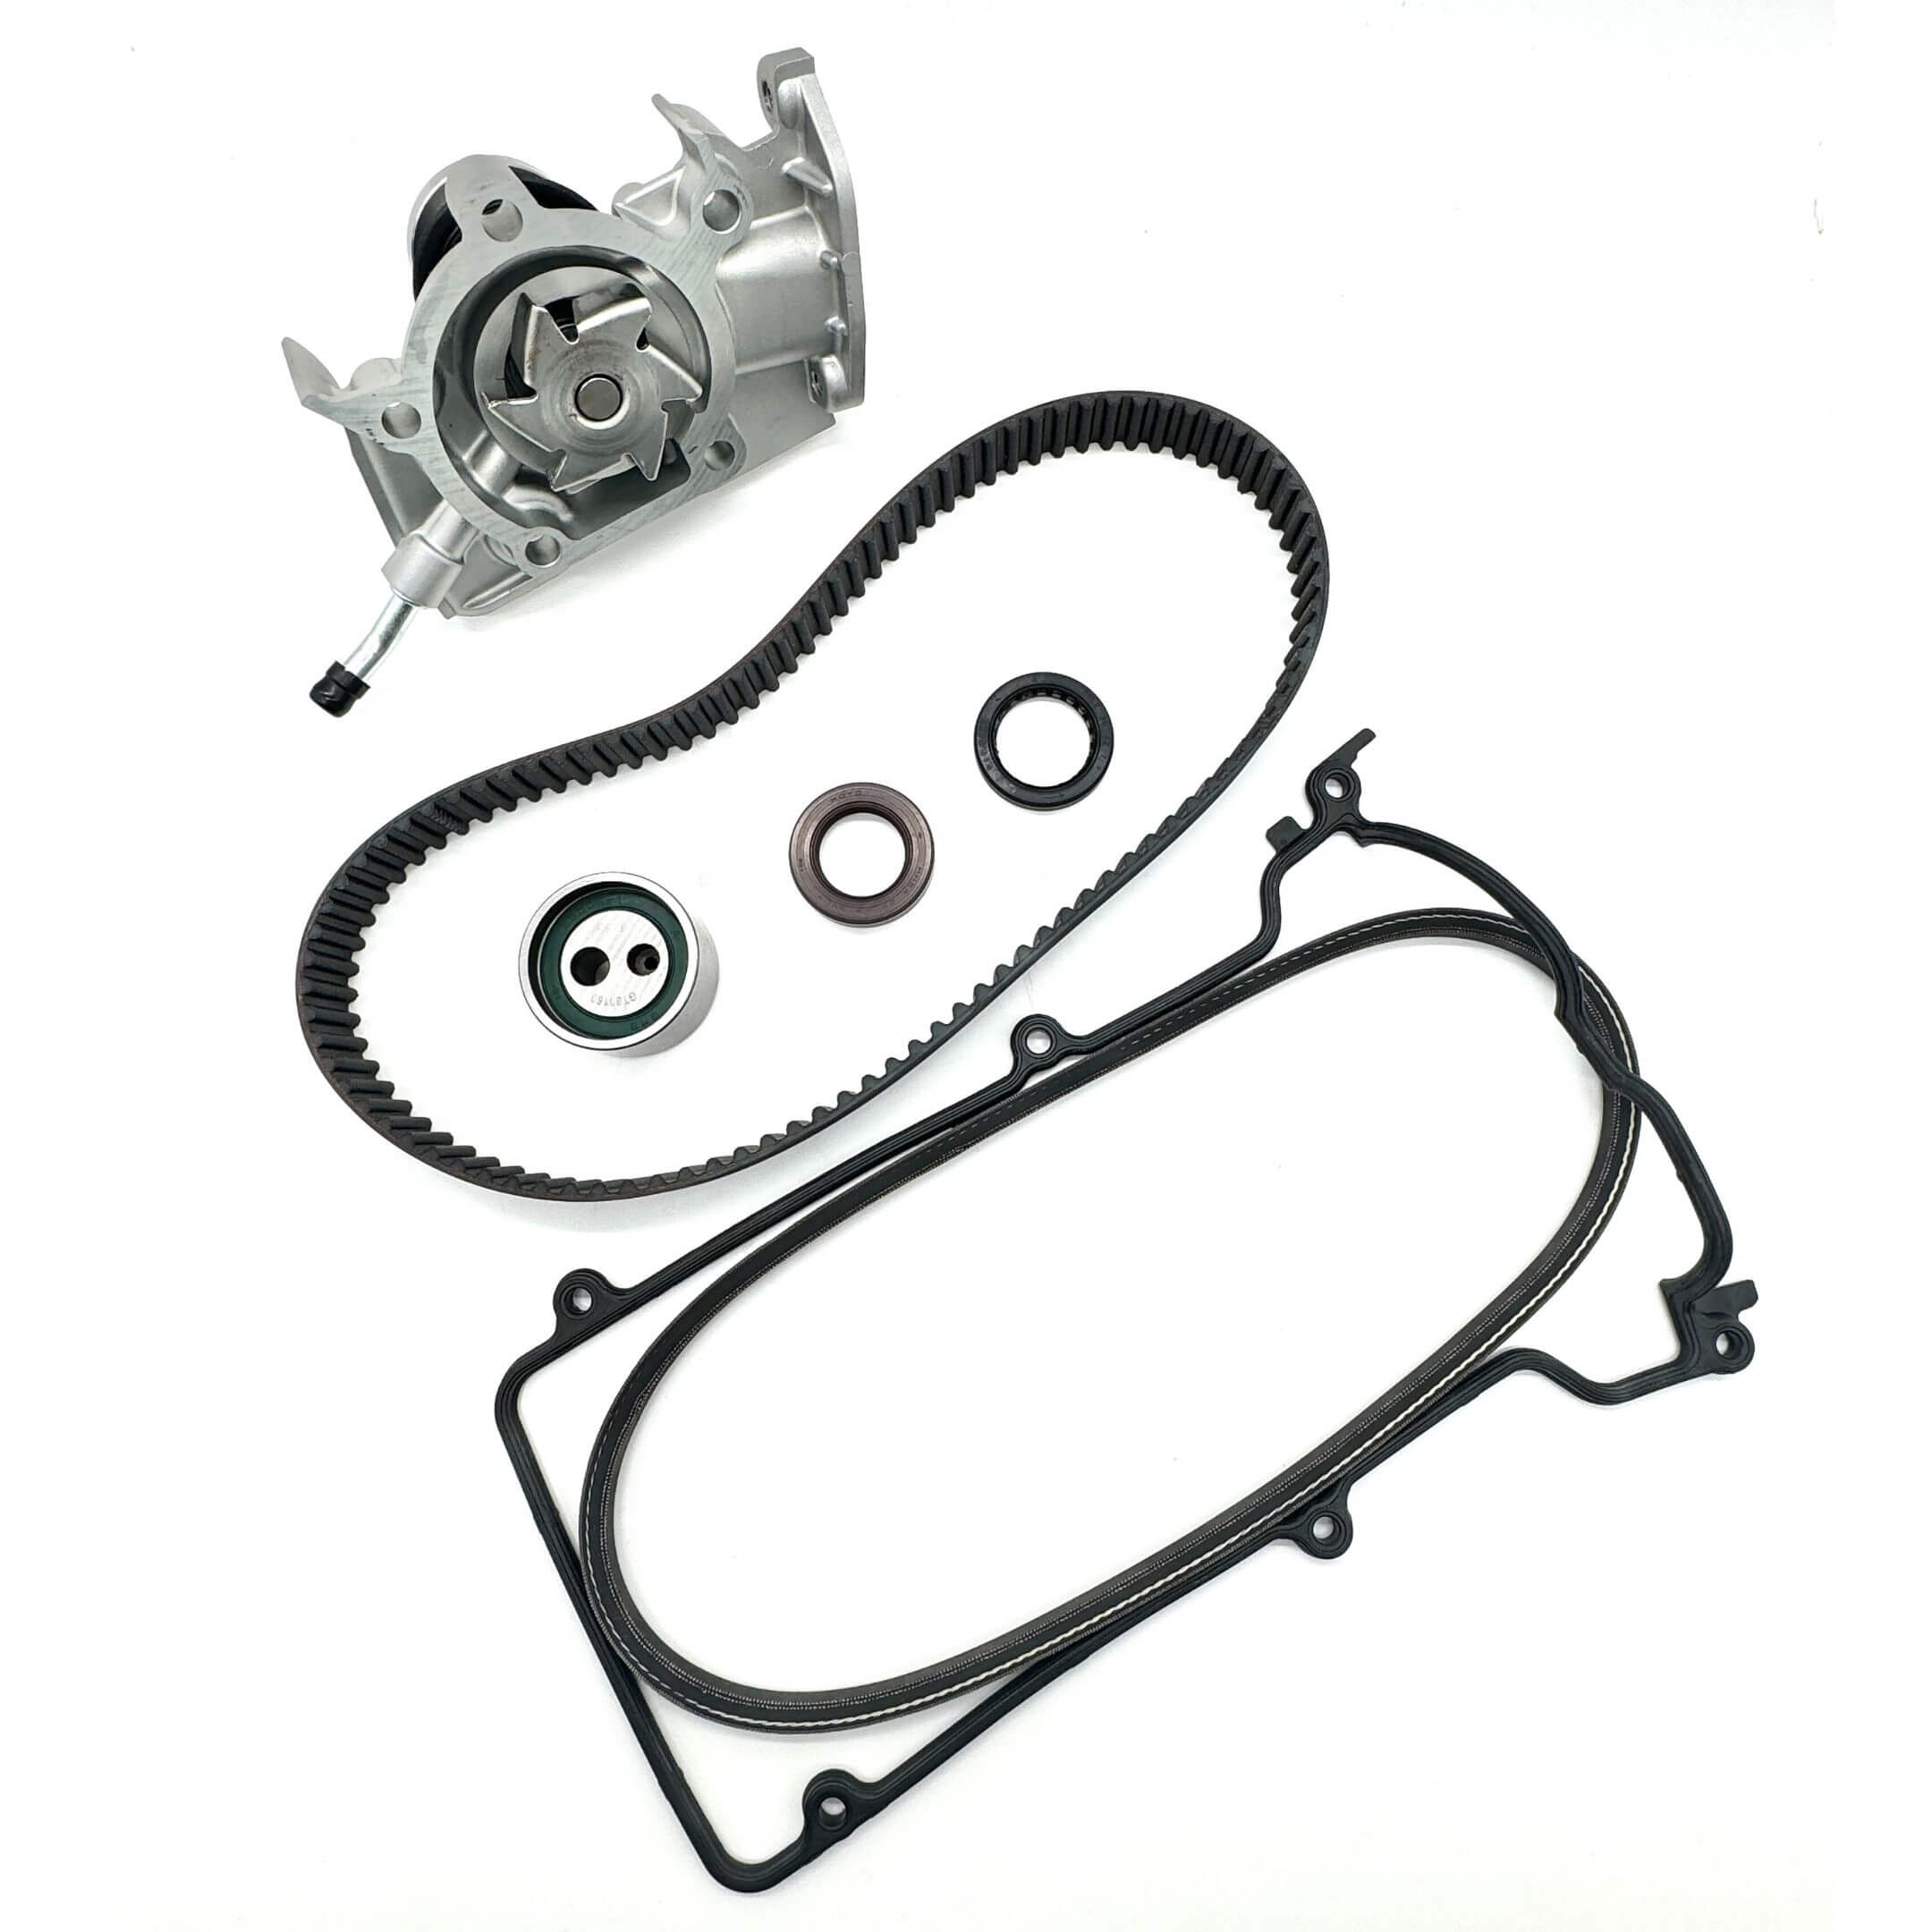
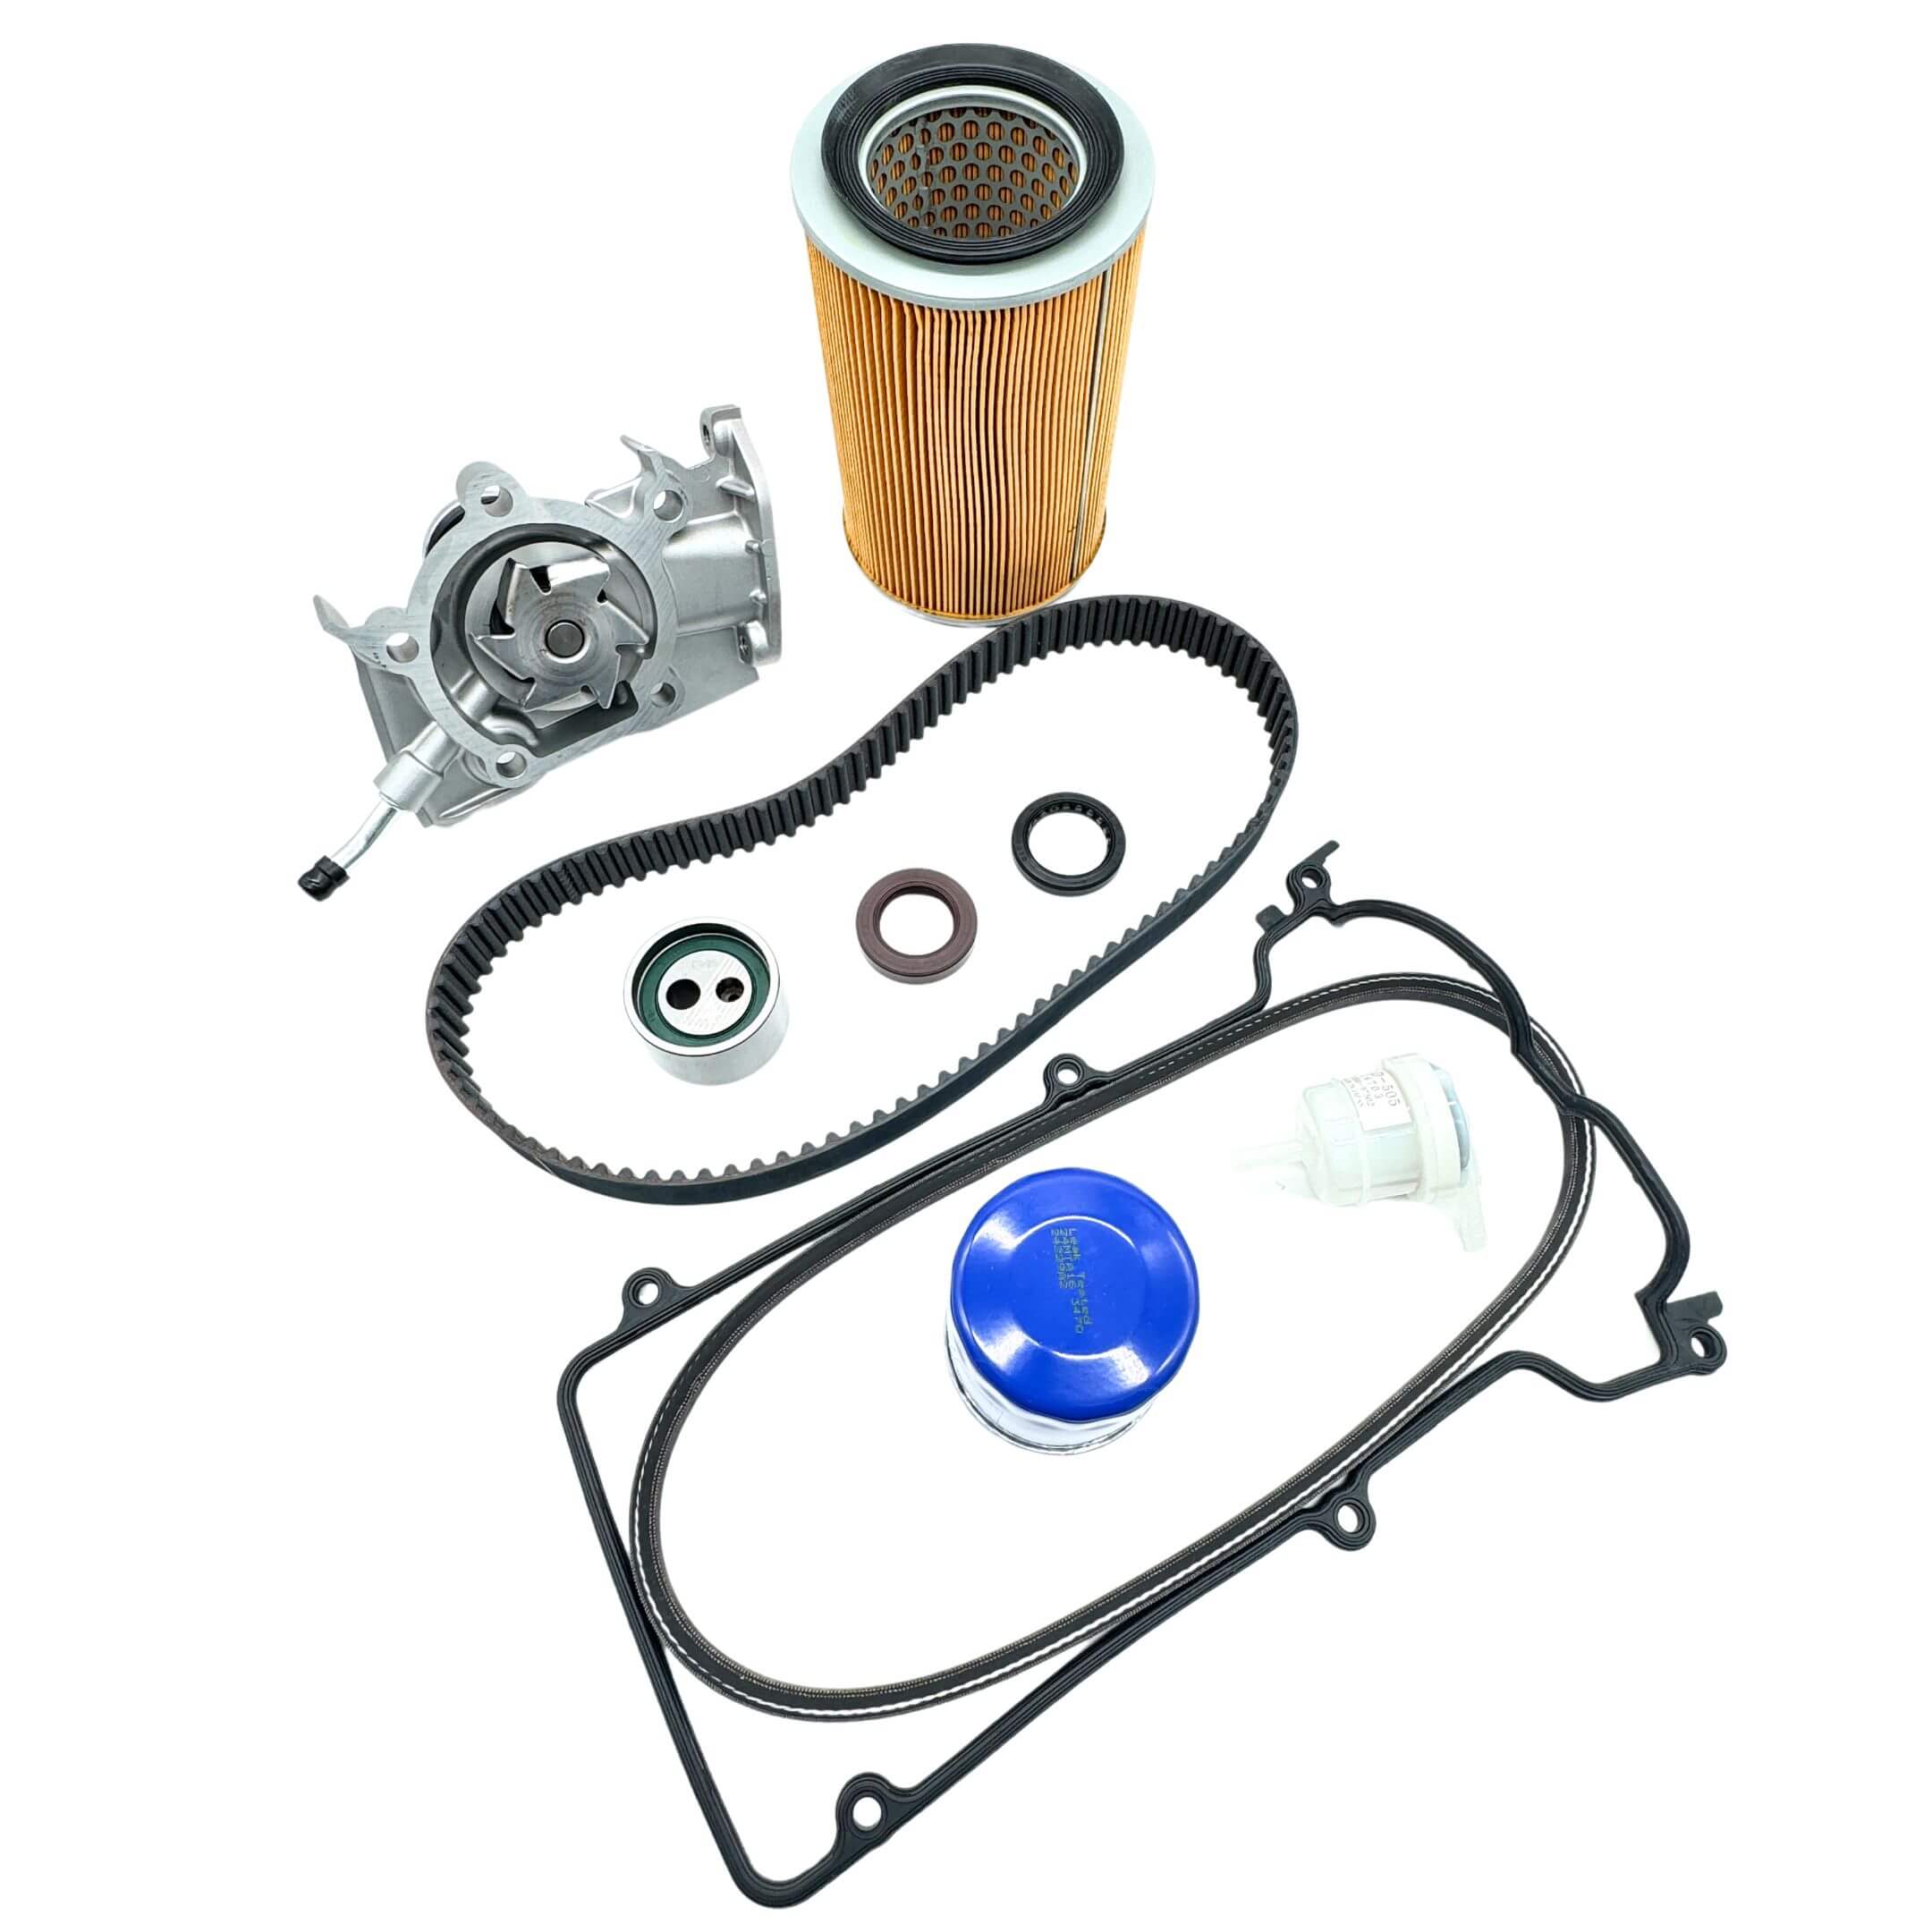
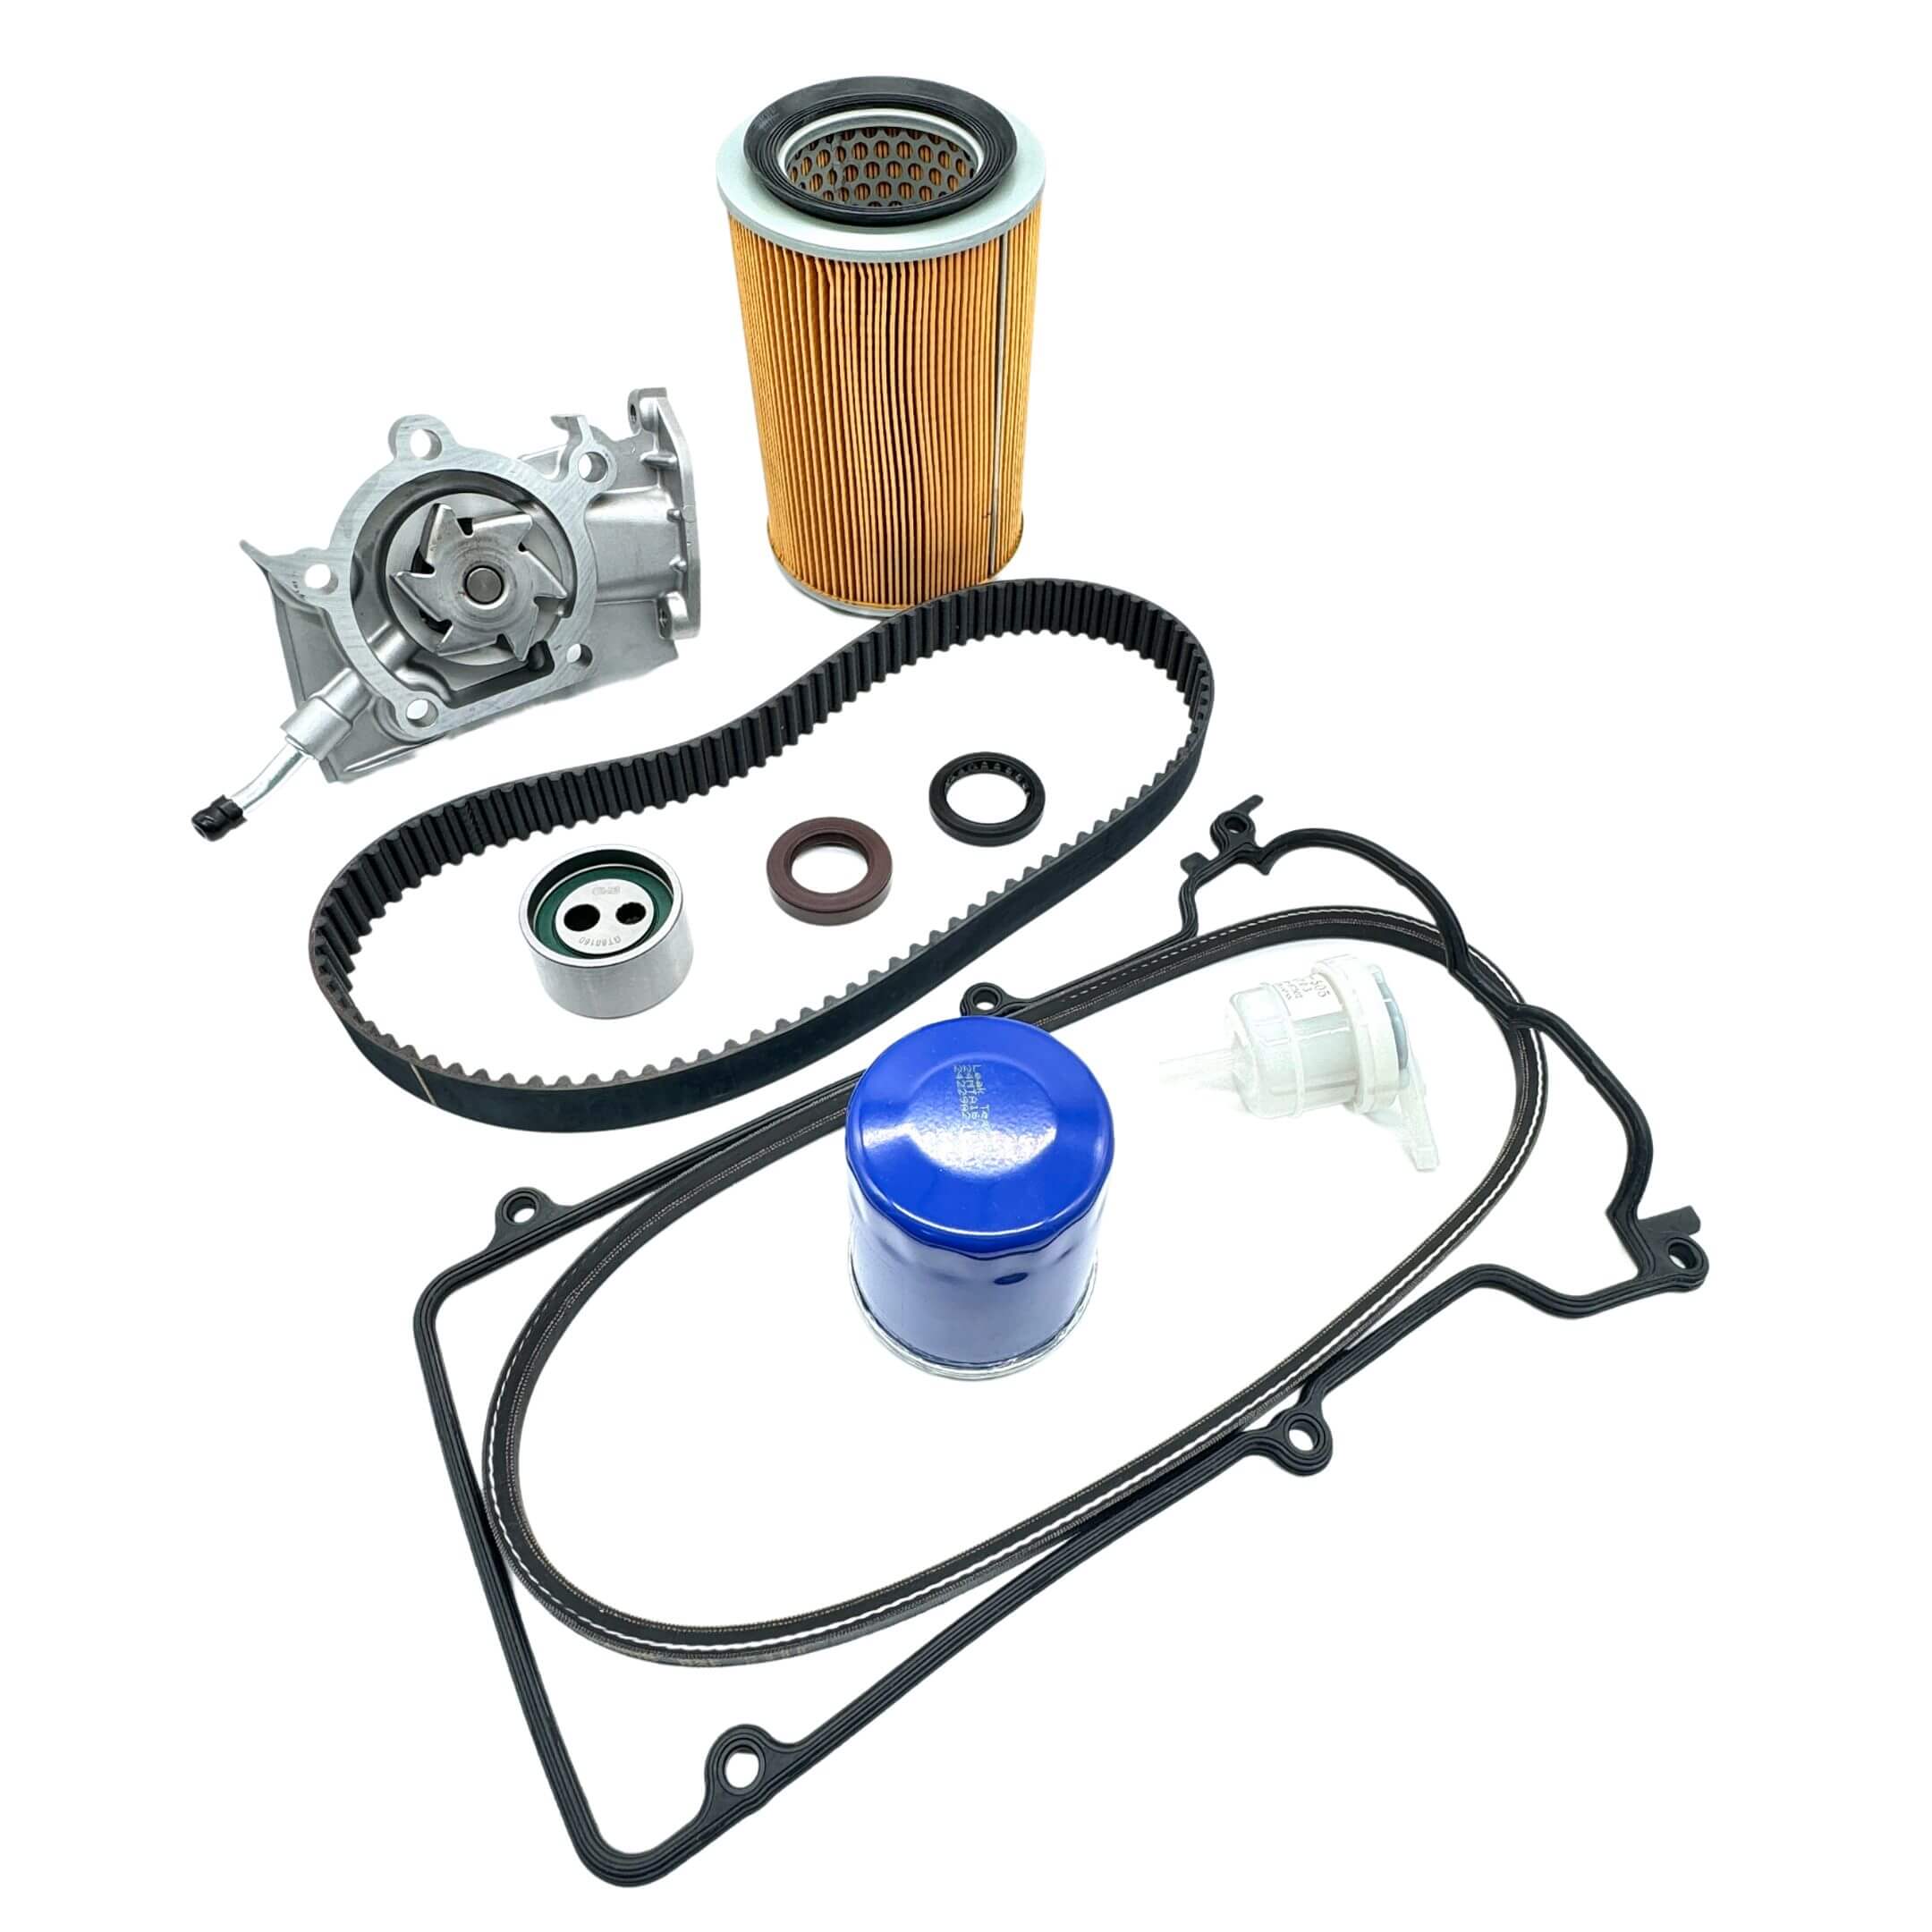
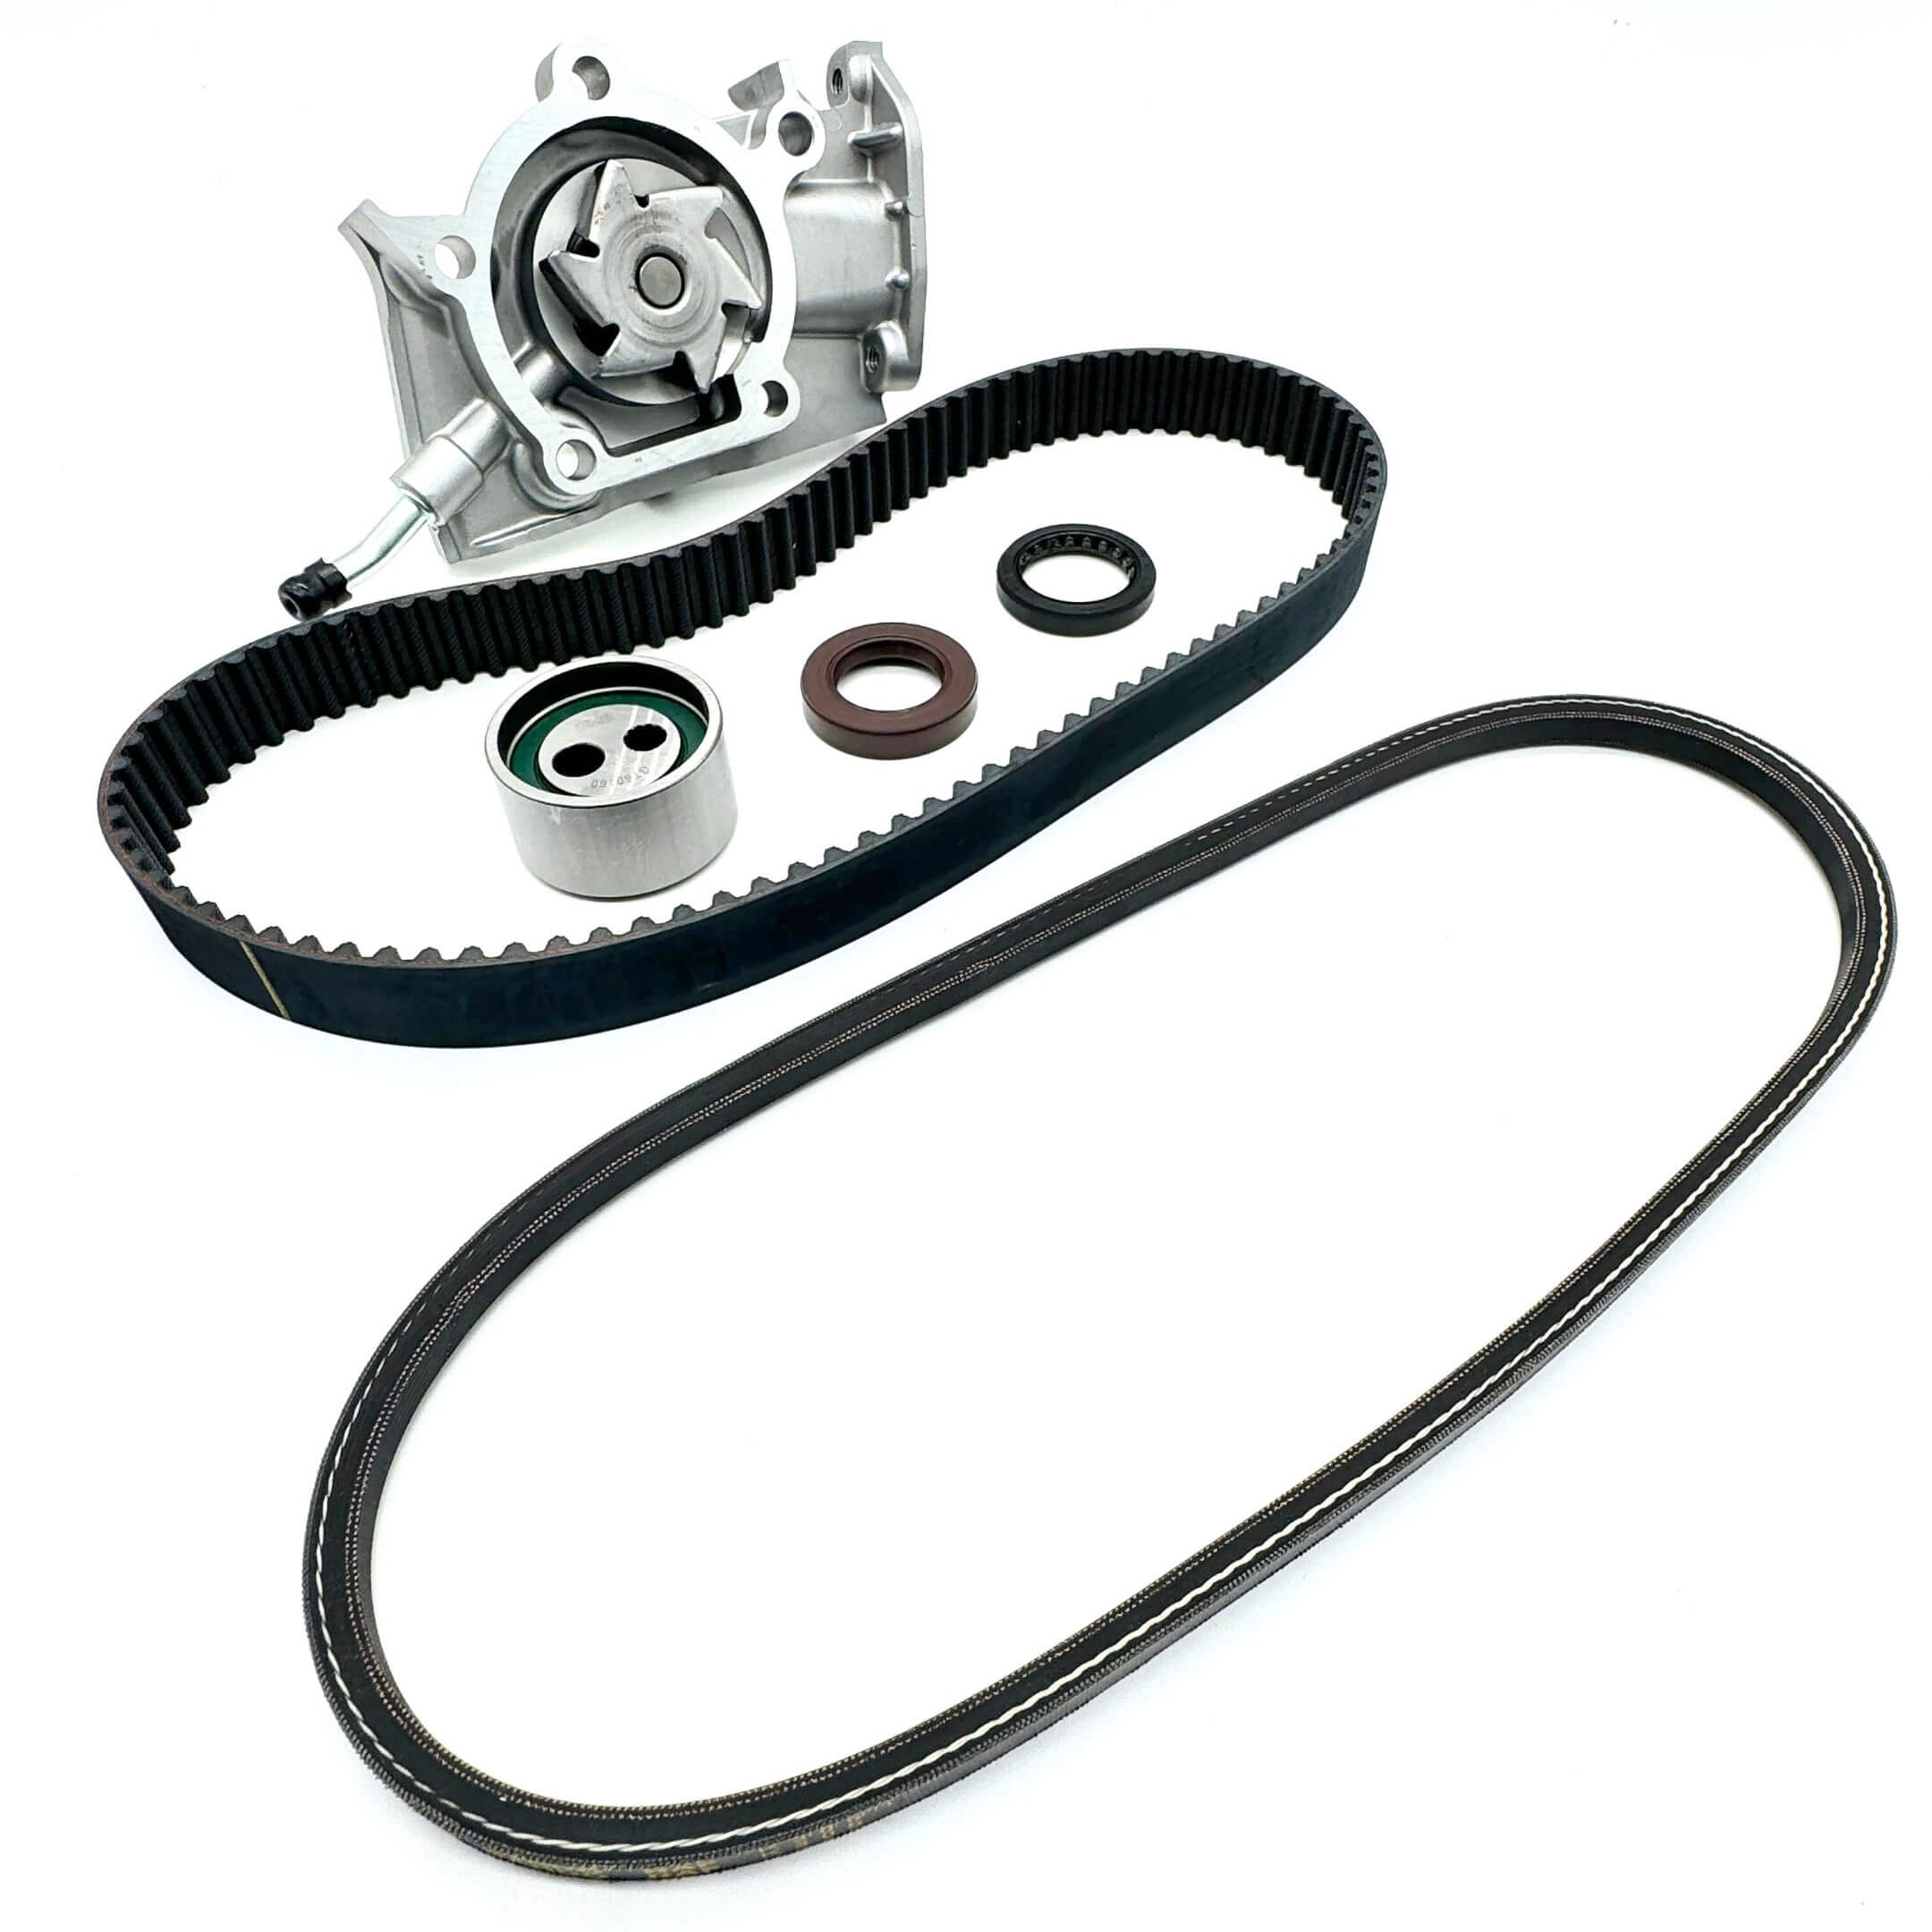
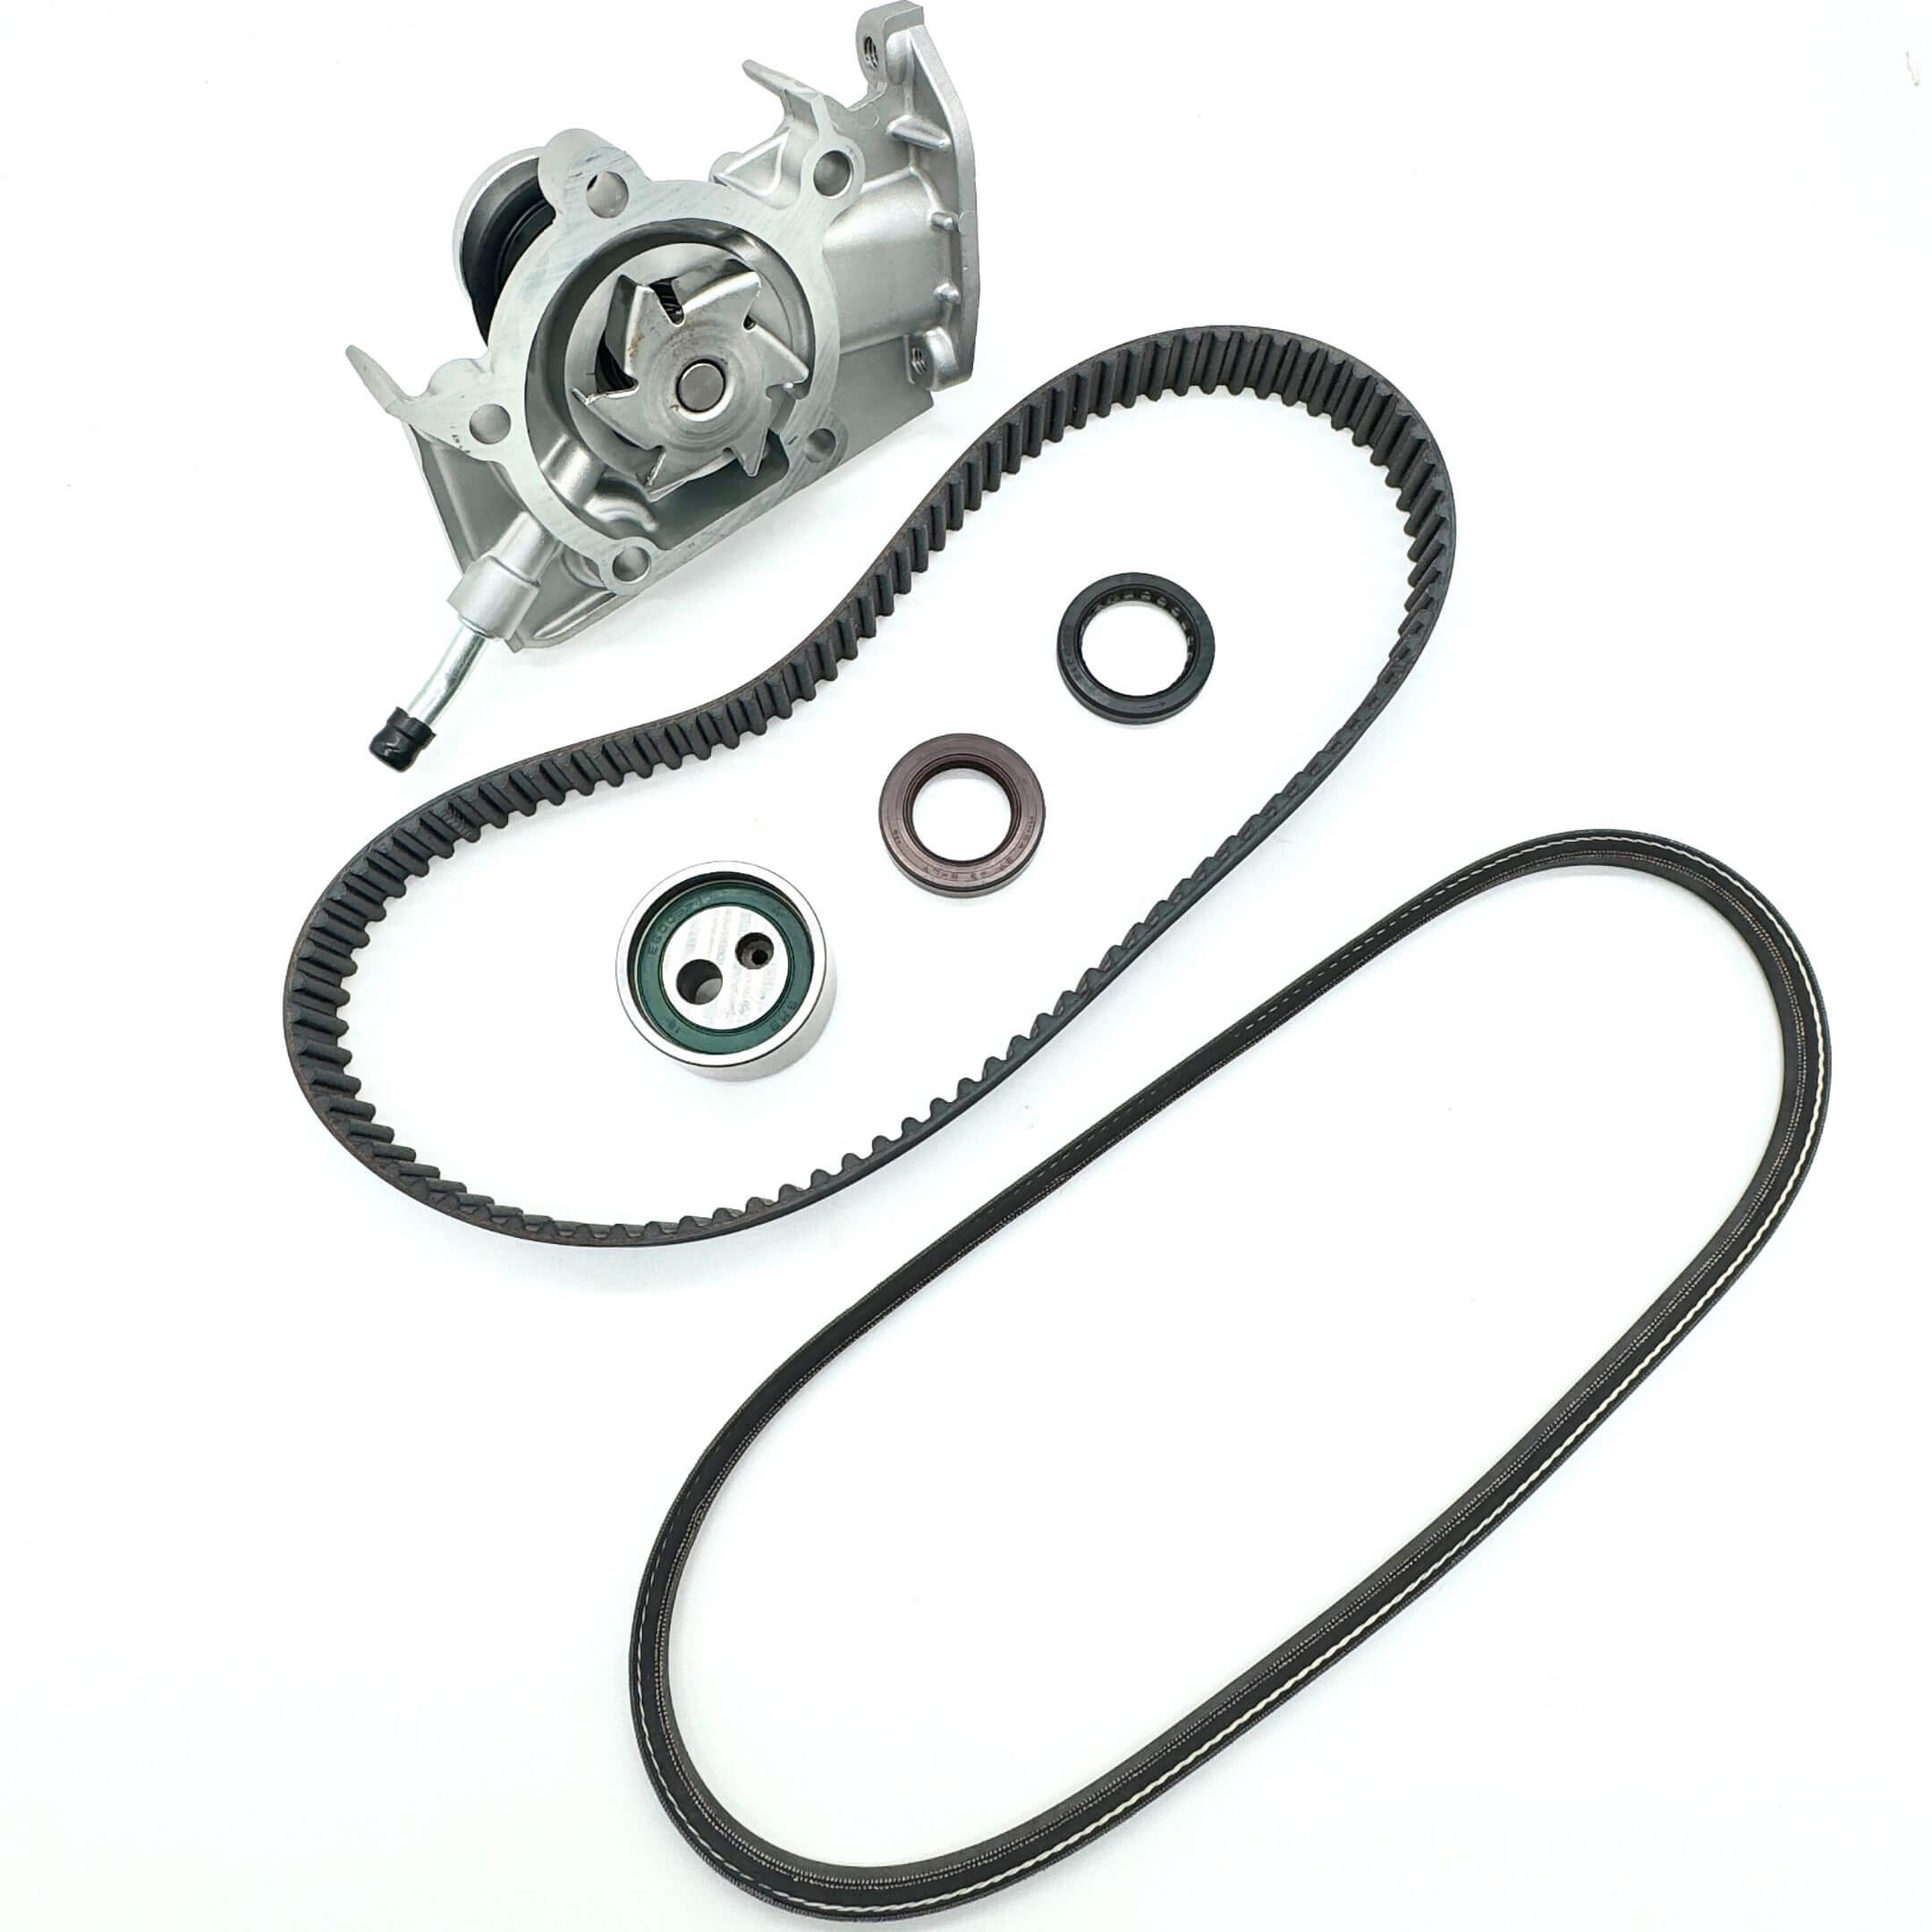
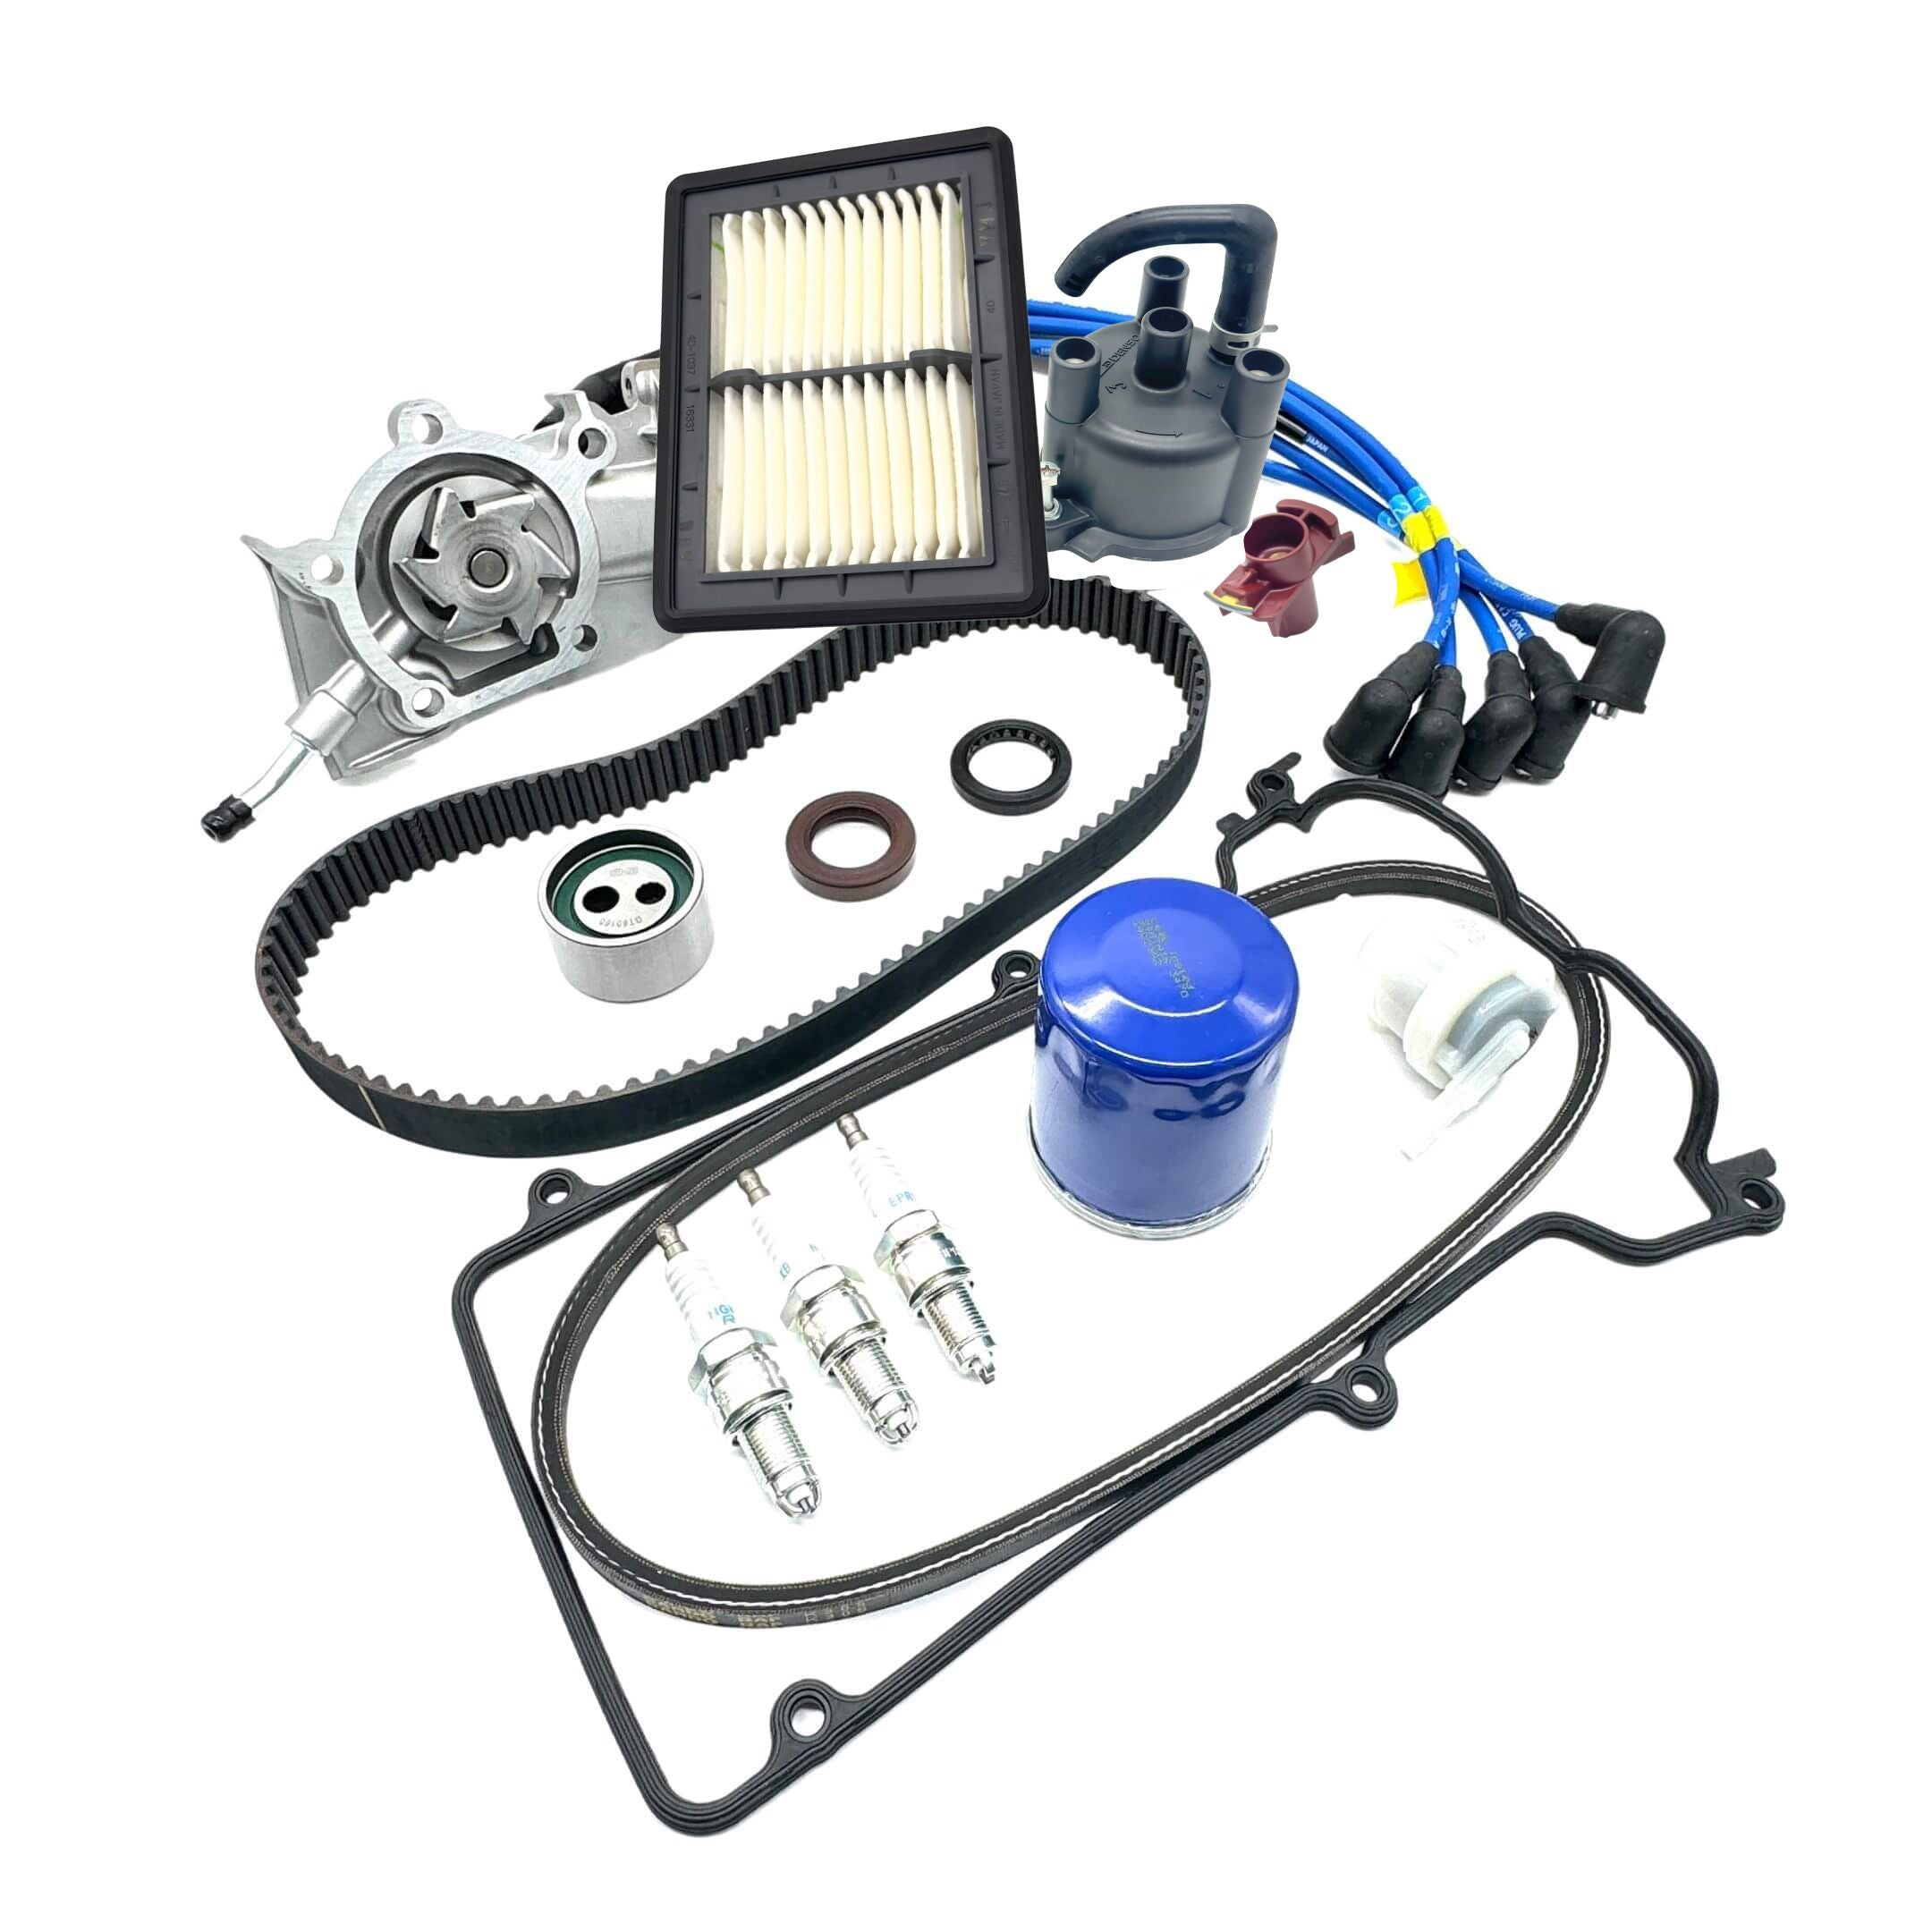
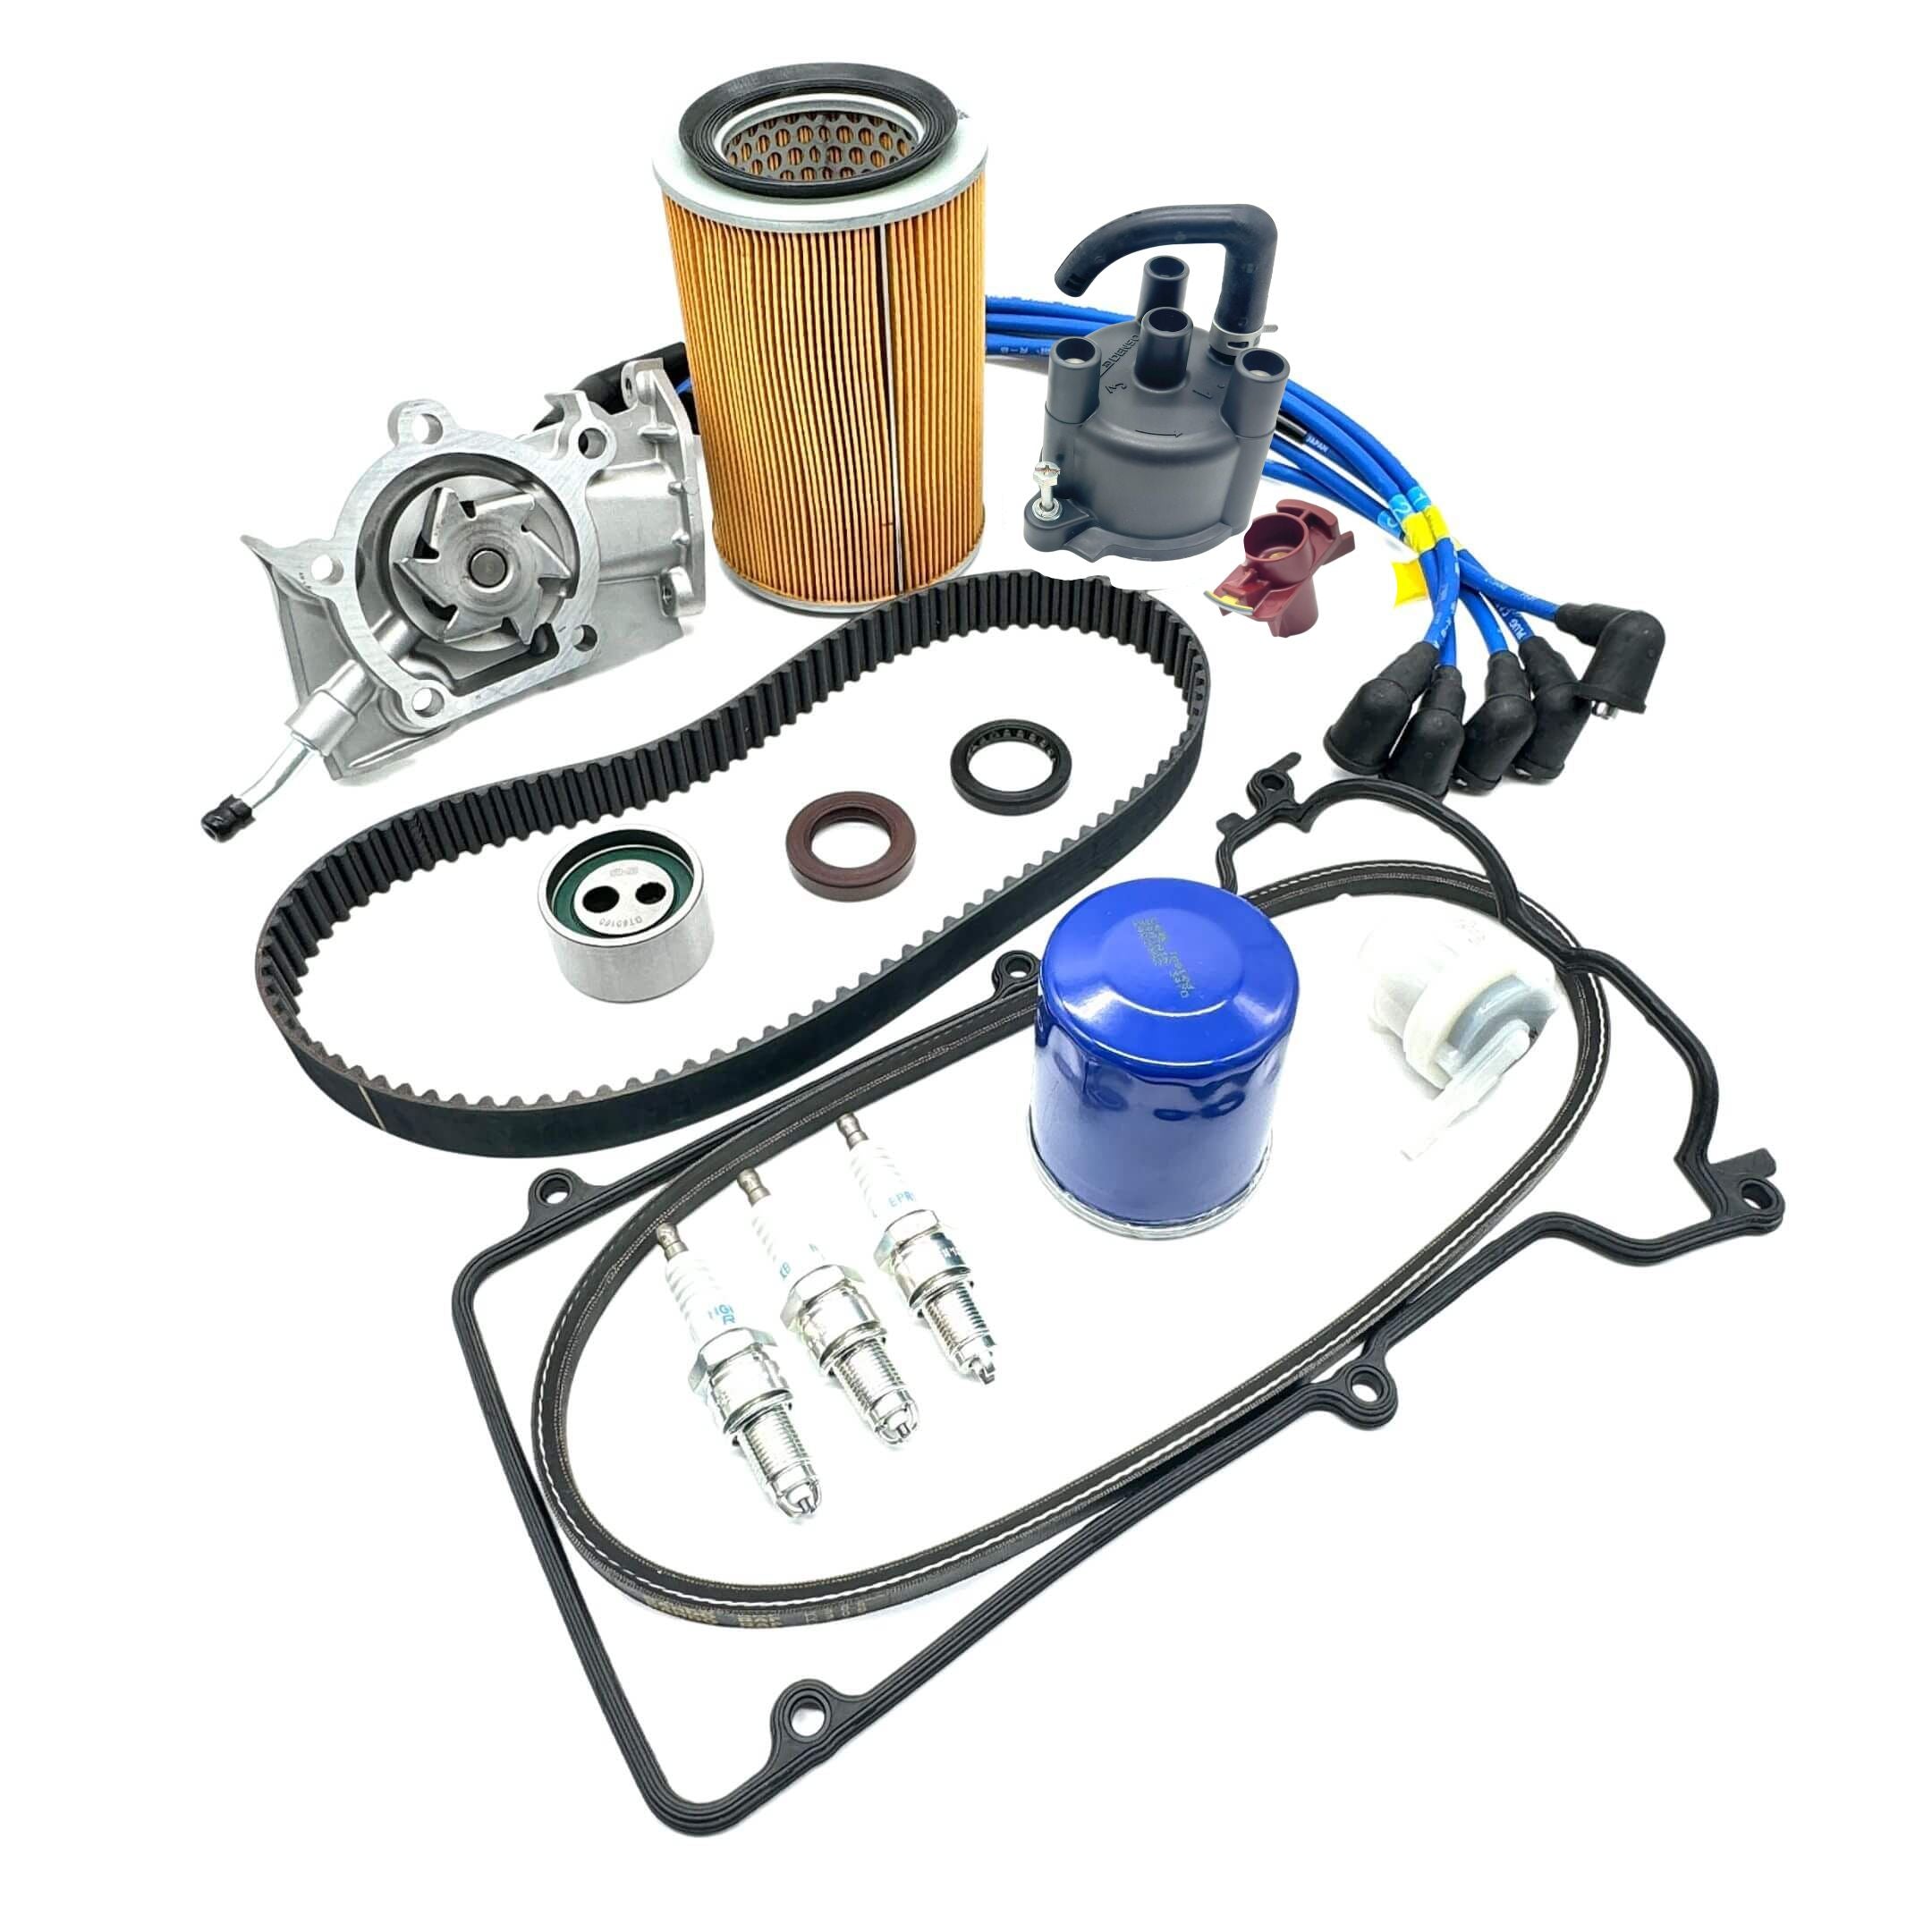
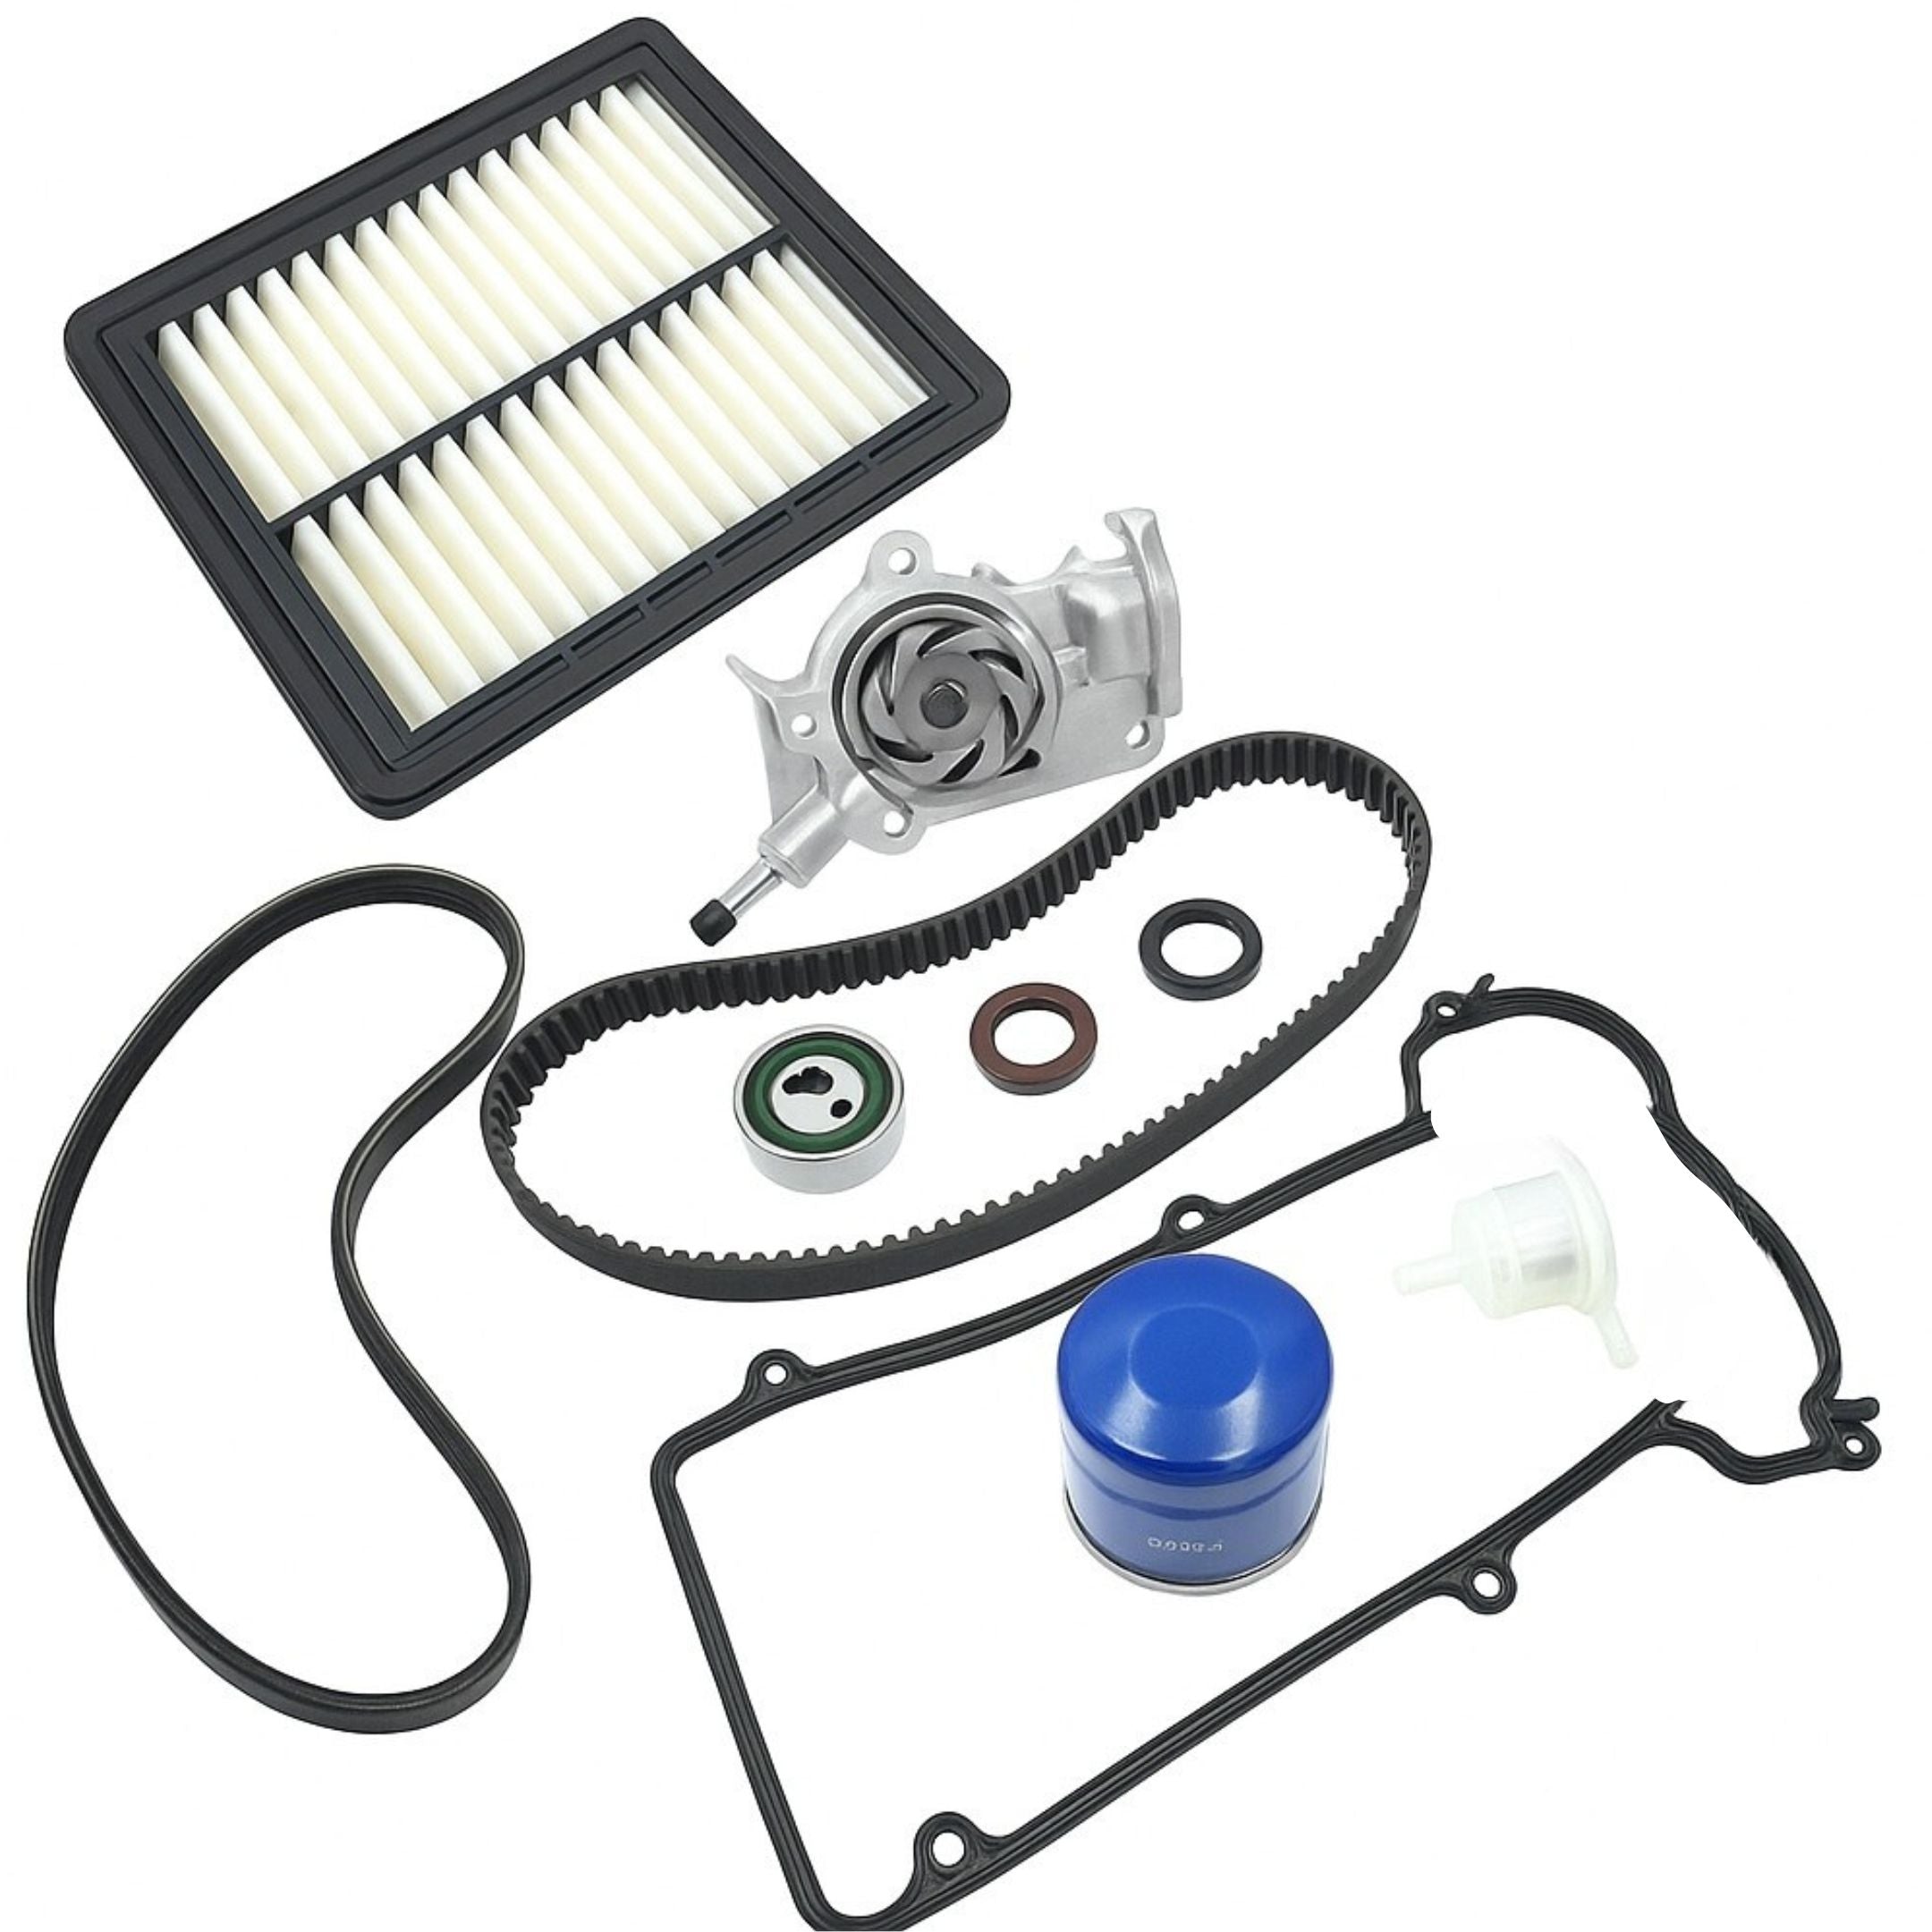
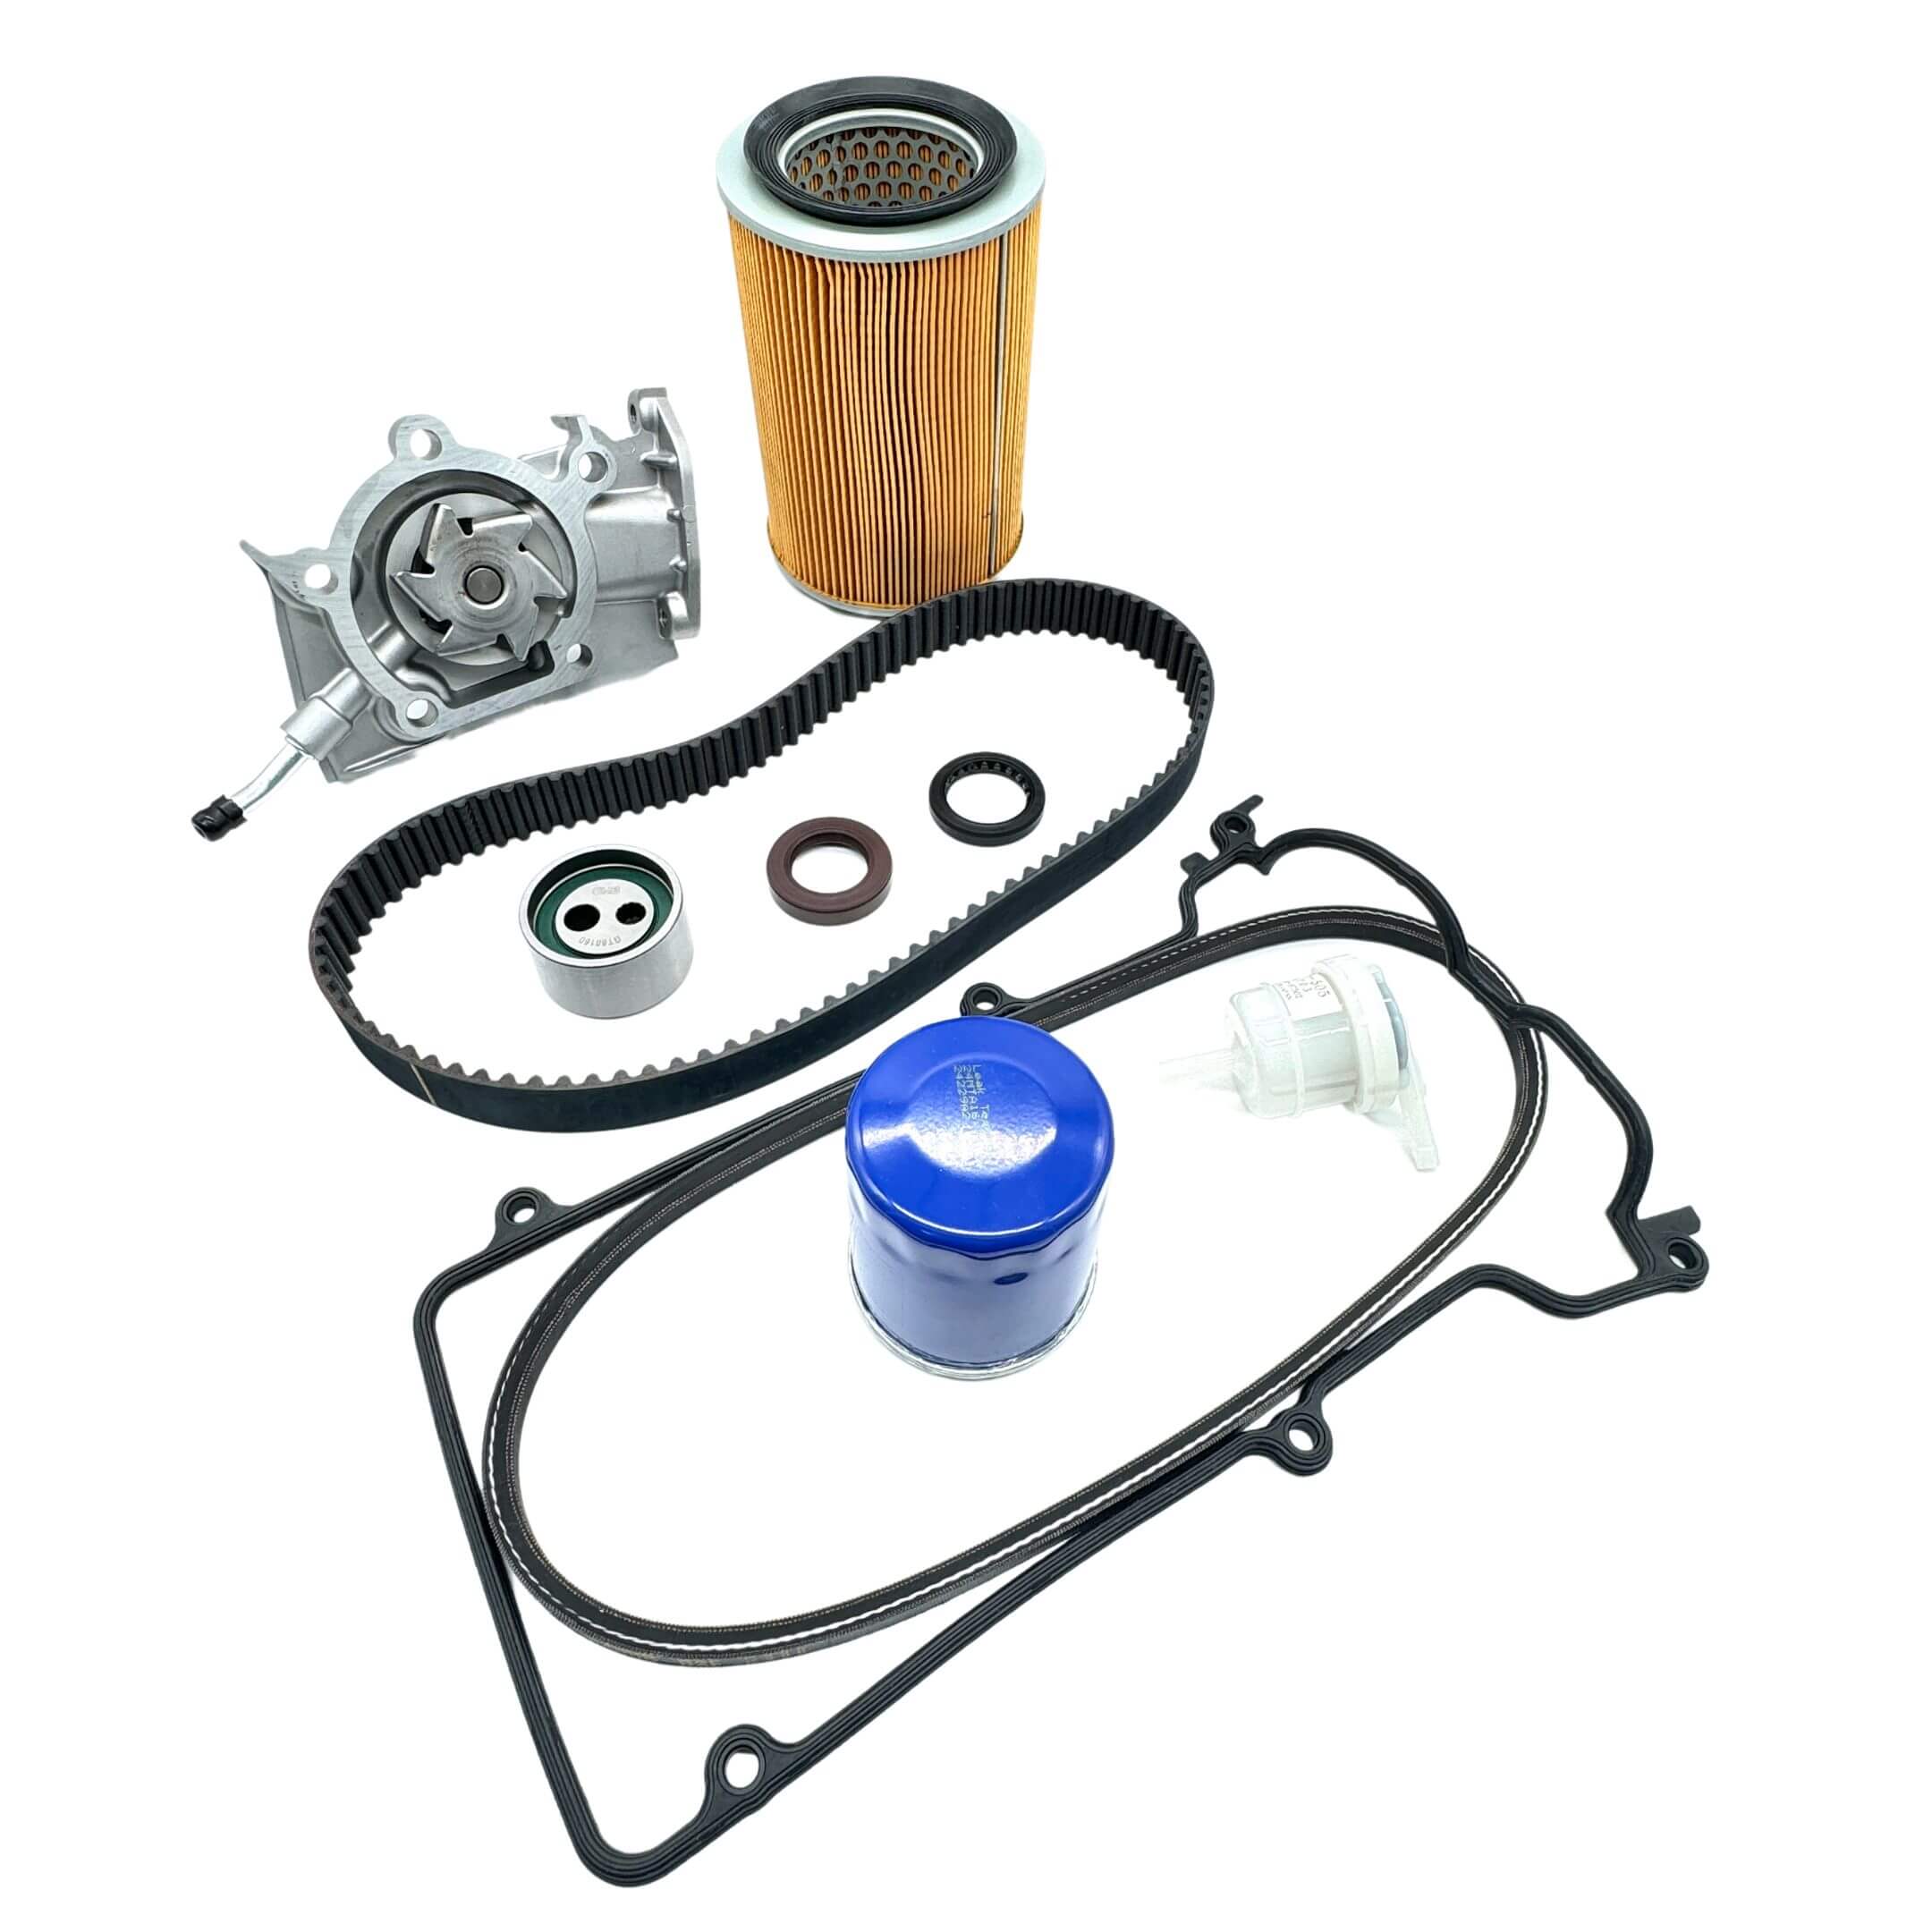
| Timing belt kits, 3 to 19 piece | Every kit in this collection carries a belt, a tensioner and a water pump. Beyond that the contents vary by kit, and not in a straight line. | You want more of the front of the engine finished while the covers are off. Compare the named contents, not the piece count. |
| Camshaft seal | The seal that sits behind the camshaft timing belt pulley. Cataloged for EF-series applications; the fitment is stated on each product. | Oil tracking down the back of the timing covers. The belt has to come off to reach it, so it goes in while you are already there. |
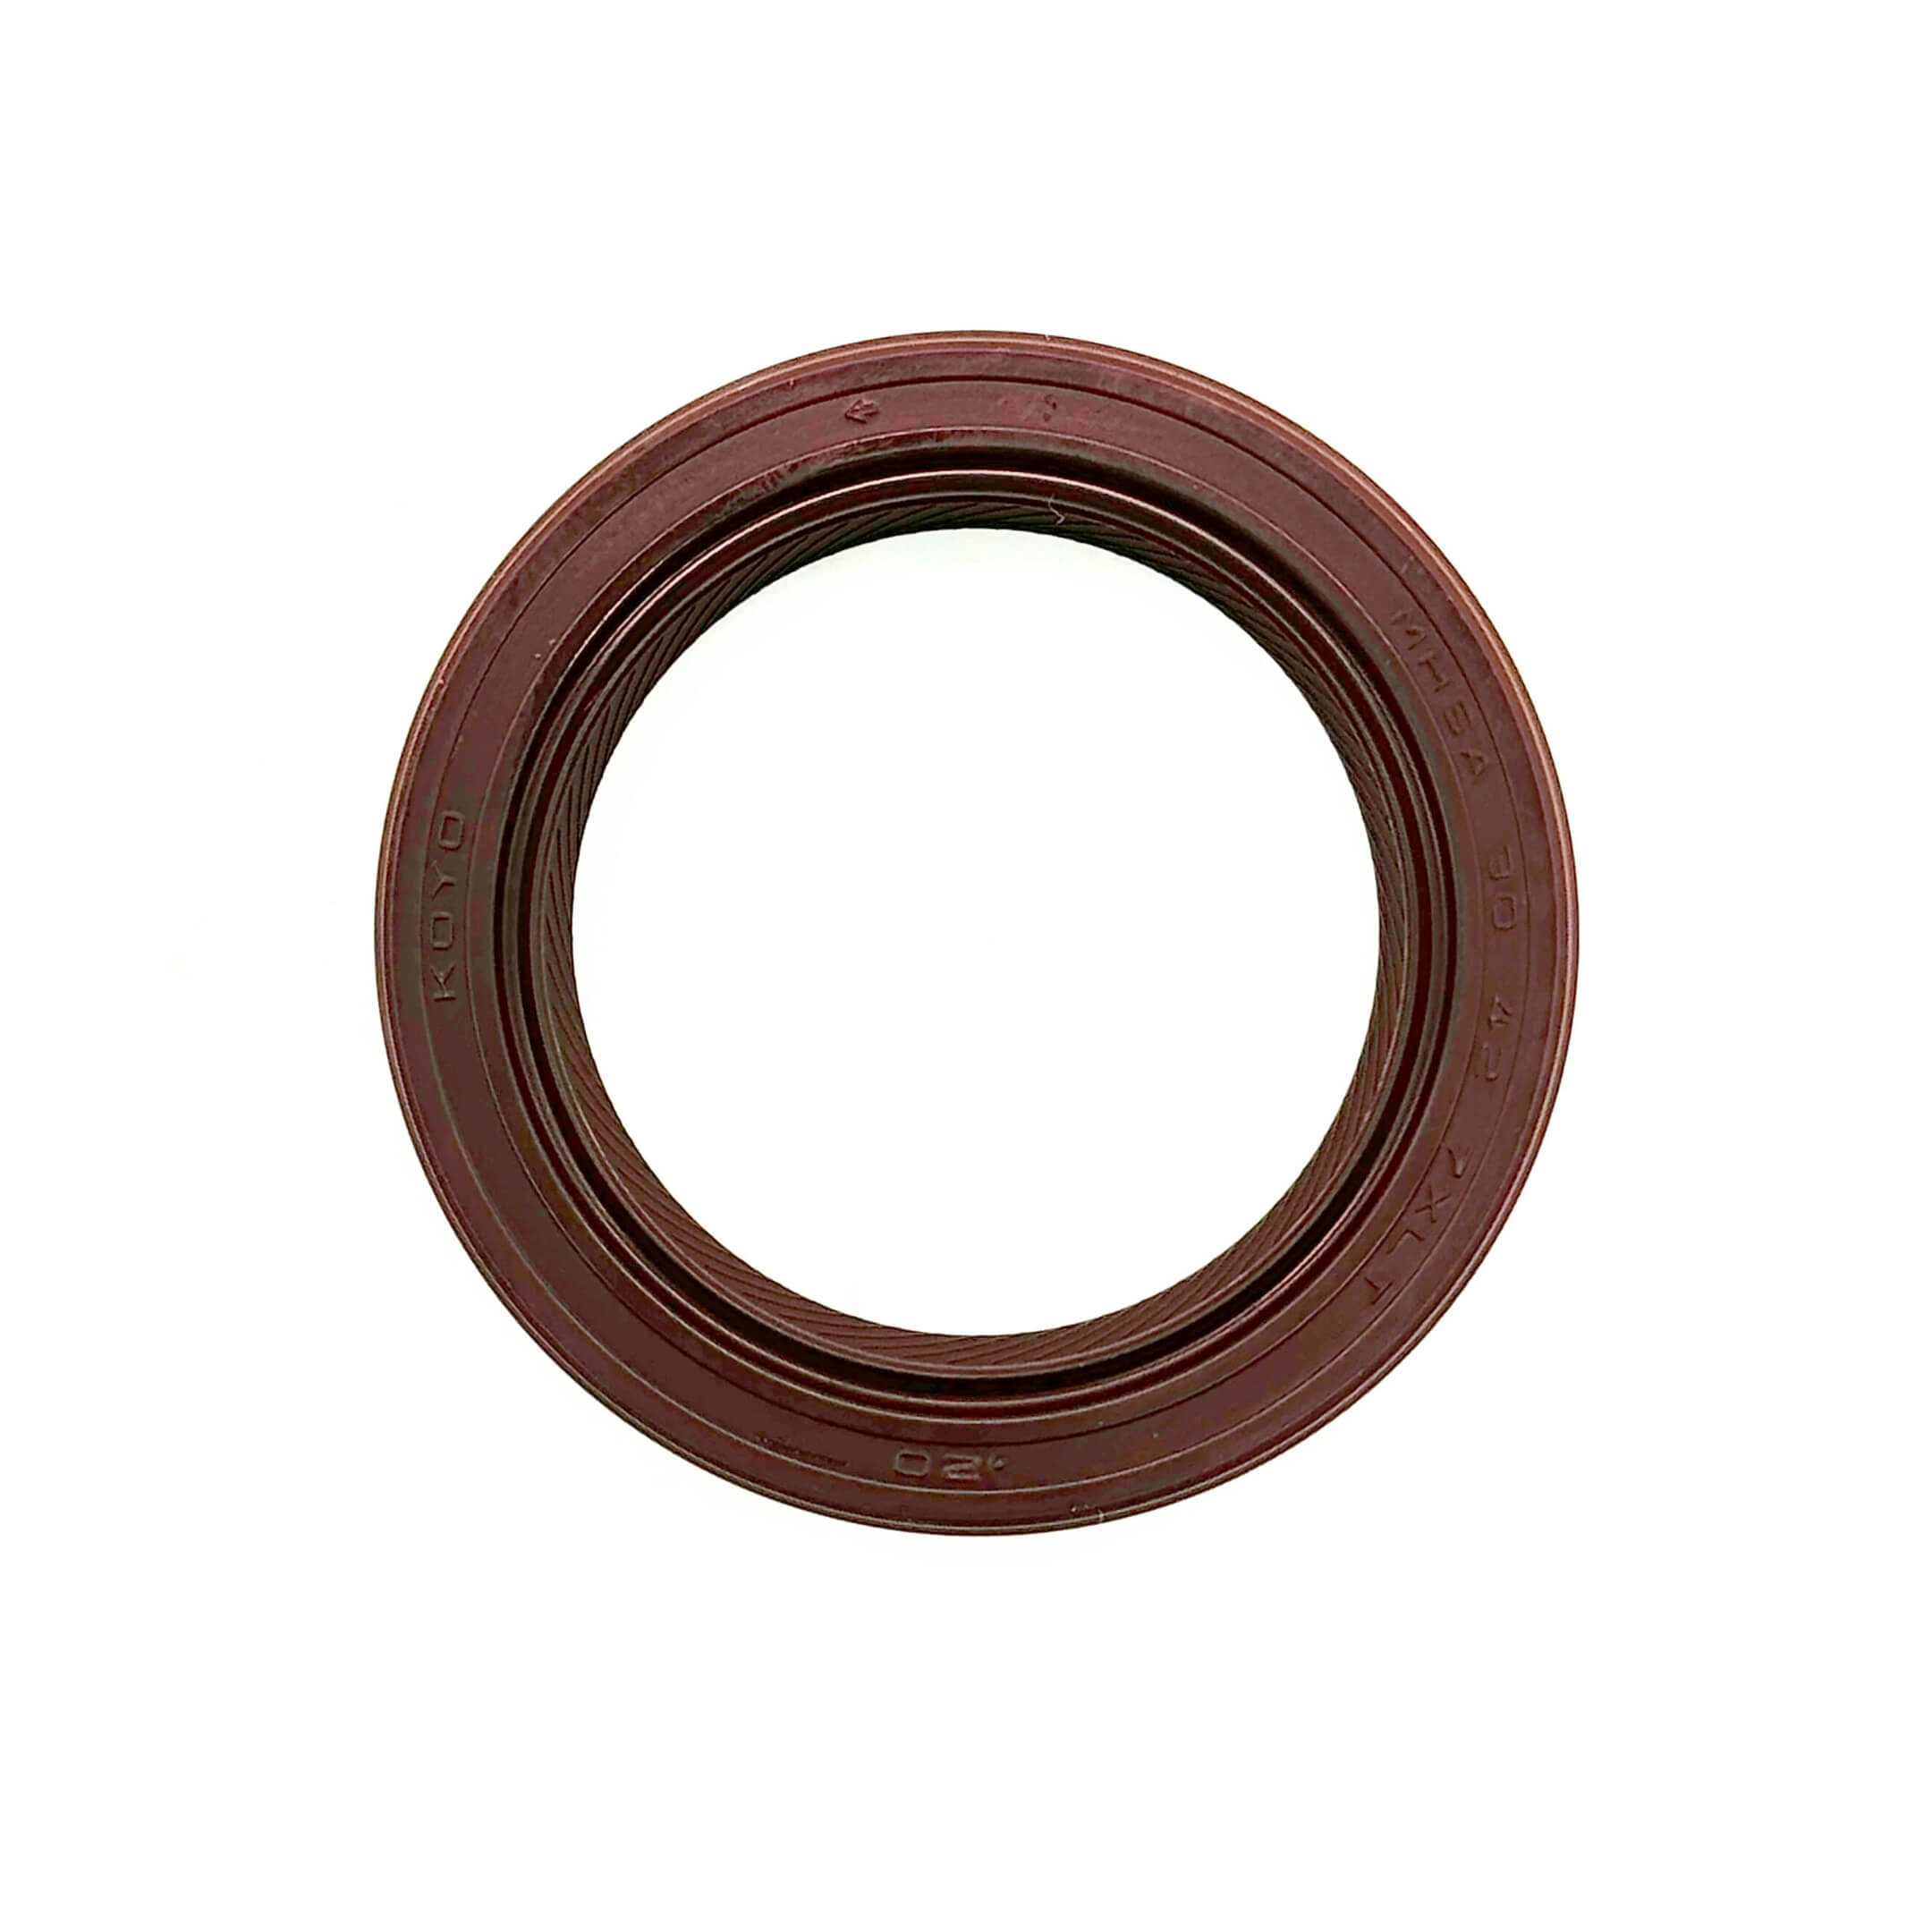
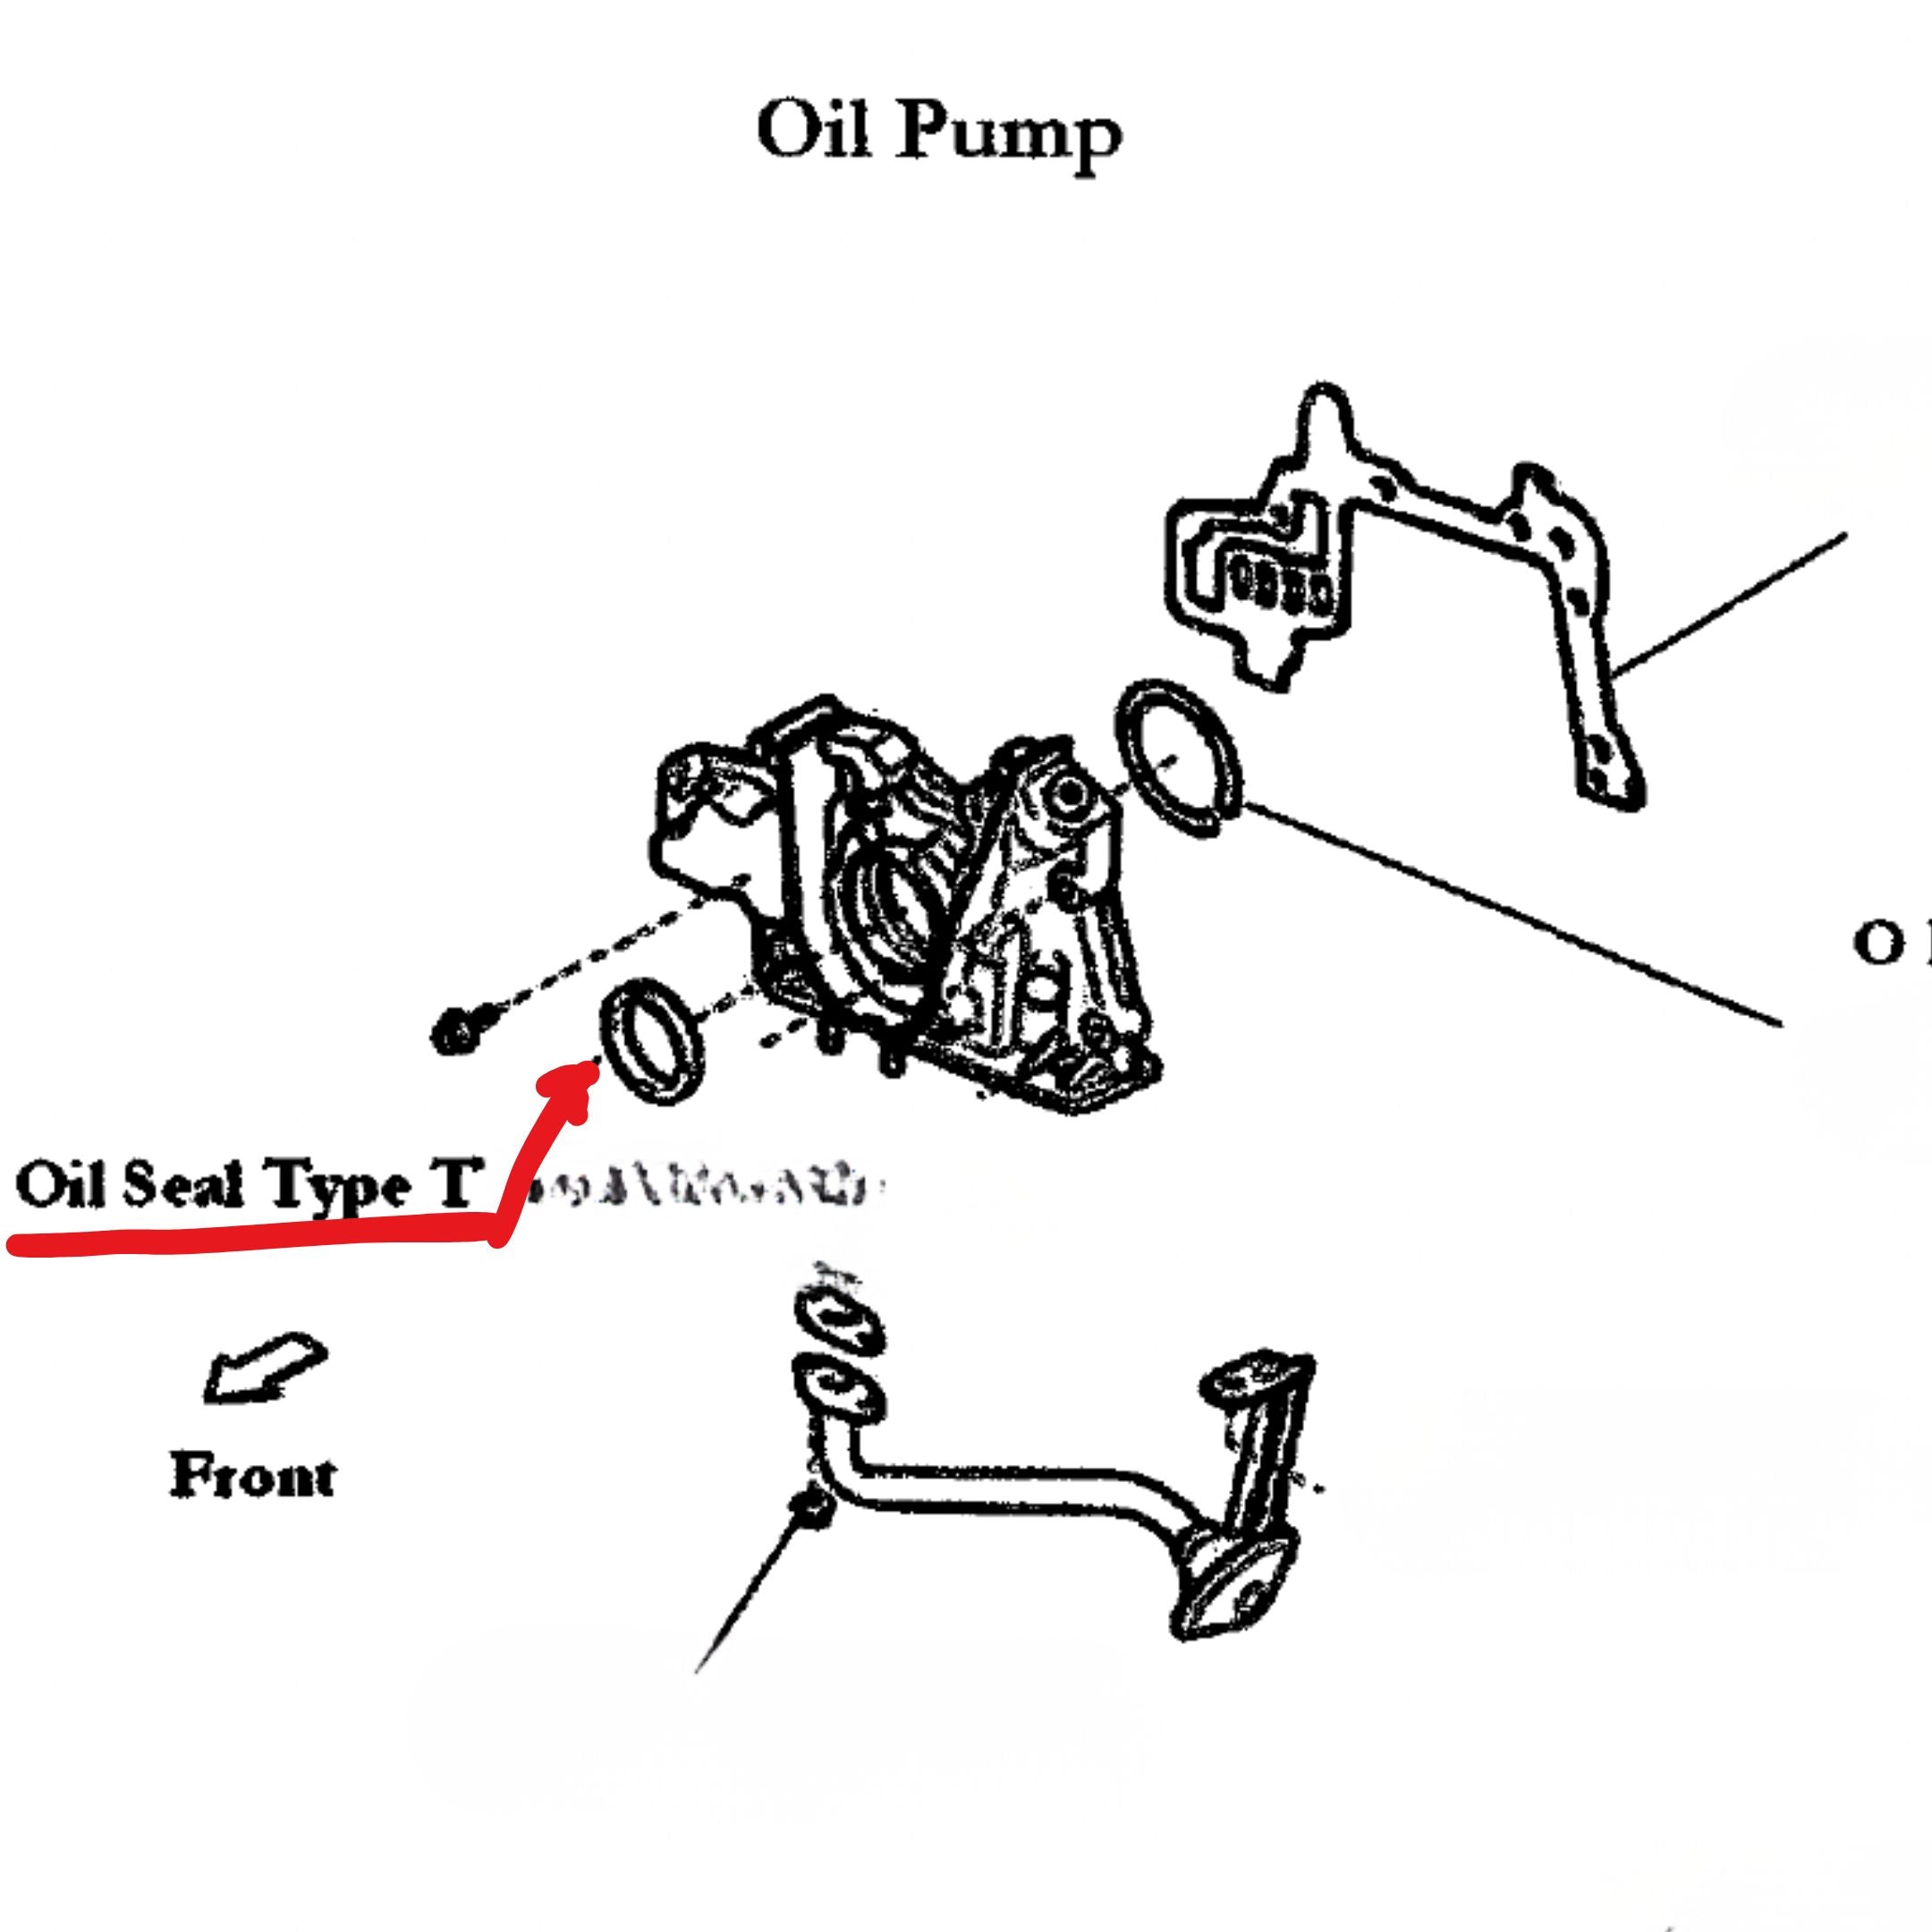
| Crankshaft seal | The type T seal behind the crankshaft timing belt pulley. Cataloged for EF-series applications; the fitment is stated on each product. | Same as the cam seal and the same reasoning. Both sit behind the belt, so leaving one out means doing the whole job again to reach it. |
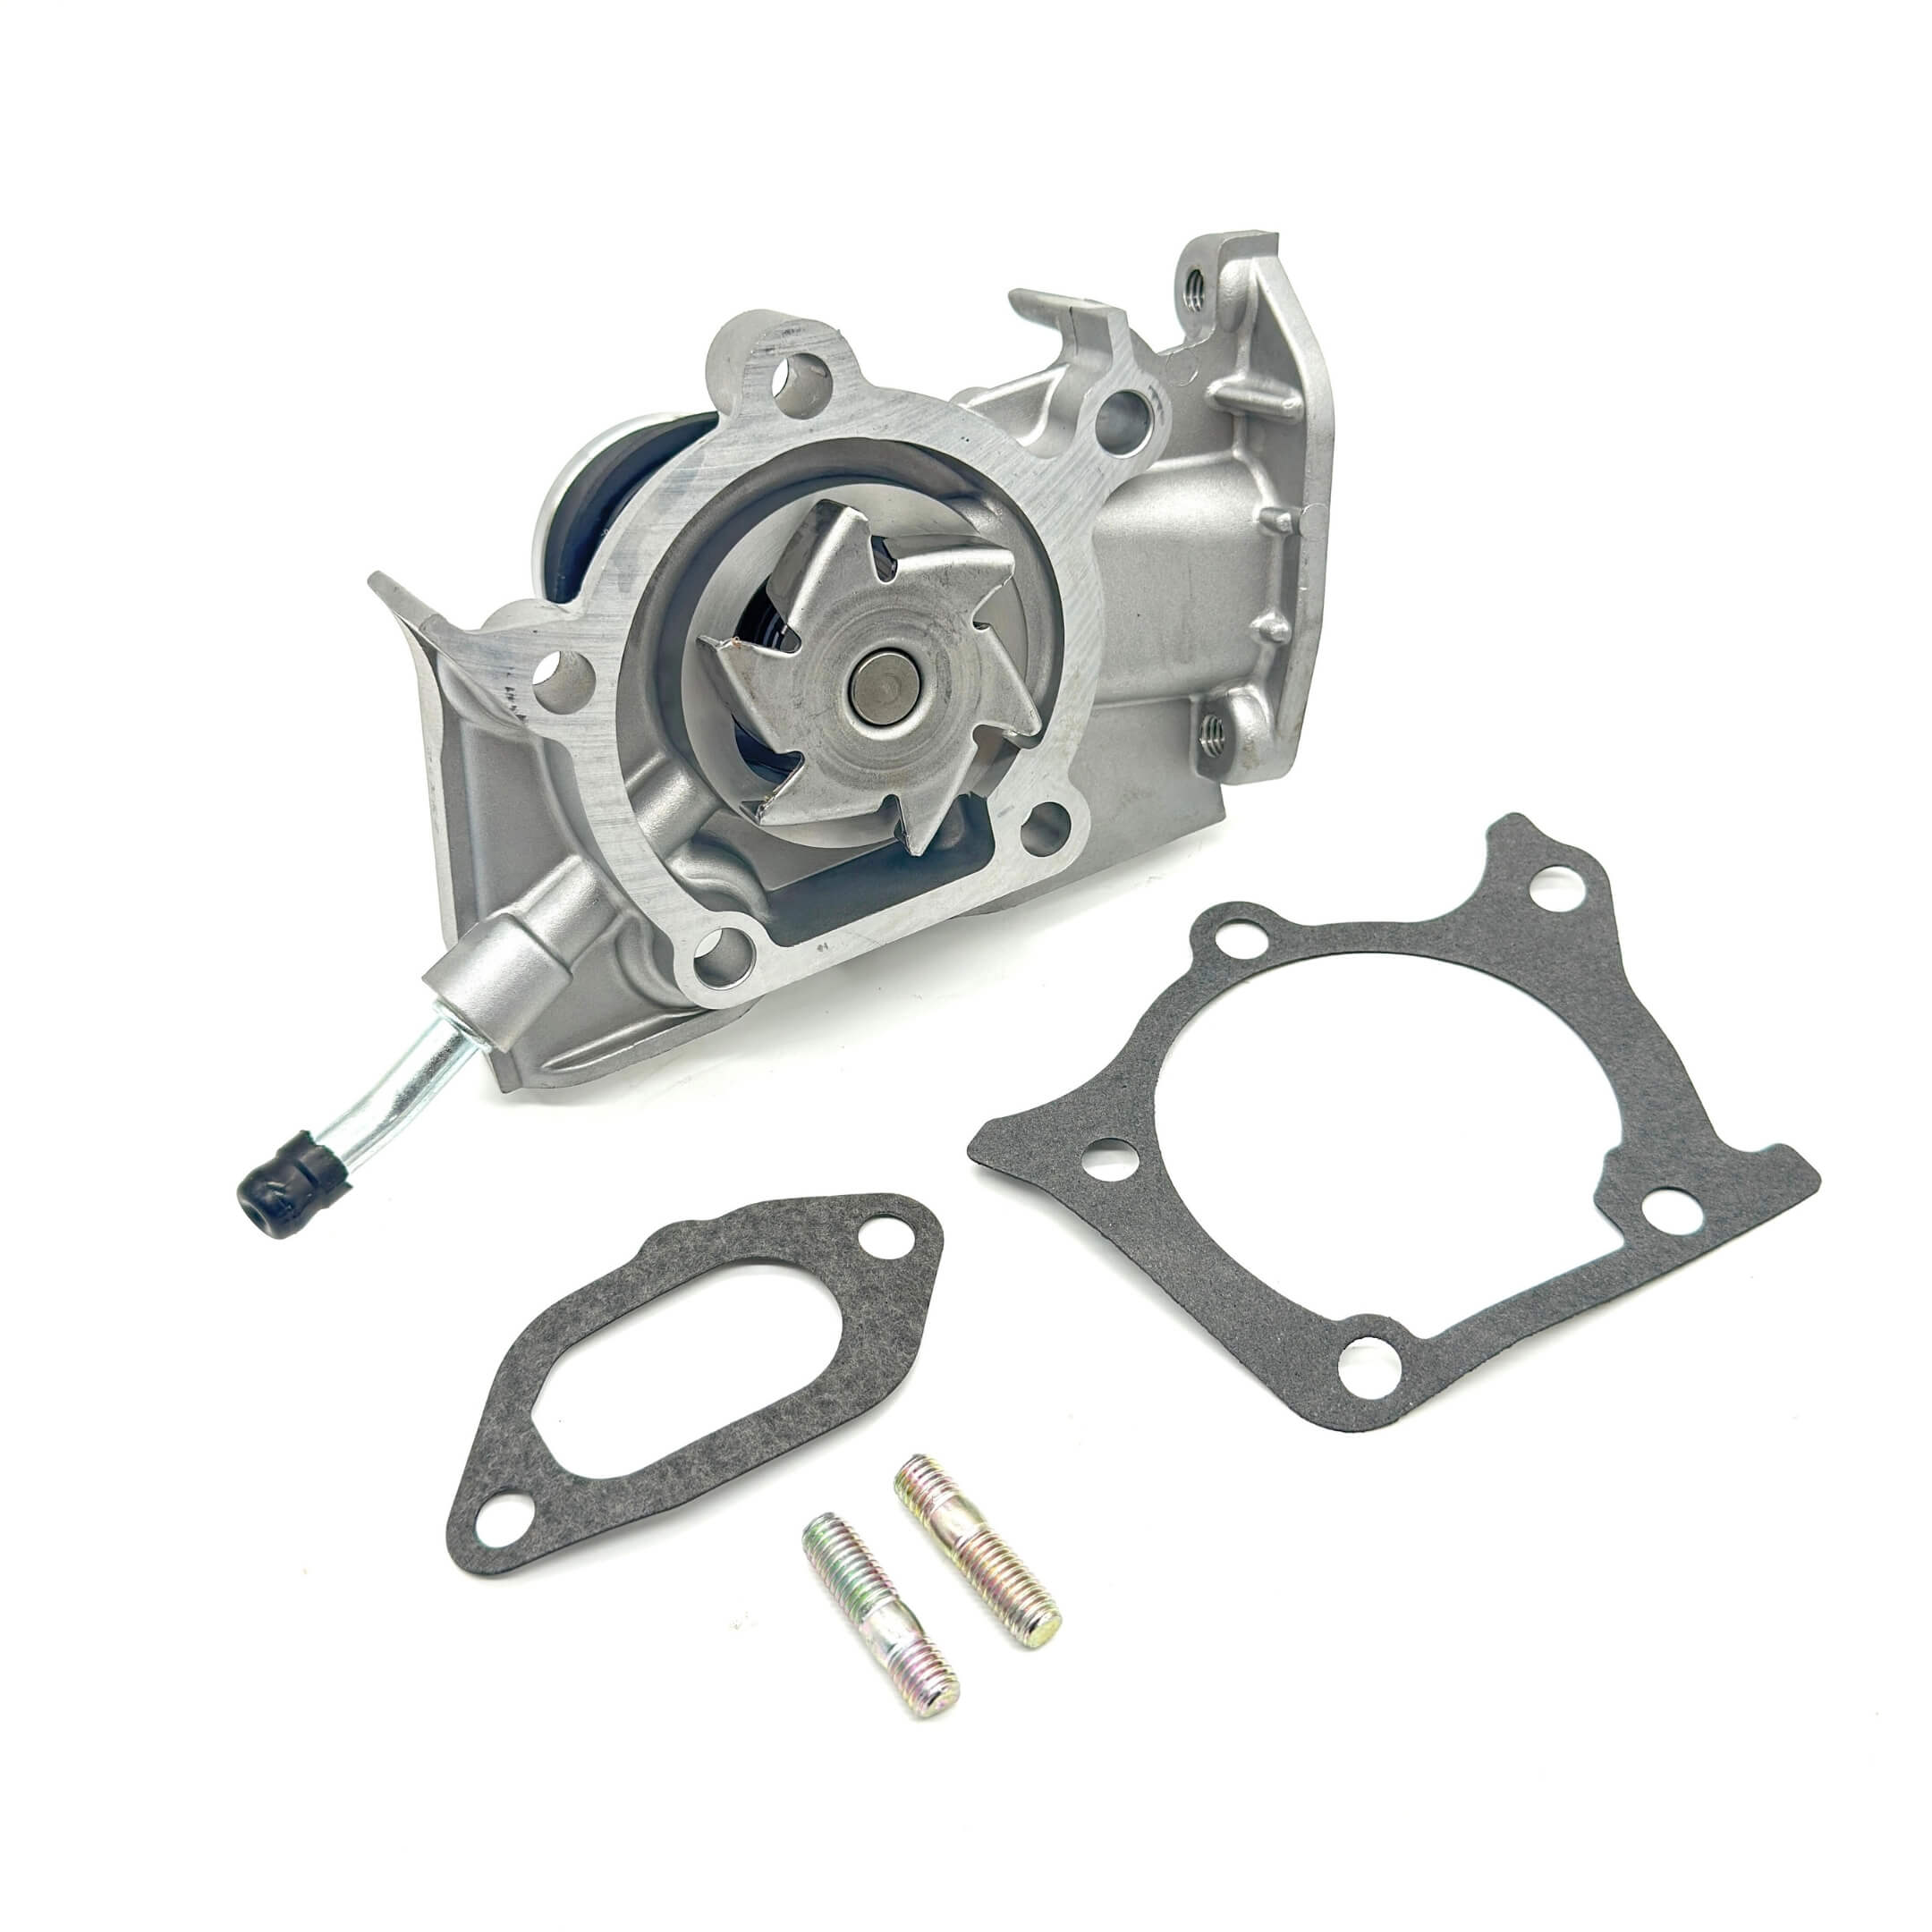
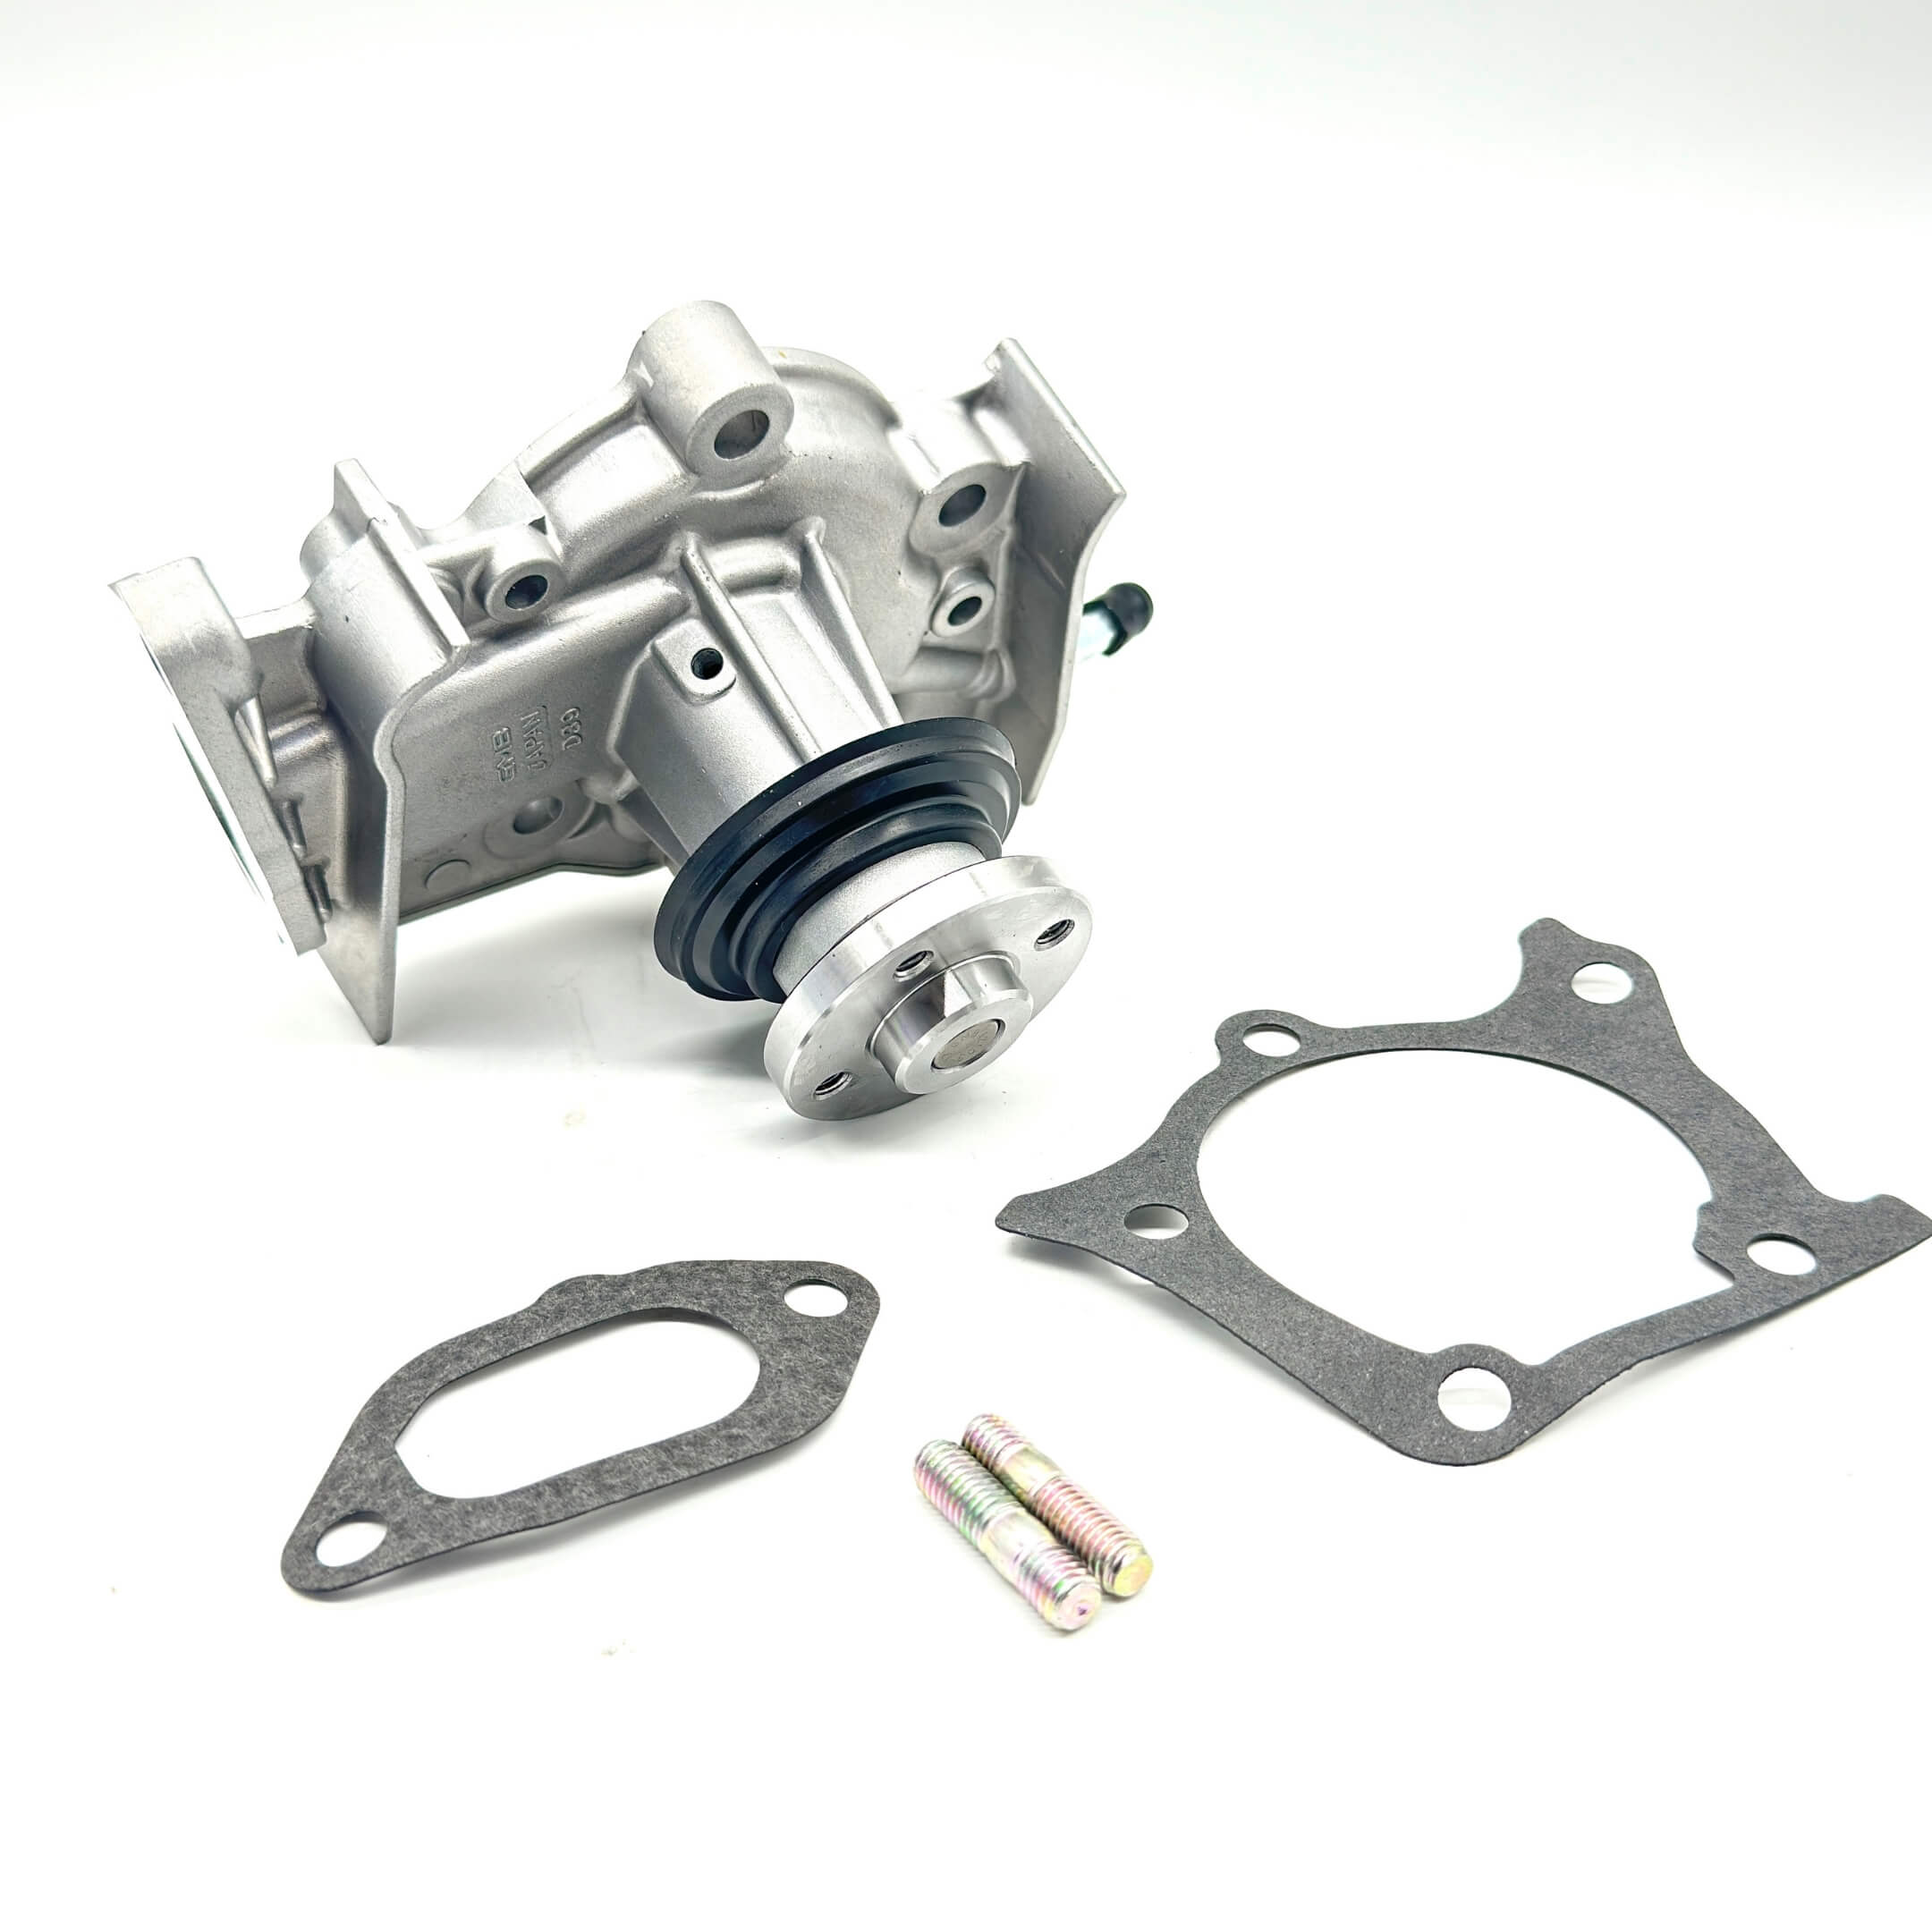
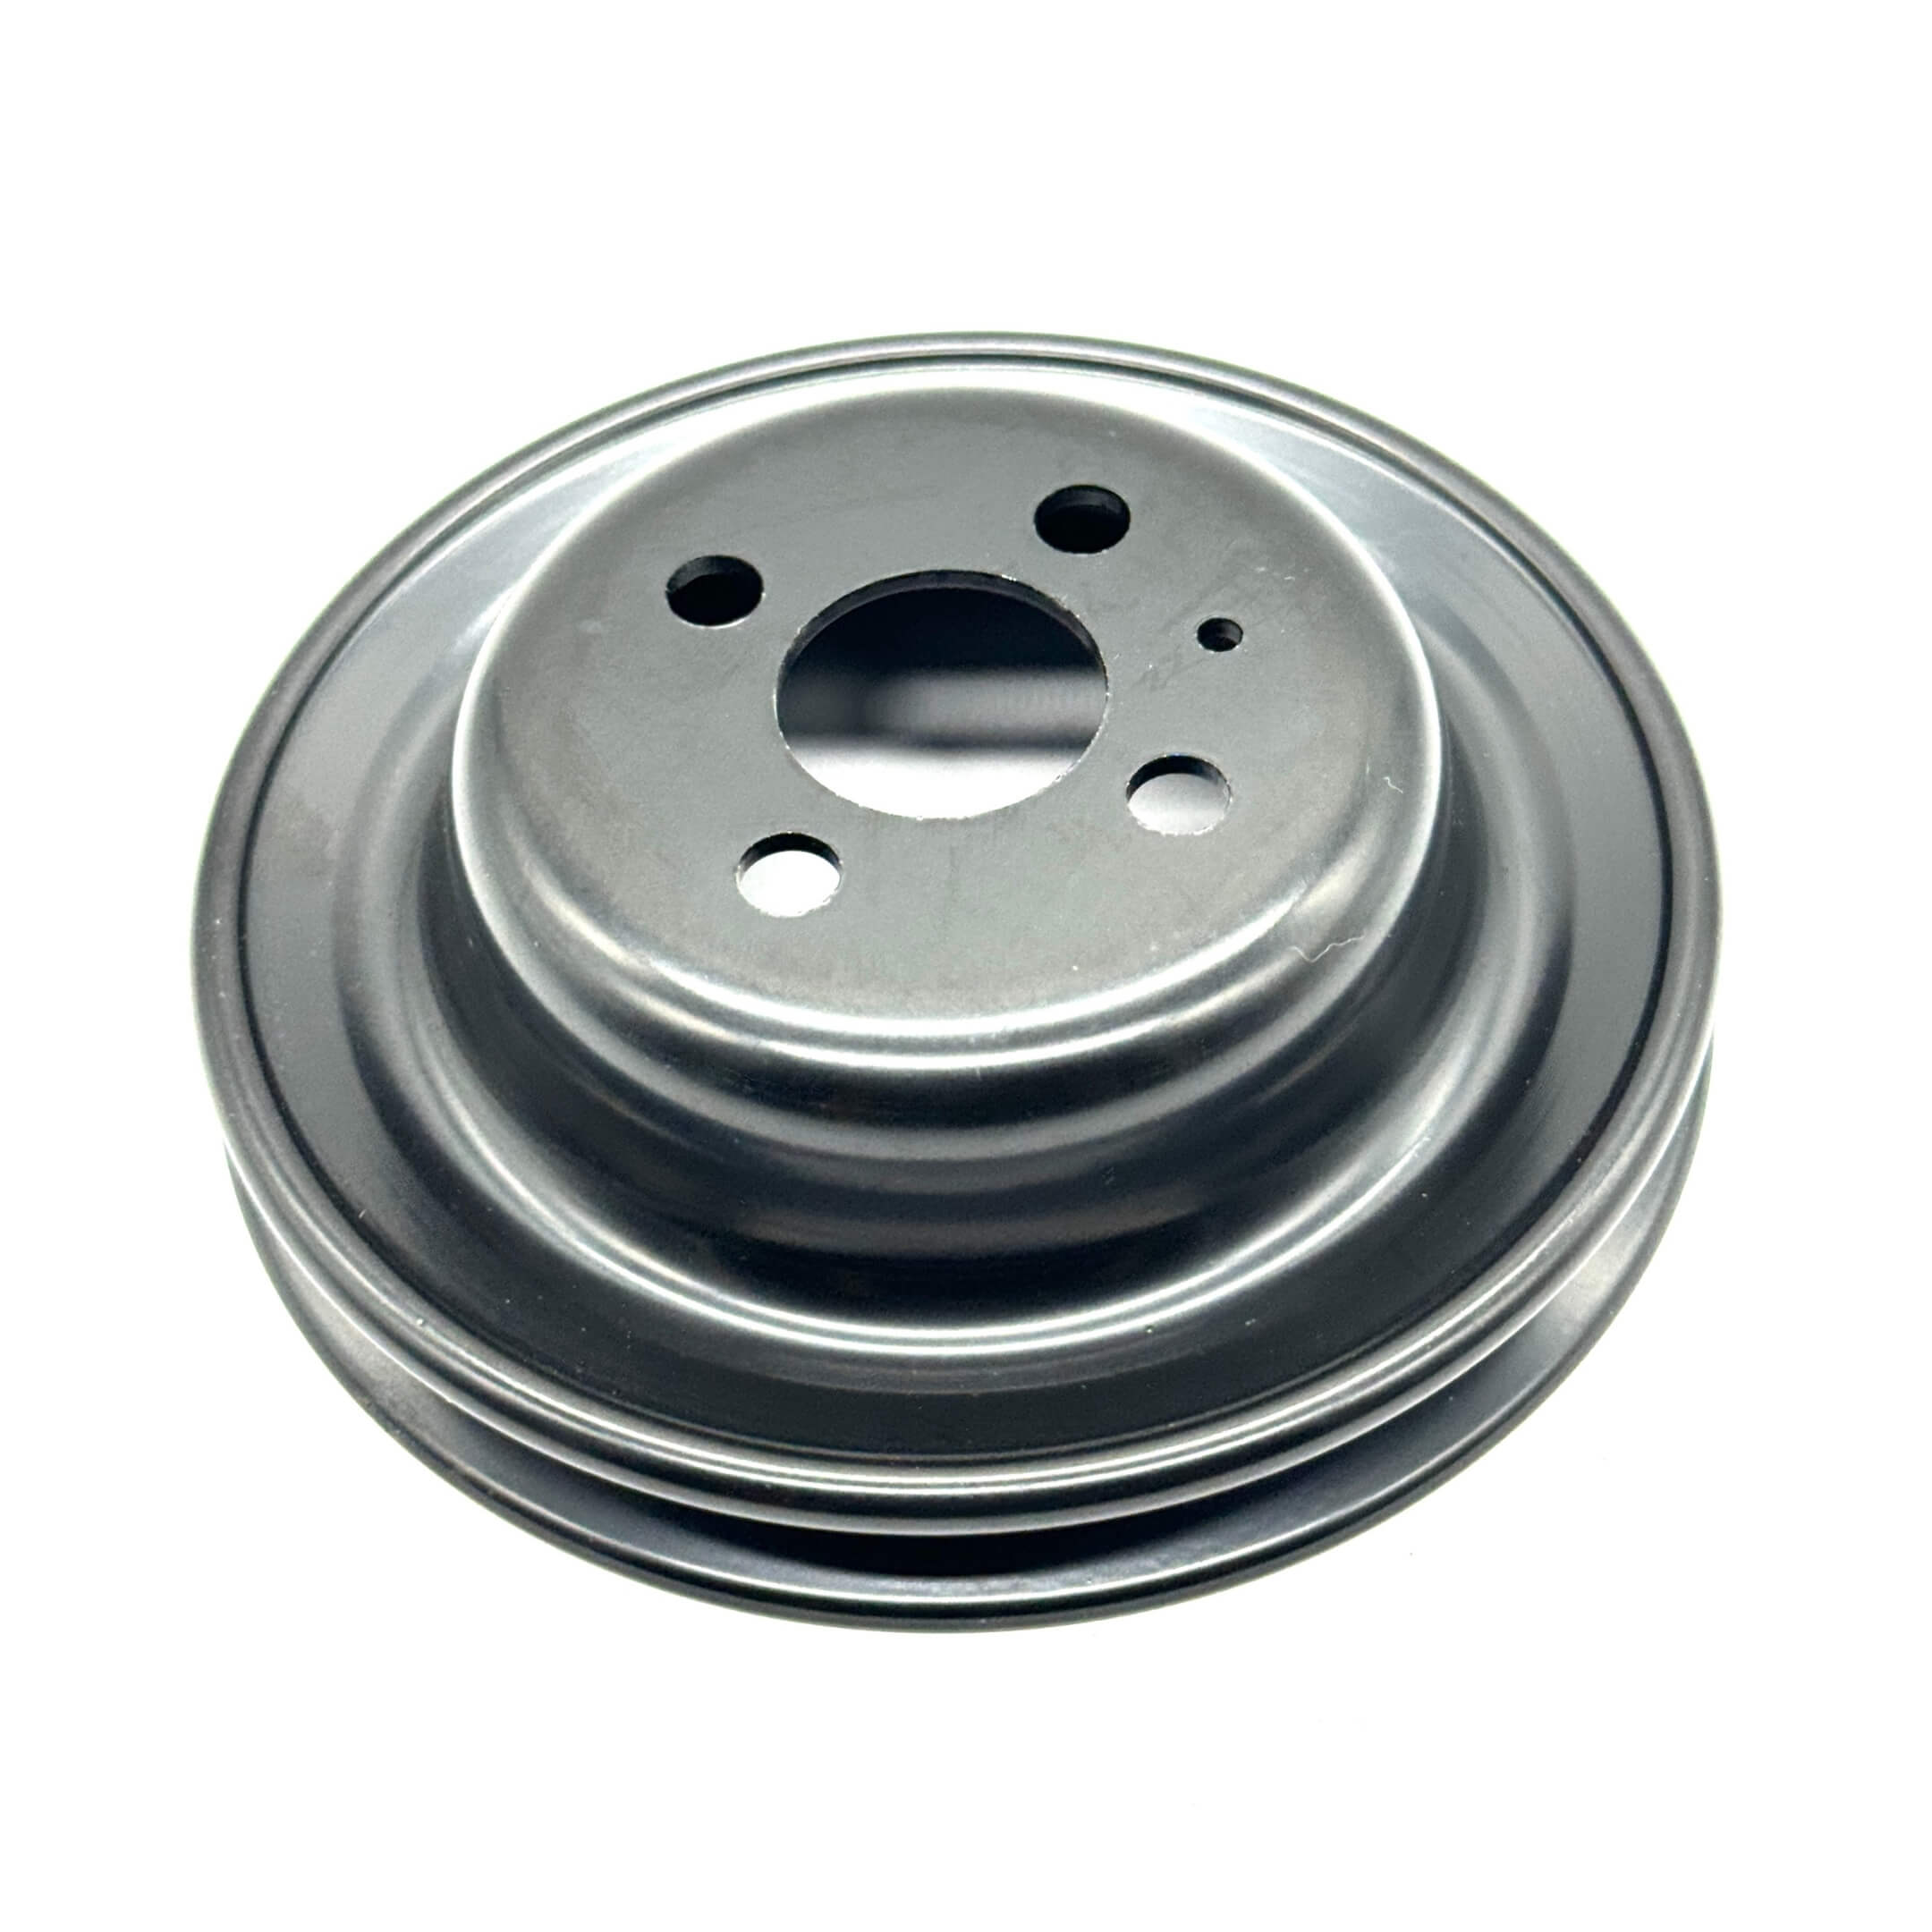
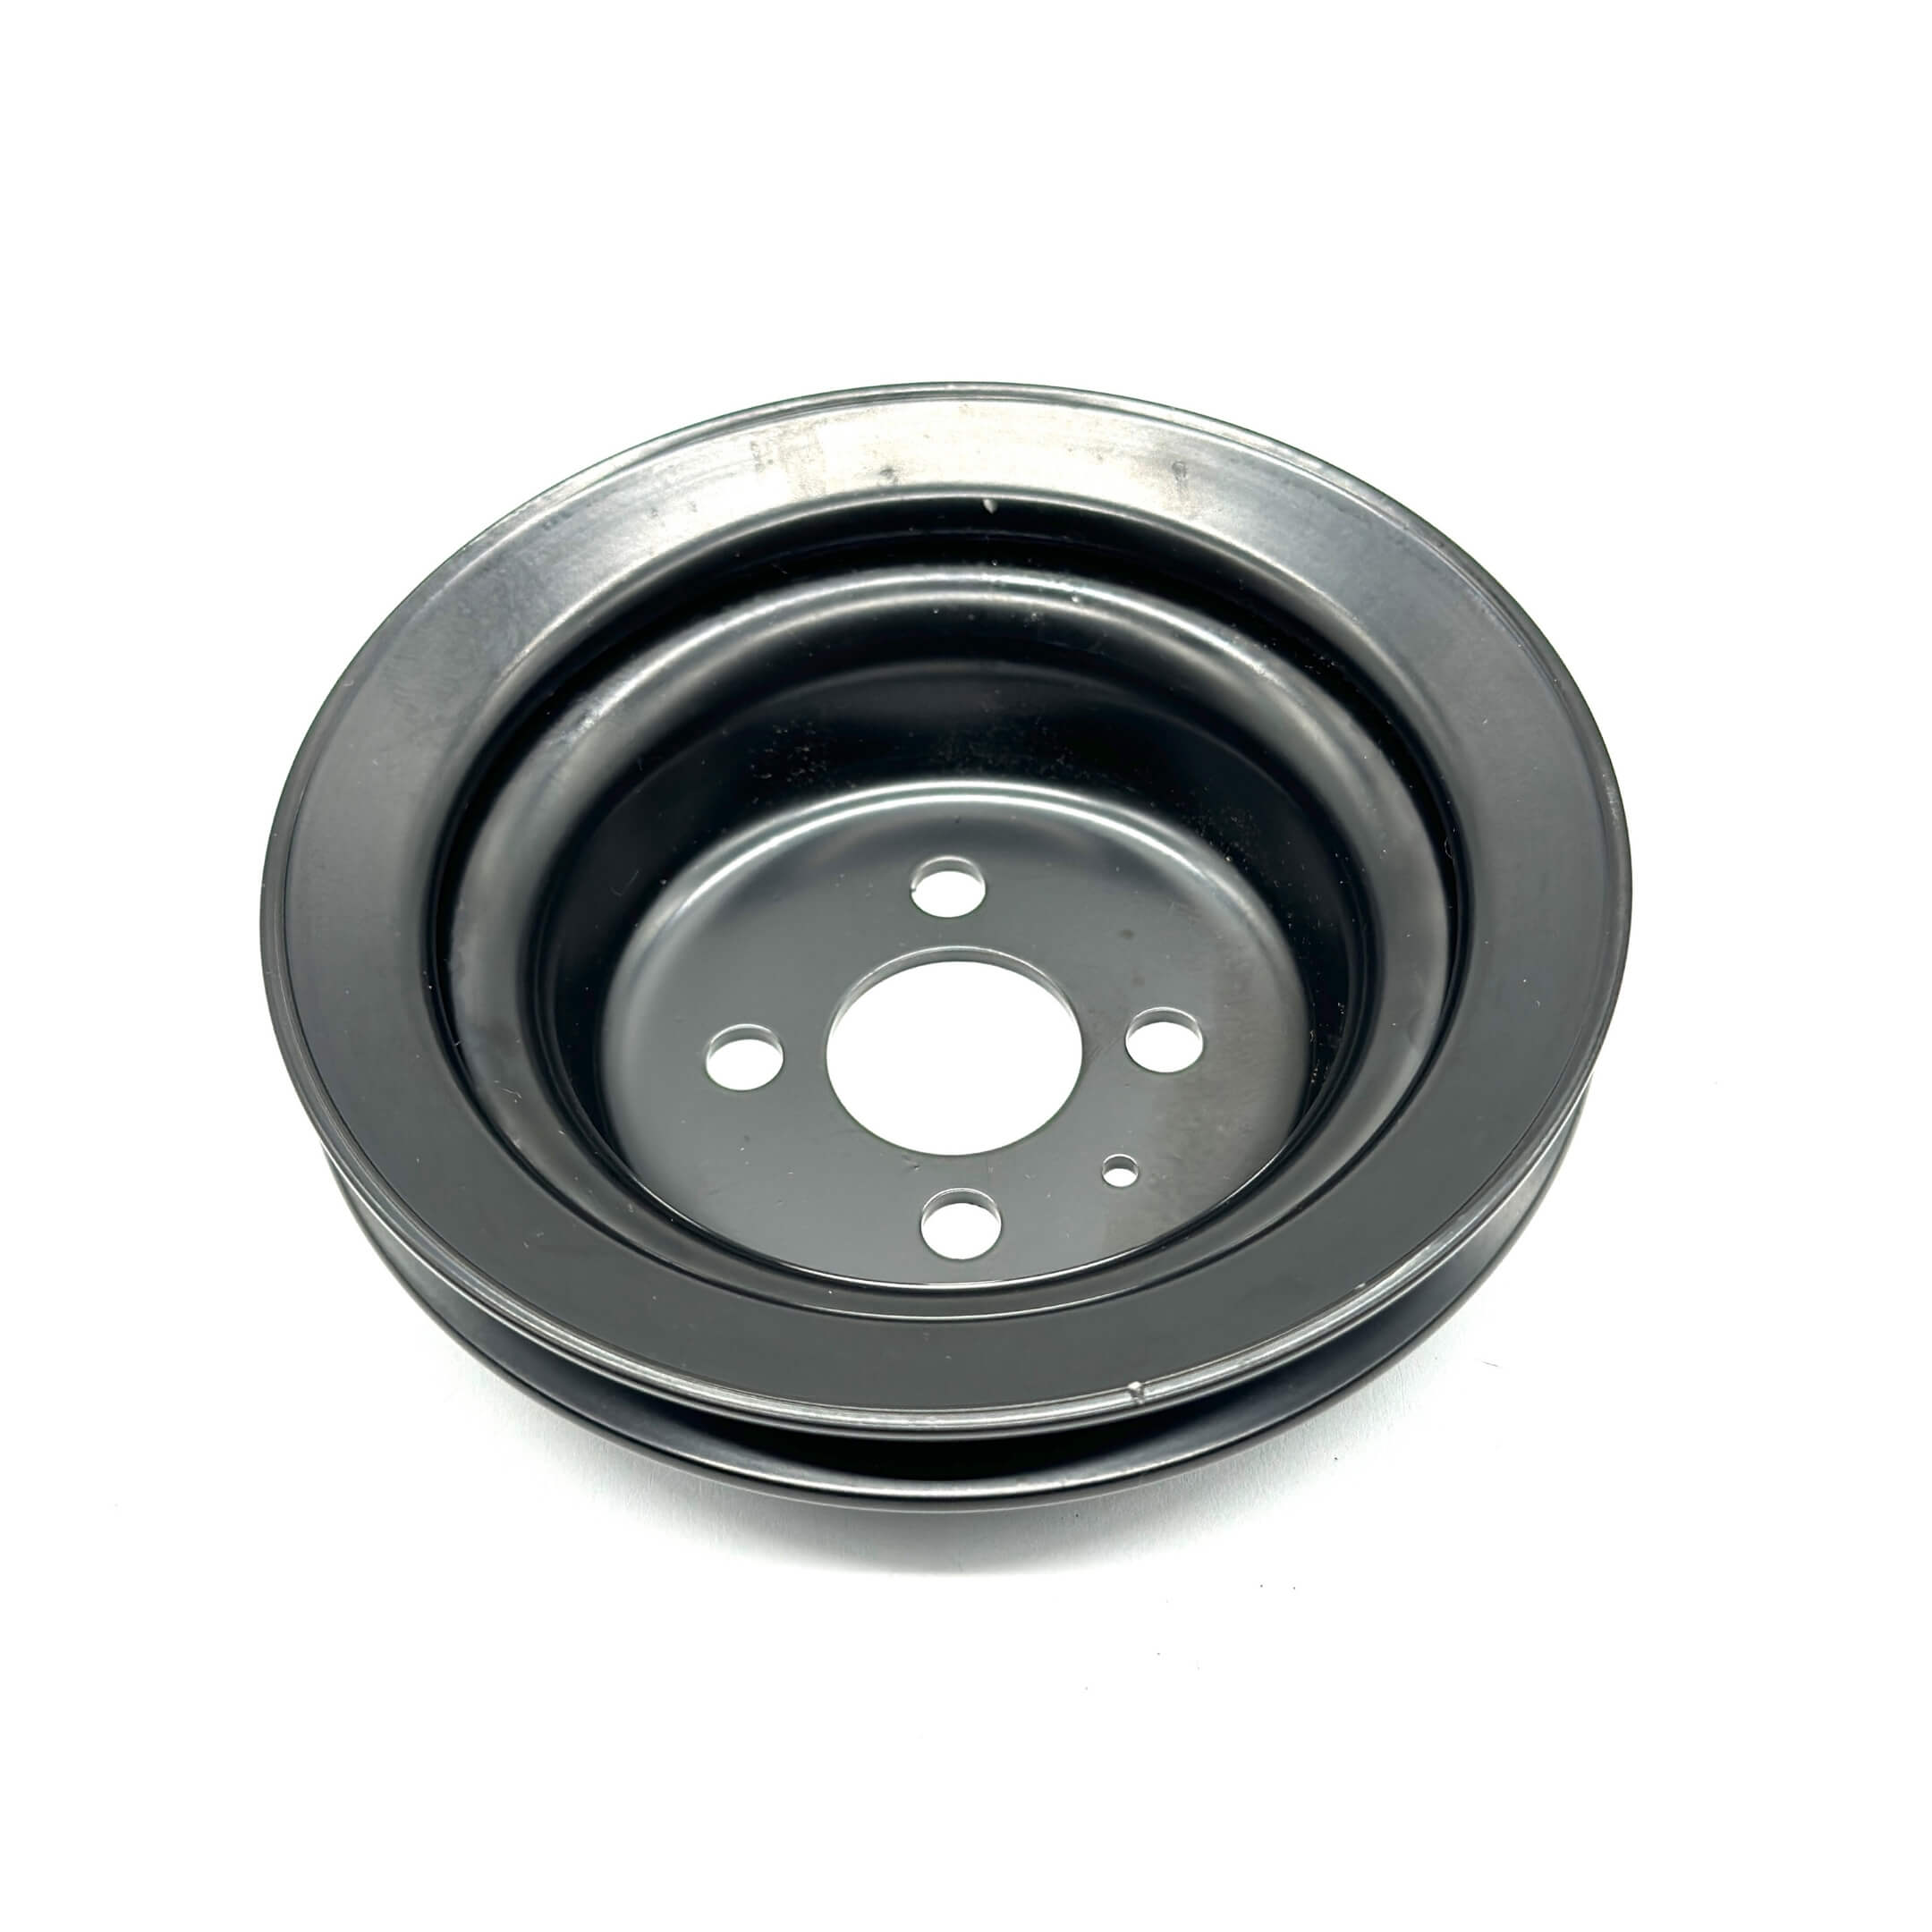
| Water pump | The pump, and the pulley separately. Two water-pump fitment families are represented in the catalog, and they are not interchangeable. Confirm the individual product fitment for your truck. | The factory requires timing-belt removal before the pump comes off, so pump work and belt work share the same labour. The factory inspection is under Water Pump & Oil Seals; the field signs that point at a pump are under Troubleshooting. |
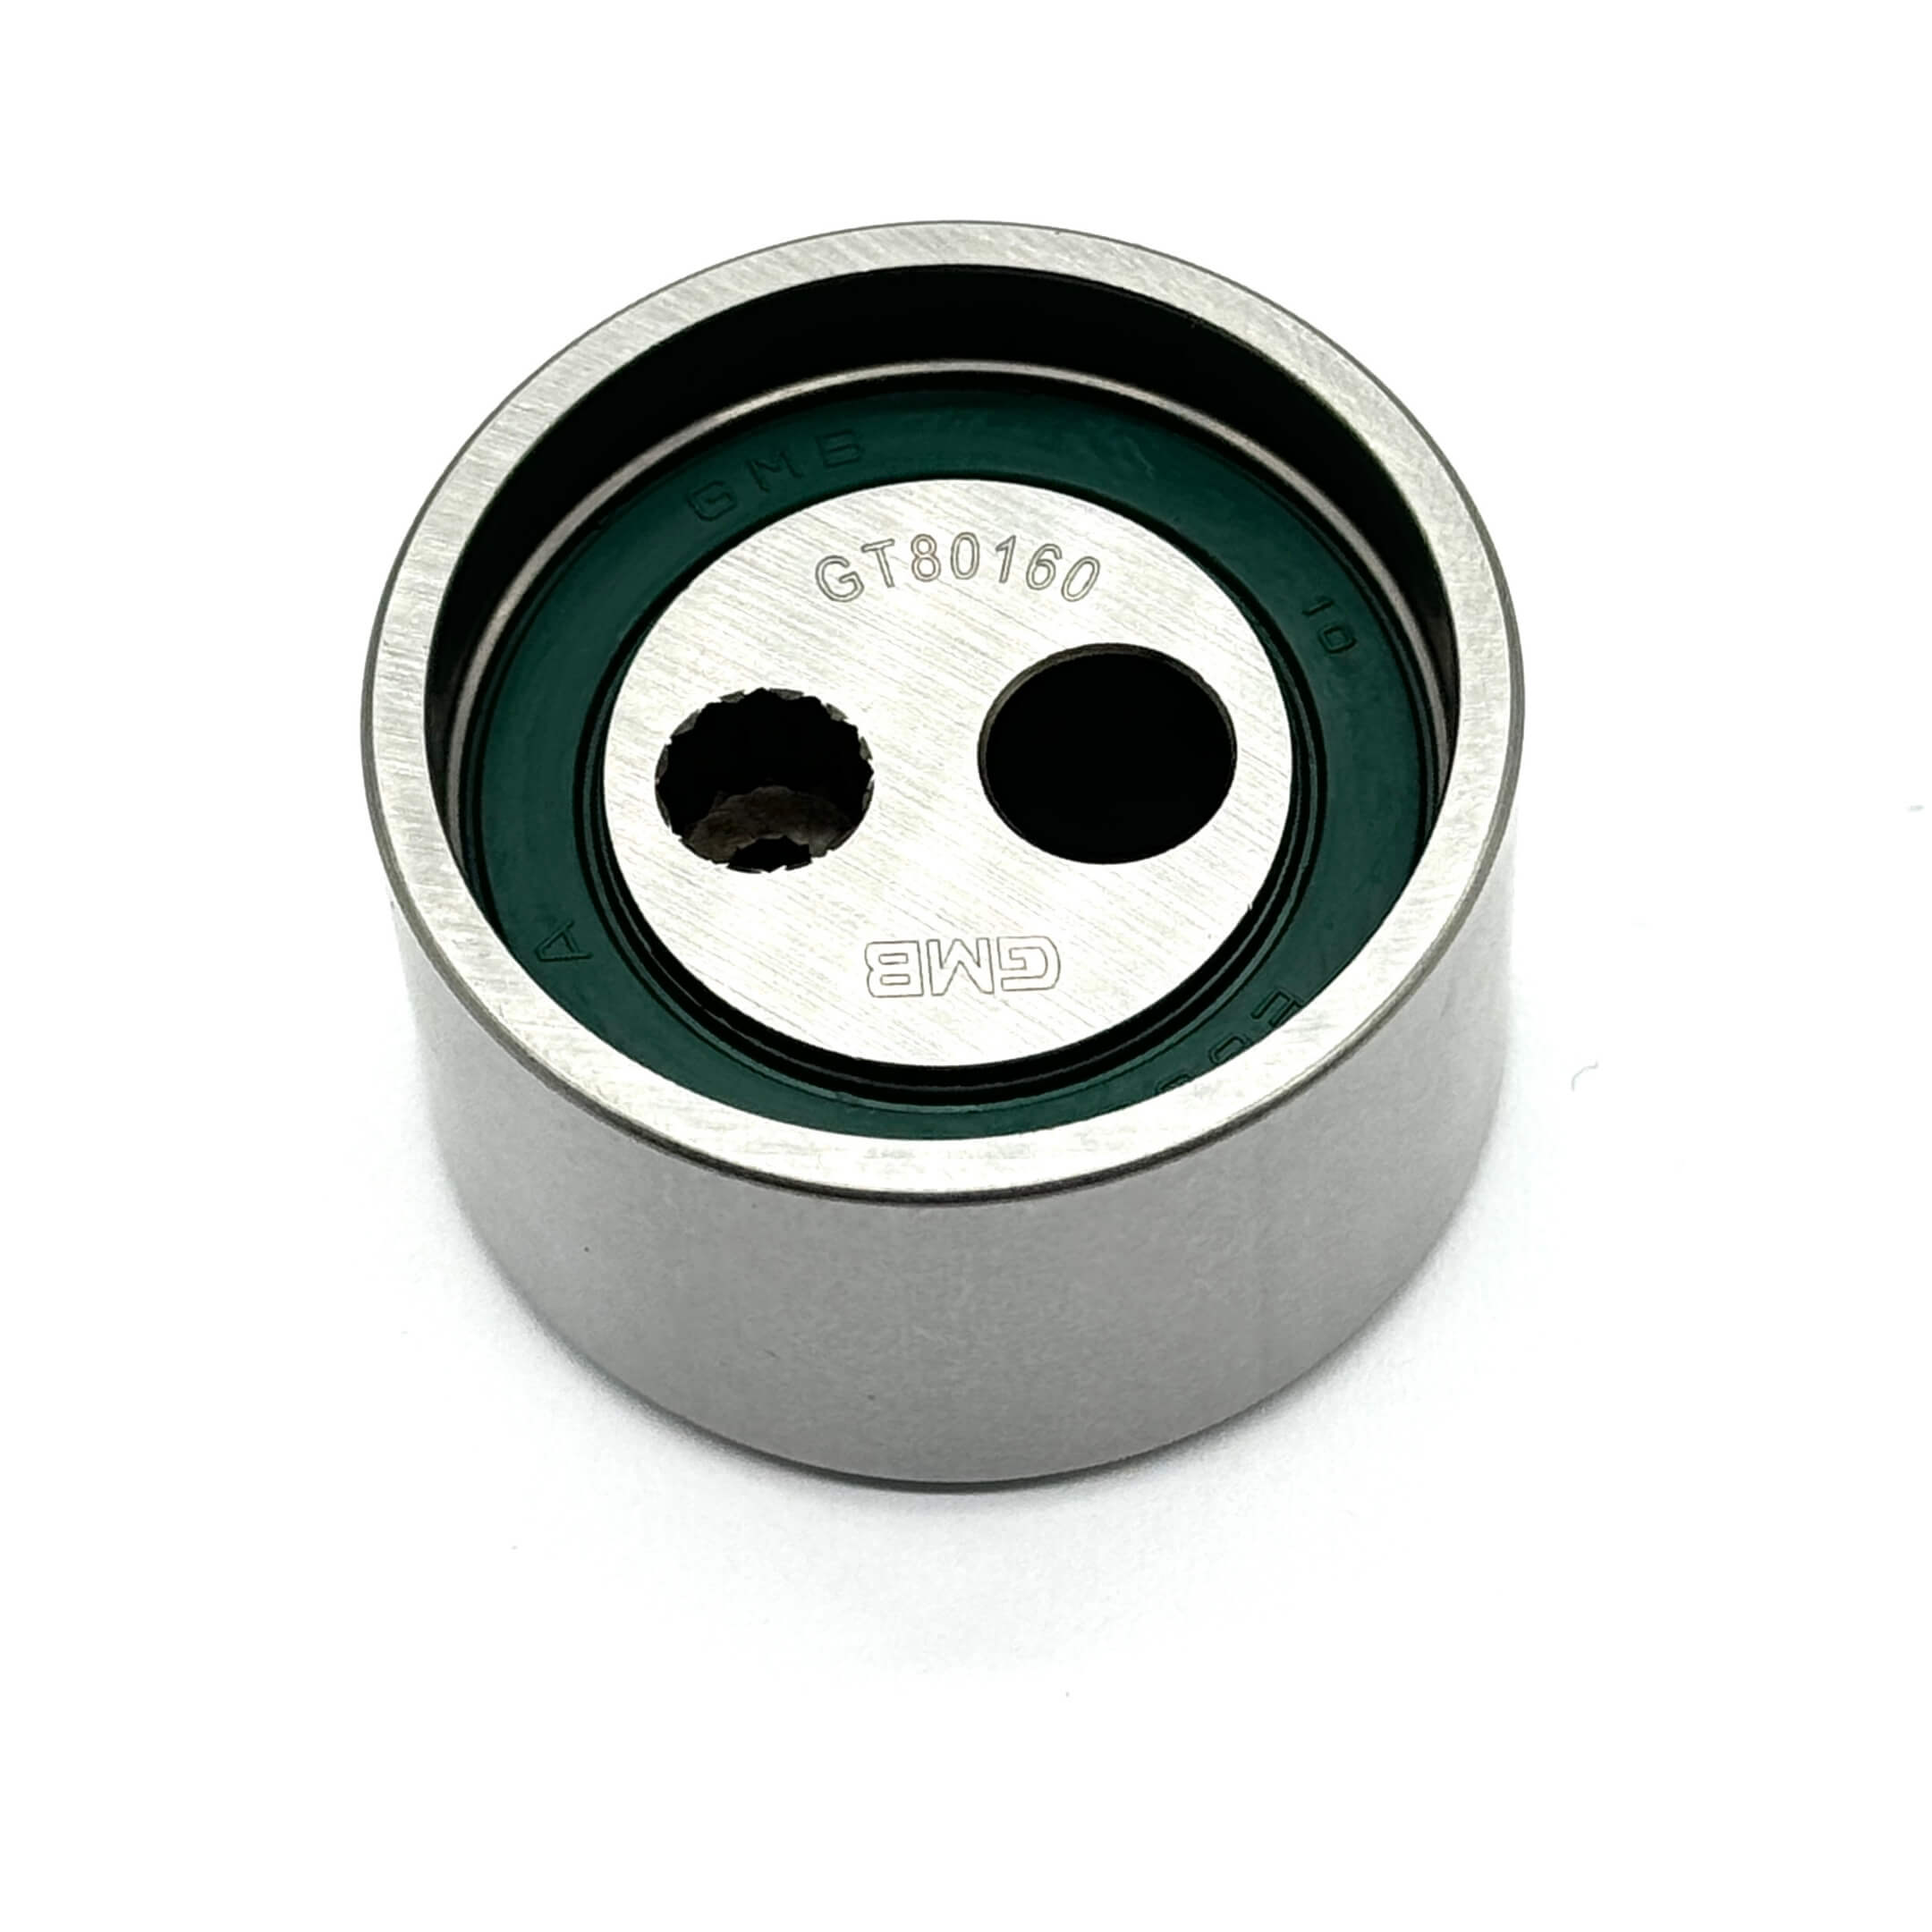
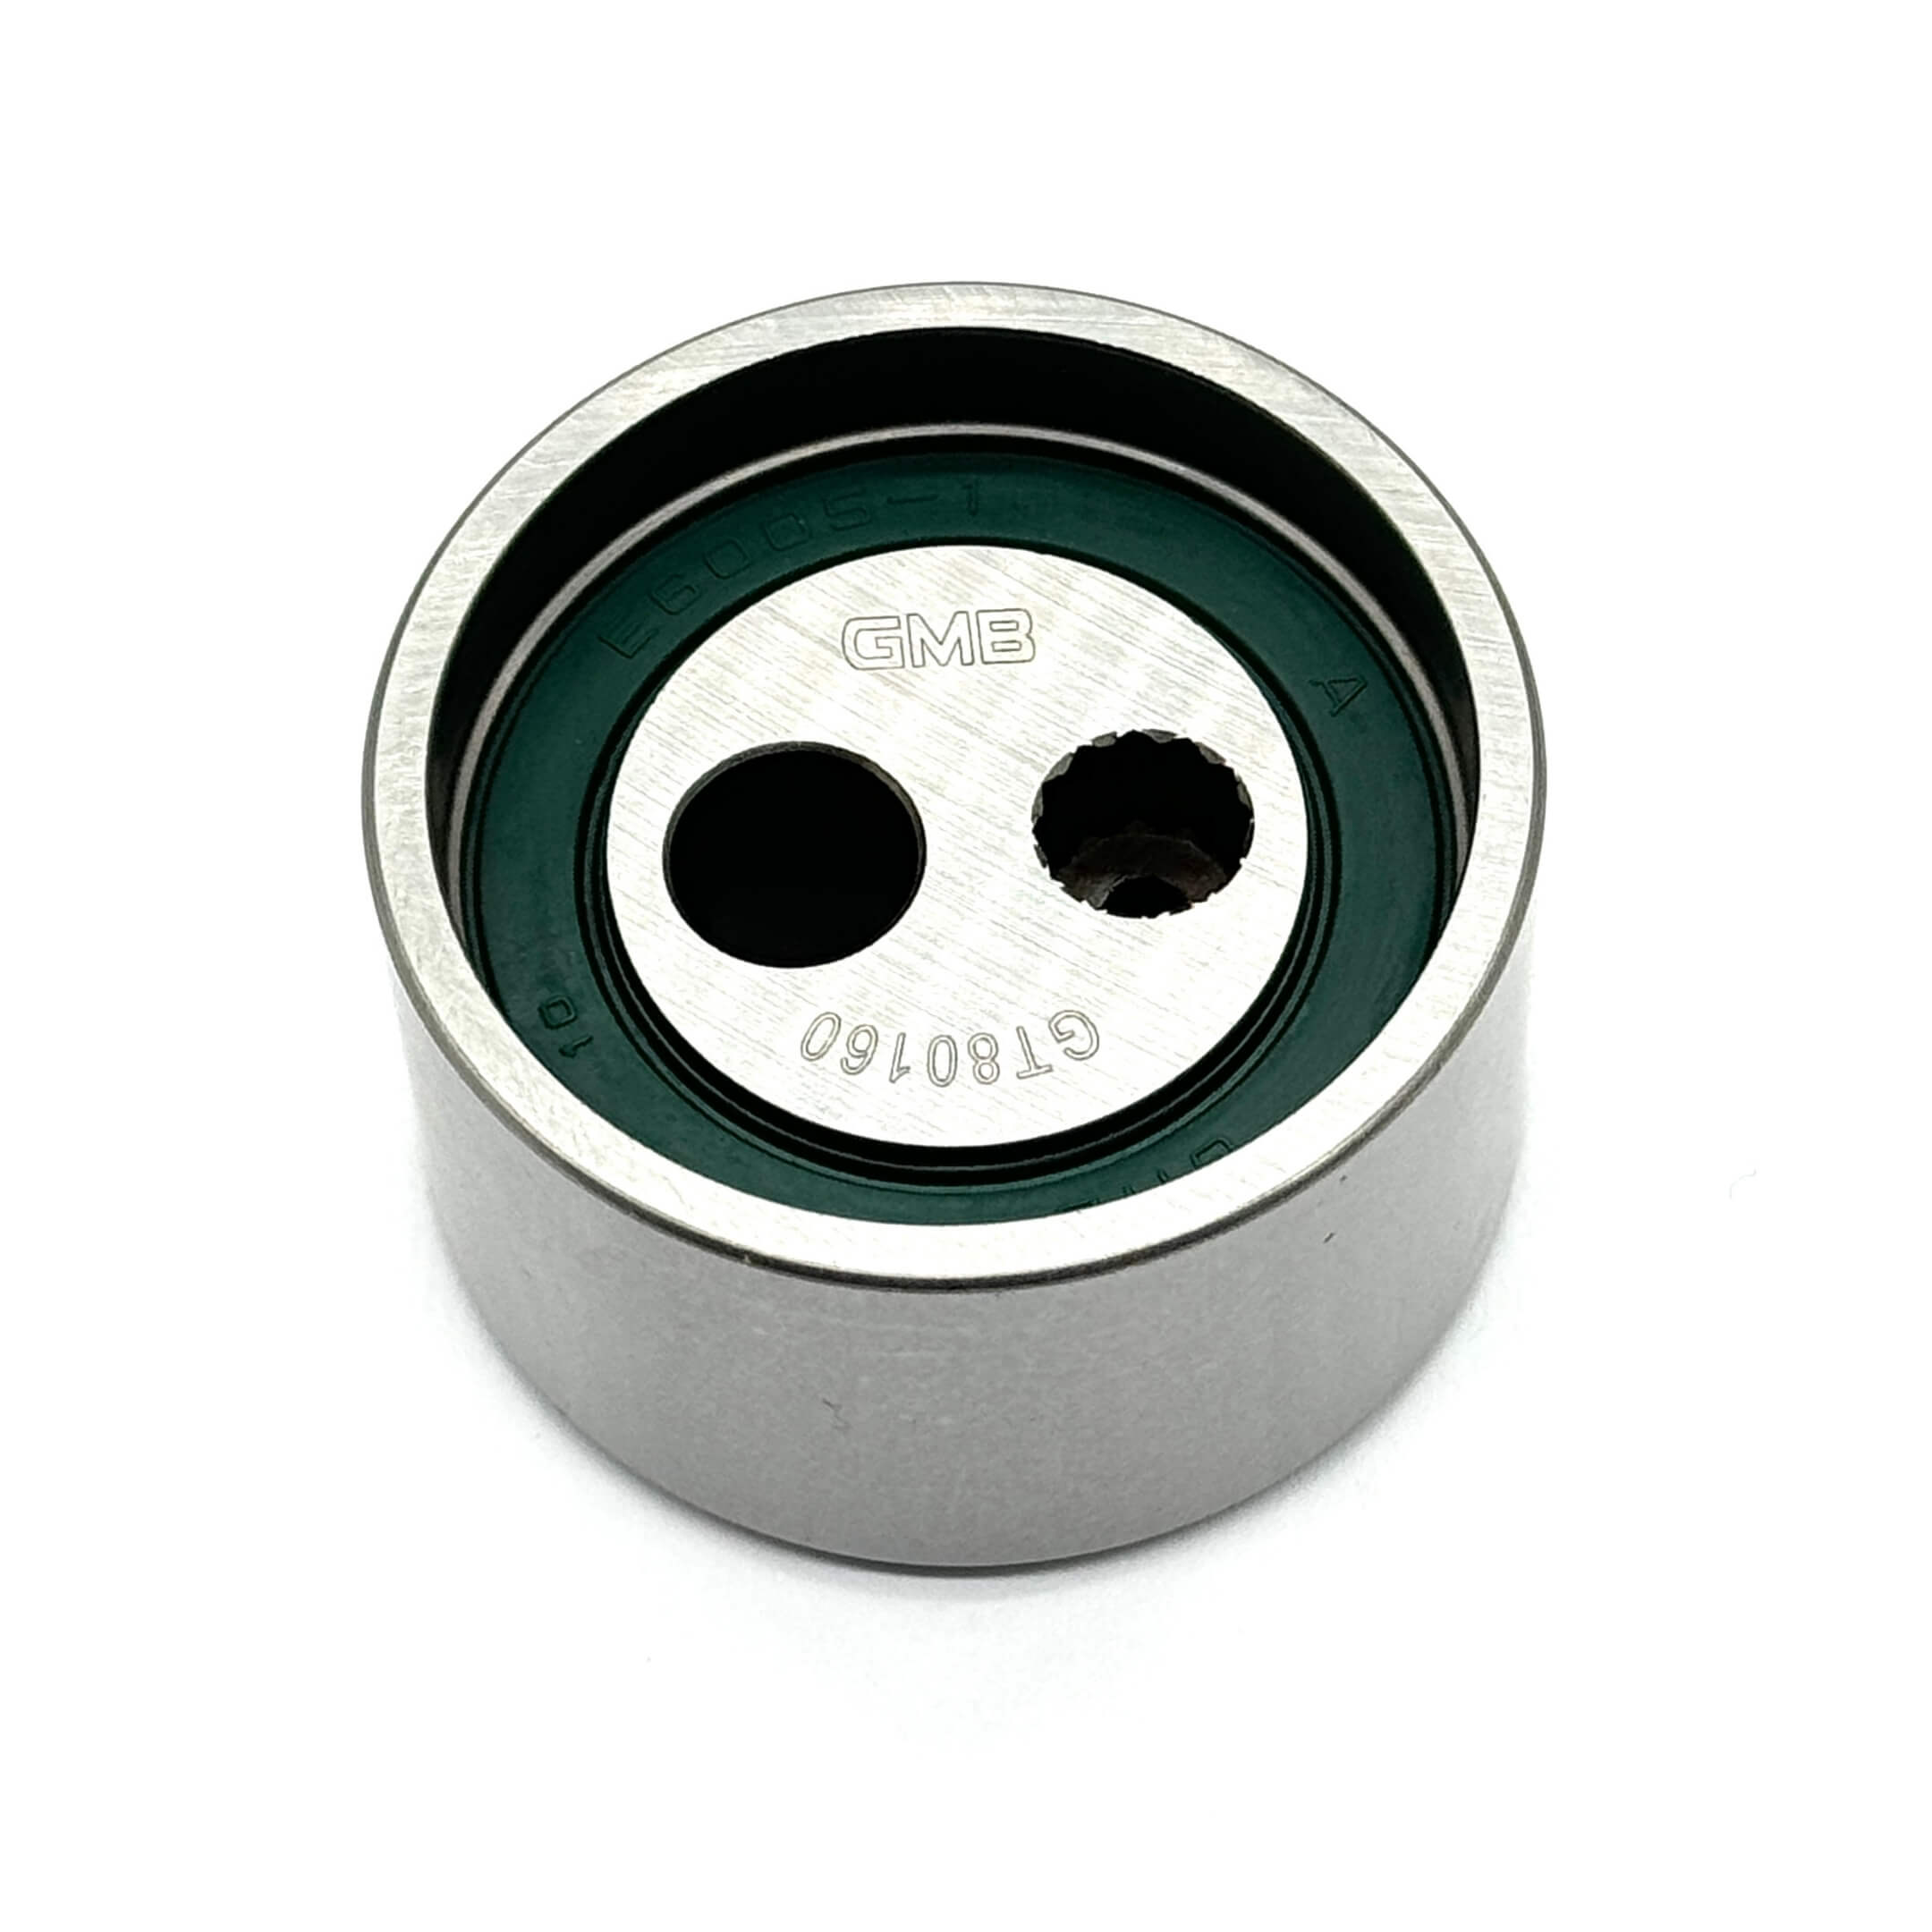
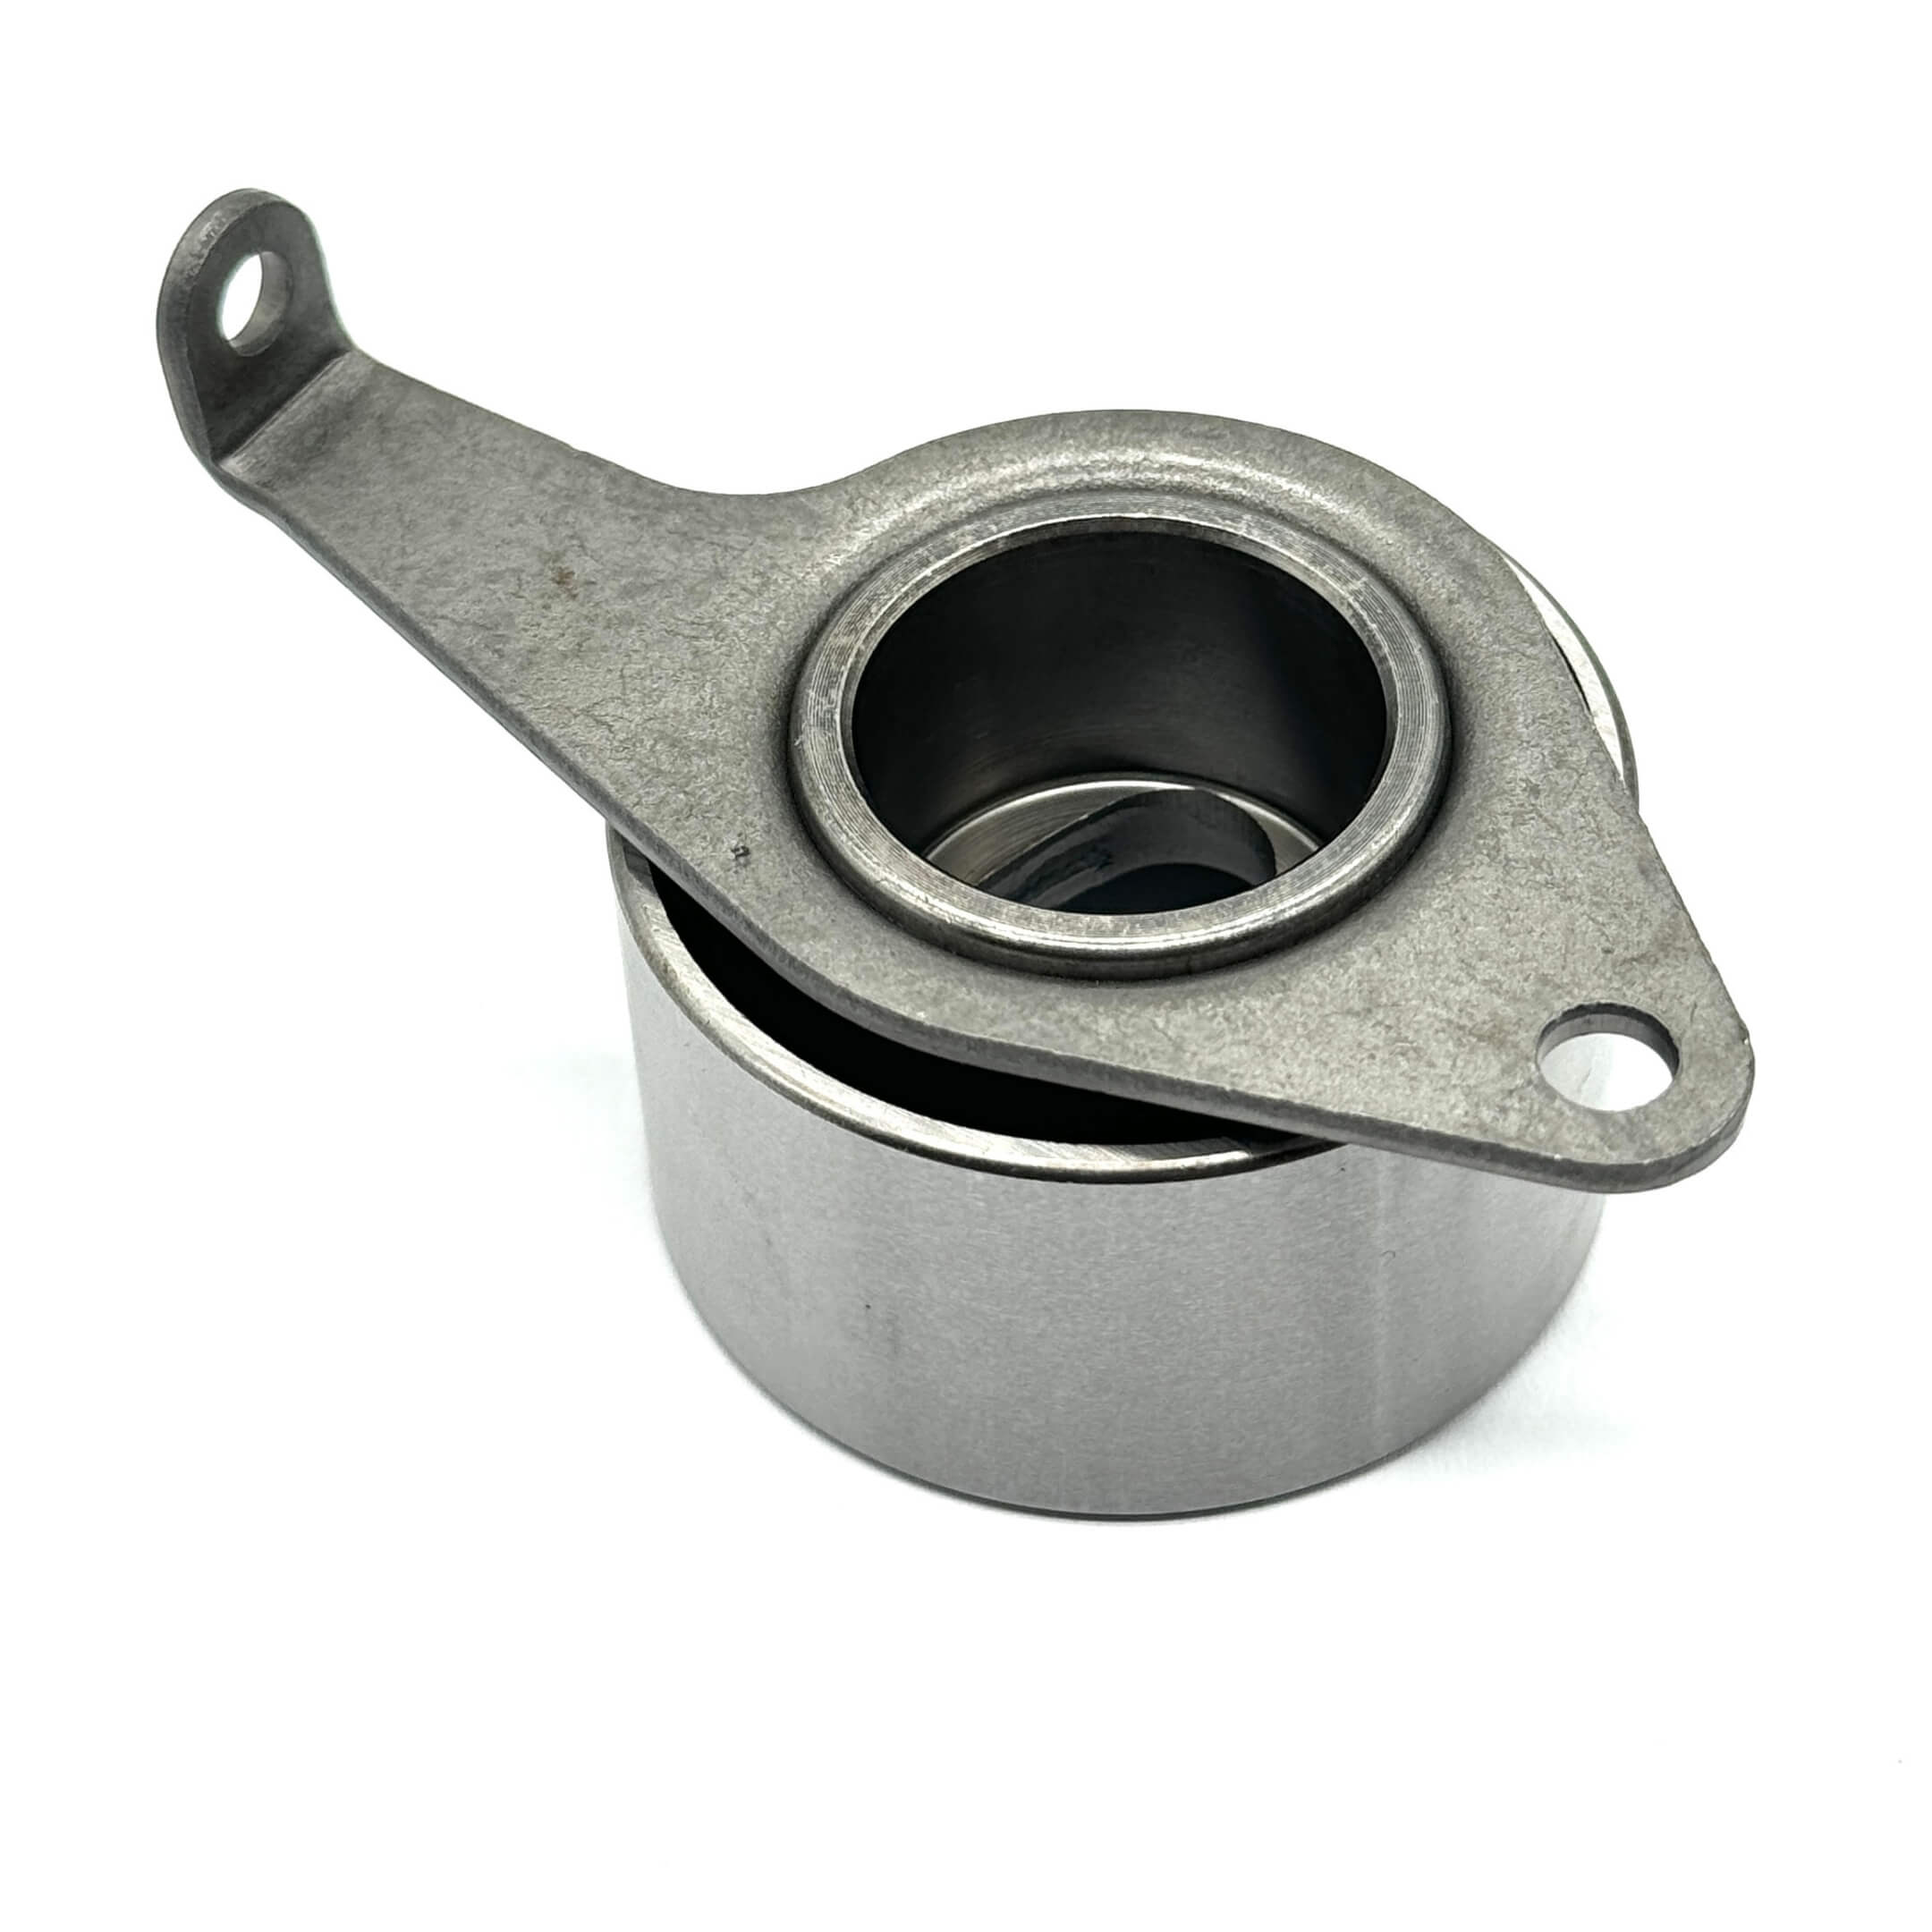
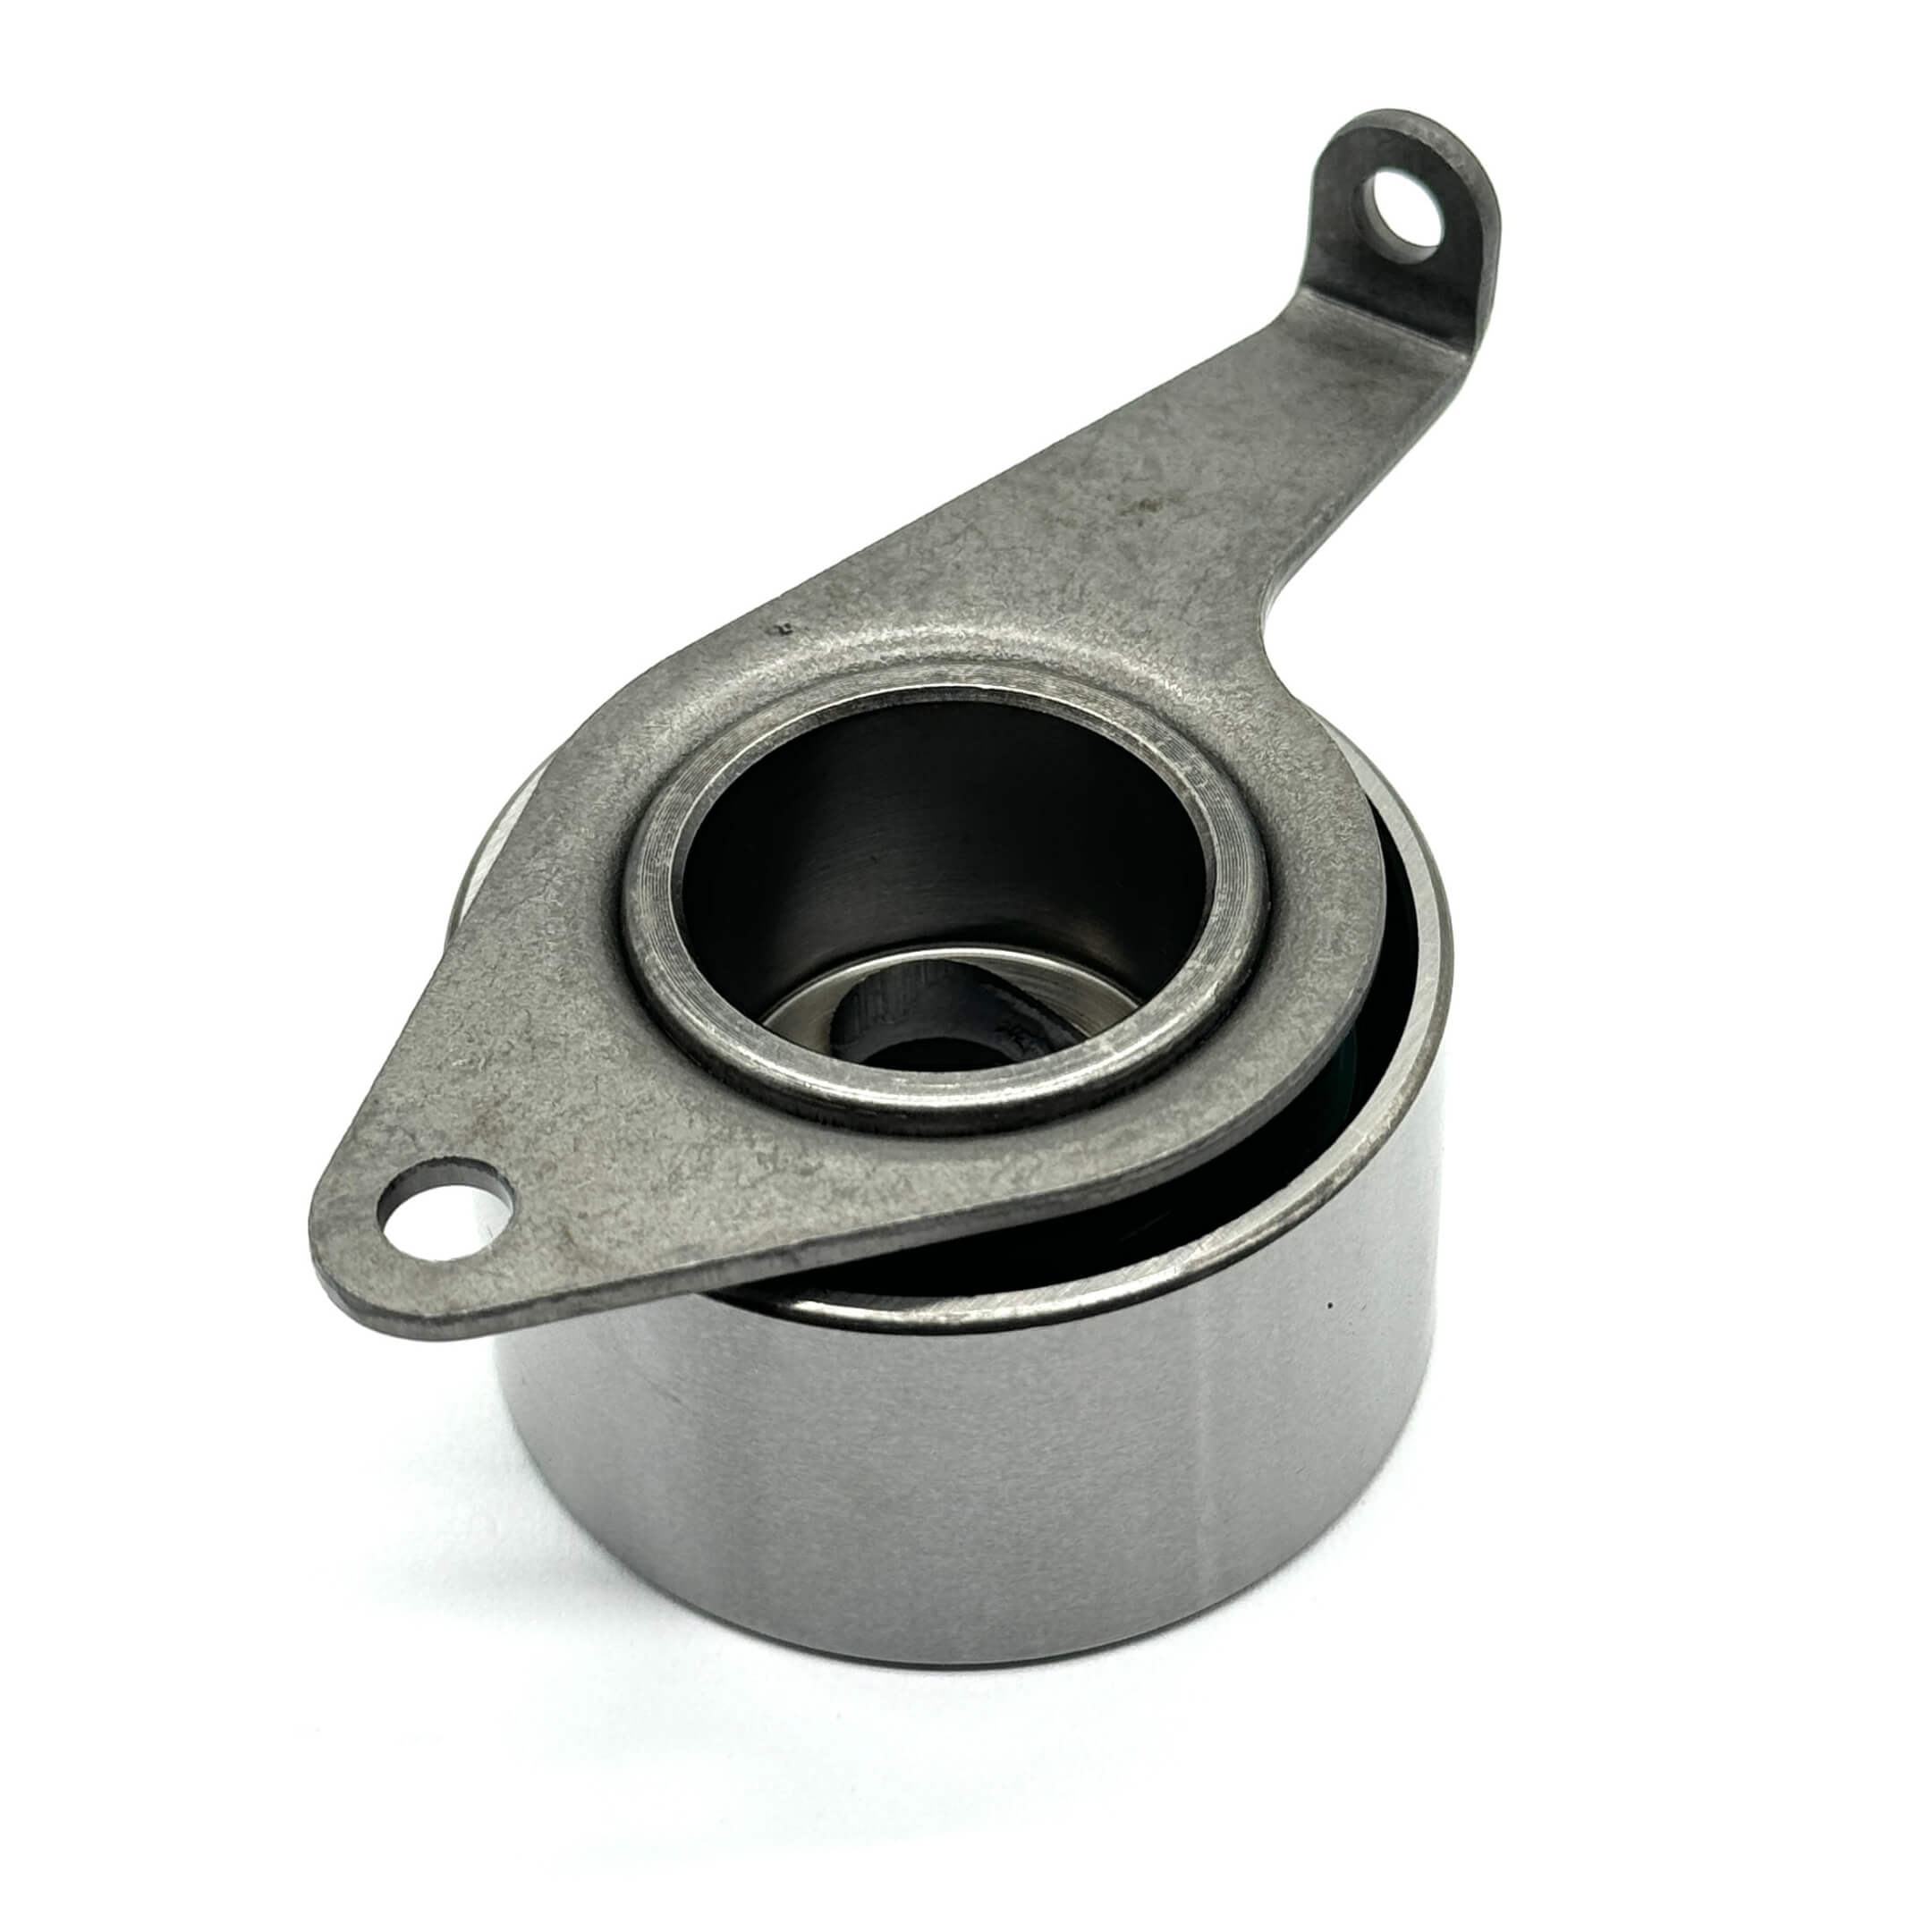
| Tensioner pulley | Sold on its own. Two tensioner part numbers are cataloged and, like the belts, they follow different kit families. | A whirring front cover, or a belt that has been running loose. |
Kit contents
Every kit here is engine specific, so the same piece count is a different box on a carbureted, injected or turbo truck. What follows is what the kits actually contain.
| What is in a kit | Why it is in there |
|---|---|
| Timing belt | The part you came for. |
| Tensioner | There is no sprung automatic tensioner on this engine. The factory sets it to a specified clearance. Oiwa recommends replacing a worn or questionable tensioner while the belt is off. |
| Water pump | Present in all 23 kits. The factory makes belt removal a required step before the pump comes off and belt refitting a required step after, so the two jobs share their labour. |
| Camshaft and crankshaft seals | Both sit behind the belt, and the belt is the only way to reach either one. Leave them out and a weep from either means stripping back to the same place. Carried by some kits, not all. |
| Scheduled-service items | The larger kits also carry items that are not part of the factory timing-belt assembly at all. That is most of what separates a 10-piece kit from a 19-piece one. |
Wear & Service Limits
The factory gives one number for this belt: 100,000 km, in the maintenance schedule for the engines this manual covers. No calendar figure is printed alongside it, and no separate severe-service interval for the timing belt was found in the maintenance material we inspected. The timing-belt row carries no severe-service qualifier.
Oiwa’s view, not Daihatsu’s. These trucks are now around thirty years old, and rubber ages whether or not the odometer moves. We treat a belt of unknown age as due regardless of distance. That is our recommendation, and we are labelling it as ours: it is not a factory instruction, and the manual publishes no age-based interval.
Four things you can see
| What you see | What it means |
|---|---|
| Cracks in the backing rubber | The smooth side has gone hard. |
| Cracks at the tooth roots, or the fabric peeling and cracking | Where teeth let go from. |
| Fabric worn off the teeth, or a tooth missing | The canvas facing is what grips. Once it is through, the tooth is next. |
| Abnormal wear on the belt sides | The factory calls out abnormal side wear specifically. It means the belt has been running out of line, so find out why before the new one goes on. |

Three that leave no mark on the belt
Each of these is qualified in the manual, and the qualifiers matter. They are reproduced here as the factory states them.
| What has happened to it | Why that is the end of it |
|---|---|
| Water on it, continuously | The factory condition is continuous water exposure (from a leaking water pump or similar), not a single splash. Soaked rubber will not hold together the way it should. |
| A lot of oil on it | The factory wording is that where oil contamination is heavy, swelling of the rubber is to be expected. A swollen belt sits differently on the pulleys. |
| Seizure on the camshaft side | A seizure on the camshaft side puts a load through the belt that no inspection will show you. The factory scopes this condition to the camshaft side; we are not broadening it. |
Timing Belt & Tensioner
Most engines take a tension gauge on the belt. This one does not, and knowing why makes the rest of the job make sense.
Across the inspected C-11 through C-16 timing-belt procedure pages, no belt-tension value in kgf, no tooth count and no belt width is printed. The only setting dimension it gives is a clearance at the oil pump body, 11 to 13 mm, which the manual calls a standard, or reference, dimension. Setting that clearance correctly is what leaves the belt at the right tension, but that is our way of putting it, not the factory’s wording.
Oiwa’s advice: because nothing on those pages identifies a belt, order by engine code and stated product fitment rather than by measuring your old belt.
The step-by-step setting procedure (resin cap, M6 setting bolt, feeler gauge and torque order) is under Installation & Timing below. What the tensioner looks like when it has had enough is under Troubleshooting.
Water Pump & Oil Seals
The water pump and the crankshaft front oil seal both sit behind the timing belt. The manual requires the belt to be removed first and refitted afterwards, and it states that as mandatory pre- and post-work with a page reference back to the belt procedure in both directions. That is the factory-verified reason these parts are sold alongside belts and kits. It is not a Daihatsu instruction to replace the pump at the belt interval; the manual publishes no water-pump replacement interval at all. None of this means a belt service needs a new pump or new seals. It means that if one of them is already due, doing it now costs labour you have spent anyway. That last part is our recommendation, not the factory’s.
The water pump
Factory check: inspect the pump for damage or deformation and confirm the rotor turns smoothly by hand. Those are the two printed inspection criteria. The practical signs that send you looking in the first place are ours, and they are under Troubleshooting below.
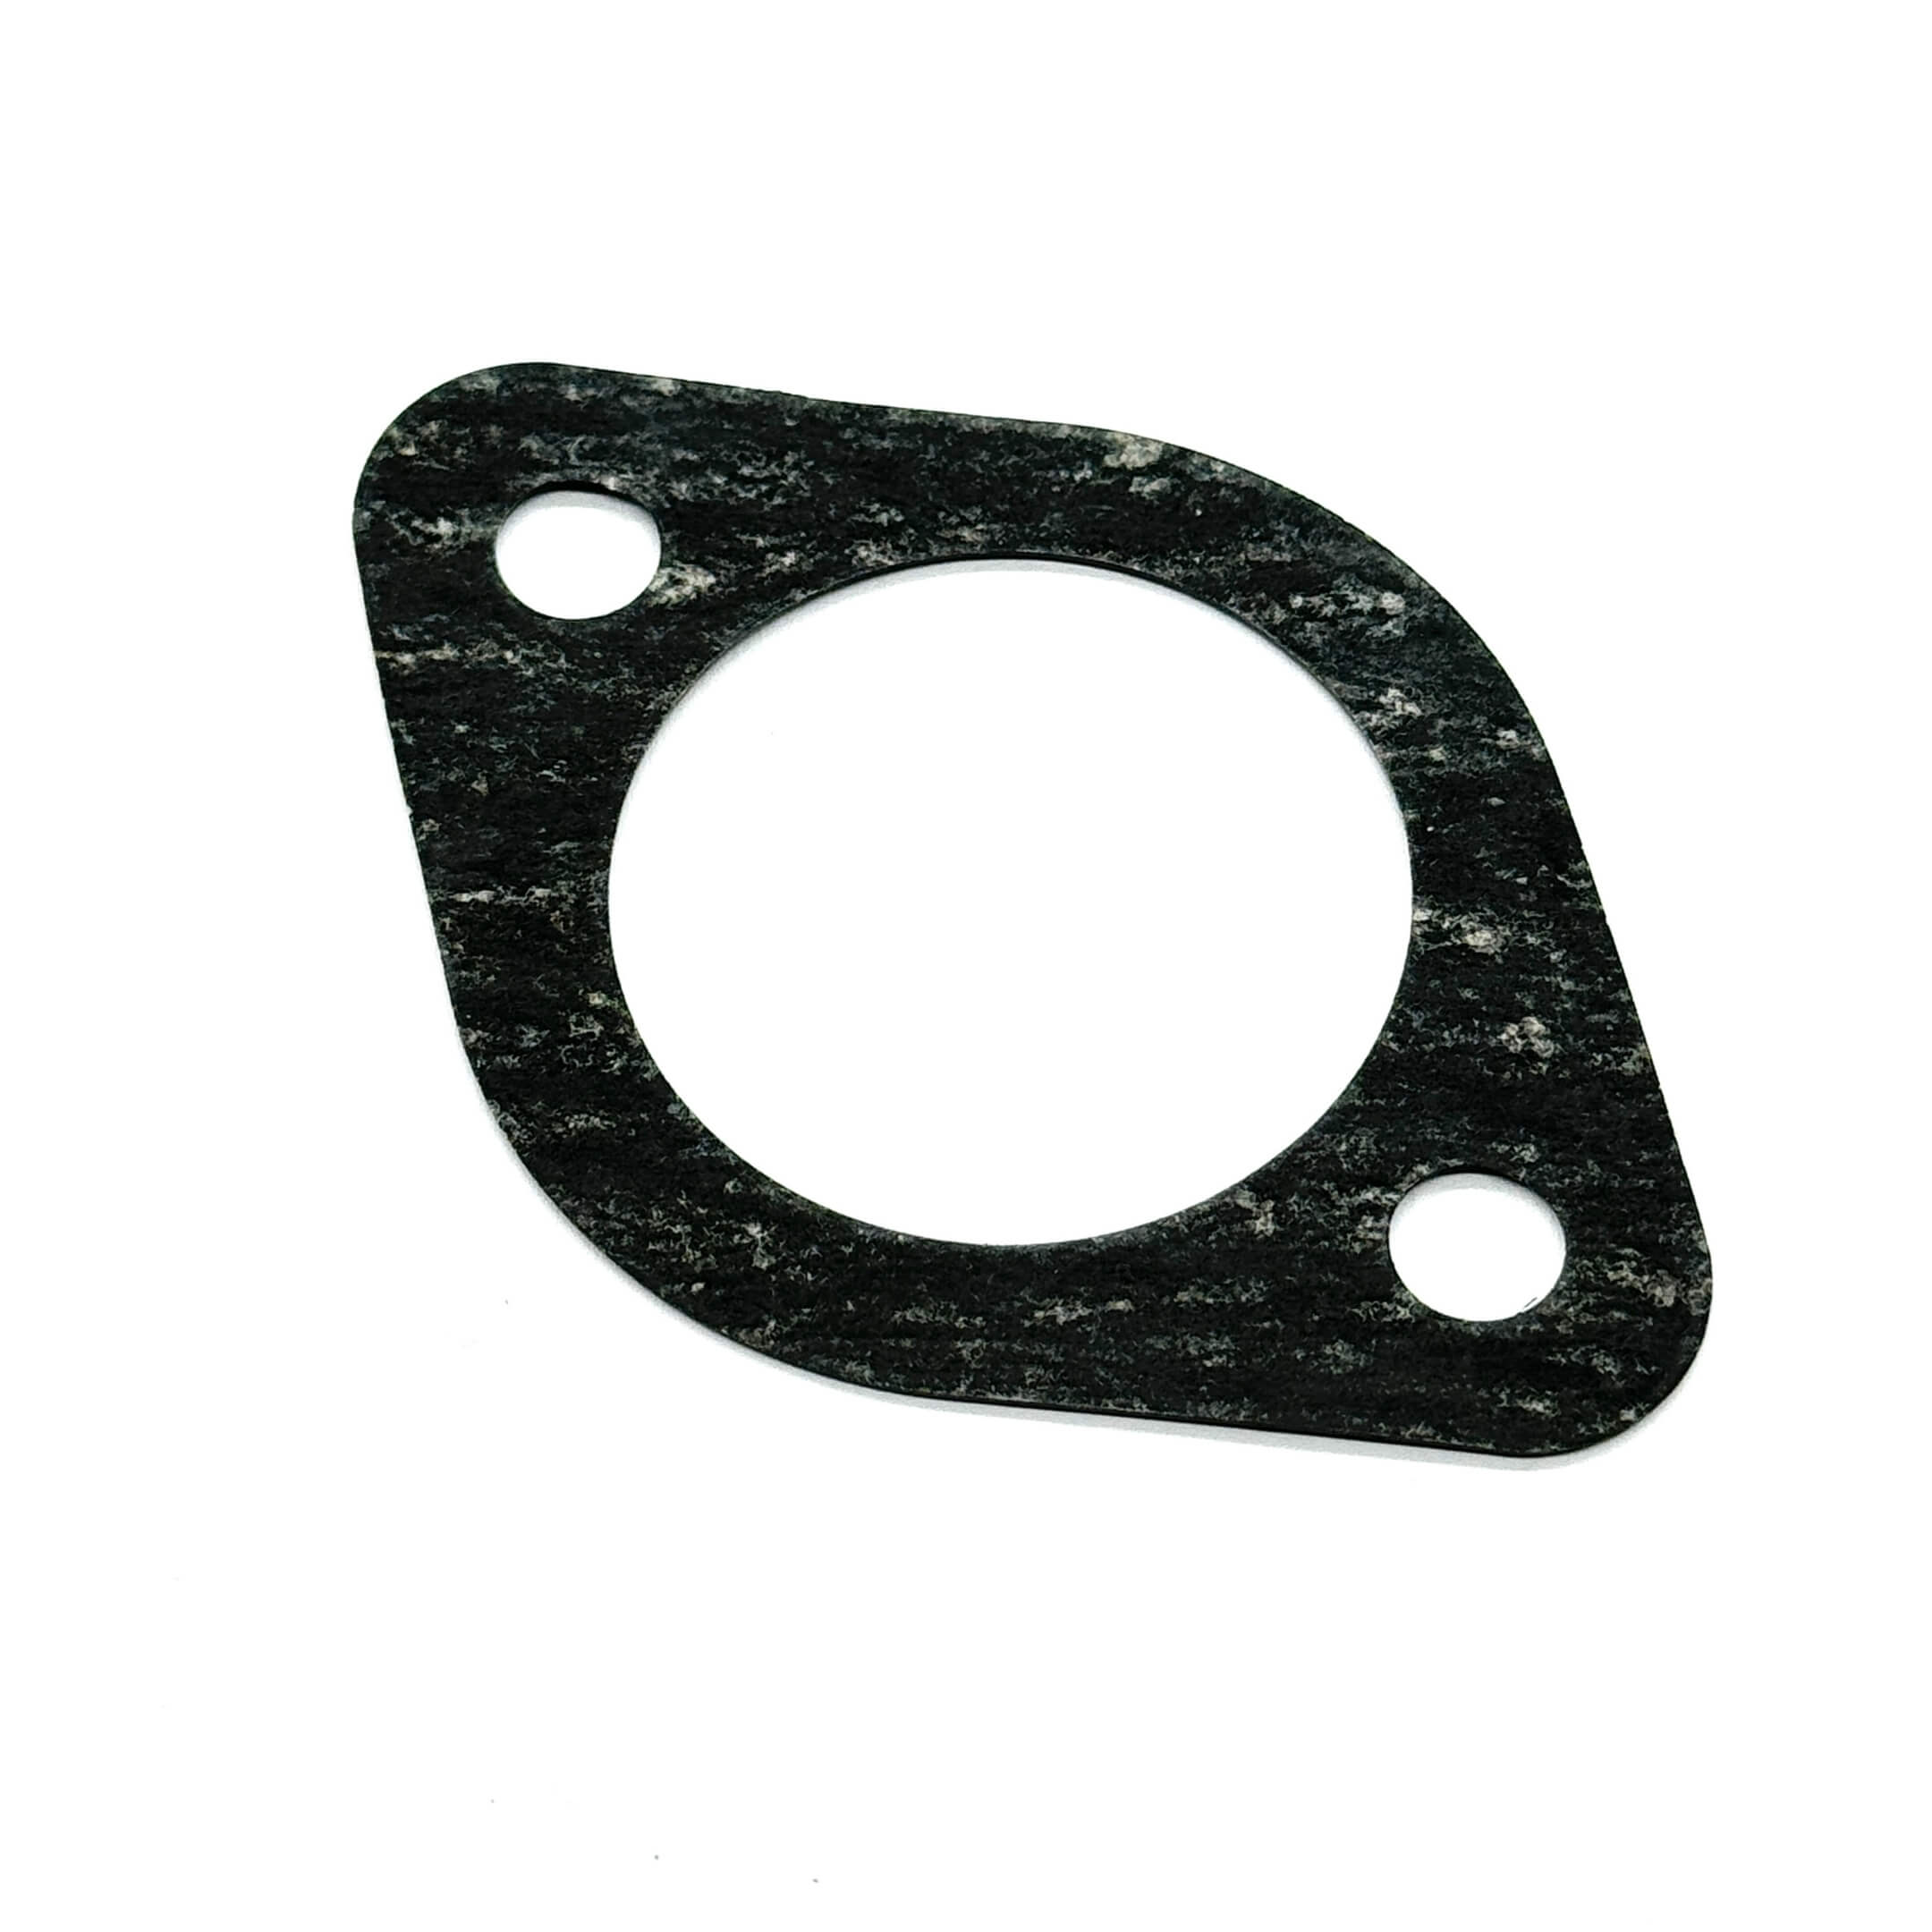
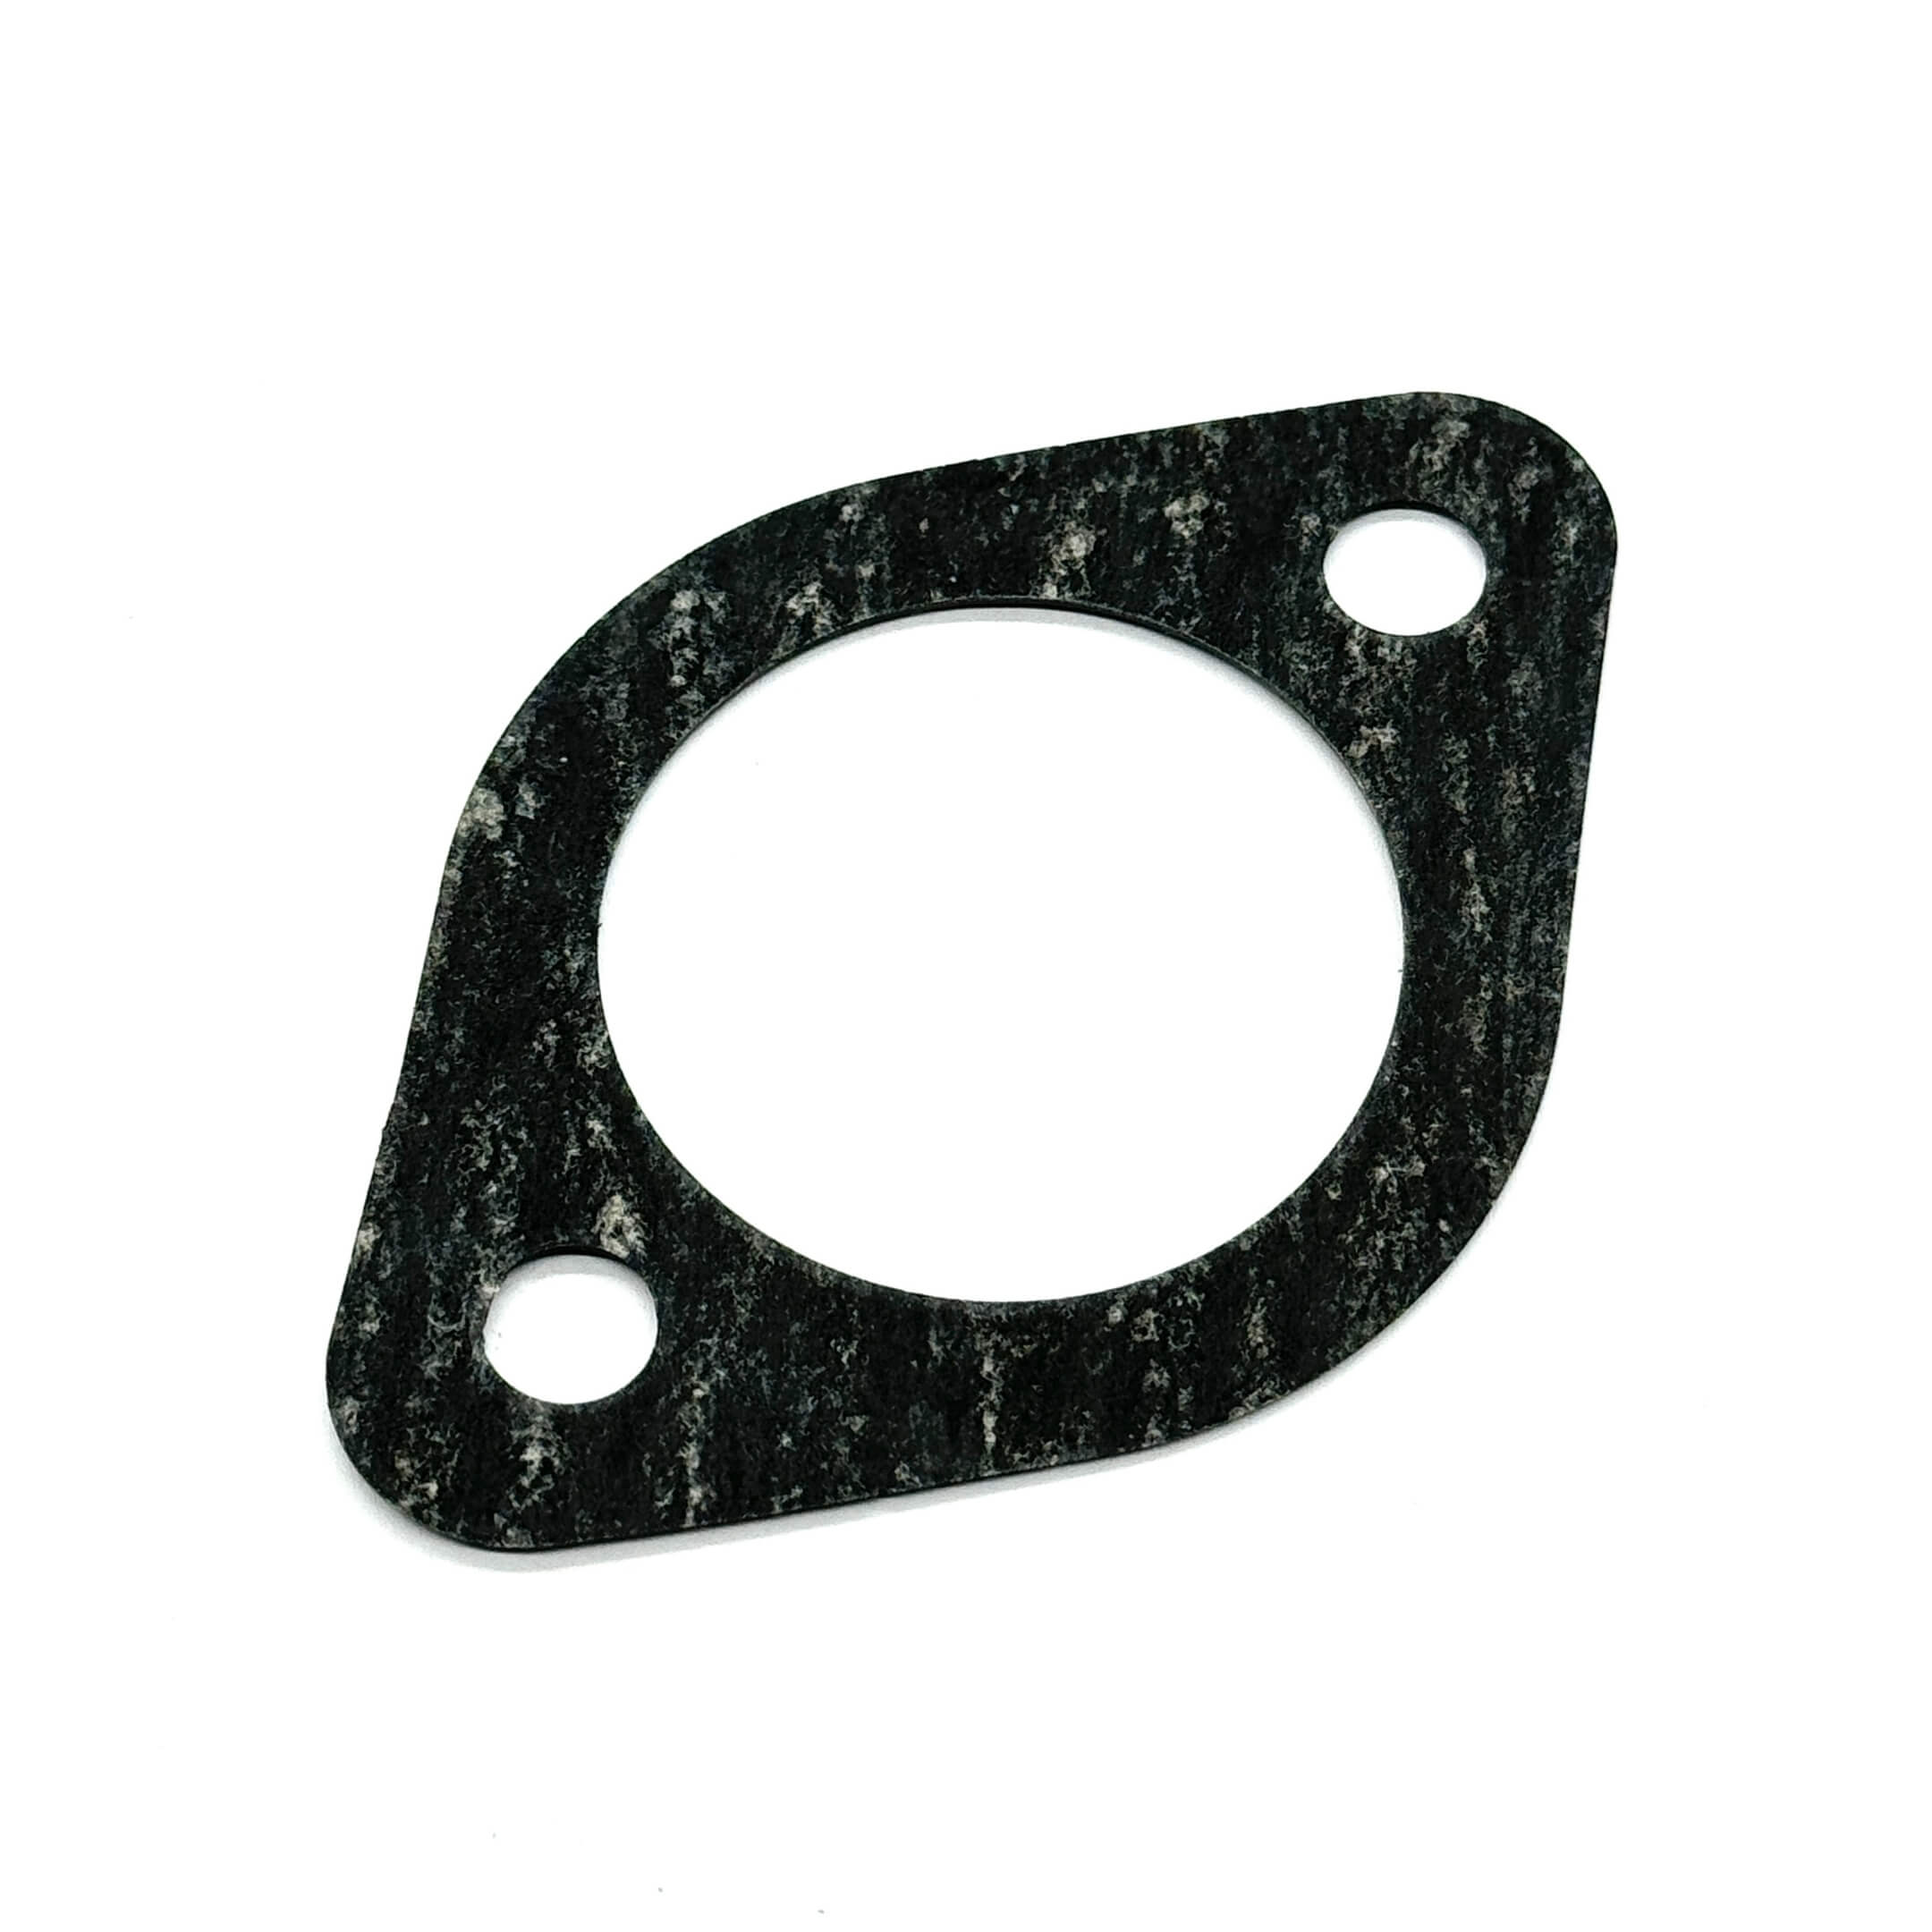
Daihatsu requires a new, non-reused water-pump gasket when the water pump is installed. The gasket is marked as a non-reusable part in the factory parts diagram, and the installation step says to use a new one. All 23 kits in this collection contain a water pump, and every one of them ships with a water-pump gasket, so the part the factory asks for is already in the box.
The oil seals
The factory marks the crankshaft front oil seal as non-reusable. Fit a new one whenever that seal job is performed. Two special service tools belong to these component jobs rather than to the belt itself: the crankshaft front oil seal uses SST 09223-87202-000, and the camshaft timing pulley bolt uses SST 09278-87201-000. Check which job you are actually doing before you order tools.
Troubleshooting
Something noisy, leaking or loose at the front of the engine. These are the checks that tell you which part it is. Everything here is either a printed factory inspection or an Oiwa field sign, and it is labelled either way. Belt condition itself is under Wear & Service Limits above.
The tensioner, three checks
The tensioner comes off with the belt, so it costs you nothing to check it while it is in your hand. Spin it and look for three things. While you are there, the factory also has you check the timing belt pulleys themselves for damage and distortion.
| What to check | What you are feeling for |
|---|---|
| Does it bind | It should spin freely all the way round. A bearing that catches or seizes anywhere is finished. |
| Does it make an abnormal noise | The factory check is for abnormal noise: a rumble, grind or whirr that a sound bearing does not make. A healthy bearing is not silent, so listen for what is wrong rather than for silence. |
| Is the belt face damaged | The surface the belt runs on. Scoring, pitting or a groove worn into it will chew through a new belt. |

The water pump
Oiwa field signs: coolant at the weep hole or noticeable pulley play are practical reasons to investigate the pump. Those are ours, not the factory’s inspection criteria. The printed factory checks are under Water Pump & Oil Seals above.
Installation & Timing
Tools. The timing-belt procedure’s preparation list specifies a feeler gauge, an M6 bolt and a torque wrench, and does not identify a Daihatsu special service tool in that preparation list. The two SSTs listed above belong to the seal and pulley jobs, not to the belt itself.
Removal
This is a cab-over, so the engine is under the floor. You do not open a bonnet, you take the middle of the cab apart. Before any of that, the factory procedure starts by jacking the vehicle up and disconnecting the battery negative terminal. The order below is the factory order from there, with the steps that only apply to some trucks marked as such.
| Comes out first | Note |
|---|---|
| Inner seat belt, shift knob and console box, parking brake lever, pressure sensor | On a 4WD, the transfer shift lever as well. |
| The centre seat riser member | Only after all of the above is out. |
| Engine under cover | The factory scopes this step to the van. |
| Vacuum switching valve, with its hose | Factory-scoped to EF-NS and EF-TS. |
| A/C compressor V-belt, alternator and its V-belt, water pump pulley | The factory has you loosen the compressor mounting bolt and take the V-belt off, and it never instructs you to disconnect the refrigerant lines. Oiwa reads that as the compressor staying connected to the system for this job. |
| Crankshaft pulley | Take the timing mark cover off through engine service hole cover No.2, hold the ring gear with a screwdriver, then undo it. It goes back to 1,000 ± 100 kg·cm (98.1 ± 9.8 N·m). This is the outer pulley, not the timing belt pulley behind it. Different part, different torque. |
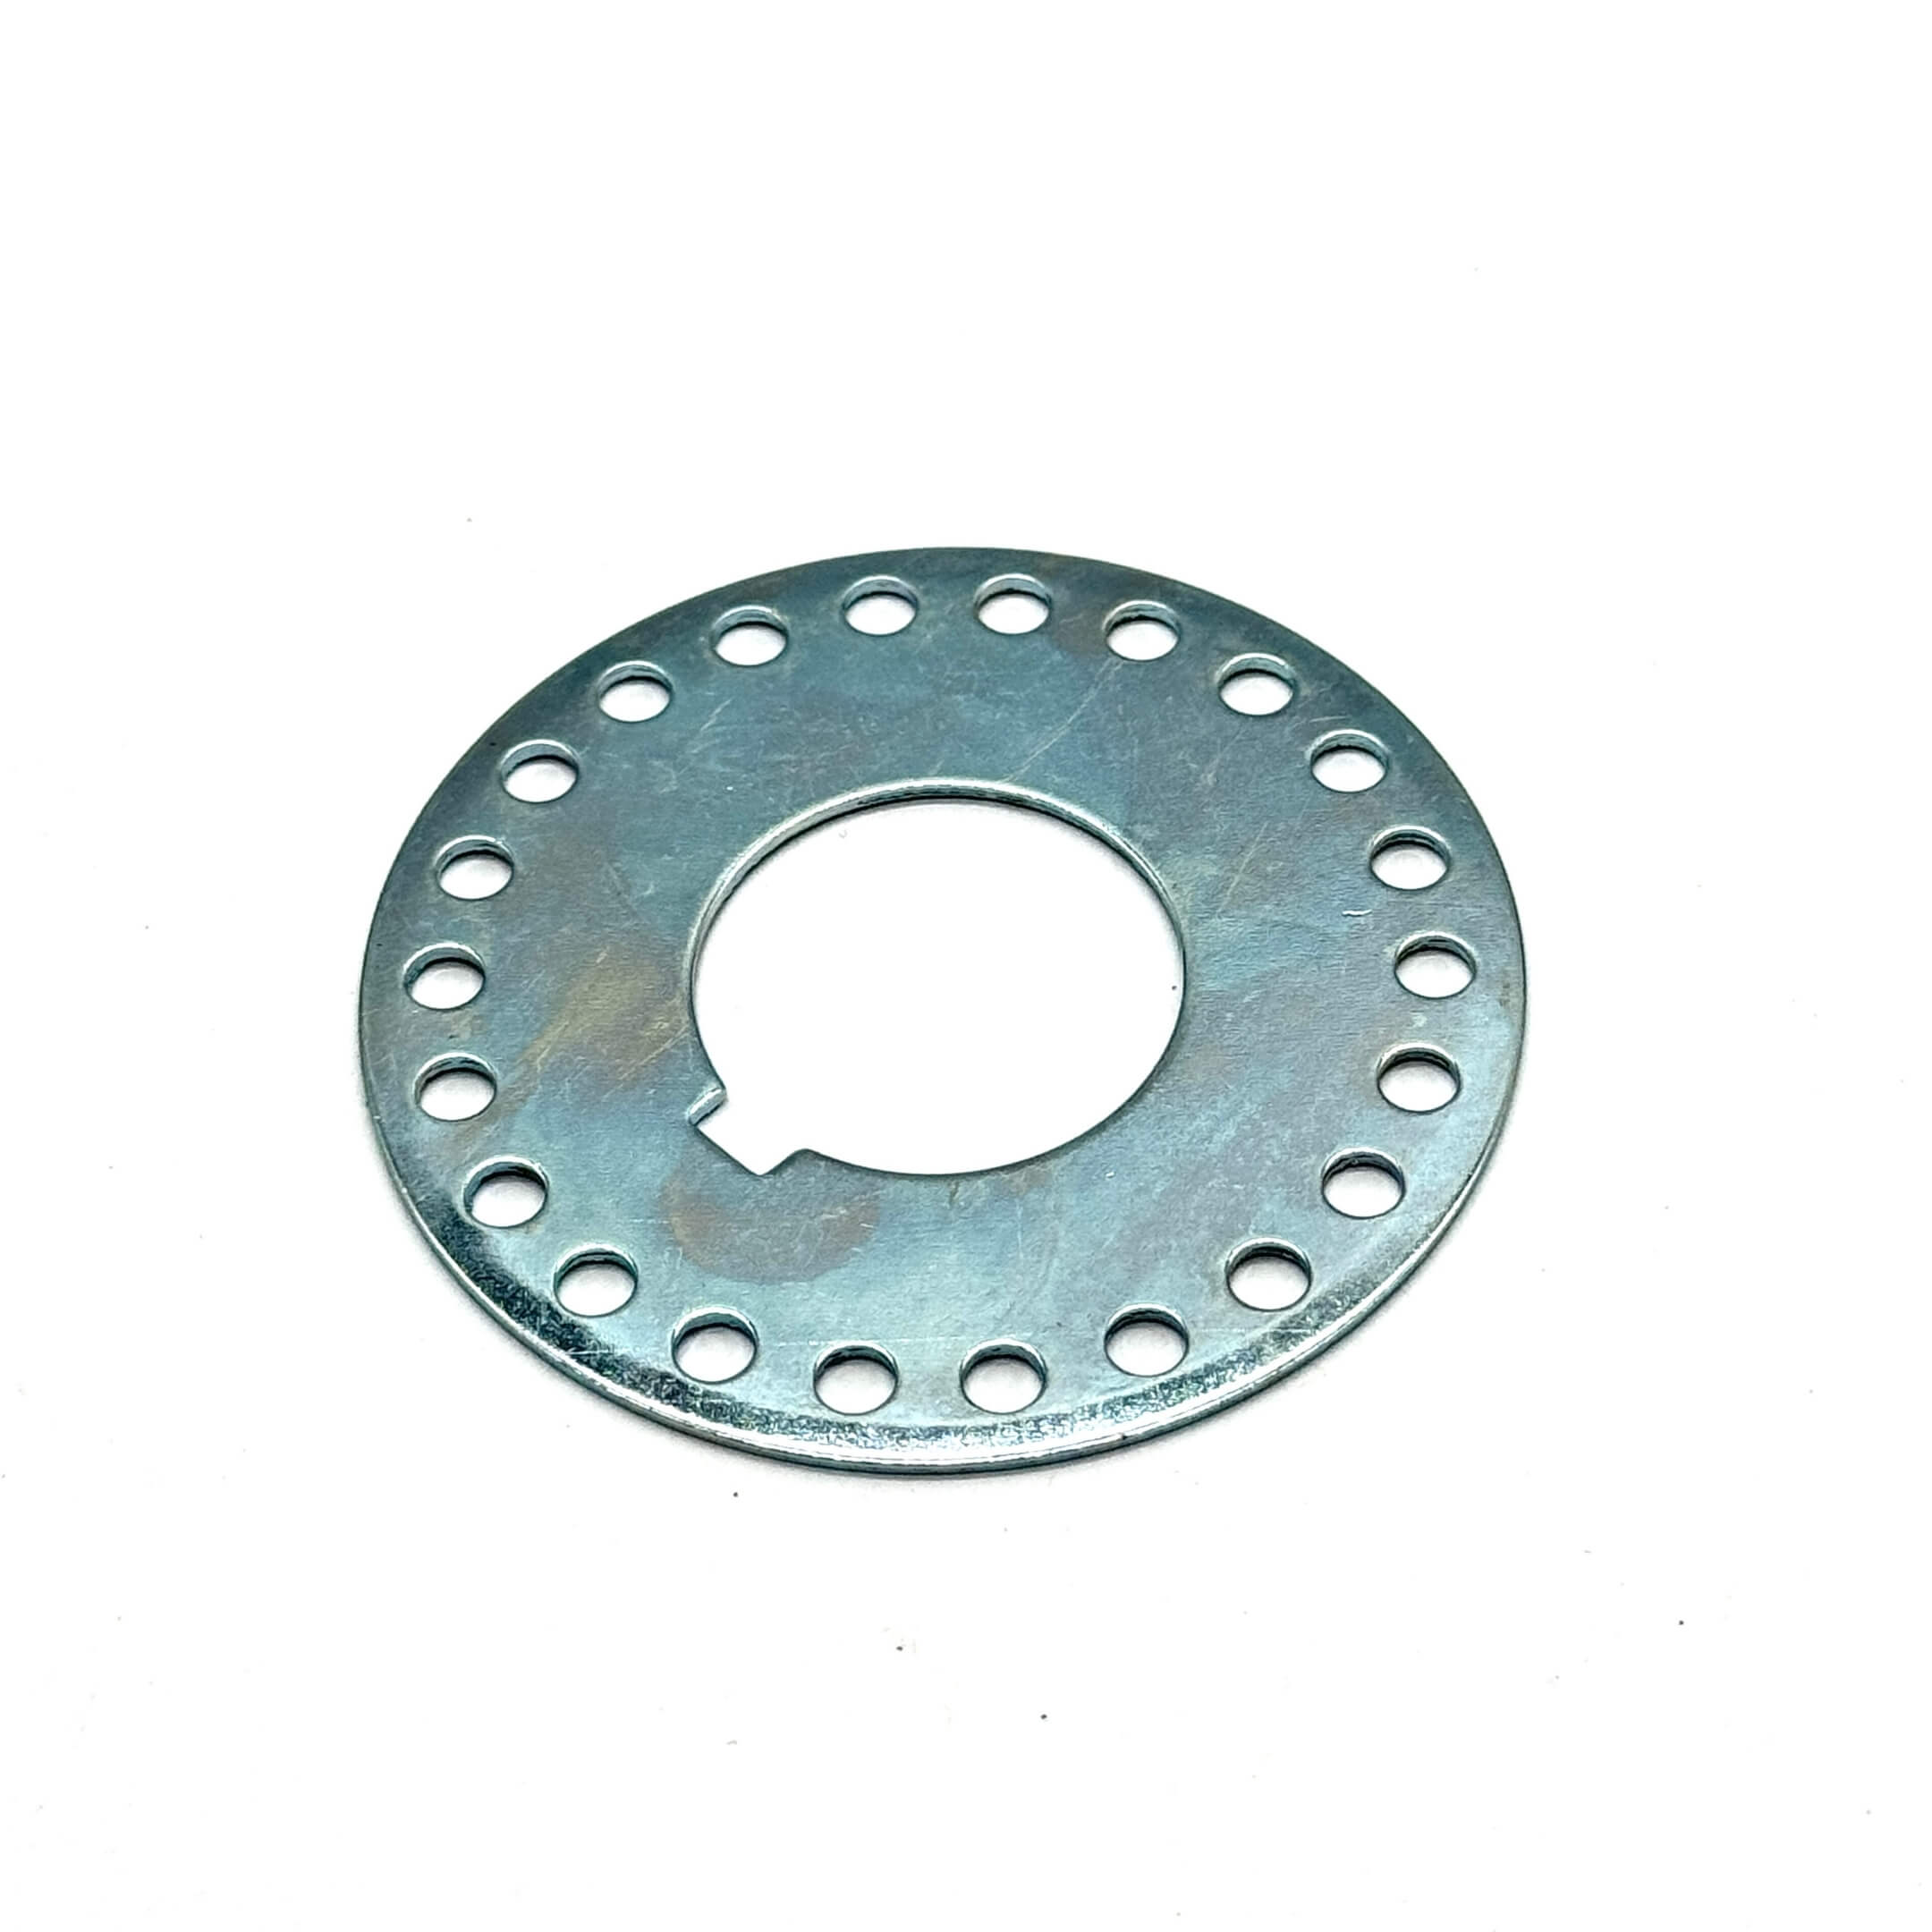
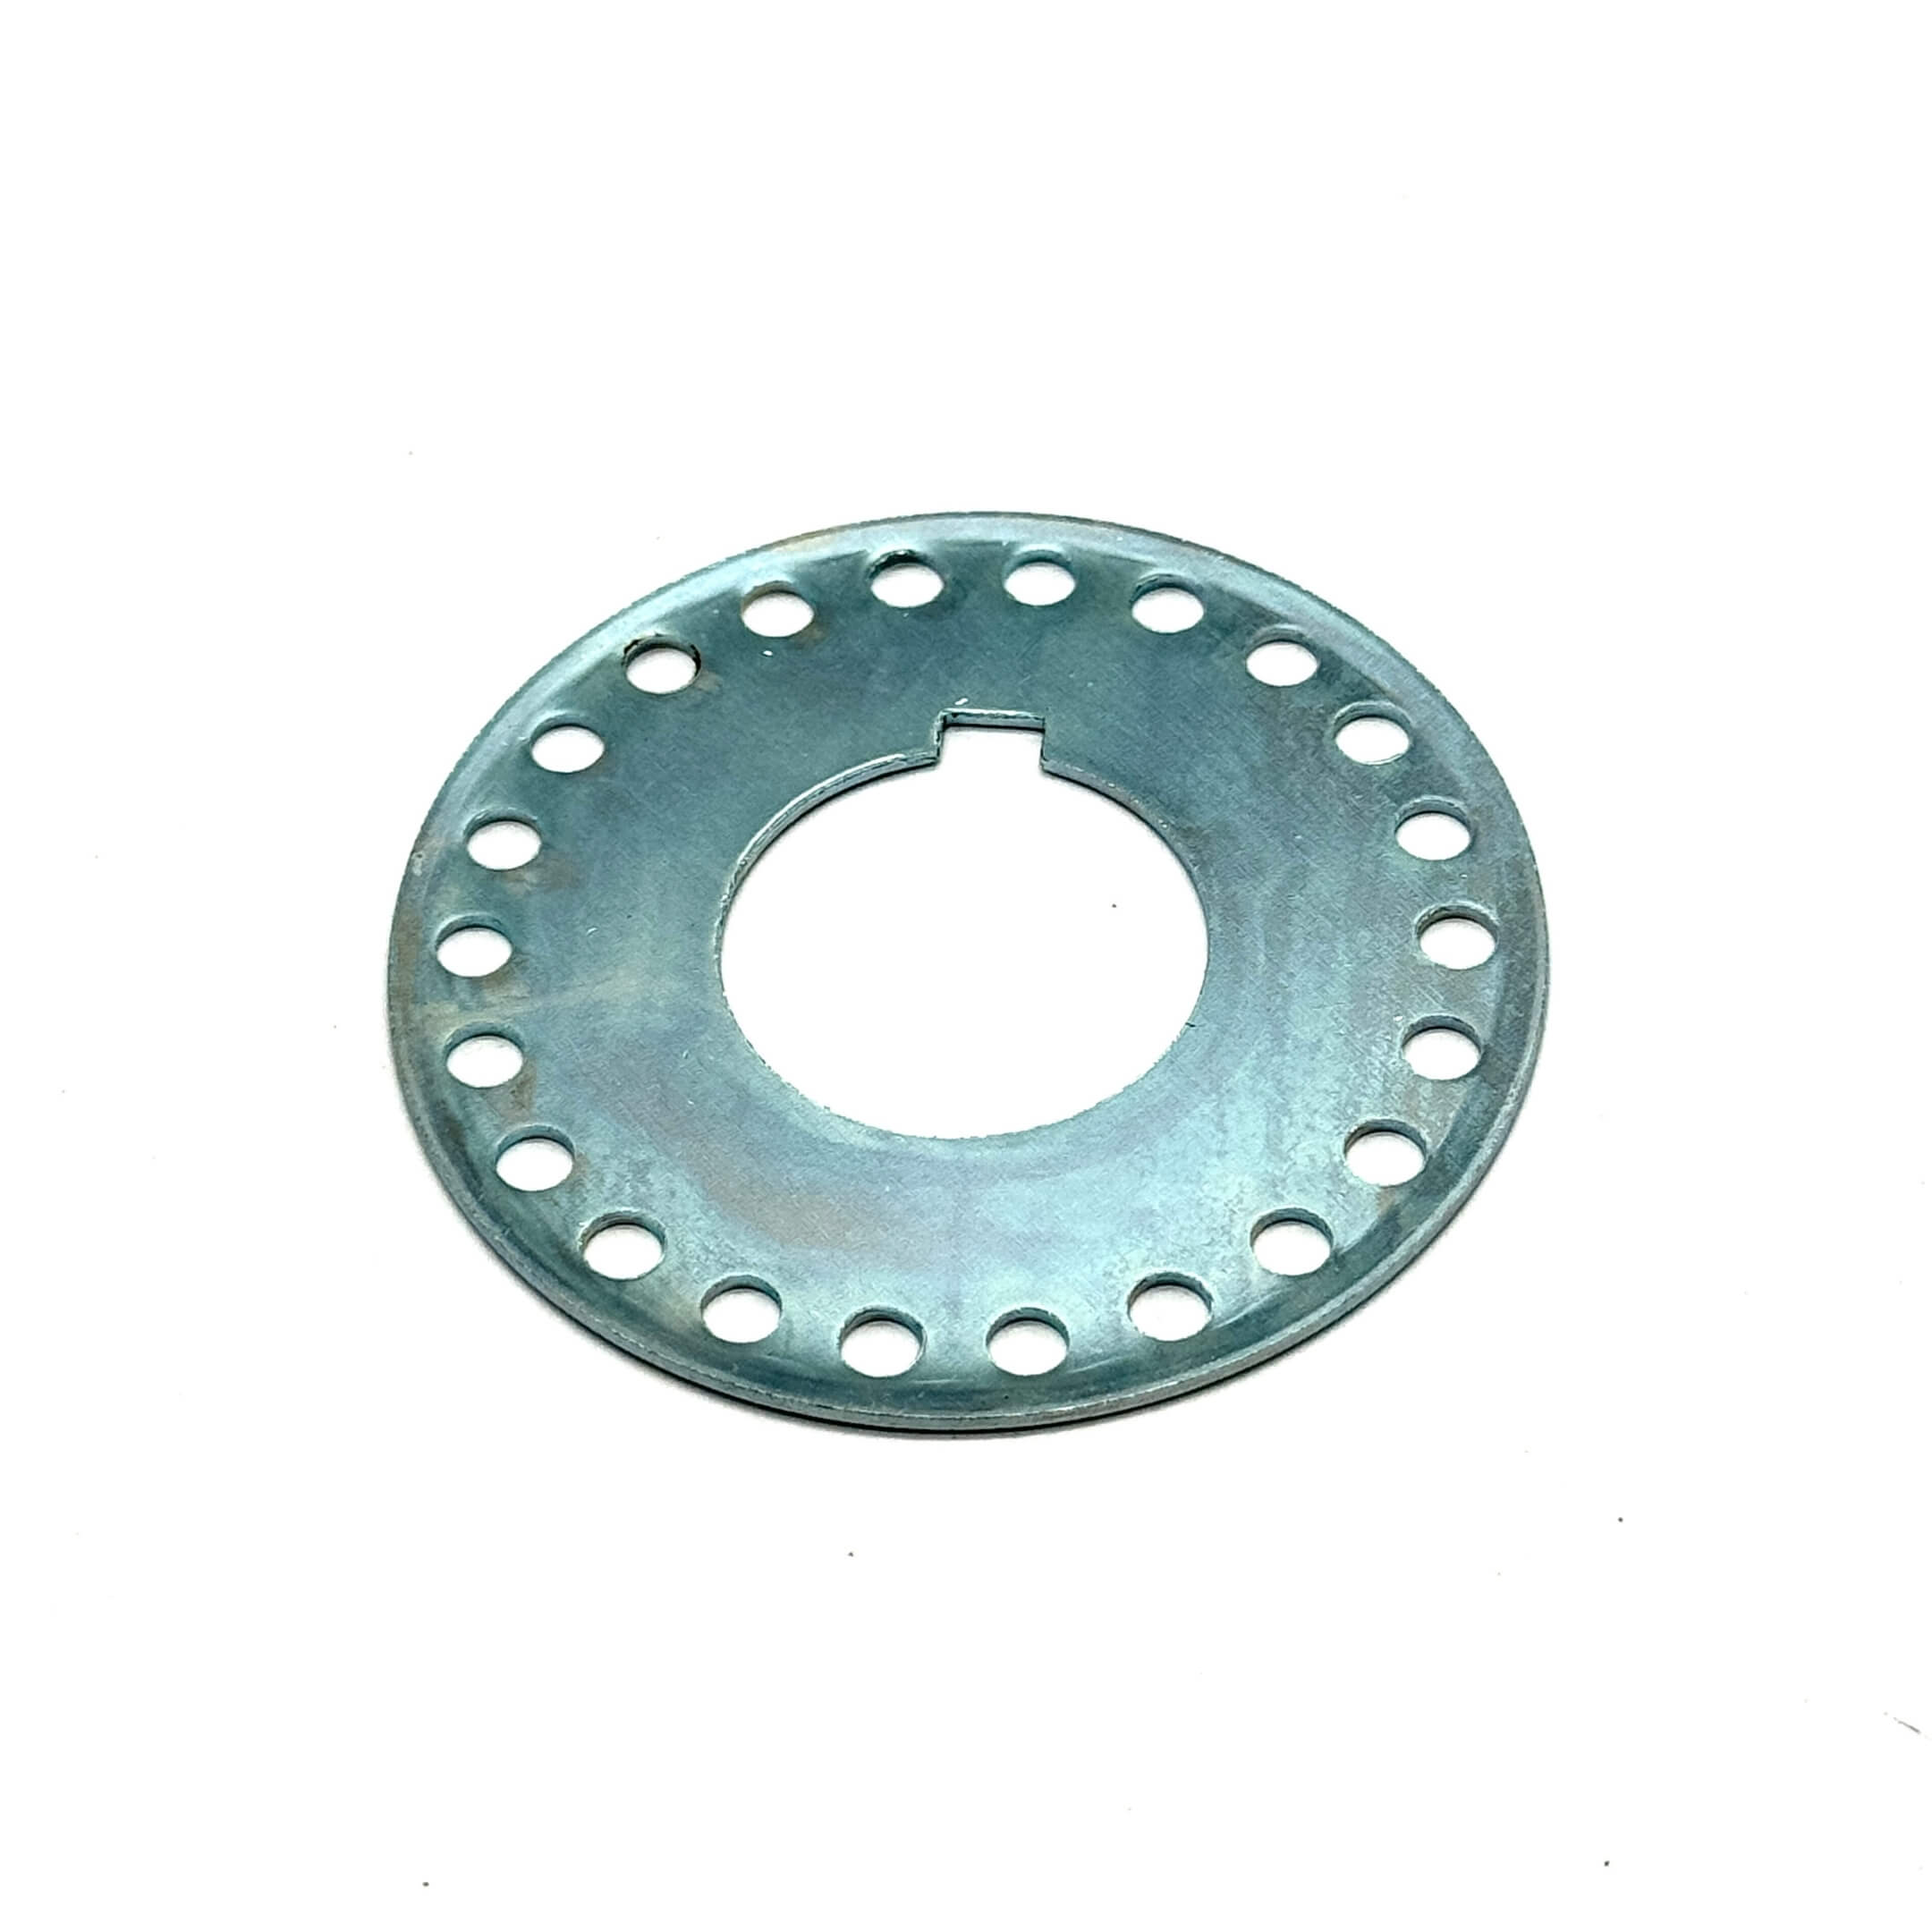
| Timing belt cover No.1, then the crankshaft timing pulley flange | The flange goes back with its curved side facing the block. |
Timing marks
Tension is half the job. The other half is putting the belt back on with the engine in the right place, and there are four reference points to do it with.
| The mark | Where it is | What it is for |
|---|---|---|
| F mark | Stamped on the camshaft timing belt pulley. | Has to face up. That is number one cylinder at the top of its compression stroke. |
| Notch | Cast into the timing belt cover. | The camshaft timing belt pulley indicator lines up with this. |
| Punch mark | On the crankshaft timing belt pulley. | Lines up with its own indicator. |
| Marks on the belt | Printed on the belt itself. | Line these up with the punch marks on both pulleys as the belt goes on. |


Set the engine before the old belt comes off. Fit the crankshaft timing pulley set bolt, turn the engine its normal way until the camshaft timing belt pulley indicator meets the notch in the cover, and check the F mark is up. Take the belt off with the engine anywhere else and you have lost your reference.
Installing the belt
- Levering the old one off with a screwdriver.
- Folding or kinking it. The cords inside break and nothing shows on the outside. This one is general practice rather than a printed factory caution.
- Putting a used one back the other way round. Chalk an arrow on the back before it comes off, then it goes on the way it came off.
- Turning the engine the wrong way round. When rotating the engine with the timing belt fitted, turn it from the crankshaft side, not from the camshaft pulley.
- Letting oil, grease or water near the new one.
Setting the tension
- Pull the resin cap off the oil pump body.
- Fit the tensioner loosely.
- Thread an M6 bolt, 20 to 30 mm long, in by hand until it is fully seated. It is a setting tool, not a fastener.
- Insert a feeler gauge between the M6 bolt tip and the tensioner.
- Adjust the tensioner, checking separately that the clearance between the outer side of the oil pump body and the tensioner is 11 to 13 mm. That 11 to 13 mm span is not the gauge setting. It is a different measurement, taken across different points.
- Now torque the tensioner to 400 ± 80 kg·cm (39.2 ± 7.8 N·m). In that order. Torque it first and the setting you just made is gone.
Two measurements, not one. The factory states these separately and so do we: the feeler gauge goes between the M6 bolt tip and the tensioner, while the 11 to 13 mm standard is measured from the outer side of the oil pump body to the tensioner. The 11 to 13 mm figure is not the gauge setting; it refers to a different span, taken across different points. The factory also cautions against damaging the tensioner roller while you are working at it.


Set the ignition timing again when you are done. The book finishes the belt job by sending you back to the engine inspections.
Specifications
Two separate tables. The first is the timing belt job. The second is the alternator and A/C drive belt: different belt, different figures, and no timing-belt tension figure is printed across the pages we inspected.
Timing belt
| What you are setting | The figure |
|---|---|
| Replacement interval | 100,000 km |
| Tensioner clearance at the oil pump body | 11 to 13 mm |
| Tensioner bolt | 400 ± 80 kg·cm (39.2 ± 7.8 N·m) |
| Crankshaft pulley bolt, outer pulley | 1,000 ± 100 kg·cm (98.1 ± 9.8 N·m) |
| Crankshaft timing belt pulley bolt | 950 ± 50 kg·cm (93.2 ± 4.9 N·m) |
| Camshaft timing pulley bolt | 750 ± 150 kg·cm (73.5 ± 14.7 N·m) |
| Water pump bolt | 185 ± 35 kg·cm (18.1 ± 3.4 N·m) |
| Alternator, callout A in the timing belt diagram | 300 ± 60 kg·cm (29.4 ± 5.9 N·m) |
| Which way to turn the engine over | From the crankshaft only |
Drive belt, alternator and A/C
Deflection figures for the V-belts, measured under a 10 kg push. These are not timing belt figures.
| What you are setting | The figure |
|---|---|
| Deflection, new belt at replacement | 6.0 to 7.0 mm |
| Deflection, when re-adjusting the belt | 7.5 to 8.5 mm |
| Deflection, after running | 8.5 to 12.0 mm |
| Push force used for the measurement | 10 kg |
Factory Notes
Factory source: Daihatsu service manual JS411K. The timing-belt procedure, torques and inspection criteria on this page were verified against printed pages C-11 through C-16. Related procedures are cited from their own pages: the crankshaft front oil seal from C-37 and C-38, the water pump from C-62 and C-63, and the camshaft timing pulley bolt from C-19. The 100,000 km interval is from the maintenance schedule at B-8 and B-43. The Japanese callouts on the figures above have been translated; the drawings themselves are untouched.
The manual contradicts itself about the F mark, and we have followed one side. The removal chapter’s prose attributes the F mark to the crankshaft timing pulley. The installation chapter, its figure, and the figure printed on the removal page itself all place the F mark on the camshaft timing belt pulley. Three elements against one, so we follow the camshaft reading. The prose on the removal page also contains a printing error in the pulley name. We are disclosing this rather than quietly picking a side.
These figures cover three of the seven engine codes in this catalog. The manual used here sets out timing belt specifications for EF-NS, EF-ES and EF-TS. It does not cover EF-GS, EF-ZS, EF-RS or EF-ZL, and it never uses the terms SOHC or DOHC. Parts for those codes are represented in this catalog, but nothing on this page should be read across to them without checking. Add your ENGINE code at checkout and we will confirm the part before shipping.
No calendar interval is printed. The factory interval for this belt is 100,000 km. The maintenance schedule publishes no age-based figure beside it, and the timing-belt row carries no severe-service qualifier. Any age-based advice on this page is ours, and is labelled as ours.
Two crankshaft pulleys, two torques. The outer crankshaft pulley takes 1,000 ± 100 kg·cm. The crankshaft timing belt pulley behind it takes 950 ± 50 kg·cm. Same shaft, different parts. Copy that gives one figure while illustrating the other part is wrong.
Where can I buy a Daihatsu Hijet timing belt kit in the United States?
Daihatsu Hijet timing belt kits and individual timing belt parts are available from Oiwa Garage for the S100 and S110, 1994-1998, with certain applications extending to S120 and S130 where the product fitment states it. What we can supply varies by kit and by engine code, so check the individual product page. Not sure you selected the right parts? Add your ENGINE code plus your CHASSIS NO. at checkout and we will verify fitment before we ship.
Our 100% Fitment Guarantee
Add your VIN or chassis number at checkout and we verify the fitment of every part in your order before anything ships. We check your full chassis code, your engine code, truck or van body, and the build month where a kit is split by build date. If anything does not match your truck, we contact you before dispatch. If something arrives wrong, we exchange it or refund you in full. No hassle, no runaround.
Contact Our Fitment Specialistsor text us directly at 562-661-8862
Fitment verified by the Kei Truck specialists at Oiwa Garage · Collection description updated August 2026.