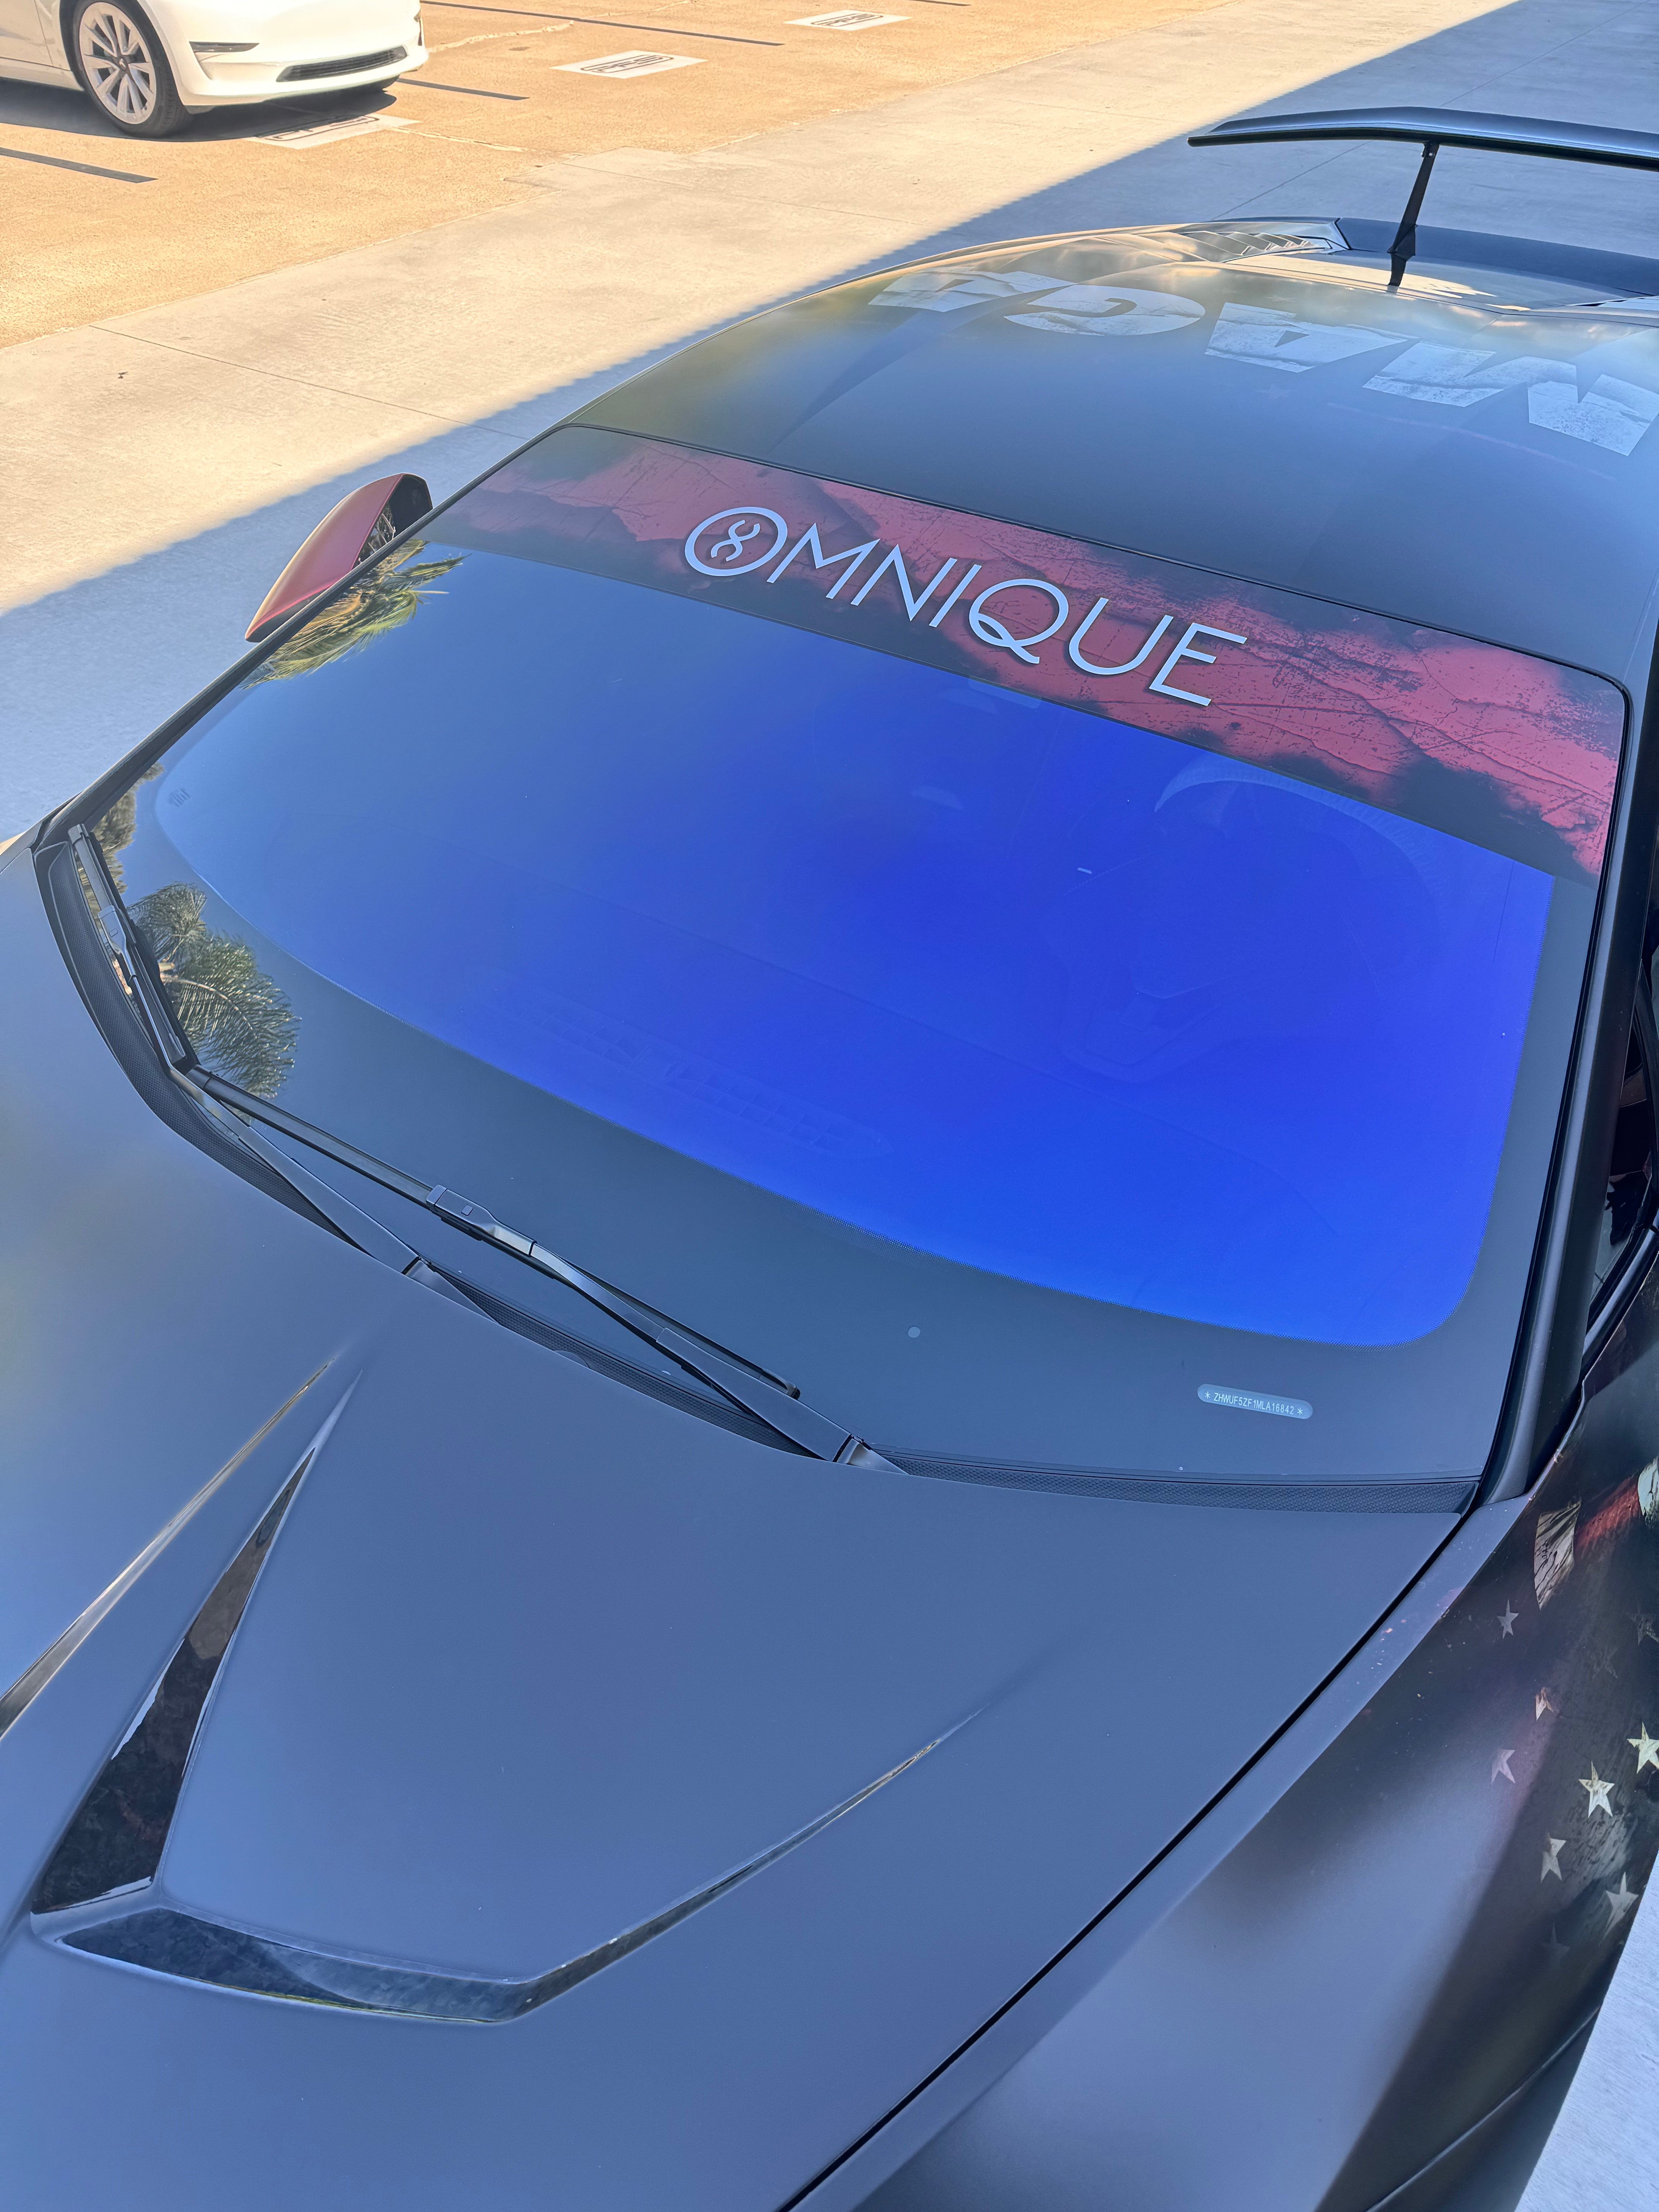
Ah, the Noble Car Window Tint
It's like the sunglasses you never take off, the mysterious veil that protects you from the prying eyes of the world—or at least from your nosy neighbors who think your life is a live episode of 'Keeping Up With the Kardashians.' Window tint is the automotive equivalent of wearing a leather jacket while riding a motorcycle—cool, suave, and with just a hint of anti-establishment rebellion. But what happens when the tint goes rogue? When it bubbles, peels, or worse, turns into a psychedelic nightmare from the '70s? Fear not, brave road warrior, for I am here to guide you through the Herculean task of removing tint from your car windows.
First things first, let's talk about why you’d ever want to remove your car's tint. Maybe you thought your 2006 Honda Civic would look as cool as a Batmobile with those darkened windows, but now it looks more like a mobile disco ball that's been left out in the sun too long. Or perhaps your tint has aged like milk in the Sahara, cracking and fading like the dreams of a middle-aged rock star. Regardless, you've decided that your car deserves a fresh start.
Step 1: Gather Your Weapons
Before you begin, arm yourself with the necessary tools. You'll need a heat gun or a hairdryer, a razor blade, some ammonia-based cleaner, and those kitchen gloves that look like they belong to a 1950s housewife. If you’re feeling particularly adventurous, throw in a steamer. We're not just removing tint here; we're launching a full-scale assault!

Step 2: Heat Things Up
In the grand tradition of all things dramatic, start by applying heat to the tint. Use your heat gun or hairdryer like a medieval torch, warming up the adhesive that holds your tint in place. Imagine you're coaxing a stubborn cat out from under the bed. Be gentle, yet firm. The heat will loosen the tint’s grip on your window, much like how a few margaritas loosen your grip on dignity.
Step 3: Peel Like You Mean It
Once sufficiently heated, it’s time to peel that tint away. Grab a corner with your fingers or use the razor blade to start the process. Peel back slowly, savoring the moment like a fine wine. If the tint starts to resist, remind it who's boss with a little more heat. Embrace your inner perfectionist—there's no room for half-peeled tint here, only complete and utter victory!
Step 4: Cleanse and Purify
After the tint has been removed, you'll be left with a sticky residue that clings to your window like a bad habit. This is where your ammonia-based cleaner comes into play. Spray it liberally, as if you were trying to eradicate a colony of ants. Wipe away the residue with a cloth, and feel the sweet satisfaction of a job well done. Your car window will gleam like a freshly polished trophy at a rigged beauty contest.
Step 5: Bask in Your Achievement
Congratulations, you’ve successfully removed the tint from your car windows. Stand back and admire your handiwork. Feel the breeze of freedom waft through your now crystal-clear windows. You’ve not only restored your car to its former glory, but you've also joined the elite ranks of DIY legends who dare to tread where others fear. Who knew removing tint could be such a character-building experience?
In conclusion, removing car window tint is more than just a task—it's a rite of passage. It’s a journey into the heart of darkness that emerges into the light. It’s a battle fought and won. So go forth, intrepid car owner, and let the sunshine in, quite literally. And remember, if you ever miss the mysterious allure of tinted windows, there's always next time for a less dramatic tint job.

