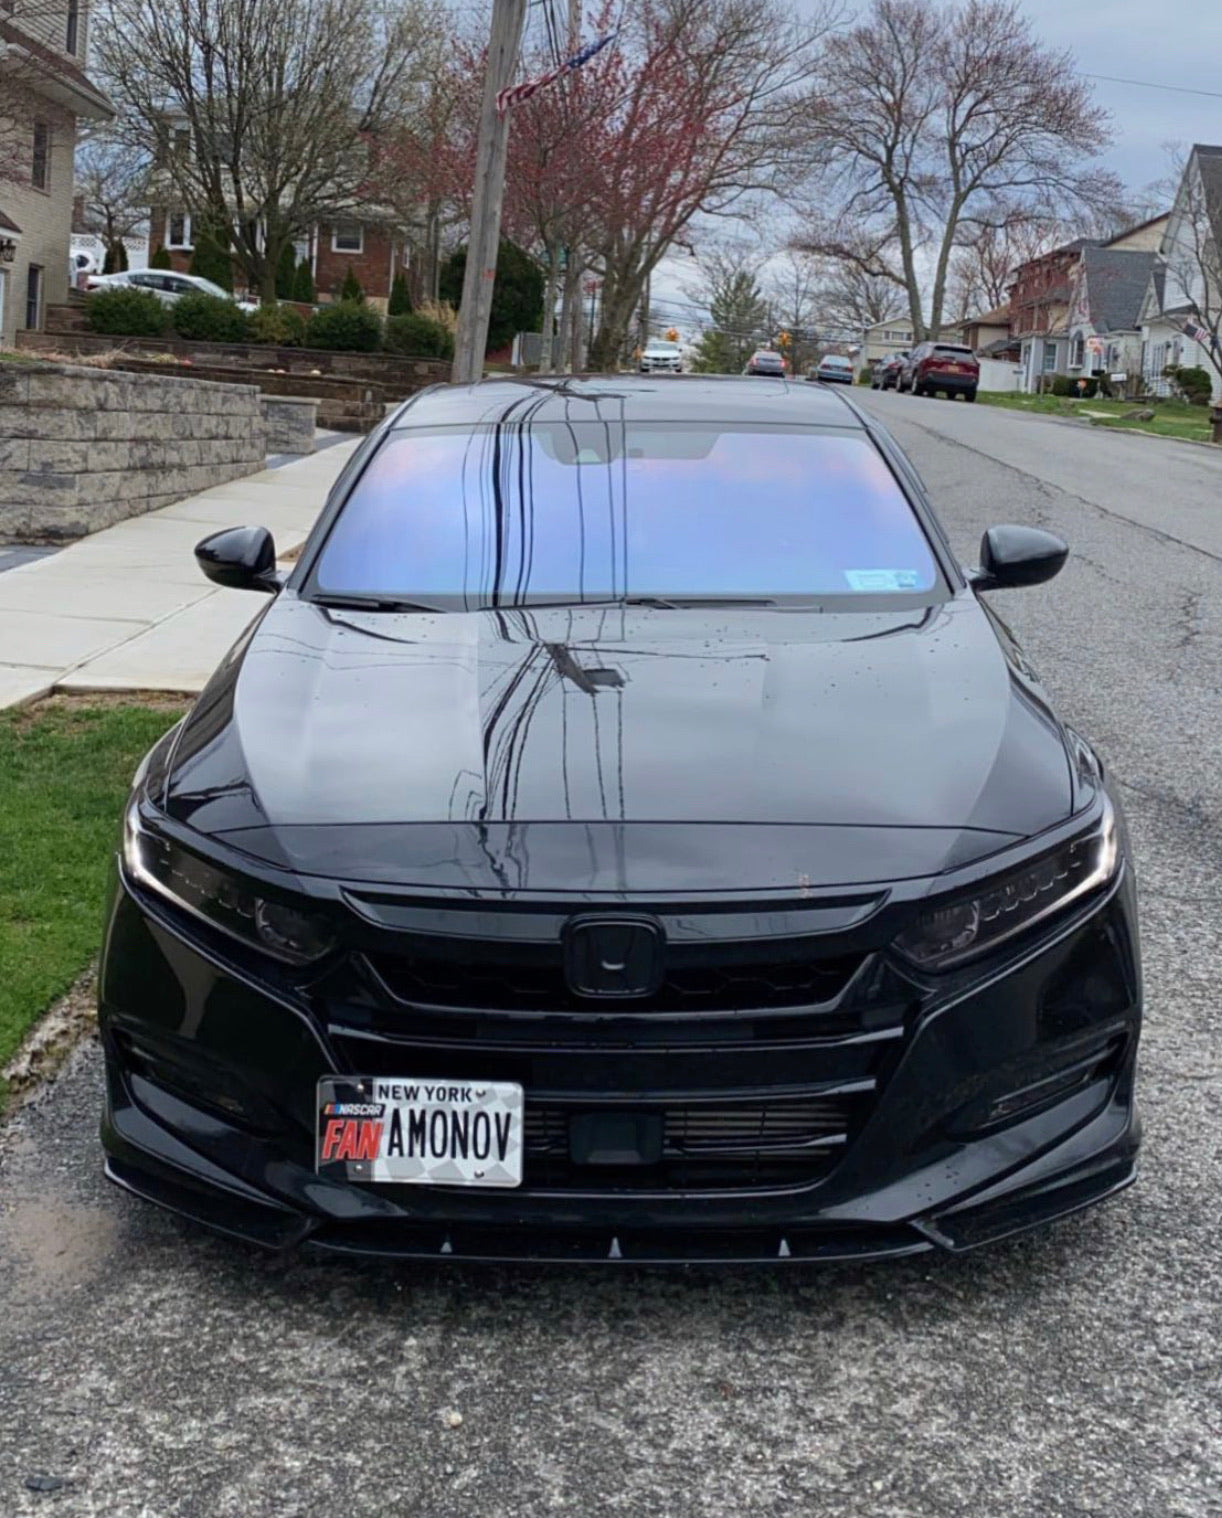
Ah, Car Window Tint, the Unsung Hero of Automotive Aesthetics!
It's the Batman of car accessories, lurking in the shadows, protecting you from the blinding rays of the sun. But, like any good Batman movie, things can get a little too... dark. Maybe you've decided that your ride is starting to look less 'Mysterious Dark Knight' and more 'Questionable Van from a Horror Flick'. Or, perhaps, your tint has started to bubble like a witch's brew, making it look like your windows have caught a bad case of the measles. Whatever your reason, you've chosen to embark on the heroic journey of DIY car tint removal. Buckle up, dear reader, because we're about to get up close and personal with some sticky situations.
First Things First, Why the Devil Would You Want to Remove Your Window Tint at Home?
Well, if the price of professional removal makes your wallet squeal like a banshee, then you may want to roll up those sleeves and get your hands dirty. Plus, let's face it, nothing screams 'I’m an independent adult' like a Saturday afternoon spent peeling film off your car windows while muttering inventive new curses under your breath.
Now, Before You Charge at Your Windows with a Chisel, Take a Deep Breath, and Let's Talk Strategy.
You'll need some basic tools: a hairdryer or heat gun (because why should hair and wood get all the hot air?), a razor blade or scraper (the Swiss Army knife of DIY projects), and a bucket of soapy water. Oh, and patience. Loads of it. Enough patience to wait for a sloth to finish a marathon.
Step One in This Epic Quest is to Apply Heat.
You want the tint to feel like it's on a tropical vacation, so hit it with the hairdryer until it's warmer than your grandma's Christmas sweater. This loosens the adhesive, making the tint easier to peel. If you’re using a heat gun, please don’t melt your windows. Your car isn’t an art project for Salvador Dali.

Once it’s nice and toasty, take the razor blade and gently—like you're petting a particularly grumpy cat—begin to lift a corner of the tint. If the tint doesn’t budge, threaten it with the wrath of a thousand suns (or just keep applying heat). Once you’ve got a corner, peel slowly. This isn’t a race. You're not trying to win a medal; you're trying to avoid tearing the tint into a thousand tiny pieces that will make your car look like it’s been attacked by a very determined squirrel.
Now, What Do You Do When the Ghost of Tint Past Leaves Adhesive Residue Behind?
Fear not! That soapy water bucket wasn't just for show. Spray the sticky remnants liberally and let them soak. Then, use the razor blade to scrape away the adhesive. If it’s stubborn, a little rubbing alcohol can help. Just don’t drink it, no matter how frustrating this process becomes. Trust me, getting drunk on car window tint isn't as glamorous as it sounds.
Once You've Triumphed Over the Tint and Adhesive, Give Your Windows a Good Clean.
Admire your handiwork, bask in the satisfaction of a job well done, and enjoy the newfound clarity of your untinted windows. Or, you know, go get them professionally redone in a tint that doesn’t make your car look like it’s auditioning for a role in a dystopian sci-fi film.
In Conclusion, Removing Tint from Car Windows at Home Isn’t for the Faint-Hearted.
It’s a battle of wills, a test of endurance, and a rite of passage for any car enthusiast. But, armed with the right tools and a sense of humor as dark as the tint you’re removing, you’ll emerge victorious. Or at the very least, with enough stories to last a lifetime.
Remember, whether you're keeping the tint or removing it, do it with style, because in the automotive world, style is everything. And if it all goes horribly wrong? Well, there's always duct tape.

