
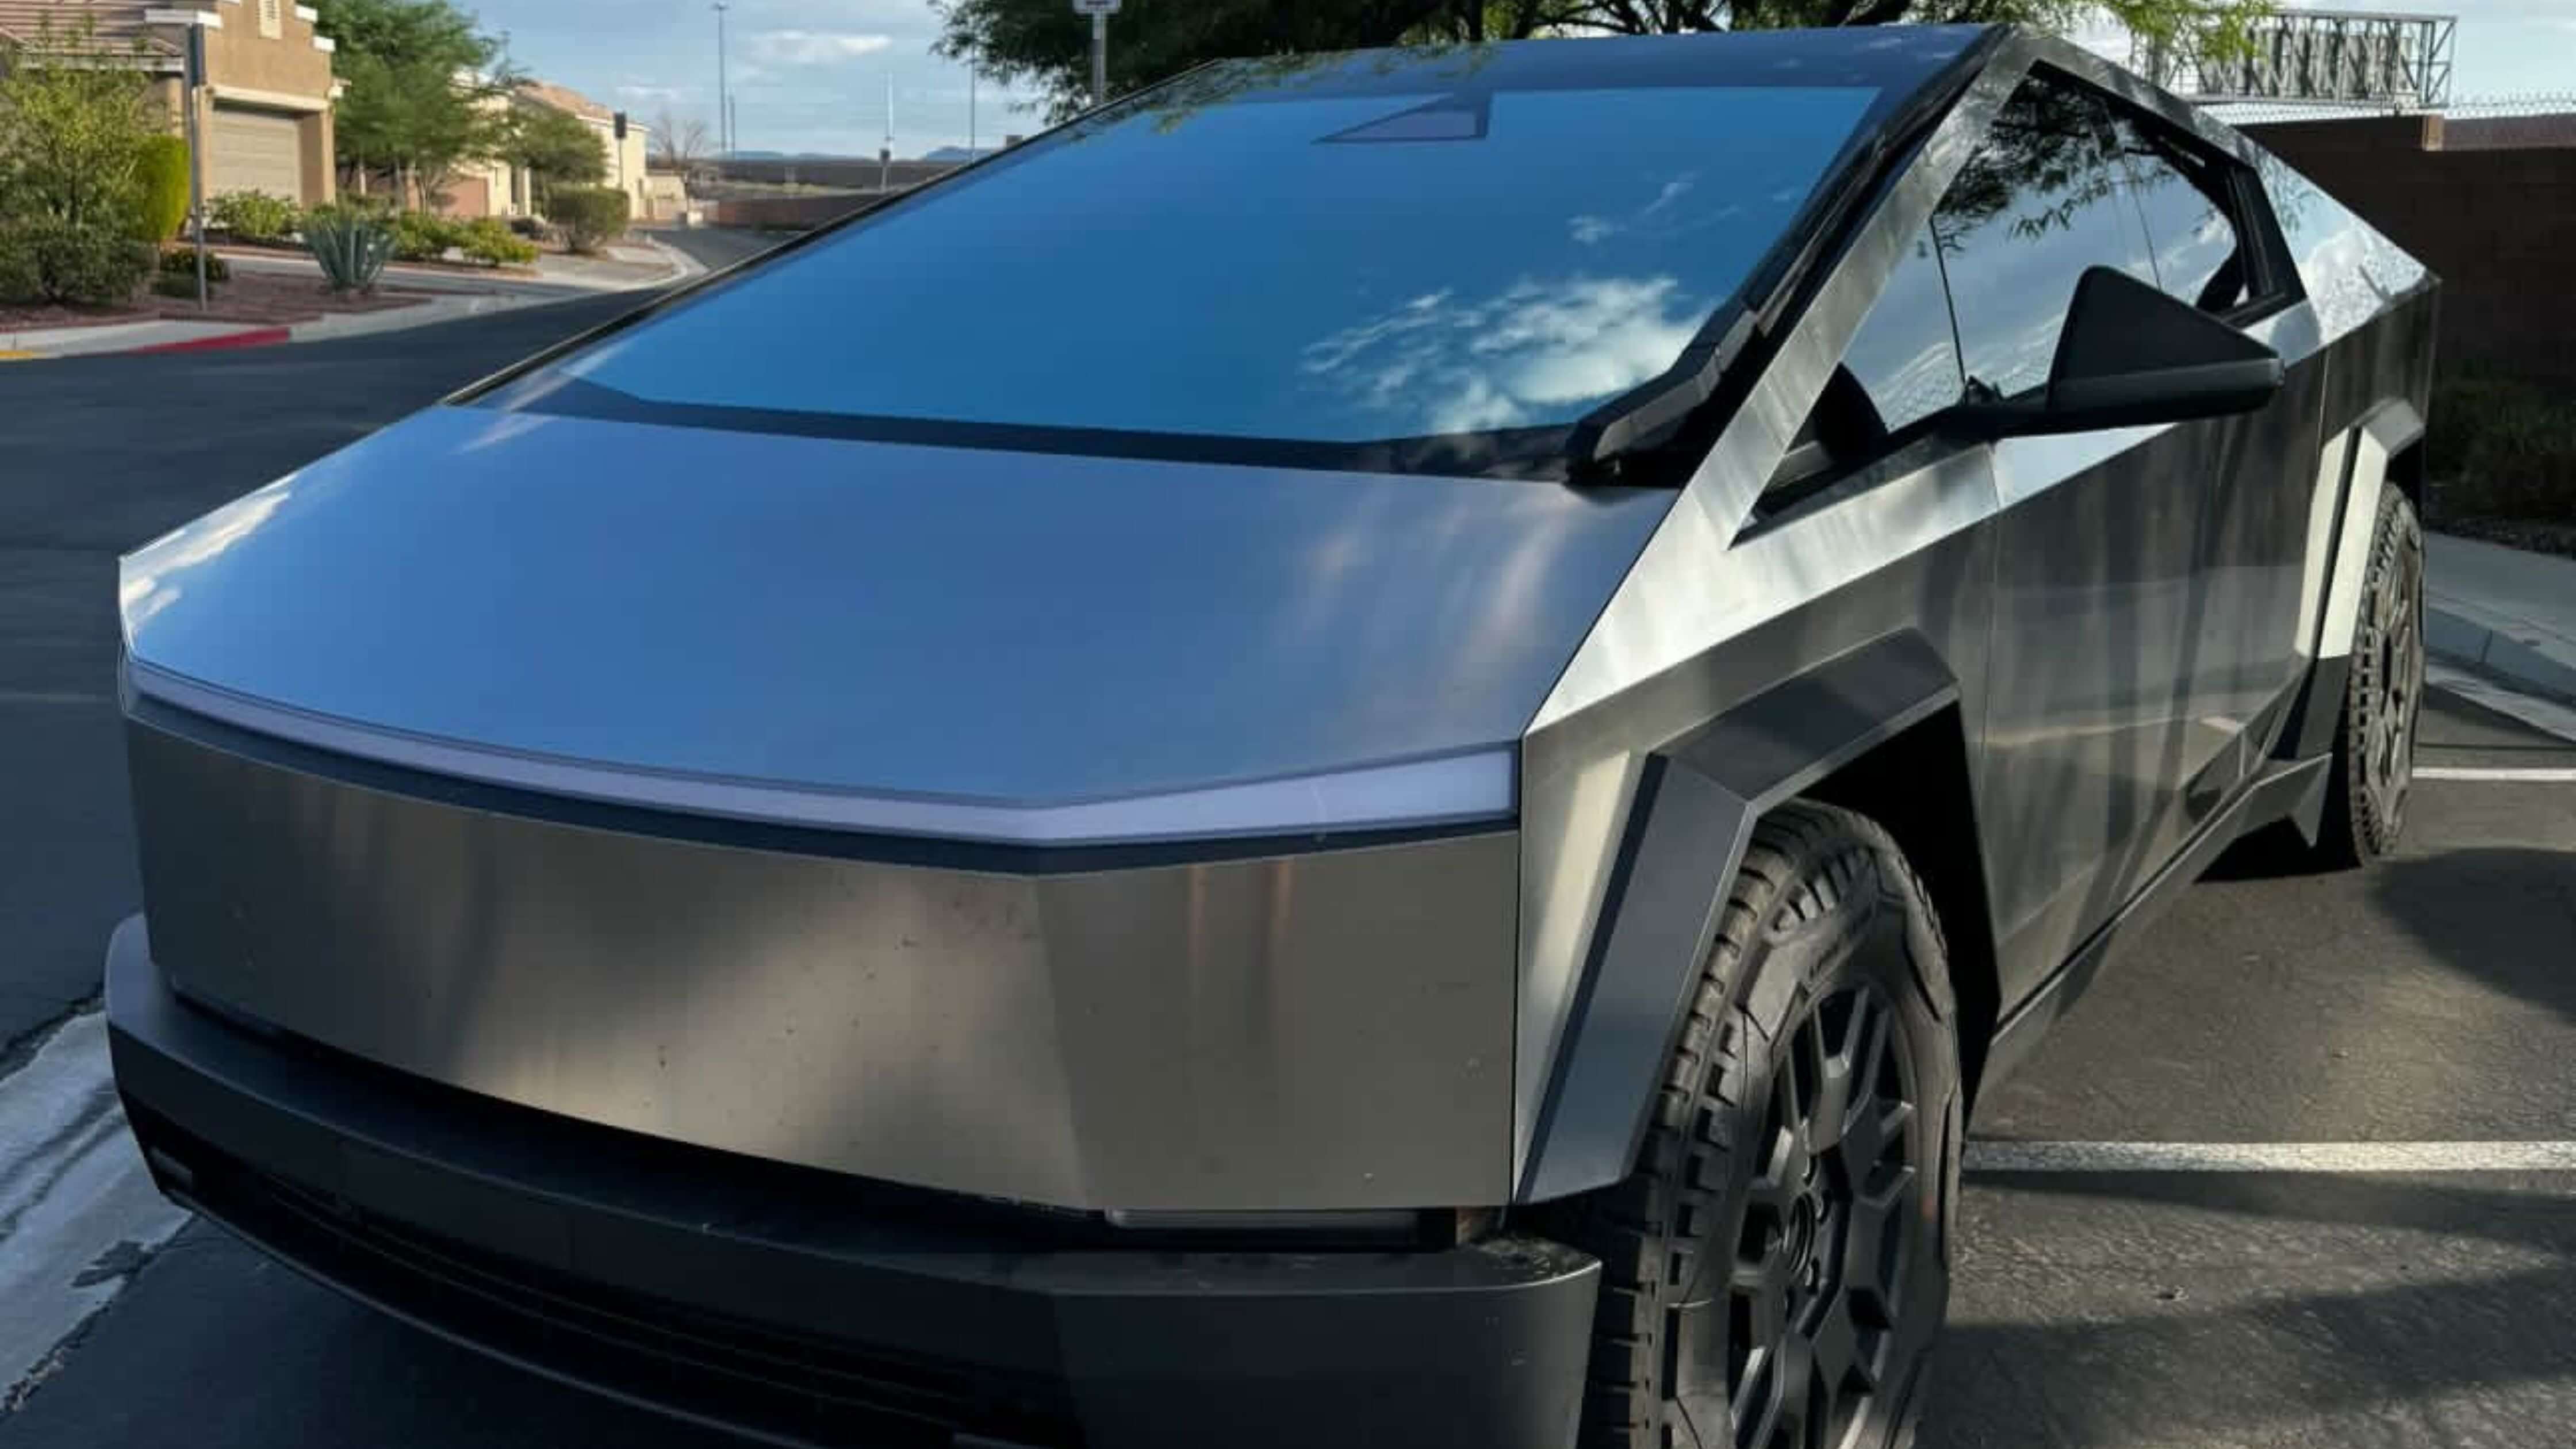
Ladies and gentlemen, fasten your seatbelts because we’re diving headfirst into the not-so-glamorous world of car window tint removal.
Yes, you read that right. We're not talking about souping up your engine or installing a stereo that could wake Beethoven from his eternal slumber. No, today, we’re removing window tint. Exciting, isn’t it? Like watching paint dry, but with more sweat and less excitement.
Now, you might be wondering why on earth someone would want to remove window tint in the first place. Well, maybe you’ve just bought a second-hand car and the previous owner had a penchant for privacy, or perhaps your tint has started to peel like a sunburned tourist after a week in Ibiza. Whatever your reason, stick with me, and we’ll get that tint off faster than a cheetah on a caffeine high.
The Tools of the Trade
Before you embark on this epic journey, you’ll need to gather your arsenal. Think of yourself as the James Bond of tint removal, minus the tuxedo and the Aston Martin. Here’s what you’ll need:
- A hairdryer or heat gun: Because nothing screams ‘professional’ like borrowing beauty tools.
- A razor blade: Channel your inner craftsman, but be careful not to channel your inner Edward Scissorhands.
- Ammonia and soap: The dynamic duo that’ll make that tint surrender like it’s facing a superhero.
- A spray bottle: Not just for annoying your cat anymore.
- Patience: More rare than a unicorn and about as easy to find.
Step One: Heat It Up
Imagine your window tint as a slice of cheese on a warm pizza. You need to melt it a bit to make it pliable. Enter the hairdryer. Wave it around as if you’re conducting an orchestra of one, focusing on the edges of the tint. You’re not just removing tint; you’re crafting a masterpiece.

Step Two: Peel and Reveal
Once your tint is nice and toasty, it’s time to peel. This is where your razor blade comes into play. Gently (and I mean gently, like you’re handling a newborn kitten) slide the blade under the edge of the tint. Once you’ve got a corner free, pull it back slowly. If it comes off in one piece, congratulations, you're a wizard. If not, welcome to the club.
Step Three: The Ammonia Assault
When the tint is gone, you’ll be left with a sticky mess—kind of like when you make pancakes and forget the non-stick spray. This is where ammonia and soap become your best friends. Spray the solution generously and then scrape off the adhesive with your razor blade. This is the part where patience is essential. Remember, Rome wasn’t built in a day, and your window won’t be spotless in five minutes.
Step Four: Clean Up and Admire Your Work
Once you’ve removed every last trace of adhesive, step back and admire your work. Your window is now as naked as the day it was born. You might even feel a little emotional, like you’ve just sent your child off to college.
The Aftermath
Now that you’ve conquered the Everest of car maintenance, you can bask in the glory of a job well done. Or, you know, go and have a cry in the shower because your fingers are covered in adhesive and your back is killing you. Either way, you’ve earned it.
So there you have it, the ultimate guide to removing car window tint. It’s not glamorous, it’s not exciting, but it’s necessary. Like going to the dentist or pretending to understand modern art. But hey, you did it, and now your car windows are freer than a bird in a wind tunnel. Until next time, keep your blades sharp and your adhesive remover sharper!