
Welcome, brave soul, to the gladiator arena of automotive maintenance!
If you’re here to learn how to remove tint from car windows, you’ve either got a penchant for DIY challenges or you’ve just realized that your car isn't a Batmobile and you need to see out of the windows. Either way, buckle up because this is going to be more thrilling than a high-speed chase through downtown Tokyo.
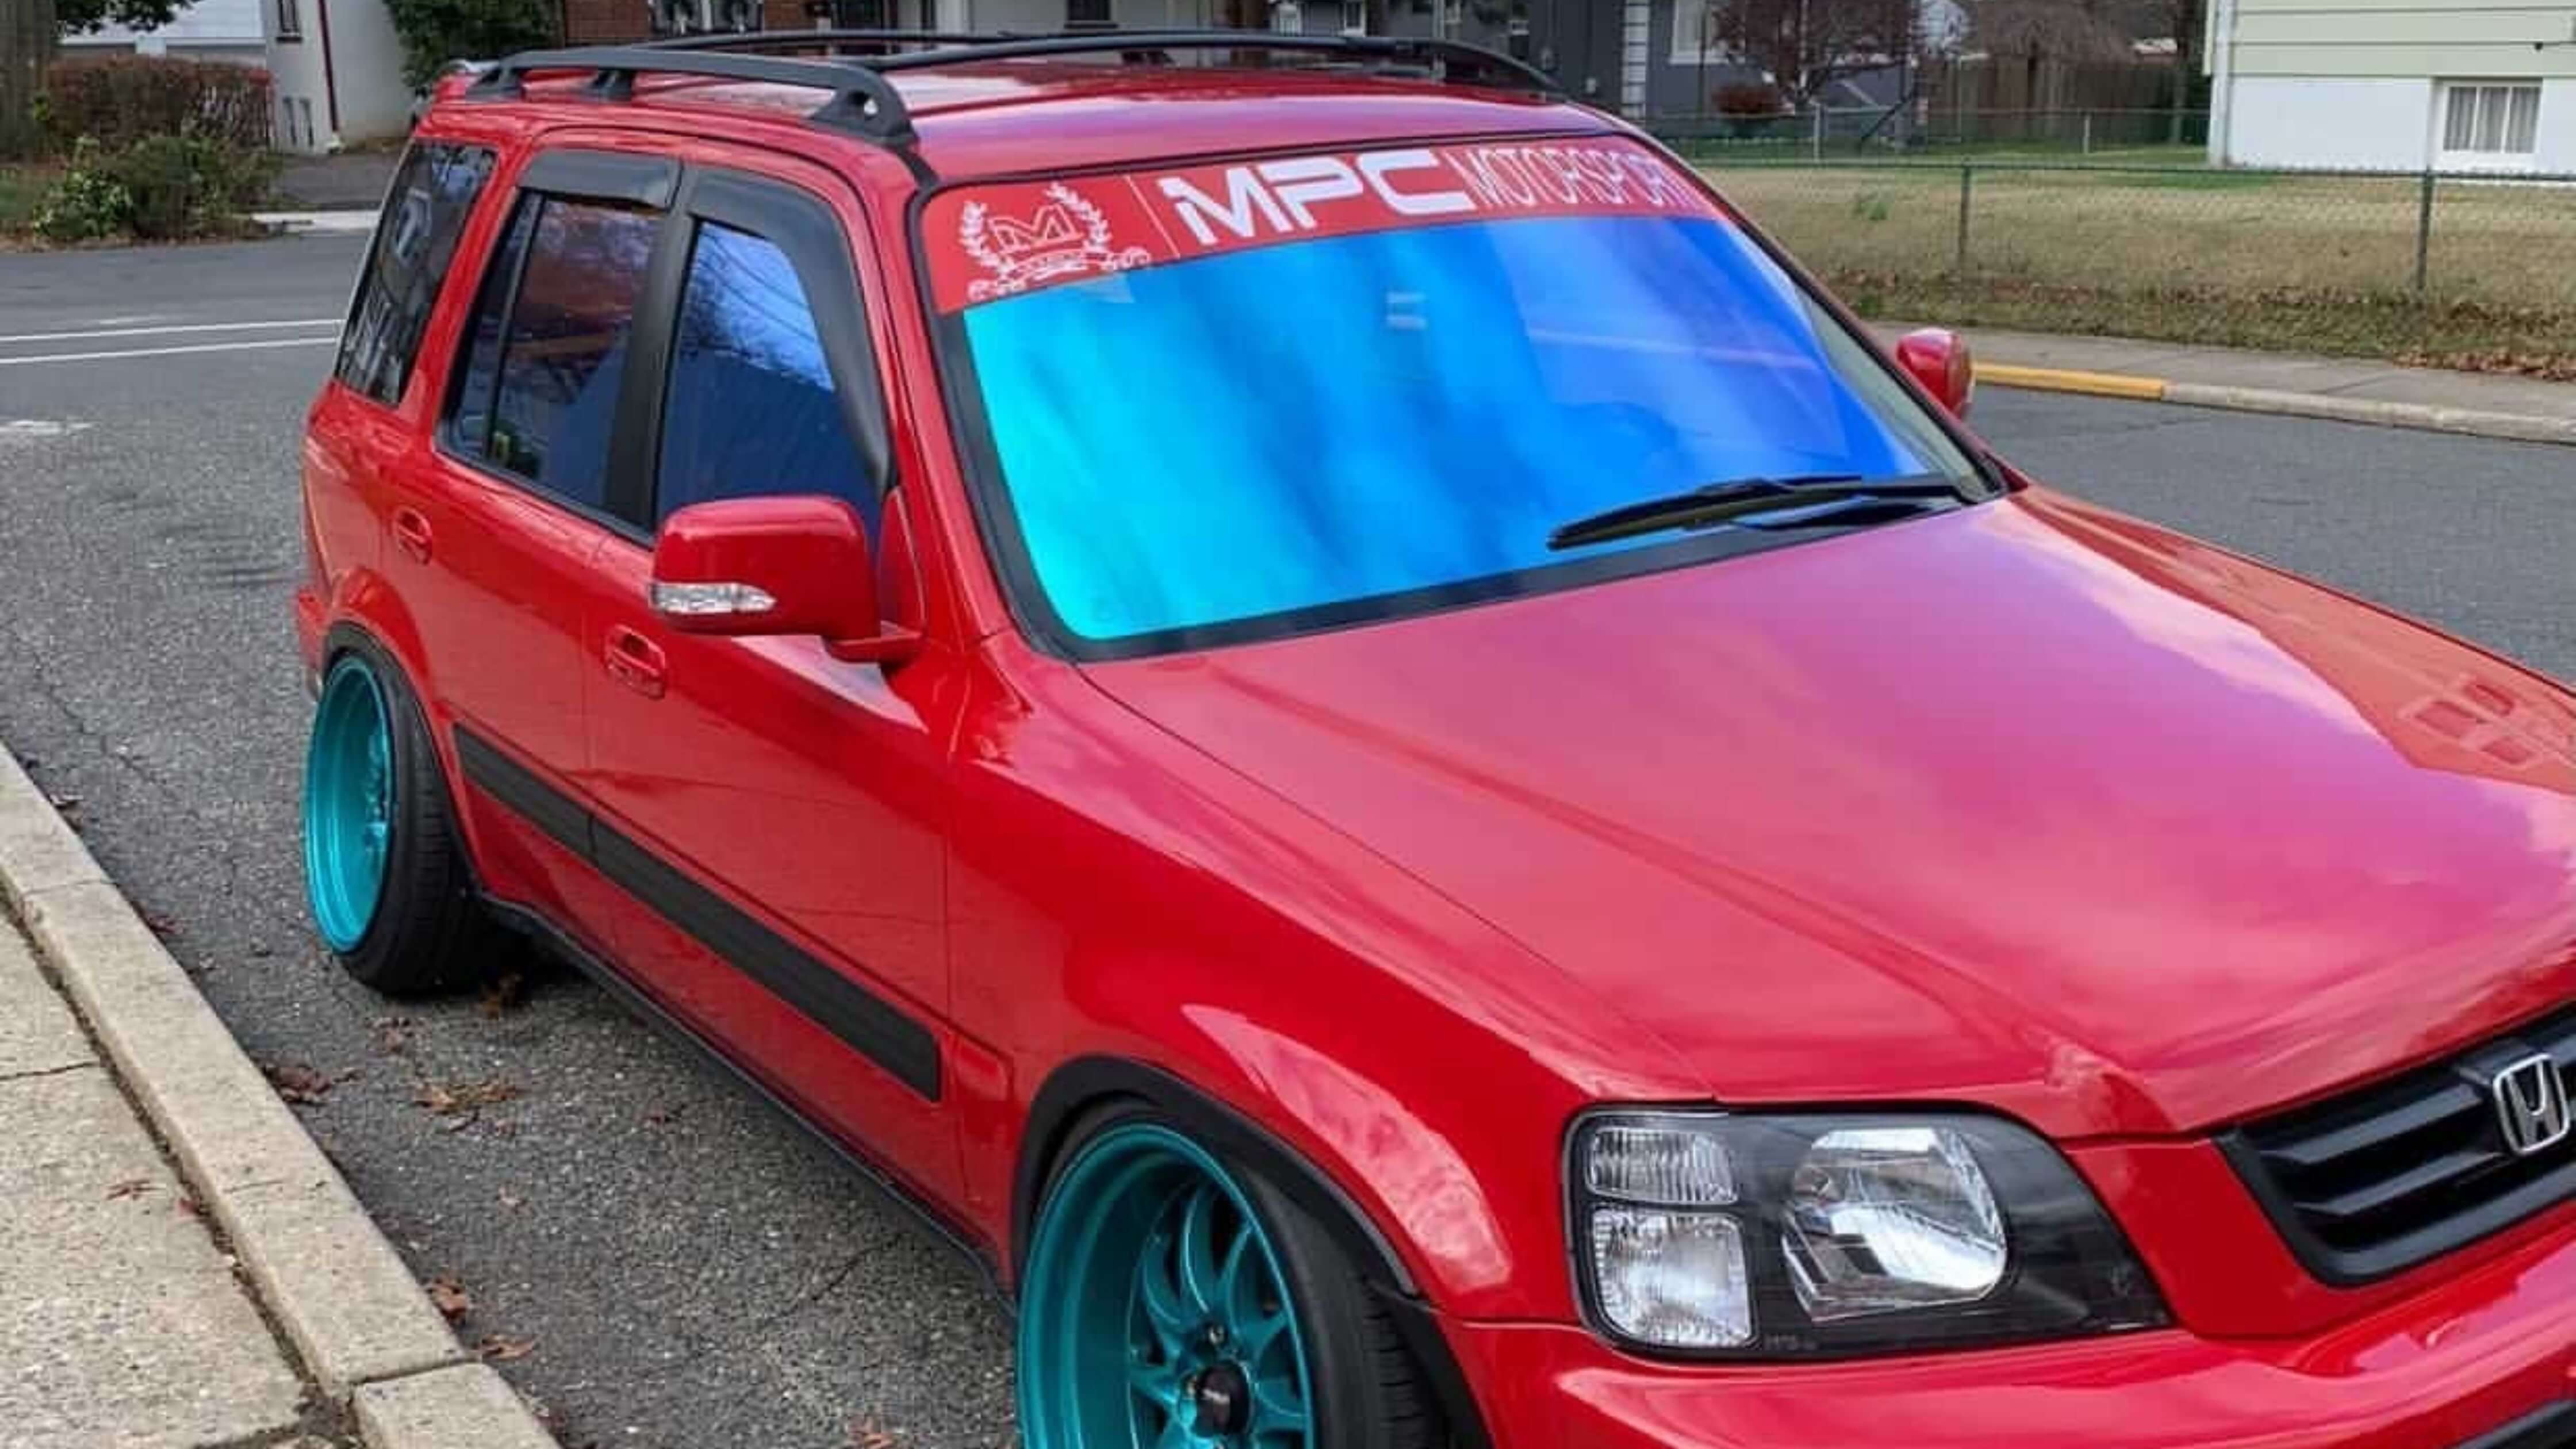
Removing tint from car windows is like peeling an onion, only with less crying and more colorful language. First things first, get yourself armed with a heat gun, some ammonia, a razor blade, and a strong will to live. If you’re wondering why you need a heat gun, it’s because car window tint is like a clingy ex—it doesn’t want to let go without a fight.
Step 1: Heat It Up Like It’s a Spa Day
Imagine you’re giving your car a luxurious spa treatment. The key is to heat the tint enough to make the adhesive surrender faster than a middle-aged man at a boy band concert. Carefully wave that heat gun over the tinted area. Keep a safe distance, though—we’re not here to roast marshmallows. The aim is to loosen the adhesive but not to set the car ablaze.
Step 2: Peel Like You Mean It
Once you’ve turned up the heat, it’s time to channel your inner Picasso and start peeling. Begin from a corner and gently coax the tint off. It’s like pulling a stubborn Band-Aid off a hairy arm, only with more finesse. If you rush it, you’ll end up with a patchwork quilt of tint remnants that would make even a Frankenstein creation look tidy.

Step 3: Ammonia Attack
For those bits that refuse to budge, it’s time to bring out the big guns: ammonia. This stuff is like kryptonite for window tint adhesive. Spray it on the sticky leftovers and let it work its magic. It’s like watching a reality TV show where the villain finally gets their comeuppance.
Step 4: Scrape with the Grace of a Ballroom Dancer
Now, it’s time to wield your razor blade like a maestro conducting a symphony. Gently scrape off the remaining adhesive. It requires the precision of a Swiss watchmaker and the patience of a monk. If you’re not careful, you might just end up with scratches that add a whole new dimension to the term ‘shabby chic’.
Step 5: Clean Up the Battlefield
Once you’ve removed the tint and adhesive, it’s time for the final cleanup. Use a glass cleaner to polish your windows until they sparkle like a diamond in a goat’s backside. You’ll feel like Cinderella after her fairy godmother worked her magic, only your carriage is a lot less likely to turn into a pumpkin at midnight.
Final Thoughts
Removing tint from car windows is not for the faint-hearted. It’s a task that requires patience, perseverance, and a sense of humor. But with the right tools and a bit of determination, you’ll conquer this beast and emerge victorious, like a knight returning from a dragon-slaying quest.
And there you have it, folks—a sage’s guide on how to remove tint from car windows that’s as riveting as a blockbuster action movie. If you’ve made it this far, give yourself a pat on the back, and maybe a cold beverage. You’ve earned it. Now go forth and share your newfound wisdom with the world. Or at least with your neighbor who’s still driving around with peeling tint that looks like it’s been through a wind tunnel. Good luck, and may your windows shine bright like the sequins on a Vegas showgirl’s dress!