
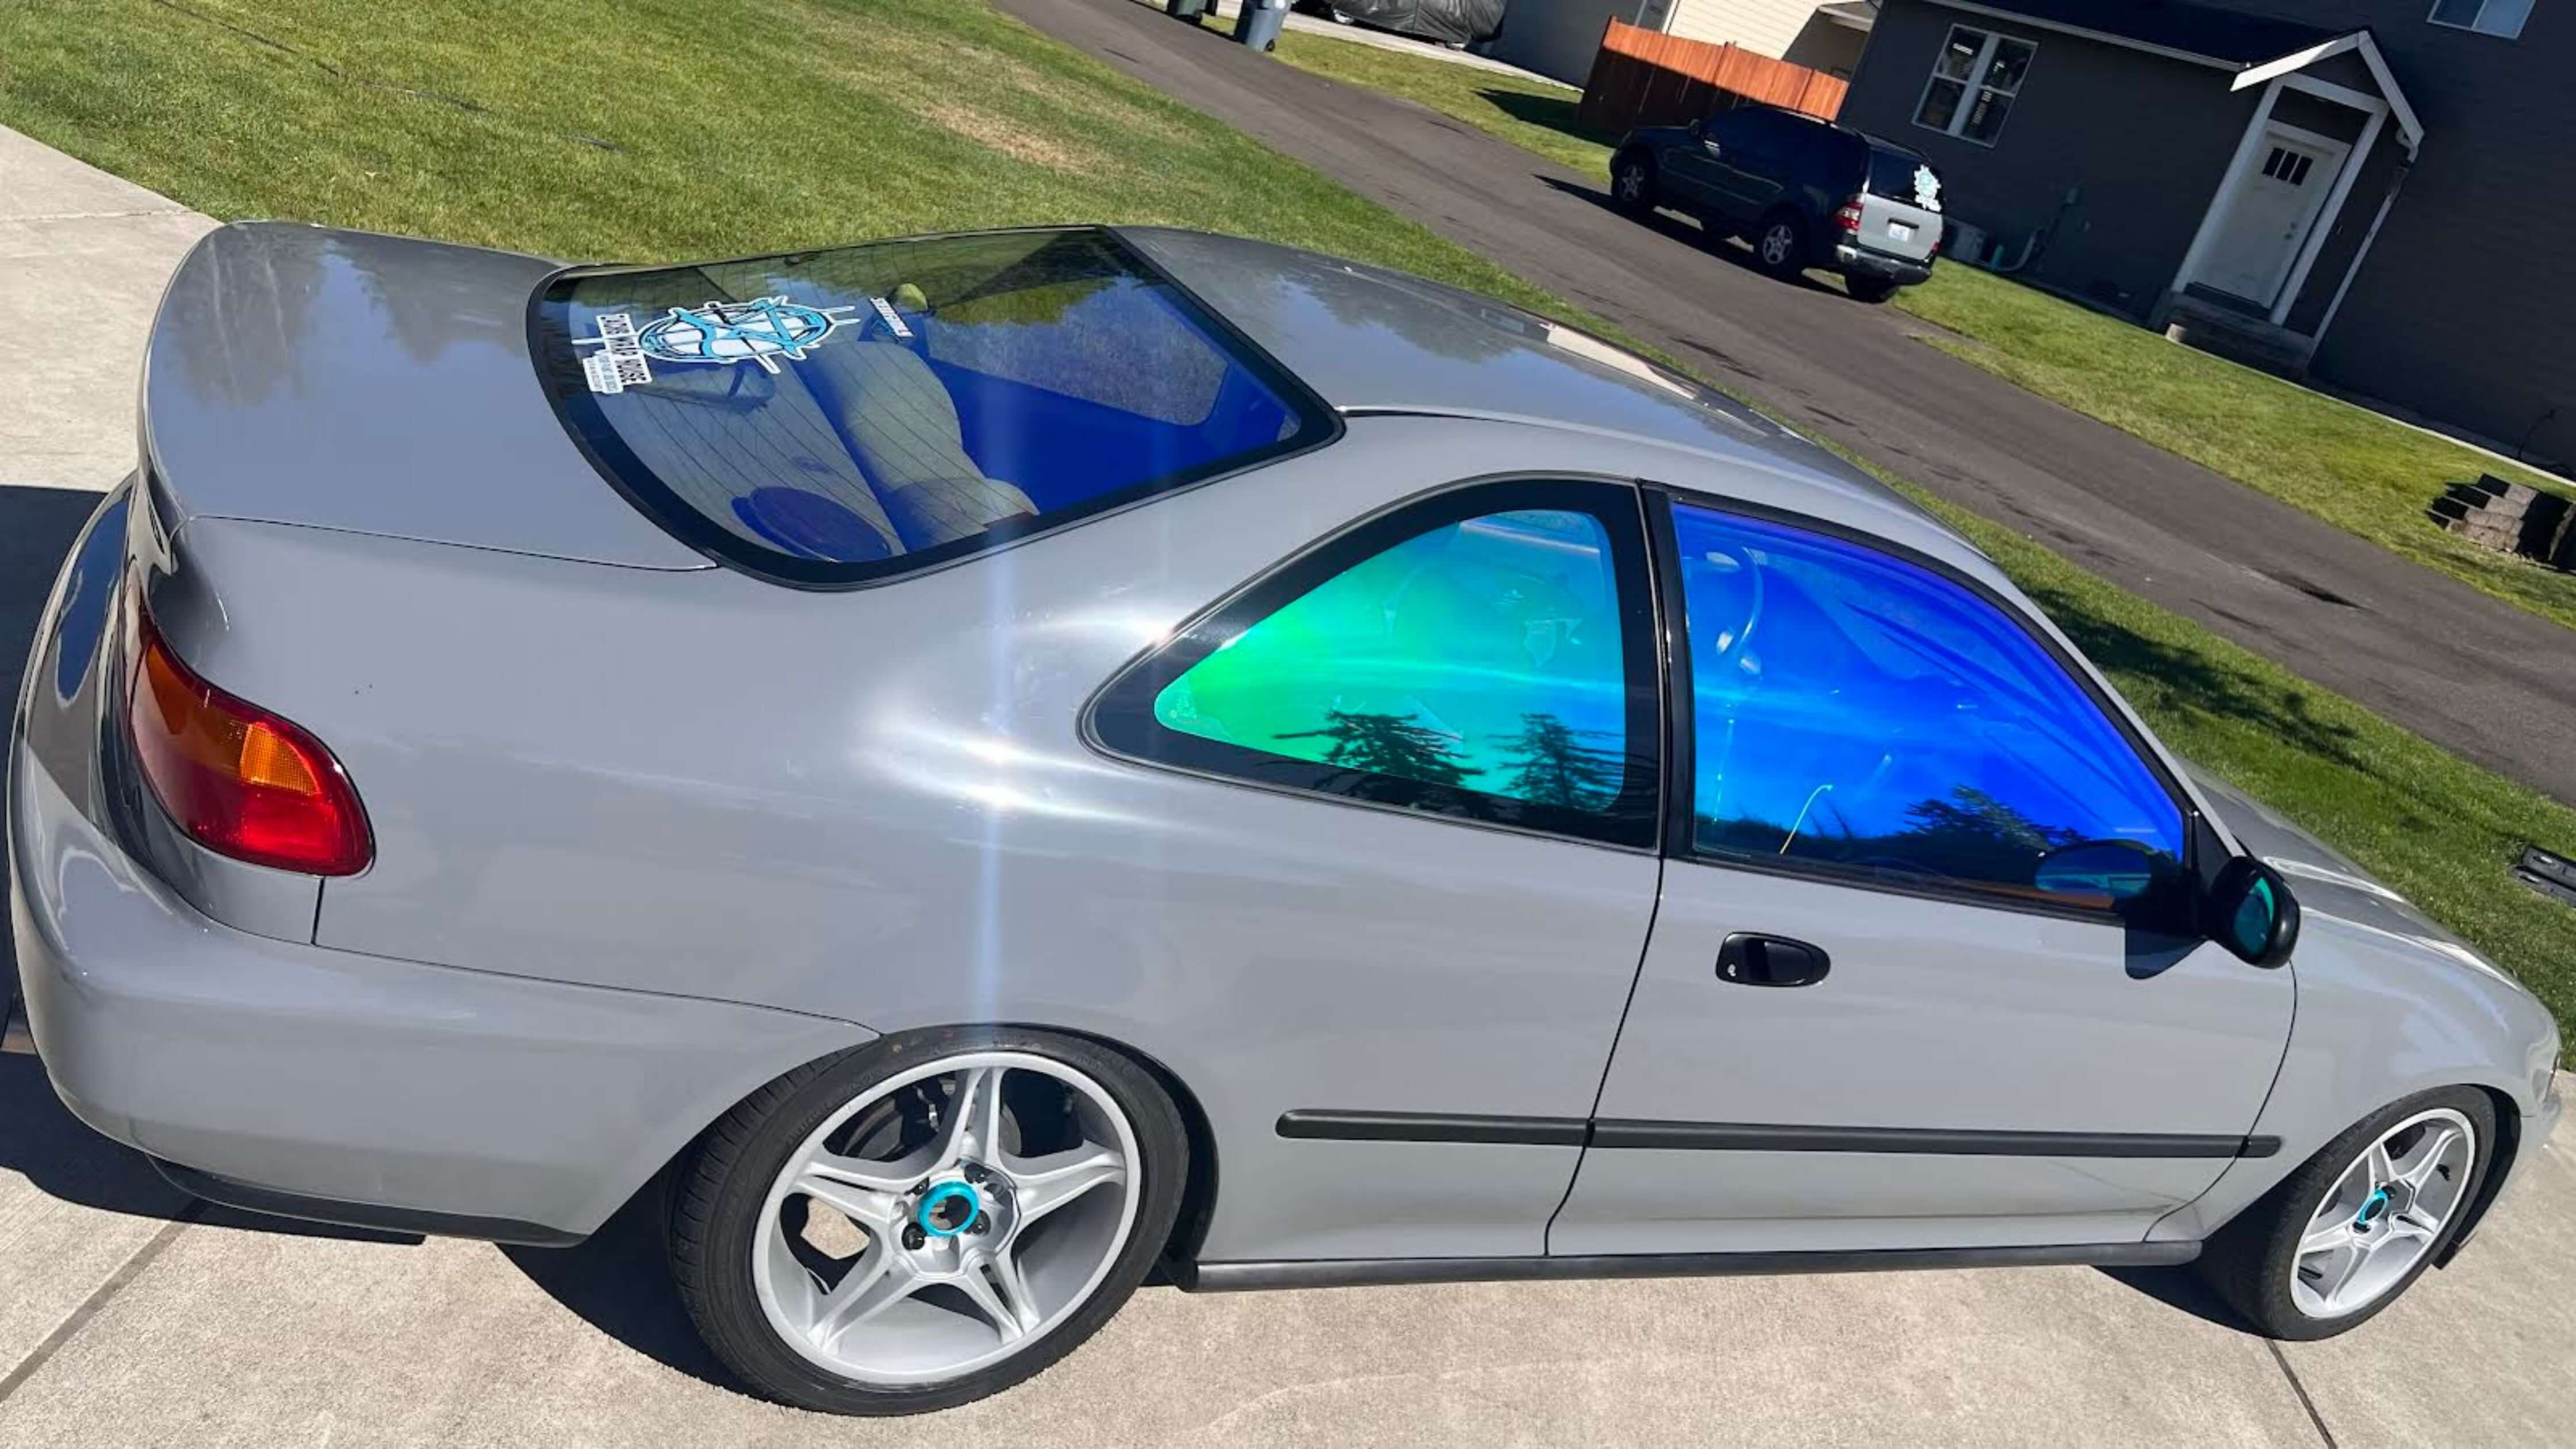
How to Tint Windows at Home on Car
So, you want to know how to tint windows at home on car? Well, hold onto your steering wheels, because this is going to be one wild ride. If you think tinting your car windows is as simple as slapping on a pair of sunglasses, you're in for a surprise bigger than a car salesman at a buy-one-get-one-free sale.
First off, let’s talk about why you’d even want to embark on this DIY escapade. Maybe you’re tired of being the neighborhood goldfish in your glass bowl of a car. Or perhaps you’ve realized that your skin is starting to resemble a leather handbag thanks to the sun’s relentless rays. Whatever your reason, tinting your windows at home is about to become your new hobby—move over, knitting.
Step 1: Gather Your Tools, You Crafty Car Enthusiast
Before you even think about touching your beloved four-wheeled chariot, make like a boy scout and be prepared. You’ll need a squeegee, a utility knife, a spray bottle filled with soapy water, and of course, the tint film itself. And don’t forget a hairdryer, because apparently, we’re styling our car’s hair now.
Step 2: Cleanliness is Next to Godliness (Or So They Say)
Your car windows need to be cleaner than a germaphobe's kitchen. Any speck of dust left behind will stand out like a penguin in the Sahara. If you skip this step, your tint job will have more bubbles than a jacuzzi party. So get scrubbing!
Step 3: Cut the Tint Film Like a Master Chef
This is where things get tricky. You’re going to cut the tint film to the exact size of your window. Remember those arts and crafts classes in school? No? Well, you might want to start praying to the gods of precision because cutting this stuff is harder than finding a parking spot at the mall on Black Friday.

Step 4: Stick It to the Man, or in This Case, the Window
Peel off the backing of the tint film, and with the dexterity of a brain surgeon, apply it to the window. Use your squeegee to smooth out the film. If you thought flat-lining was only for heart monitors, welcome to the world of tinting where smooth means smooth.
Step 5: Heat It Up with a Hairdryer
Once you’ve managed to apply the film without swearing more than a sailor, it’s time to heat things up. Use a hairdryer to mold the tint to the curvature of your window. Yes, you heard that right—you’re now a stylist, and your car is the client. Just don’t try giving it a perm.
Step 6: Trim the Excess
Take your utility knife (a poor substitute for scissors) and trim any excess film like you’re giving your car a haircut. Be precise, because unlike your own hair, there are no hats to cover up botched tint jobs.
Step 7: Admire Your Work and Bask in Your Tinting Glory
Congratulations! You’ve successfully learned how to tint windows at home on car. Now you can cruise around town, shielded from the sun like a vampire cruising for a midnight snack.
Final Thoughts: Was It Worth It?
Of course, you could have paid a professional to do all this, but where’s the fun in that? You’ve saved a few bucks and acquired a new skill that’s bound to make you the talk of the next neighborhood block party. Just be prepared for neighbors asking if you can tint their windows too.
Remember, the art of window tinting isn’t just about privacy or sun protection; it’s about transforming your car into a mysterious, sleek machine that screams sophistication—or at least whispers it quietly.
So, there you have it, folks. Go forth and tint, and may your windows be ever shady.