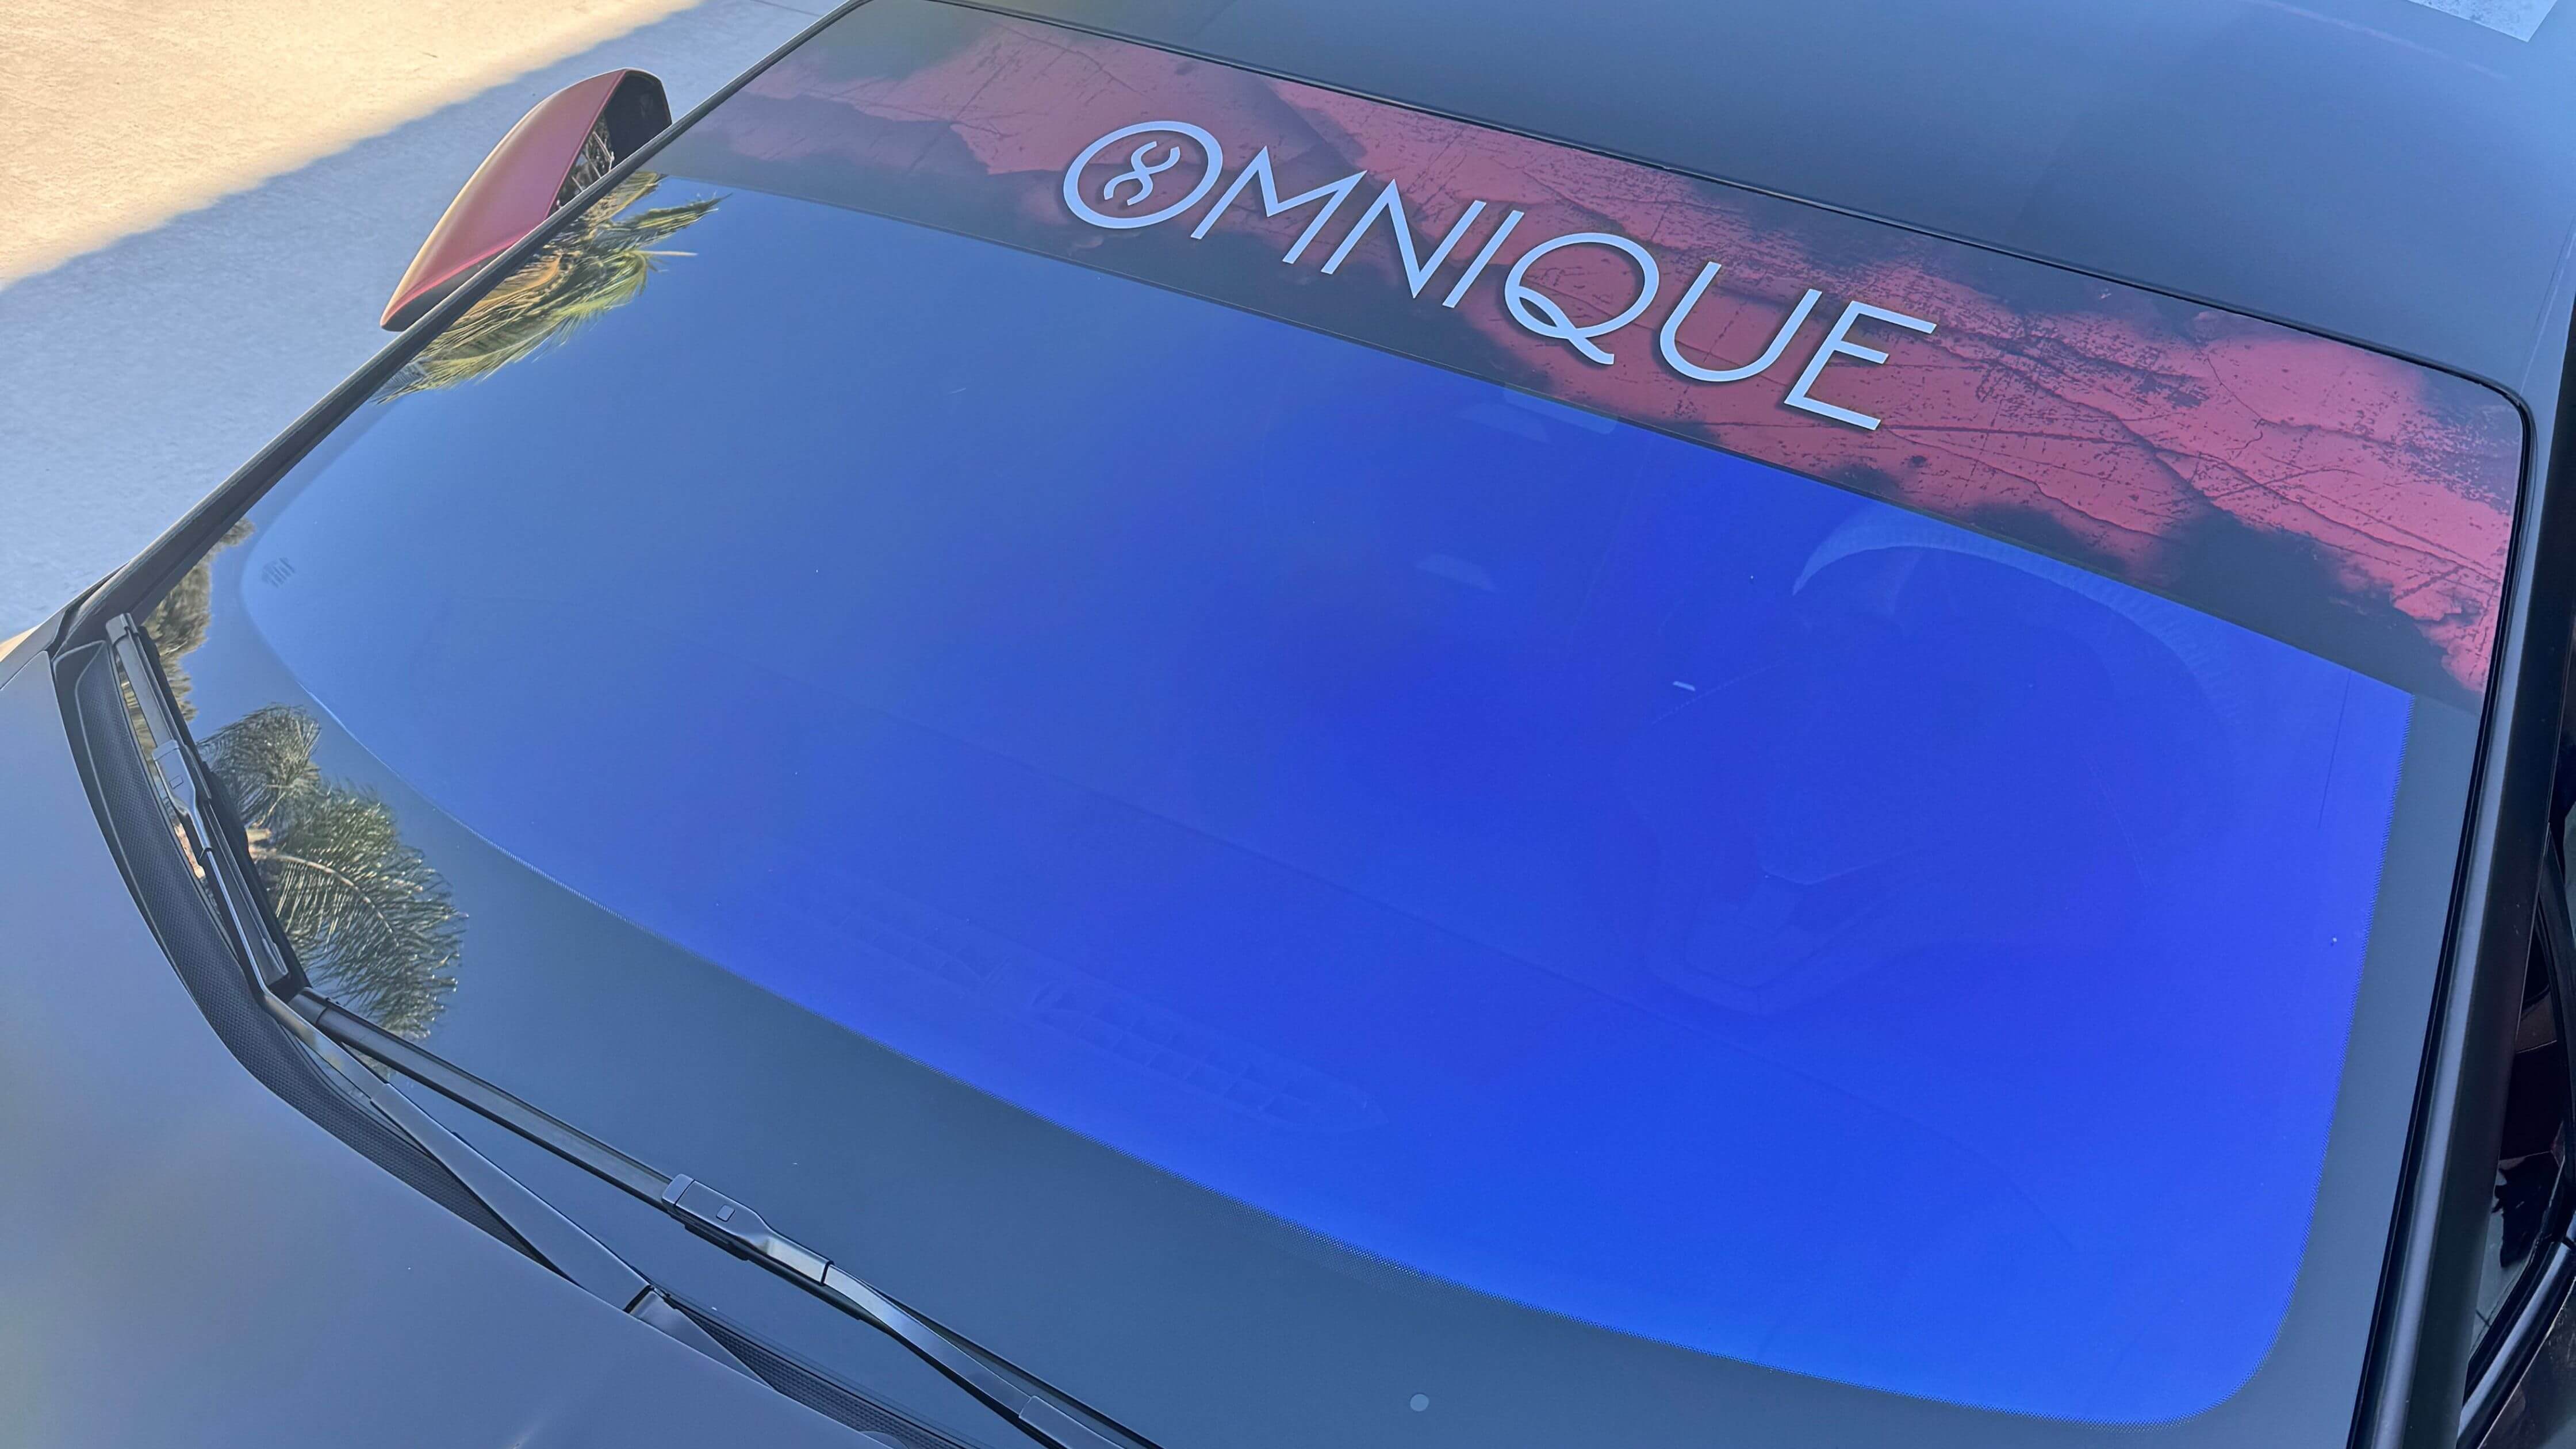
Ah, Car Window Tint – The Swanky Sunglasses of the Automotive World
It promises privacy, protection from UV rays, and an undeniable air of mystery, like James Bond hiding behind a pair of Ray-Bans. But what happens when that tint turns into an unsightly, bubbling mess that makes your car look like it’s been through a microwave apocalypse? Fear not, fellow vehicular enthusiasts! It's time to unravel the mystery of ‘how do you remove tint from car windows’ without turning your ride into a rolling disaster.
First Things First
Let’s get one thing straight: removing car window tint is not for the faint-hearted. It’s an art form, a delicate dance between you, a heat source, and the stubborn adhesive that clings to your windows like a cat to a laser pointer. But don’t worry; with a little bit of patience and the right approach, you'll have your windows as clear as the conscience of a saint.
Step 1: Gather Your Arsenal
Before you embark on this Herculean task, arm yourself with the right tools. You’ll need a hairdryer or a steamer, a razor blade (preferably new, not one you’ve been using to open Amazon packages), a spray bottle filled with soapy water, and a microfiber cloth. This is your toolkit, your Excalibur, your trusty sidekick in the battle against old tint.
Step 2: Heat It Up
Now, let’s get steamy. Your goal is to loosen the adhesive, so grab your hairdryer or steamer and start heating the tint from the outside. Imagine you’re giving your car a spa day, except instead of cucumber slices and soothing music, it’s just you and the relentless hum of electrical heat. Hold your weapon of choice about two inches from the window and keep it moving. If you get bored, pretend you’re a dragon breathing fire onto your unsuspecting window.

Step 3: Peel Like a Banana
Once you’ve heated the tint enough to make it pliable (and possibly sweated off five pounds in the process), it’s peel time. Start at a corner, using your razor blade to gently lift the tint. This is where precision is key; think surgeon, not butcher. Slowly peel the tint back, like you’re unwrapping a very fragile, very temperamental Christmas gift. If you rush, you’ll end up with a shredded mess that looks like a cat got loose in a paper factory.
Step 4: Spray and Scrape
With the main layer removed, you’re left with the adhesive residue – the sticky reminder of your tint’s past glory. Spray the soapy water generously on the residue, like you’re putting out a fire. Then, using the razor blade, scrape gently, with the grace of a ballet dancer and the precision of a Swiss watchmaker. The idea is to remove the glue without etching a Picasso into your glass.
Step 5: Rinse and Shine
Once you’ve scraped away every last bit of adhesive, it’s time for the grand finale. Wipe down the window with a microfiber cloth to remove any remaining soap or glue. Step back and admire your handiwork – your windows are now as clear as a politician’s promises. And there you have it, the tint is gone, and you’ve successfully answered the age-old question of ‘how do you remove tint from car windows’ without losing your sanity.
Final Thoughts
Removing tint from car windows is like untangling a mess of Christmas lights, frustrating yet rewarding. It’s a task that requires patience, precision, and a slight disregard for personal comfort. But the end result? A pristine, transparent view of the world, free from the tyranny of peeling film and bubbling adhesive. So, go forth, brave car owner, and let the world see your ride in all its untinted glory!
Feel free to share your own tint-removal tales of triumph or tragedy, because let's be honest, sometimes things don't go according to plan. But that's all part of the adventure, right?

