
Welcome to the World of Car Window Tinting
Ladies, gentlemen, and those perpetually stuck in the drive-thru, welcome to the most riveting escapade since the invention of the cupholder. We’re about to dive into the world of car window tinting—a task that is as exhilarating as it is shrouded in mystery. Buckle up, because I promise you, by the end of this guide, you'll either be a tinting pro or have a newfound appreciation for professionals who do it for you.
Why Tint Your Car Windows?
Now, let's kick things off with the basics: Why tint your car windows? Well, apart from making your vehicle look like it just rolled off a Fast and Furious set, it's about as crucial as ensuring your coffee mug is never empty. Not only does it protect you from the sun's wrath like an SPF-wielding superhero, but it also gives you the kind of privacy you'd expect in a billionaire's panic room.
Step 1: Choose Your Tint Like You Choose Your Coffee—Carefully!
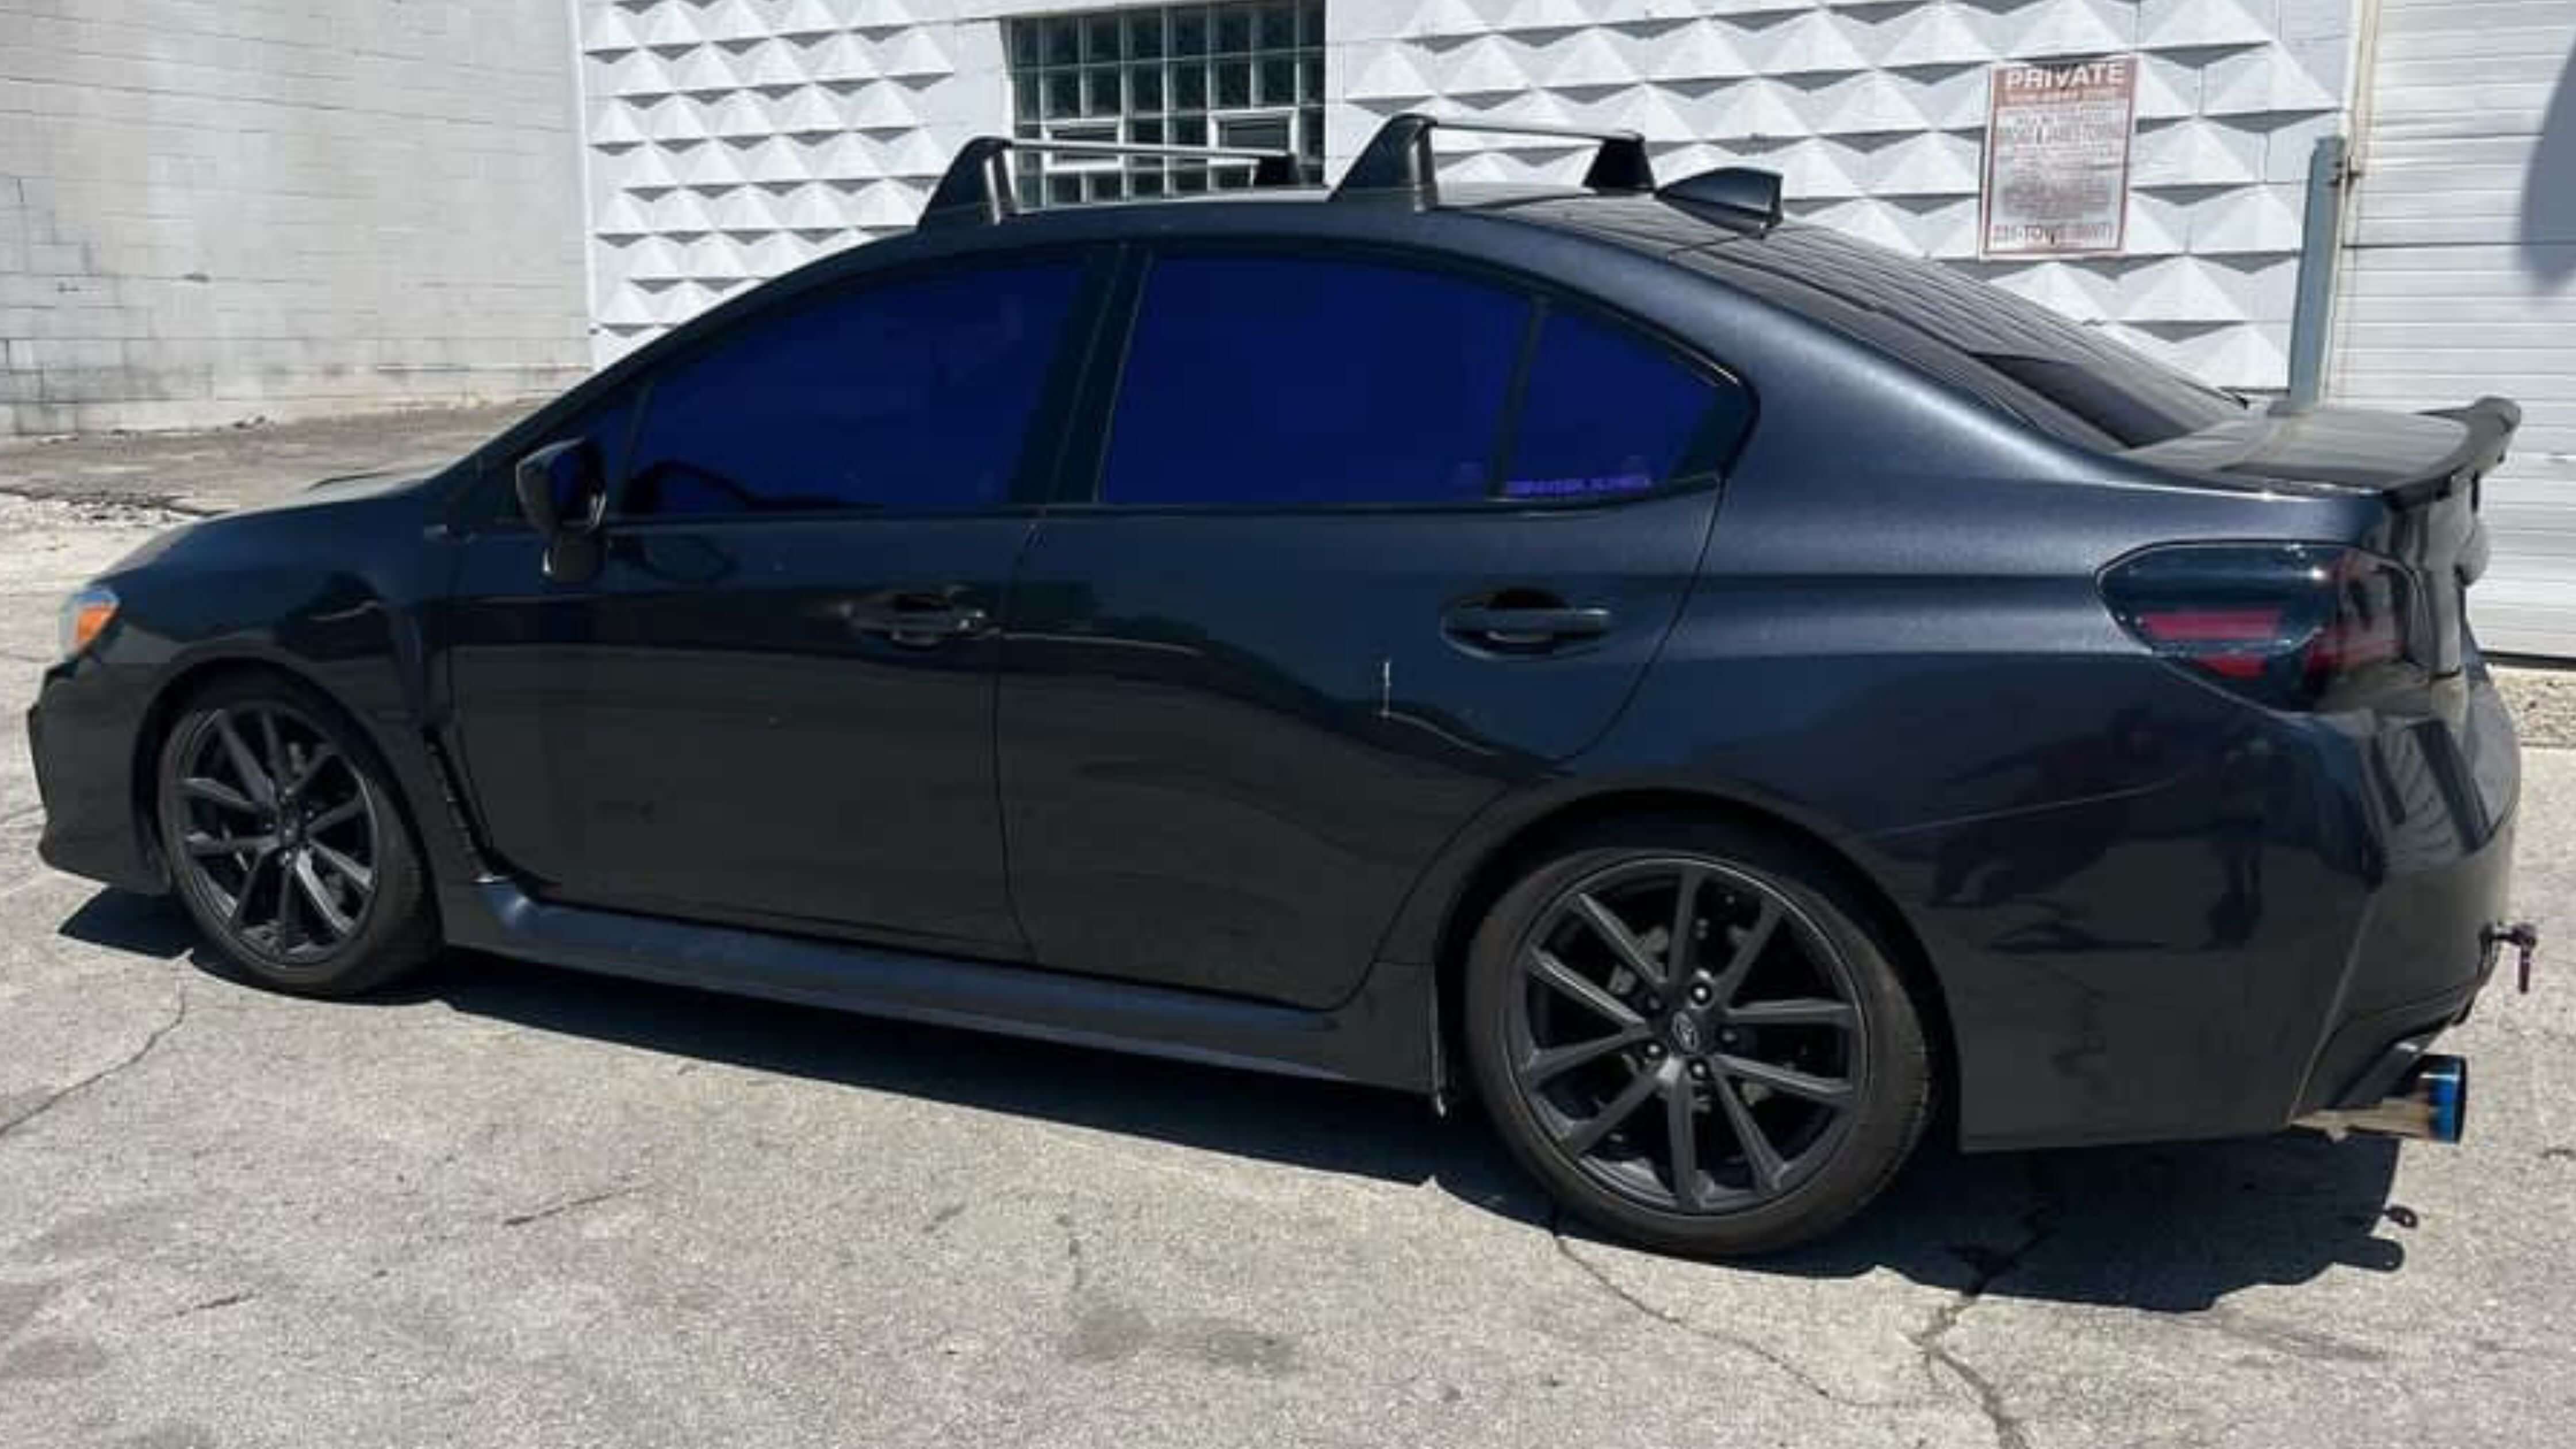
First things first, you need to pick your tint. And this isn’t like choosing between latte and cappuccino, folks. It’s more akin to selecting your firstborn’s name. There are laws, personal preferences, and a dizzying array of percentages that would make a math teacher’s head spin. Sure, you could slap on a 5% limo tint, but unless you enjoy being pulled over by the police for a friendly chat about visibility, I'd stick to 35% or 50% for a subtle, classy look.
Step 2: Gather Your Tools, a.k.a. The Tinting Arsenal
Before you start this automotive makeover, you’ll need a toolkit that would make MacGyver weep with envy. Sharp blades, a squeegee, a spray bottle filled with soapy water, and a heat gun—you’ll basically look like you’re setting up for either a DIY project or a small-scale heist. Oh, and don’t forget the tint film, unless you fancy just standing there looking important.

Step 3: Cleanliness is Next to Tintliness
A clean window is the holy grail of a successful tint job. If you skip this step, your tint will look like it was applied by a hyperactive toddler. Use a glass cleaner to scrub your windows until they sparkle brighter than a celebrity’s smile at an award show. If there’s even a smudge left, you might as well put the whole project in the bin.
Step 4: Measure Twice, Cut Once, Pray Constantly
Now, this is where the fun begins—measuring and cutting your tint film. You must channel your inner surgeon here, making precise cuts because there's no room for error. Lay the film over the outside of the window and cut it to shape, like a culinary artist crafting the perfect sushi roll. Remember, this isn’t the time to experiment with abstract art.
Step 5: Apply the Tint and Hope for the Best
Finally, the moment of truth. Spray the inside of the window with soapy water—it’s like giving it a spa day—and carefully apply the tint film. Use the squeegee to smooth out bubbles, working from the center outwards, as if massaging a particularly stubborn cat. If you’ve done everything right, your window should now look as sophisticated as a tuxedoed gentleman at a gala.
Step 6: The Waiting Game
Once the film is applied, it’s time to wait. Let the tint cure for at least a few days before rolling the windows down, unless you want to peel it back like a bad sunburn. This period is crucial, my friends, akin to letting a fine wine age. Patience will reward you with a flawless finish.
And there you have it—a window tinting journey that’s part art, part science, and all adventure. If you’ve managed to follow these steps without creating a vehicular Picasso, congrats! You're now part of the elite club of DIY tinting warriors. For the rest of you, there’s no shame in calling a professional. They’re like the superheroes of the automotive world, saving us from our own overconfidence.
So, why not give it a go? Worst case scenario, you’ll have a story to tell at the next dinner party. And remember, tint responsibly!