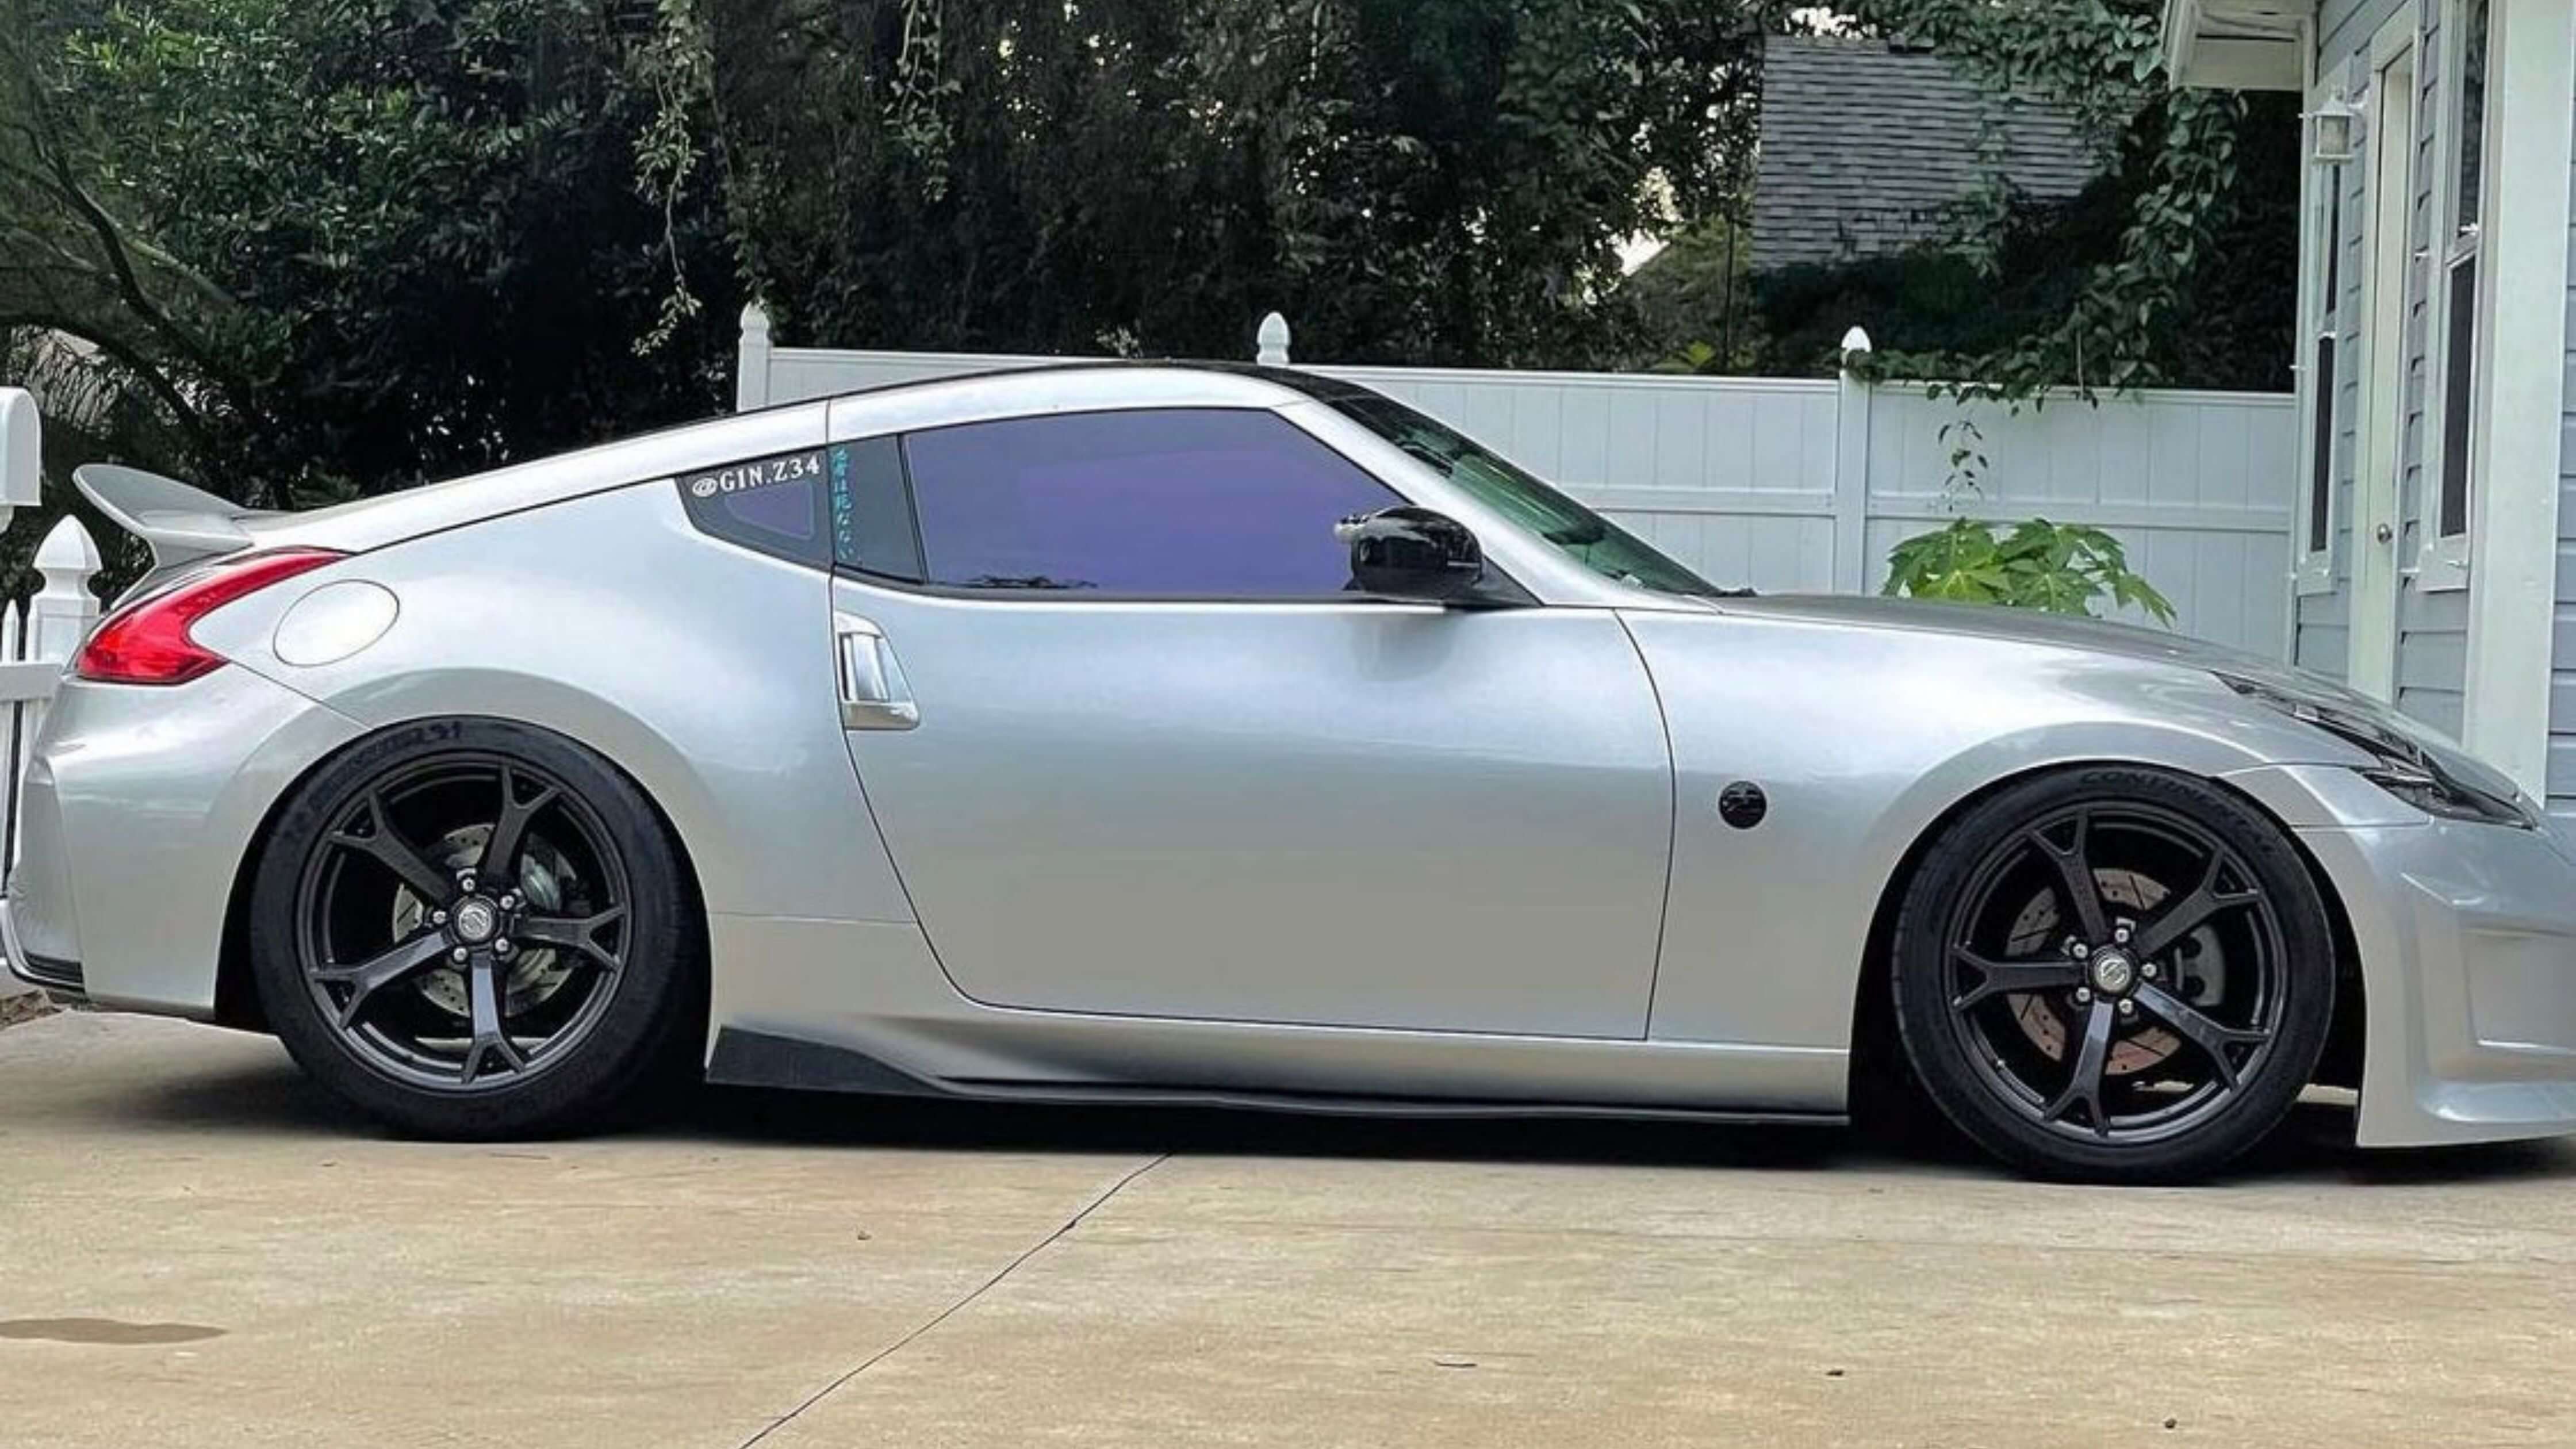
Ladies and gentlemen, welcome to the ultimate showdown
Between you and the villainous foe that is old car tint. Yes, the stuff clinging to your windows like a cat to a warm radiator, refusing to budge despite your best efforts. Fear not, for today I shall guide you through the Herculean task of removing this stubborn film without resorting to fire, explosives, or a hacksaw.
First, let’s address the elephant in the room. You might be wondering, 'Why would anyone want to remove their car tint?' Well, perhaps your car tint looks like it was applied by a blindfolded monkey with a love for bubbles and creases. Or maybe, just maybe, you realized that your once-sleek tint now resembles a faded pair of your dad’s old jeans. Either way, it’s time for a change!
Step 1: Gather Your Arsenal
Before you start, you’ll need some tools. No, not a sledgehammer or a chainsaw—although those do sound quite fun. Instead, arm yourself with a hairdryer or heat gun, a razor blade (or a plastic scraper if you’re feeling particularly cautious), some ammonia-based cleaner, a spray bottle filled with soapy water, and a roll of paper towels. This might sound like a shopping list for an impromptu science experiment, but trust me, these are the keys to your success.

Step 2: Heat Things Up
Now, it’s time to crank up the heat—literally. Use your hairdryer or heat gun to gently warm the tint. Be careful not to set your car interior ablaze; we’re trying to remove the tint, not audition for a fire brigade commercial. Direct the heat towards the edges of the tint where it meets the window, as if you’re coaxing it to peel away like a sunburnt tourist in Ibiza.
Step 3: The Great Peel-Off
Once you’ve got the tint nice and toasty, it’s time to channel your inner dermatologist and start peeling. Begin at a corner, using your razor blade or scraper to lift the edge. With any luck, the tint will come off in one satisfying sheet, like peeling a sticker from a new gadget. If your tint decides to be difficult and tears into a million pieces, take a deep breath and remember that patience is a virtue—even if it doesn’t feel like it right now.
Step 4: Clean Up the Aftermath
With the tint gone, you’ll be left with a sticky residue that’s reminiscent of an alien slime trail. Spray your ammonia-based cleaner onto the window and let it sit for a few minutes. Then, with the grace of a ballet dancer and the precision of a heart surgeon, wipe away the goo with your paper towels. If you’re left with streaks, just keep spraying and wiping until your window sparkles like a diamond in a goat's backside.
Step 5: Celebrate Your Victory
Congratulations! You’ve just completed a task that many have attempted and few have mastered. You’ve faced the dragon and come out victorious, all without losing your sanity or dignity. Now, take a moment to admire your work and revel in the newfound clarity of your windows. Isn’t it nice to see the world outside without the lens of a poorly applied tint?
A Few Final Words
Removing car tint isn’t rocket science, but it does require a bit of patience and a willingness to get your hands dirty. So the next time you find yourself staring at your car windows in despair, remember this guide and embark on your tint-removal adventure with confidence. After all, in the great cosmic race of life, you’ve just taken another step forward, leaving behind nothing but a pile of defeated tint and a job well done.

