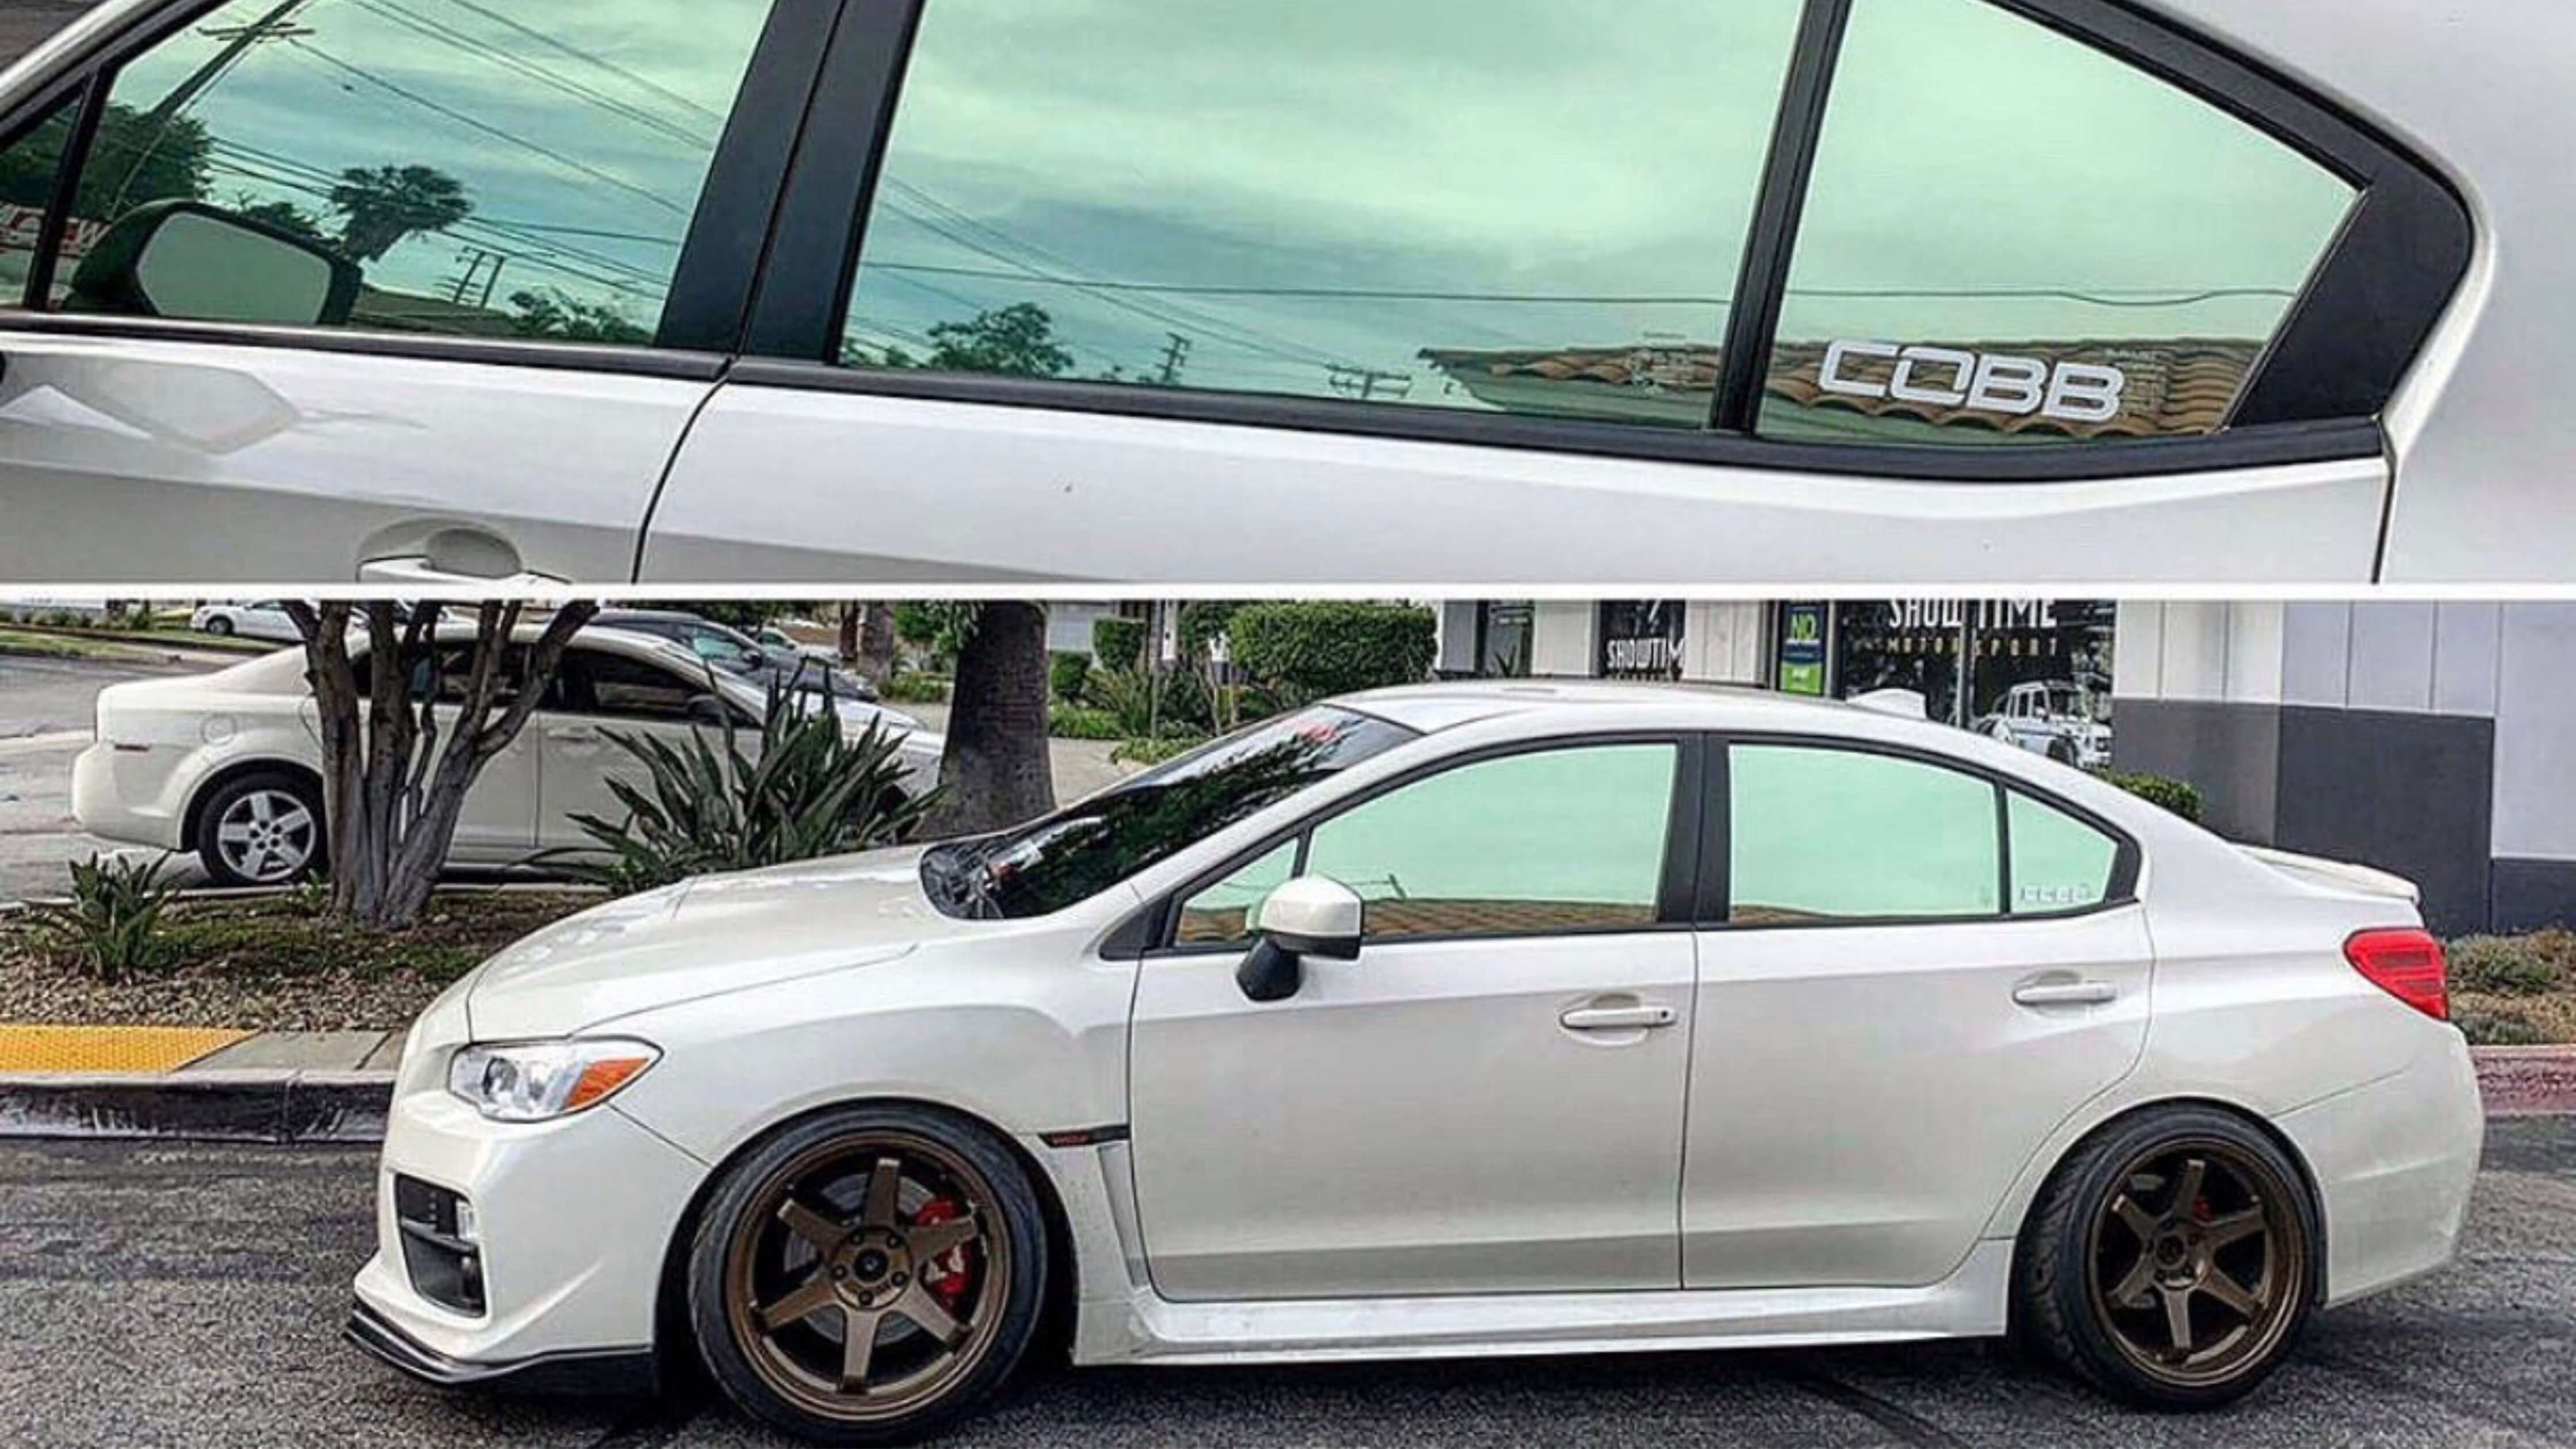
Ah, Car Window Tint
The automotive equivalent of sunglasses for your vehicle. It's like the cool leather jacket of the car world. But what happens when that sleek, mysterious allure turns into a patchy, bubbling mess that makes your ride look like it’s been through a car wash designed by Salvador Dalí? Fear not, brave reader! Today, we're diving into the abyss of automotive DIY and emerging victorious, with a clear view to boot. So, buckle up as we embark on the epic quest of learning how to remove window tint from car surfaces with flair and finesse.
Before we dive into the nuts and bolts, or rather, the razor blades and steamers, let's ponder why you’d want to remove window tint in the first place. Perhaps your car’s tint has aged like milk, not wine, and now resembles a peeling sunburn. Or maybe you've bought a second-hand car, and the previous owner had the aesthetic taste of a colorblind raccoon. Whatever your reason, you're here, and that's what counts.

The Art of Tint Removal: Tools and Tactics
Imagine a world where your car windows are as clear as an alpine lake. To achieve this utopia, you'll need a few trusty sidekicks in your tint-removal adventure. Here’s your shopping list:
- Steamer or Hairdryer: Think of this as your magical wand. Heat is your friend—your fiery, passionate ally in this battle against adhesive tyranny.
- Razor Blade or Utility Knife: Your Excalibur, ready to slice away the remnants of tint with the precision of a laser-guided missile.
- Ammonia or Soap Solution: A concoction so powerful it makes your average superhero serum look like weak tea. It breaks down adhesive like a pro.
- Garbage Bags: Not just for yesterday’s sushi—these bad boys help trap steam and moisture, turning your car into a tint-removal sauna.
- Microfiber Cloths: To lovingly caress your windows back to their transparent glory.
Step-by-Step Tint Liberation
- Heat It Up: Start by heating the window tint. Use your steamer or hairdryer to warm the tint film. The key here is to make it sweat like a guilty politician under cross-examination. The adhesive will start to let go, much like your willpower at an all-you-can-eat buffet.
- Peel the Tint: Once the tint feels warm and ready, begin peeling from one edge. This is where your razor blade becomes the hero Gotham needs. Slip it under the tint, and with the precision of a surgeon, begin peeling. Patience, young grasshopper—this isn’t a race.
- Adhesive Annihilation: After removing the film, you’ll likely find yourself staring at a sticky residue that looks like it was left by a herd of particularly messy toddlers. Fear not! Spray your ammonia or soap solution generously, and let it marinate for a few minutes.
- Scrape and Wipe: With your scraper, gently remove any remaining glue. Think of yourself as an archaeologist, carefully unearthing a relic—except, you know, stickier. Follow up with a microfiber cloth to polish off any lingering adhesive.
Post-Removal Glory
Congratulations! You've successfully navigated the treacherous waters of window tint removal. Now take a moment to bask in admiration of your handiwork. Your car windows are now as clear as your intentions, and you'll be the talk of the town (or at least the driveway). As you drive away, you'll feel the wind in your hair and the sun on your face, unfiltered by any subpar tint.
The Final Word
And there you have it—how to remove window tint from car glass, broken down into steps so simple even a distracted goldfish could follow along. With your windows now gleaming in the sunlight, you can sit back and enjoy the satisfied feeling of a job well done. Just remember, when it comes to car maintenance, you’re the hero your vehicle deserves, even if you're not the one it needs right now. Until next time, keep those engines purring and those windows clear!

